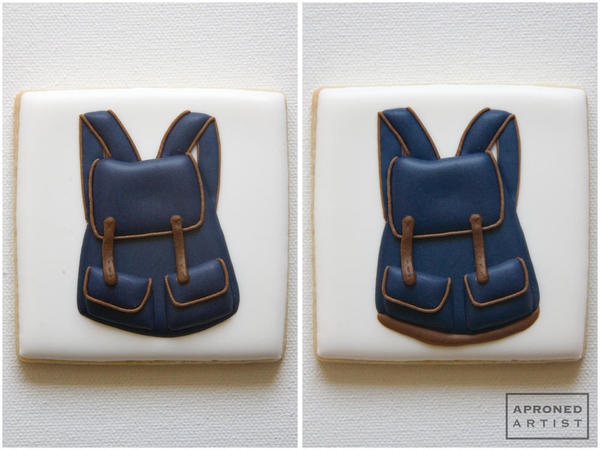
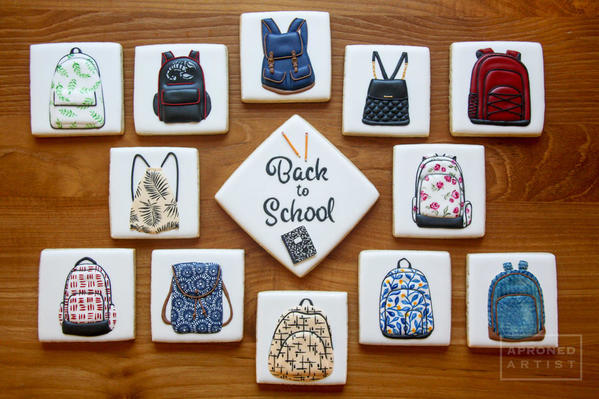
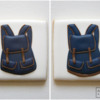
 I remember many years ago when my kids were “cute”. We’d walk to school on the first day holding hands, their sweet little cherub faces glowing with the anticipation of a new school year. Now in high school, they have long since graduated from “cute” to “cool”. The anticipation is there, but it’s carefully masked under a facade of indifference. I designed this back-to-school set with my kids in mind. These backpacks are kind of like teenagers - different, but the same; cool, definitely not cute.
- 1 (3- to 4-inch) square cookie flooded with white royal icing
- Royal icing:
- Stiff brown (1 part Chocolate Brown,1 part Leaf Green, and 1 part Gold; all AmeriColor colors)
- Thick flooding-consistency navy (4 parts Violet, 3 parts Royal Blue, and 1 part Super Black; all AmeriColor colors)
- Thick flooding-consistency brown
- Tips:
- Scribe tool
- Tiny liner paint brush
- Gold luster dust mixed with alcohol to form a paste
- Flat paint brush
Step 1:
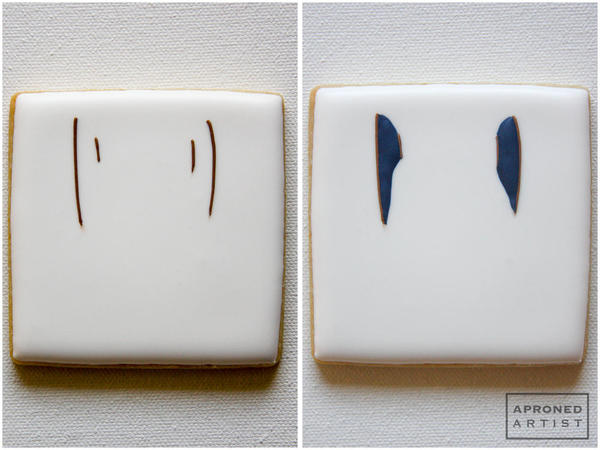
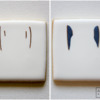
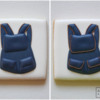
On your white iced cookie, pipe the trim for the underside of the backpack straps with stiff brown royal icing and a PME tip #1 (or equivalent). Fill in the area between the trim lines with thick flooding-consistency navy icing. Be careful not to overfill these sections, as we want them to visually appear furthest away in the background. Set aside for 15 minutes, or until the icing has crusted.
Step 2:
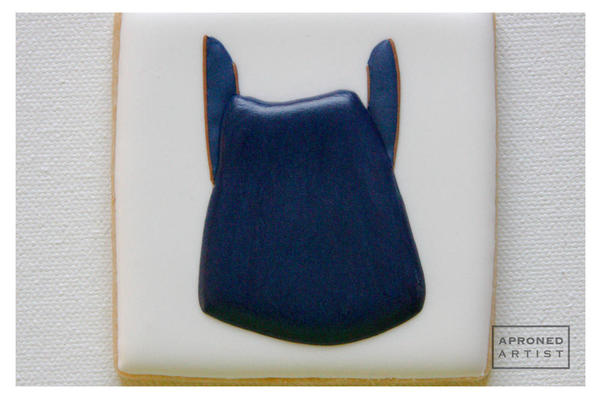
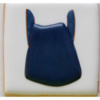
Using thick flooding-consistency navy icing again, but this time with a Wilton tip #5 (or equivalent), pipe the main backpack shape or body, leaving enough space at the bottom for the “suede” underside, which we will add later. Backpacks are naturally lumpy and crumpled, so feel free to make the shape imperfect. Set aside to dry for an hour.
Step 3:
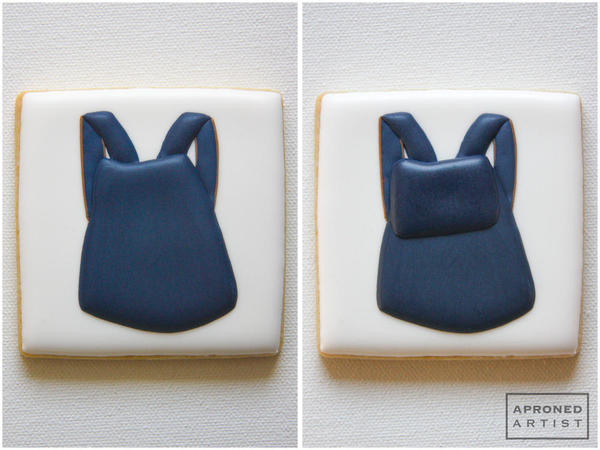
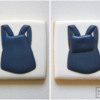
Pipe the front of the backpack straps with thick flooding-consistency navy icing and a PME tip #1. Fill the front straps with a bit more icing, so they appear in front of the underside of the straps that we piped in Step 1.
Using thick flooding-consistency navy icing again, but this time with a PME tip #1.5 (or equivalent), pipe the flap of the main backpack pocket at the very top of the backpack body. Set aside to dry for 30 minutes.
Step 4:
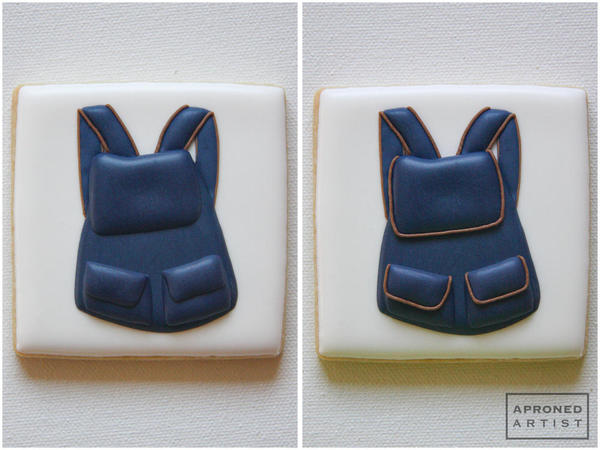
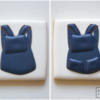
Using stiff brown icing and a PME tip #1, pipe the trim on both sides of the front of the straps. Use your scribe tool to tuck the top end of the icing behind the trim on the underside of the strap, so that the brown icing looks like a continuous line.
Pipe two small pockets at the bottom of the backpack with thick flooding-consistency navy icing and a PME tip #1.5. Set aside to dry for 30 minutes.
Step 5:
Once the small pockets are dry, pipe the flaps on these pockets with thick flooding-consistency navy icing and a PME tip #1.5. Set aside for 15 minutes, or until the flaps have crusted.
Using stiff brown icing and a PME tip #1, pipe the trim along the sides and bottom of the top pocket flap. Repeat trim around the small pocket flaps. No need to let the trim dry; just proceed to Step 6.
Step 6:
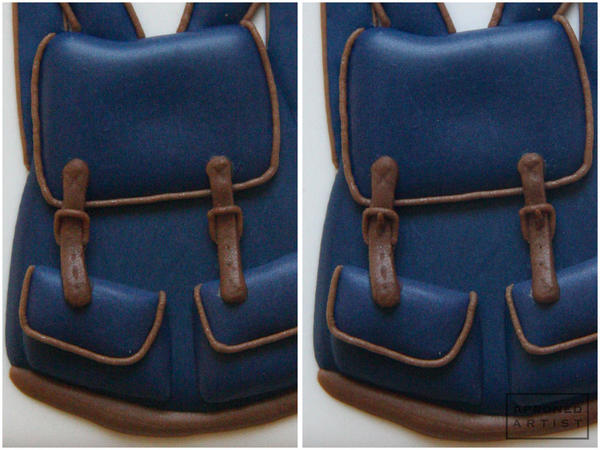
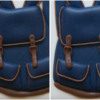
Use a Wilton tip #44 (or equivalent) to give the impression of flat "leather" straps. This tip, while flat, produced a much wider strap than I wanted. To achieve my desired width, I taped a small piece of parchment paper over one-third of the tip opening before piping the leather straps with stiff brown icing. (You can also pipe the straps without modifying the tip, or use a PME tip #2 to produce a rounder strap.) While the icing is still wet, use a small damp liner brush to mark an “X” at the top of each strap, and three holes at the bottom of each.
Pipe the underside of the backpack along the bottom edge of the bag with thick flooding-consistency brown icing and a PME tip #1.5. Set aside to dry for 15 minutes.
Step 7:
Now to add buckles to the straps! Using stiff brown icing and a PME tip #1, pipe the top three sides of a square (as a continuous line) at the middle of each leather strap. Use your scribe tool to tuck the end of each side of the square beneath each strap.
With the same icing and tip, pipe a small line from the middle of each buckle to the top edge of the buckle. Set aside for 15 minutes.
Step 8:
To create strap loops, use stiff brown icing and a PME tip #1, and pipe two horizontal lines directly adjacent to one another, about one-third of the way up each strap. Dab the lines gently with the flat side of a damp flat paint brush to merge them into a single line.
Paint the buckle with gold luster dust paste (as described under "Supplies", above) and a tiny liner brush.
My kids favor a subtle, utilitarian look. What’s your kid’s sense of style? Bohemian? Glam? Casual? I've got a backpack for all personalities!
If you’re lucky enough to still have kids who are cute, make your backpacks with brighter colors or younger patterns - for example, hot pink with a daisy pattern and lime green trim, or painted with rocket ships . . . you get the idea. Whatever your children's ages, I hope it’s their best year yet!

Samantha Yacovetta, the decorator behind Aproned Artist, began cookie decorating in 2013. While working at a local bakery, Samantha became captivated by cookie art when a customer requested princess-themed cookies. Attracted initially to the precision of cookie decorating, Samantha soon found that the limitless design opportunities turned it into her artistic passion. Samantha began regularly stocking the bakery case with decorated cookies and has since transitioned to running her own company, Aproned Artist, a cottage food operation. She enjoys the challenge and inspiration of creating designs that feel personal and unique to each customer. Samantha lives in San Jose, California, USA. To learn more about Samantha, please check out her Cookie Connection portfolio and her site.
Photo and cookie credits: Samantha Yacovetta
Note: Every Little Detail with Aproned Artist is a bimonthly Cookie Connection blog feature written by Samantha Yacovetta focused on the special little details that make big statements in cookie design. This article expresses the views of the author, and not necessarily those of this site, its owners, its administrators, or its employees. To read all of Samantha's past Every Little Detail tutorials, click here. And to see all of Cookie Connection's tutorials, click here.






Comments (11)