 A new movie is in theaters, which is getting lots of Oscar buzz: La La Land. Have you watched it? It's the story of a pianist and an aspiring actress who fall in love (and dance, sing, and dream) in Los Angeles, the city of stars.
I recently went to the cinema and, believe me, you should watch it! But be warned: bring a ton of tissues to wipe away your tears! I don’t remember ever crying quite this way since The Notebook. ![]()
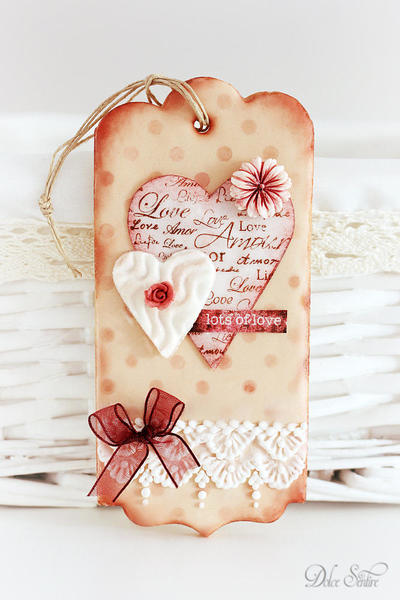
This tender story full of love and beautiful songs made me feel very sentimental, and since Valentine’s Day is coming, I decided to create a romantic cookie: a mixed media vintage-style cookie tag!
Would you like to know how to decorate it? Come on, let’s celebrate the joy of love together! ![]()
- Tag-shaped cookie with hole in top, flooded with pale ivory icing (I made my tag by first cutting with my "Margarita" plaque cookie cutter, and then trimming off the plaque sides. The hole can be cut with the end of a small round pastry tip.)
- Polka dot plastic stencil
- Small flat brush for dusting (I used the flat one from this Wilton set.)
- Large round brush
- Assorted rubber and/or silicone stamps with romantic messages
- Dauber (aka sponge brush)
- Wafer paper or other edible paper of your choice
- Heart cookie cutters (two sizes, large and small)
- Nontoxic pencil, for tracing heart (I used a Staedtler pencil, as always.)
- Scissors
- Small offset spatula
- White royal icing, medium-stiff consistency, for transfers and brush embroidery
- Acetate sheet (or parchment paper)
- Cake comb (I used one from a PME set.)
- Tiny royal icing roses and/or sugarpaste daisies
- Piping gel or corn syrup
- Piping bag and coupler
- Small piping tip (I used a PME #1 round tip.)
- Bow
- Fine hemp twine
Colors:
For stenciling and aging the cookie edges: I used colors from Petal Crafts' Dazzlers set of compressed edible dusts, namely Bronze and Primrose.
For inking the rubber stamp: I used AmeriColor Warm Chocolate gel.
Step 1: As always, start by flooding your cookie. I used pale ivory royal icing and an offset spatula to spread it, just to give the cookie a rustic background.
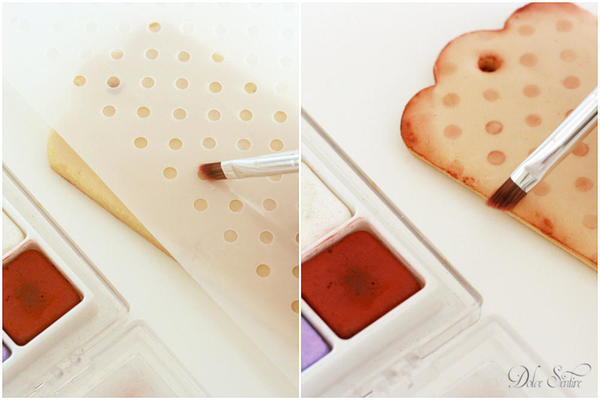
Let the icing dry completely (overnight or about 1 hour in a dehydrator). Set a polka dot stencil on top of the cookie. While holding the stencil securely in place, use a small flat (and dry) brush to dust the colors mentioned above over the stencil openings. Alternate between colors to create some color variation in the background. (Remember: we're going for a shabby chic look here!) "Age" the cookie edges by dusting them with the same colors.
Before continuing with your decorating, clean off any excess dust with a large round (and dry) brush.
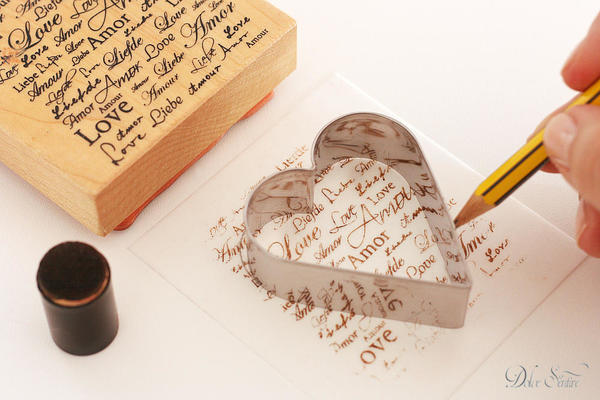
Step 2: "Ink" a stamp of your choice by sponging food coloring onto it with a dauber; then press the inked stamp straight down onto a piece of edible paper. I used a rubber stamp with the word "love" in many languages; I also used wafer paper rather than a frosting sheet, as I prefer the delicacy of the former.
Next, trace a heart onto the paper using a nontoxic pencil or edible marker and a heart-shaped cookie cutter as your tracing guide.
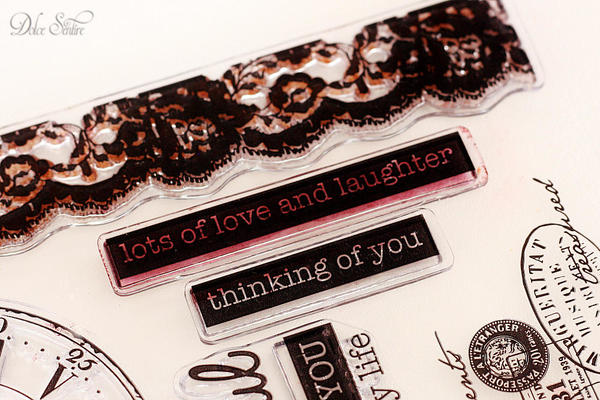
Repeat the same stamping process to make a little banner for the cookie. I used a silicone stamp with the words “lots of love and laughter”.
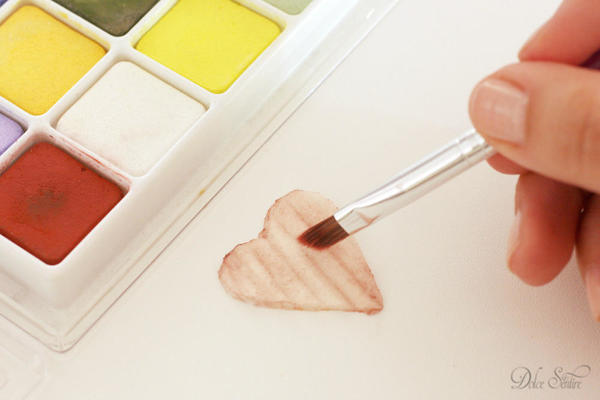
Step 3: Cut out the heart with scissors, and then, using your small flat (and dry) brush, once again age the edges by dusting them with bronze powder.
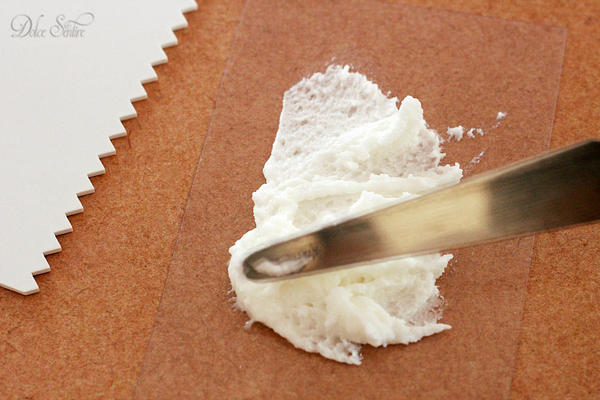
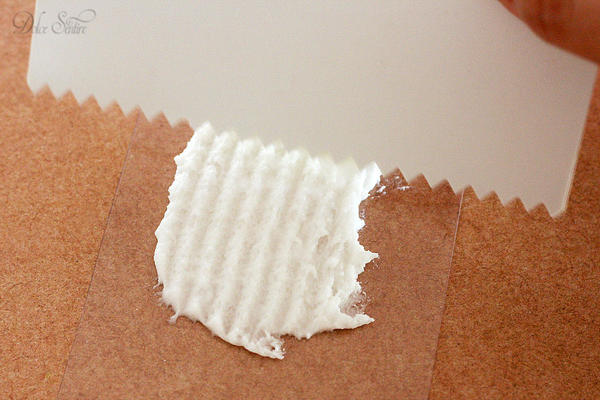
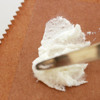
Step 4: Now, let’s start some textured royal icing heart transfers. The goal is to mimic corrugated cardboard, and to do that, I use the notched edge of a cake comb to add texture to the royal icing. But first, use a small offset spatula to spread medium-stiff white royal icing into a thin layer onto a piece of acetate (or parchment paper).
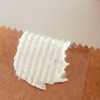
Step 5: Now, while the icing is still wet, simply run the cake comb over the spread icing. You can make straight lines or curvy patterns just by moving your hand in different ways - your choice!
Step 6: Again, while the icing is still wet, use a small heart cookie cutter to score all the way through the icing. Remove the cutter, and let the icing dry completely (about 8 hours at room temperature or 30 minutes in a dehydrator). Carefully peel the acetate away from the dry icing; the heart should separate easily from the rest of the icing.
As you can see, you can create corrugated heart transfers in different sizes and colors if you want.
Step 7: Age the heart using the bronze powder and the aging process described in earlier steps.
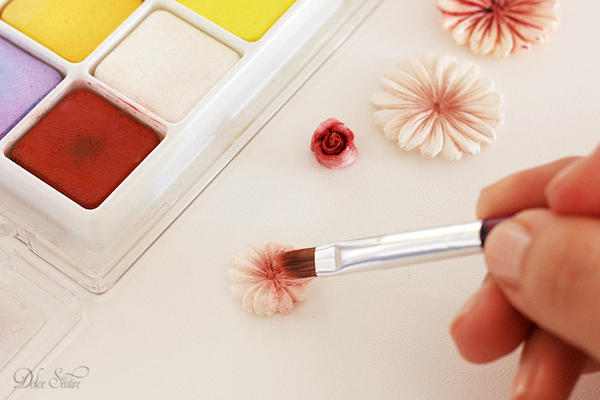
Step 8: Create some royal icing roses and/or sugarpaste daisies. (I simply used a silicone mould for the latter. As for making roses, check out this past Practice Bakes Perfect challenge post, which contains links to a few tutorials.) When the flowers are dry, age them too, again using a dry brush and the bronze powder.
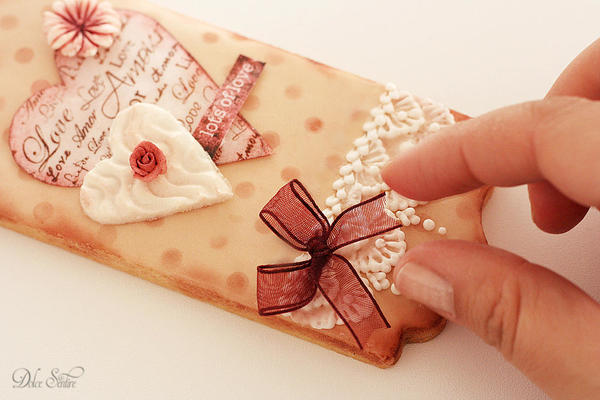
Step 9: Glue all of the elements onto the stenciled cookie, and let the "glue" dry completely. (For "glue", use royal icing for the flowers and piping gel for the wafer paper heart. Icing can show through the wafer paper, or be a bit lumpy if too thick.)
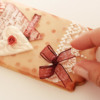
Finally, pipe brush embroidery lace along the bottom edge of the cookie, add some beadwork along the top edge of the embroidery, and attach a bow of your choice with thick royal icing. Oh, and don't forget to insert the fine hemp twine into the hole of the cookie. This cookie is supposed to be a tag, after all!
A really easy and romantic cookie, ready to be eaten or gifted to those you love most! ![]()
Share the love! See you soon! ![]()
Cookie and photo credits: Aixa Zunino

 Aixa Zunino is the soul of Dolce Sentire, a virtual corner of sweetness and creativity dedicated to cookie decorating. On her site, this garden engineer, self-taught decorator, and lover of flowers and animals lets her imagination fly, sharing everything she has learned since discovering the world of cookies in early 2012. She combines this activity with courses around Spain (her current home) where she teaches all the secrets to getting dreamy cookies. Meet her on Facebook or her website, and email her your cookie decorating questions or concerns at dolcesentiredolci@gmail.com.
Photo credit: Aixa Zunino
Note: Get Inspired with Dolce Sentire is a monthly Cookie Connection blog feature written by Aixa Zunino, where, through in-depth tutorials, she proves that if you can dream it, you can cookie it! This article expresses the views of the author, and not necessarily those of this site, its owners, its administrators, or its employees. To read all of Aixa's past Get Inspired tutorials, click here. And to see all of Cookie Connection's tutorials, click here.















Comments (24)