
This is my very first tutorial, and I am the worst photographer in the world, so please excuse the bad pictures. I hope you will still be able to follow.
I tried to find a tutorial for gumpaste lavender and could only find two in total.
One was incredibly beautiful, incredibly realistic, and incredibly time-consuming. Every single thingamabob that makes the blossom was individually formed and wired and then combined into a lavender sprig. This was a little more effort than I was prepared to take . . .
The second one was very quick and simple - just a sausage of gumpaste on a wire and cut with scissors to have a vague resemblance to lavender. I think it looked more like a duster.
So I had to come up with something myself. And as I am pretty content with the results, I thought I'd share them, bad pictures or not.
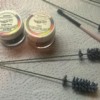
Here is what you will need:
- 22-gauge wire
- Wire cutters
- Floral tape
- Small nail (or other) scissors
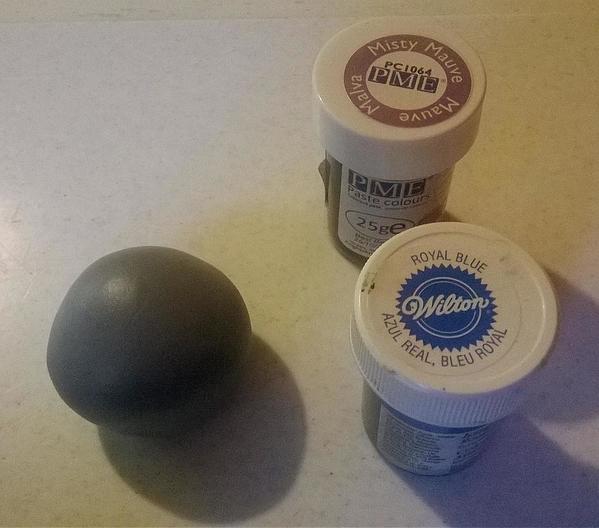
- Gumpaste in a lavender color you like*
- Edible glue and small brush
- Small rolling pin
- Celboard (a non-stick surface designed for rolling and cutting gumpaste)
- Small (1 cm/0.4 in) five-petal flower blossom cutter and small (1.4 cm/ 0.6 in) eight-petal daisy cutter (I used the flower cutter only at the very top of each sprig and the daisy cutter to fill out the rest.)
- Foam forming pad, or other soft, resilient surface for shaping the petals
- Bone tool or ball tool, whichever you prefer
- Veining tool or toothpick
- Some way to cover the cut pieces so they don't dry out while you work (I have a blue storage book/board with several sheets of foil in it, but cellophane will do.)
- Petal dust and small soft brush (optional)
*For the gumpaste, I used a mixture of PME Misty Mauve and Wilton Royal Blue:
Start by cutting the wire in half with the cutters, and completely wrap it with floral tape. I prefer to halve the floral tape also (that's what the nail scissors are for), as this makes a finer stem, but this step is optional.
Then make as many small balls as you have wires, add a tiny bit of edible glue to the top of the wire, and attach the ball. Like this:
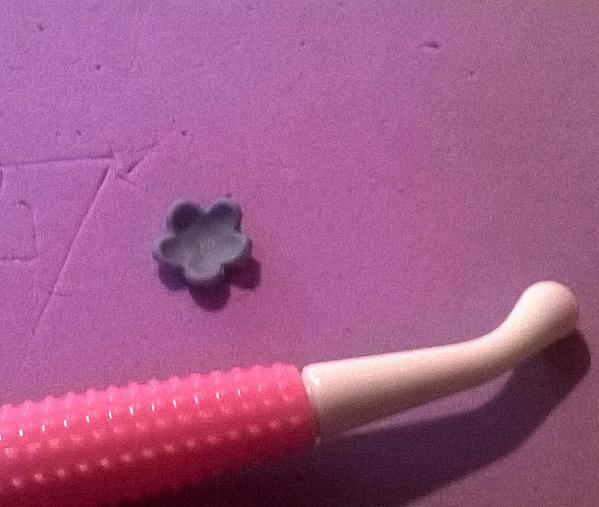
Now roll out the gumpaste on the celboard to a medium thickness (about 1 mm/0.04 in or less) and cut out the required amount of five-petal flower blossoms (one for the very top of each wire). BTW, I would strongly advise using a celboard. Though I know people who do flowers right on their counter, they need tons of Crisco and/or cornstarch to keep the gumpaste from sticking.
Once you are done with this step, the balls atop the wires should be dry enough to proceed. Take one flower and put it on the foam board. Use the bone tool to shape the petals. Push it from the outside to the center to make the petals turn up on the ends. But don't go over the edges; you don't want to thin them out. (It's important to use a soft, resilient surface for shaping the petals, or they won't turn up as I've shown; instead they'll more likely break, and you don't want that!)
Now apply a bit of edible glue to the center of the flower, insert the wire, and gently work the flower up the wire until you can stick it to the ball. If the hole gets too big, carefully push it tight with the veining tool or toothpick. Don't work too forcefully; you don't want to push the wire through the top of the ball!
The balled flowers will now need to dry at least 30 minutes. In the meantime, you can roll out the gumpaste, again to a medium thickness, and cut out a gazillion little eight-petal daisies. You will need at least seven per lavender stem. I used between seven and nine. (Keep the cut pieces covered as you work, either under cellophane or in a storage book, so they don't dry out.)
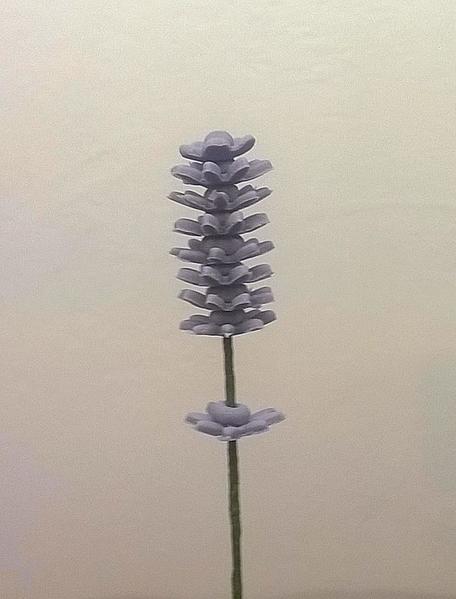
Make as many little balls as you mean to have daisies on your lavender stem; then place a little ball underneath the first flower, followed by a daisy, and so on and so forth. Always use some edible glue to make sure everything sticks together nicely.
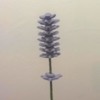
Finish with a daisy, then leave a little space and add another ball and another daisy. That's it, you have a lavender sprig!
Depending on humidity, the stems will need approximately 24 hours to completely dry, so be patient. Also, the stems need to dry standing up, not lying down, or the petals will be crushed. I use an upside down cardboard box for this, and push the wires through it, but a glass with a wide opening would also be fine.
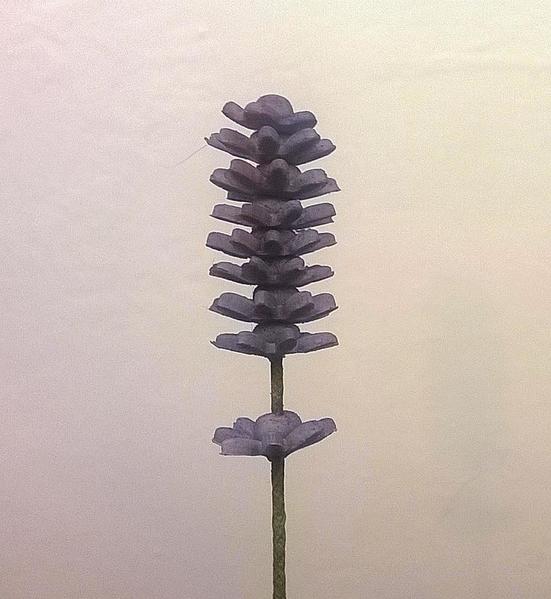
If you want a more realistic look, you can add some depth and shading with powder colors after drying. Use a soft brush for dusting, or you will break some petals. (Yes, this happened to me ![]() ). The little petals are very fragile.
). The little petals are very fragile.
Doesn't it look nicer this way? I think yes!
You will need to fix the powder colors with steam. I personally use an electric kettle or a steam iron for this, but I guess there are a lot of other ways too.
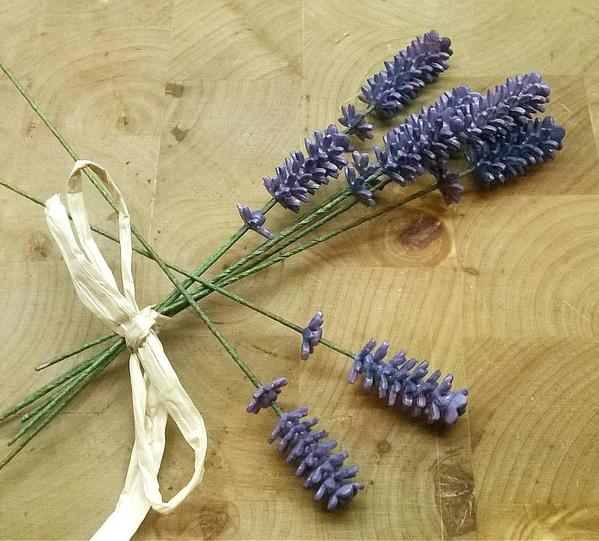
And ta-da! Some lovely, halfway realistic sprigs of lavender.
[EDITOR'S NOTE: Awesome tutorial, Laegwen! I love the look of your lavender, and your photos captured each step incredibly clearly. Thanks so much for taking the leap and posting to the Cookie Connection blog. Everyone else, remember: blog tutorials from members are always welcome, and this is an excellent model to follow! So well done!]
Flower and photo credits: Laegwen aka Leoni Eckart

Note: This article expresses the views of the author, and not necessarily those of this site, its owners, its administrators, or its employees. To read more Cookie Connection tutorials, click here.











Comments (20)