
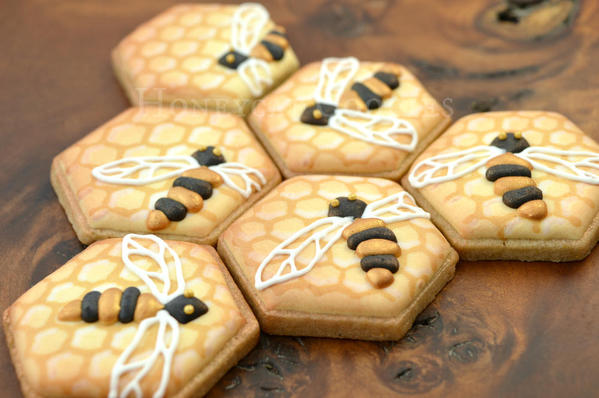
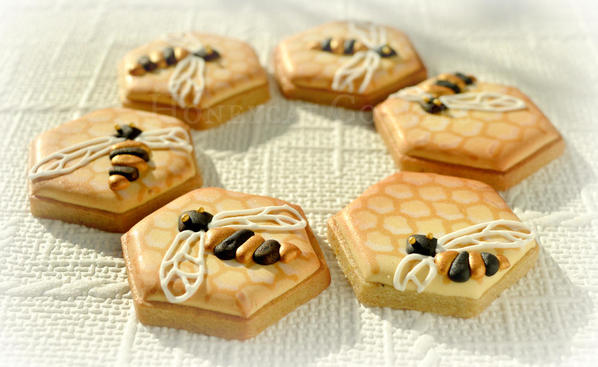
Little bees everywhere! Pipe them onto almost any cookie, and people will exclaim over them! (Probably to ask why you've piped a bee on top of Olaf's face, but still . . .)
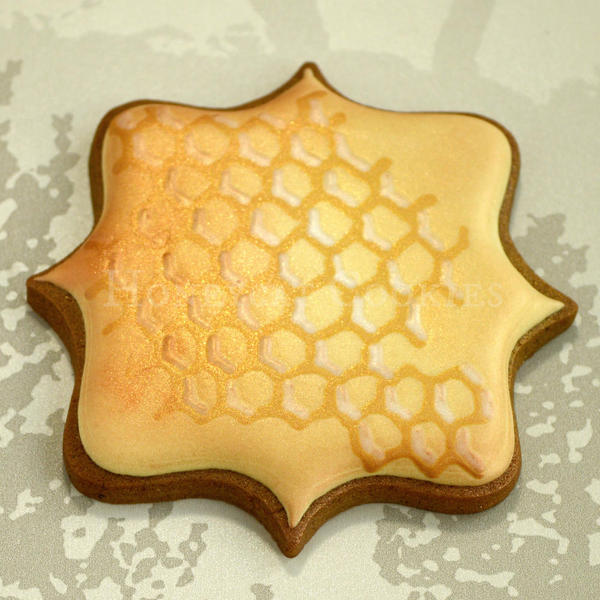
In my last tutorial (Part 1), I showed you how to pipe a wet-on-wet 3-D honeycomb pattern. In this part, I want to show you the stages and shapes needed to create honeybees wherever you want them.
Transfers . . . or not? You can pipe these bees either directly in place on the honeycomb, or if you prefer, as royal icing transfers to be dropped in place on wet flooded cookies, or even added afterwards with a dab of royal icing "glue".
If you do pipe them as transfers, just make sure to pipe the heads separately - the connection is too tiny for them to be lifted off as one - and then place the head and body in their final places on the cookie. You'll still need to pipe the wings directly in place, but little wobbles and imperfections look more natural there.
What you will need:
1. Completed honeycomb cookies onto which to pipe the bees (again, see Part 1). Or: parchment paper or acetate to pipe the bees as transfers.
2. Black and beige thick royal icing, consistency of soft toothpaste, capable of smoothing over with a scribe tool without leaving sharp peaks; with tips no. 1.5 or 2.
3. White royal icing, toothpaste consistency for piping wings; with tip no. 1 or 1.5 if you find the latter easier.
4. Small (1- to 2-mm) gold dragÉes or sugar pearls (aka nonpareils) for the eyes.
5. Tweezers to handle dragÉes.
6. Gold lustre dust and alcohol (i.e., vodka or alcohol-based extract) to dilute. Pearl lustre dust (optional).
7. Food-use-only paintbrushes; fine for painting gold, broader for painting pearl (optional).
Method:
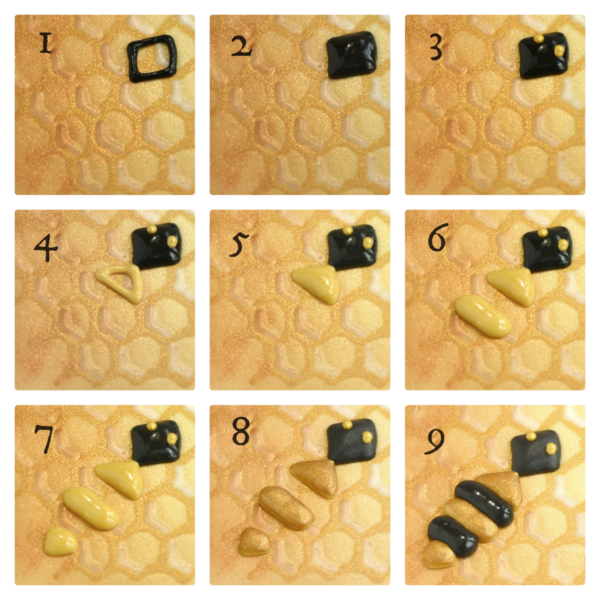
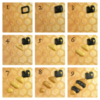
1. With a tip no. 1.5 or 2 and the black icing, pipe a diamond shape for the head of the bee, with one of the points for the "nose" directed toward where the bee will be facing.
2. Immediately fill in the diamond with black icing and smooth over by settling down the icing with a scribe tool.
3. Add two nonpareils for eyes - now you know where your bee is heading!
4. With the beige icing, pipe a triangle behind the bee's head, with the apex at the joint with the head.
5. Fill in the triangle and smooth it over.
6. Pipe a thick beige stripe behind the first triangle. You can make this stripe whatever width you like; this will determine whether you're creating a fat bumblebee or a hardworking honeybee!
7. Pipe a small triangle for the tail end of the bee. Now to prevent craters, pop your cookie in front of a fan or in a dehydrator until the stripes are thoroughly dry.
8. Mix a little gold lustre dust with alcohol, and paint the yellow stripes carefully.
9. Using the thick black icing, fill in the two missing stripes and pop the bee back in front of the fan or in the dehydrator to dry again.
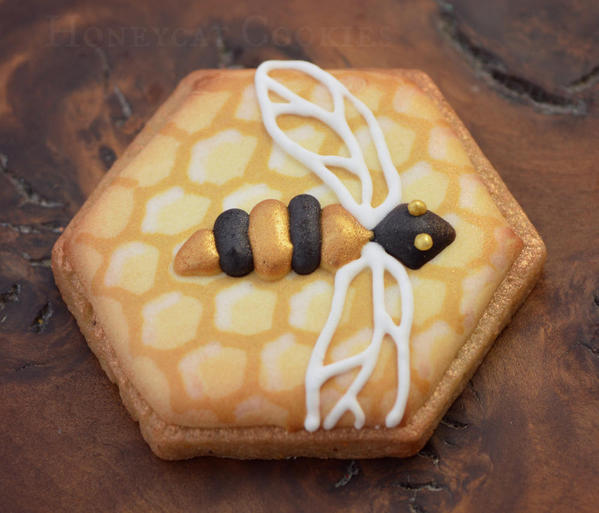
Once the black is dry, pipe two wings in white with roughly symmetrical veins. If you like, you can dust or paint white pearl lustre dust underneath to create the gossamer look of the wings.
And there you have it. Any size, any direction, wherever you need a bee!
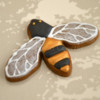
The same method works on actual bee-shaped cookies, if you have a cutter. Just adapt the head shape to the shape of the cookie. Now you can go and pipe bees on all of your cookies!
Cookie and photo credits: Lucy Samuels


Photo credit: Lucy Samuels
Note: What's New, Honeycat? is a bimonthly Cookie Connection blog feature written by Lucy Samuels, which pushes the cookie envelope every other month with innovative cookie design ideas and tutorials. Its content expresses the views of the author and not necessarily those of this site, its owners, its administrators, or its employees. To catch up on all of Lucy's past posts, click here.






Comments (6)