I've been asked to do cookies with this logo. I'm not sure how to do the circle around the writing in the different colors. What technique would work best for this?
Replies sorted oldest to newest
Pico projector
I'd airbrush the coloring, starting first on one side with blue and tapering off toward the middle-right; then doing the other side in green, starting relatively heavy with the green and tapering off in the middle-right (but intersecting the previous blue). If you use water-based colorings, there will be natural mixing of the colors in the middle area, leaving you with a blue-green color there. You could either have a circular stencil cut, or do the ring as a transfer. Also, you'd want to block off the purple area while doing the other area; then come back and hit that area with purple while masking off the green and blue areas.
Alternatively, you could paint it, but you may get less uniform blending that way.
Edible image?
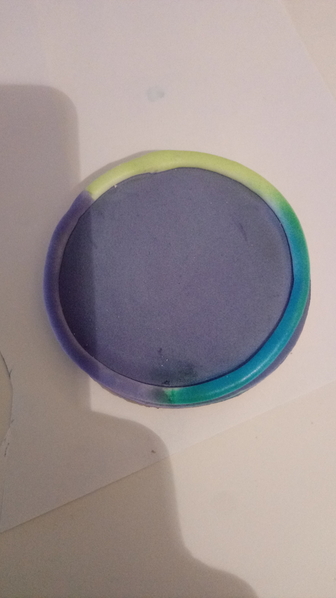
This is my attempt and I absolutely hate how this looks. The outline piping is so irregular. Even if I try a royal icing transfer instead it will still not be quite symmetrical.
Does anybody have any ideas?
Attachments
I think you're being hypercritical of your work - I'll just say that right off the bat! ![]() But, if you're worried about the small irregularities in the piping, then maybe you could cut out a ring of fondant or modeling chocolate and airbrush that instead? The airbrushing/coloring looks good at the green-purple juncture (very clean) and also as the green migrates into the blue. You seem to have had more trouble at the blue-purple juncture in keeping the line between the two colors straight and clean. But that could be remedied by just more carefully masking off that point when airbrushing those sections. I'd also apply the green a bit more heavily - it looks light relative to the image. You could also splice together cords of different colored fondant or modeling chocolate.
But, if you're worried about the small irregularities in the piping, then maybe you could cut out a ring of fondant or modeling chocolate and airbrush that instead? The airbrushing/coloring looks good at the green-purple juncture (very clean) and also as the green migrates into the blue. You seem to have had more trouble at the blue-purple juncture in keeping the line between the two colors straight and clean. But that could be remedied by just more carefully masking off that point when airbrushing those sections. I'd also apply the green a bit more heavily - it looks light relative to the image. You could also splice together cords of different colored fondant or modeling chocolate.
I agree about the hypercritical and I think you should let it go and look at the positive. If you only find fault because it’s not perfect you won’t enjoy decorating!


