
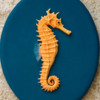
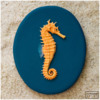
Over the last two months, the hills around our house have transitioned from a lively green to a sad brown to a lovely gold. Summer has definitely arrived. When my children were younger, this time of year we would always visit the Monterey Bay Aquarium. The aquarium never disappointed with breathtaking exhibits of ethereal jellyfish, patterned eels, giant sunfish, and so many other fascinating sea creatures. My daughter was particularly enthralled by the seahorse exhibit. She would watch them float majestically amongst the plants until my son couldn’t stand it any longer and would drag her along to the next exhibit. This seahorse cookie was inspired by those happy memories with my family.
Supplies:
- Seahorse Transfer Template (See “Files” in “Attachments” at the end of this post.)
- Parchment paper (or equivalent)
- Royal icing (I used AmeriColor gel paste coloring to tint the icing.):
- Thick flooding-consistency orange (2 parts Lemon Yellow/1 part Orange)
- Stiff-consistency orange (2 parts Lemon Yellow/1 part Orange)
- Tips: PME #3, 2 (or equivalents)
- Medium flat angled paint brush
- AmeriColor (or equivalent) gel paste colorings for painting: Copper, Super Black, Bright White
- Tiny liner paint brush
- Edible glue or corn syrup
- Small piece of rice paper
- Kitchen shears
- Untextured silicone or parchment paper (I used the flat bottom of a rectangular silicone mold.)
- Small cookie (or equivalent) for propping
- 5-in (12.7-cm) oval cookie, flooded with blue icing (2 parts Navy/1 part Peacock)
Step 1: Pipe seahorse royal icing transfer
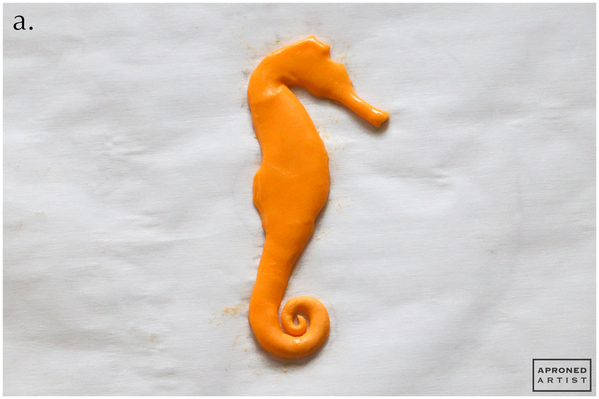
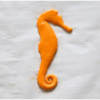
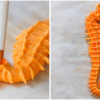
a. Print out the Seahorse Transfer Template (located in “Files” in “Attachments” at the end of this post), and cover it with a piece of parchment paper (or equivalent). Using thick flooding-consistency orange royal icing and a PME #3 tip (or equivalent), fill the outline of the seahorse with icing. Don’t worry about trying to make the icing perfectly smooth as we will be texturing the seahorse in a later step, however, do your best to maintain the depth of the icing so that the seahorse doesn’t appear too flat. Allow the icing to dry completely (I let mine dry overnight).
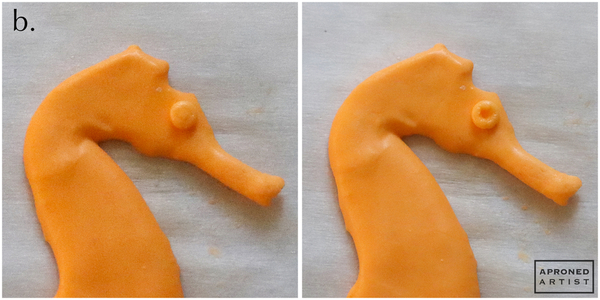
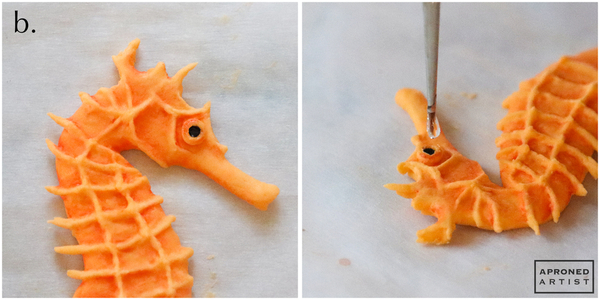
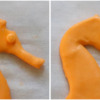
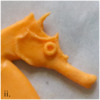
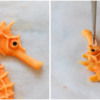
b. Using stiff-consistency orange royal icing and a PME #3 tip (or equivalent), pipe a bead of icing for the eye. Use the flat side of a damp flat angled paint brush to flatten the icing slightly. Use the pointed end of the paint brush to indent a small circle within the center of the eye.
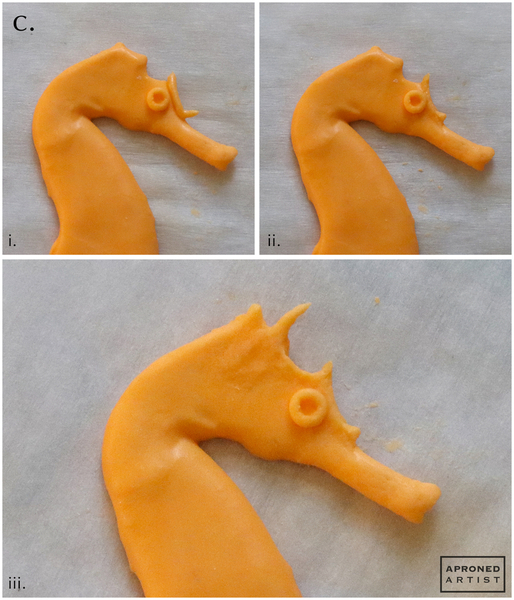
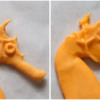
c. Using the same icing and a PME #2 tip (or equivalent), pipe a line along the bridge of the nose (i). Use a damp flat angled paint brush to blend the edge of the line into the head. Shape the ends of the line to create small spikes on either end of the nose ridge (ii). Repeat this process, adding more lines and blending them into the dried icing to create more spikes along the top of the head (iii).
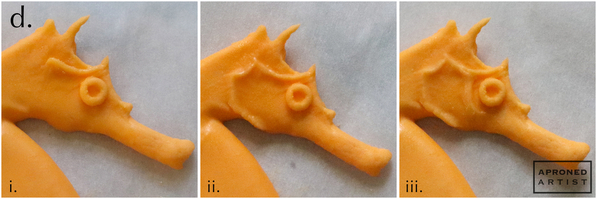
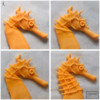
d. To add dimension to the face, pipe a short arcing line for the brow ridge. Use the damp paint brush to blend the edges of the line into the head (i). Repeat, piping and blending a ridge around the cheek (ii). Pipe and blend another ridge that circles around the backside of the eye (iii).
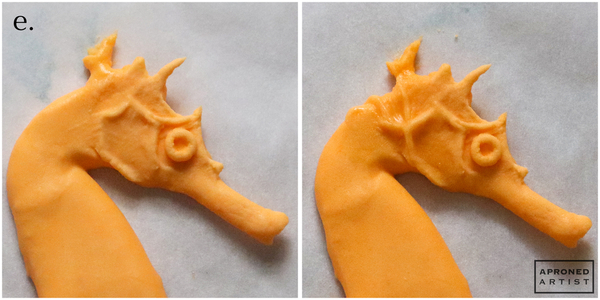
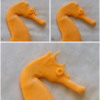
e. Add a larger spike at the top of the head, and more ridges running from the back of the cheek toward the back of the head. Individual seahorses vary wildly, so add spikes and ridges where they look right to you.
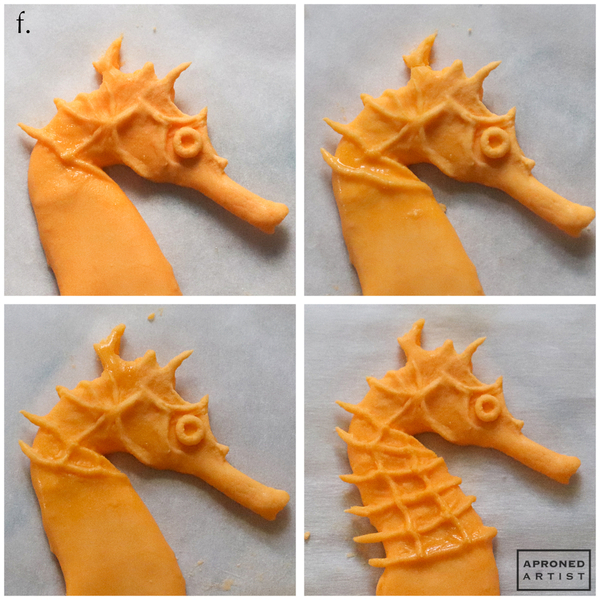
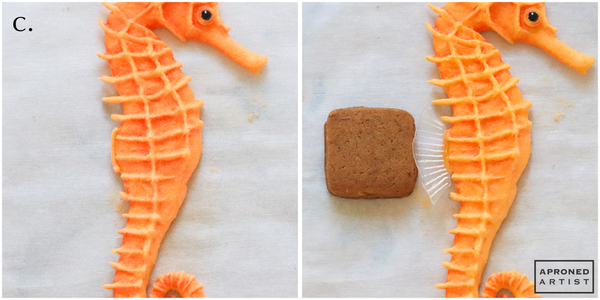
f. As you move down the neck, create ridges that form an organic grid. Each horizontal ridge should extend slightly beyond the neck into a small spike. Continue creating ridges and spikes until you reach the spine where the fin will attach. (To help gauge this point, see the fourth photo directly below or my template.)
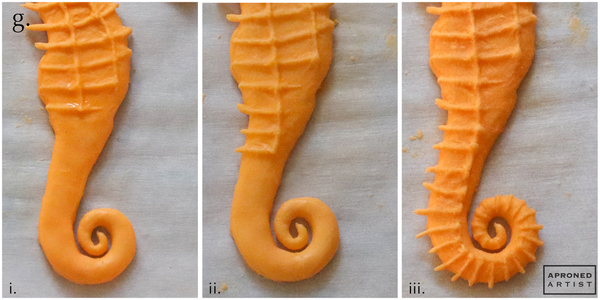
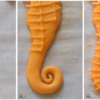
g. Continue to add the grid ridges in the section adjacent to the spine, but leave off the spikes to allow room to attach the fin. As you reach the belly, do not extend the grid all the way across (i). Begin to add spikes again when you pass the area where the fin will be attached (ii). When you come to the curled section of the tail, just add the horizontal ridges and spikes, but no vertical ridges (iii). Allow the icing to dry completely before carefully peeling the parchment paper away from the transfer.
Step 2: Paint seahorse royal icing transfer
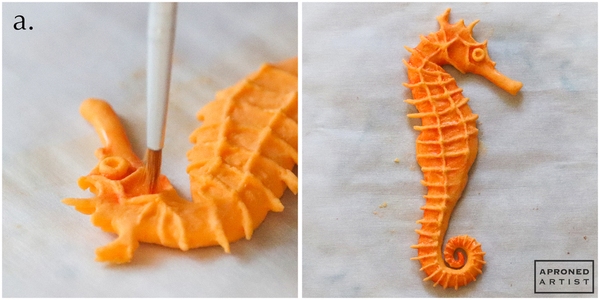
a. Using a flat angled paint brush, paint the recessed crevices of the grid with diluted Copper gel paste coloring (or equivalent). I typically dilute with a touch of water so that the coloring becomes translucent. But be careful not to use too much water, as you don't want the paint to dissolve the royal icing.
b. Use undiluted black gel paste coloring and a tiny liner paint brush to paint the center indentation of the eye. Allow the paint to dry. Clean the paint brush, and use it to transfer a drop of edible glue or corn syrup to fill the center indentation. This addition will lend both depth and glossiness to the eye.
Step 3: Create seahorse fin, and assemble final cookie
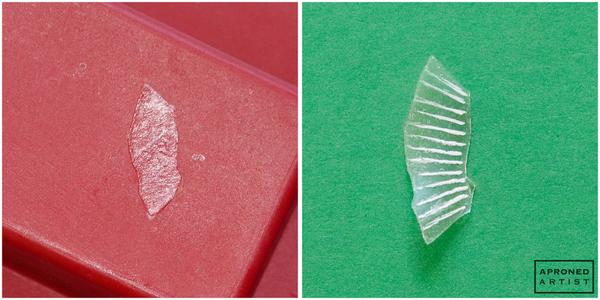
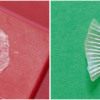
a. Dip a small piece of rice paper into a shallow bowl of cold water. Allow it to sit in the water for about 10 seconds or until it softens just enough to cut it without risk of it cracking. Use kitchen shears to cut a curved trapezoid that is roughly 3/4 x 1/4 inch (1.9 x 0.6 centimeters). Lay the cut rice paper on top of untextured silicone or parchment paper. Allow the rice paper to dry completely. It may curl slightly as it dries, however, curling just gives the appearance of a fin in motion.
b. Use a tiny liner paint brush and undiluted white gel paste coloring to paint thin lines extending from the inside of the fin to the outside of the fin.
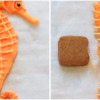
c. Using stiff-consistency orange royal icing and a PME #2 tip (or equivalent), pipe a line along the spine of the seahorse transfer where the fin will attach. Place the right edge of the rice paper fin on top of the wet icing, propping its left edge on top of a small cookie (or equivalent). Allow the icing to dry completely.
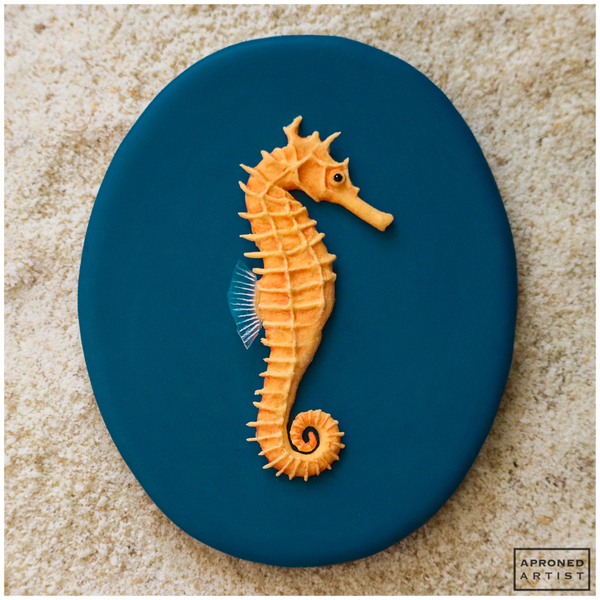
d. Finally, use a few dabs of icing to attach the seahorse transfer to the flooded (and dry) oval cookie.
Finished - a charming little seahorse that would fit right in at the aquarium!


Samantha Yacovetta began cookie decorating in 2013. While working at a local bakery, Samantha became captivated by cookie art when a customer requested princess-themed cookies. Attracted initially to the precision of cookie decorating, Samantha soon found that the limitless design opportunities turned it into her artistic passion. Samantha began regularly stocking the bakery case with decorated cookies and for several years sold cookies through her own company, Aproned Artist, a cottage food operation. Having retired from the business life, Samantha now enjoys making cookies just for fun from her home in San Jose, California, USA. To learn more about Samantha, please check out her Cookie Connection portfolio, her Facebook page, and her past Every Little Detail tutorials here.
Photo and cookie credits: Samantha Yacovetta
Note: Every Little Detail with Aproned Artist is a monthly Cookie Connection blog feature written by Samantha Yacovetta focused on the special little details that make big statements in cookie design. This article expresses the views of the author, and not necessarily those of this site, its owners, its administrators, or its employees. To read all of Samantha's past Every Little Detail tutorials, click here. And to see all of Cookie Connection's tutorials, click here.

Comments (17)