I don't know about you, but I've been fantasizing about all the places I'd rather be than cooped up in my house under quarantine! What I would give for a return cookie class in the Dominican Republic, where I was hosted by the marvelous Casa Consuelo in late 2018. Here's a dreamy reminder of my last day there (sigh) . . .
But I'm not one to wallow in self pity - not for more than a few hours, that is! ![]() . Since there's zero chance of me actually visiting a tropical paradise any time soon, I decided to bring one to me instead. All it took was a little stencil designing, testing, and re-testing, and - voilà - this month's Slice of Paradise sets were born!
. Since there's zero chance of me actually visiting a tropical paradise any time soon, I decided to bring one to me instead. All it took was a little stencil designing, testing, and re-testing, and - voilà - this month's Slice of Paradise sets were born!
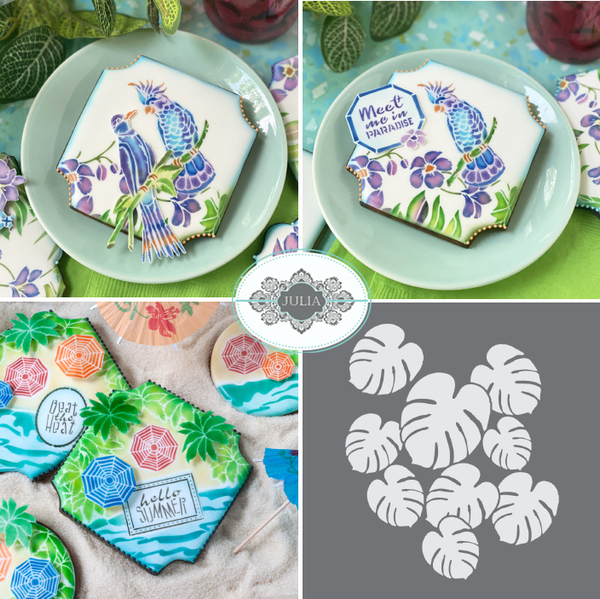
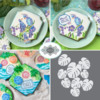
Here's what this month's stencil release includes:
And here's where you can find all of these stencils on my partner Confection Couture Stencils' site:
- Slice of Paradise Dynamic Duos™ Background Set (upper left),
- Slice of Paradise Dynamic Duos™ Message and Frame Set (combined with the Duos™ background set; upper right),
- My partner Confection Couture Stencils' Philodendron (aka Monstera Leaf) Stencil (lower right), and a shout-out to a fave past set with a similar tropical theme . . .
- Day at the Beach Dynamic Duos™ Set.
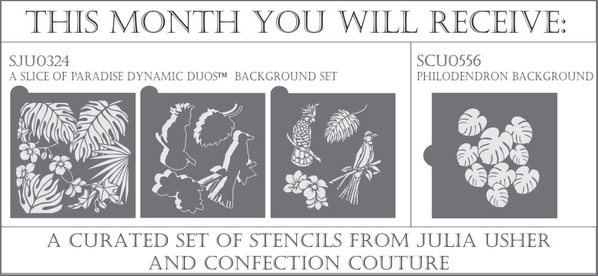
By now, you probably know about my Stencil of the Month Club, but, if not, a quick reminder . . . If you join the club, each month you'll automatically receive a specially curated set of stencils that always includes the month's Duos™ background set and a single stencil designed by my partner. For instance, this month, club members will get . . .
Not only that, but you'll get this bundle at a HUGE discount. Normally, it would cost about $22.99, but club members get it for only $14.99! PLUS, they also get 15% off anything else on the Confection Couture site as long as they stay members! Too good to be true?! No, it's the real deal! Just click here to see the deets and to sign up!
As always, in this post, I'll explore the two Duos™ sets in great detail, and give you several examples of how to mix and match their elements to create new designs. But, this month, I'm also throwing in a little curveball (pun intended, as you'll soon read)! You've probably noticed that I've been messing around for a while with fondant appliqués as a way of adding dimension to cookies . . . well, this month, we'll be taking them to a new level by giving them some shapely curves. ![]() Be on the lookout for my mini contoured appliqué tutorial below!
Be on the lookout for my mini contoured appliqué tutorial below!
But, first, let's see what's in this month's background set . . .
Slice of Paradise Dynamic DuosTM Background Set (7 pieces)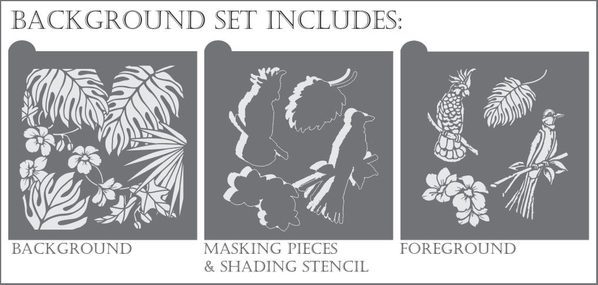
Oooh, I can almost feel the Bora Bora sand under my toes and the sun beating down on my swimsuit-clad bod as exotic tropical birds warble overhead! ![]() Okay, I may be a little delusional, but just look at the many fun designs that can be created with only these seven pieces! First up, you can do simple floral designs using just the background stencil in the set and the leaf and floral elements in the foreground stencil:
Okay, I may be a little delusional, but just look at the many fun designs that can be created with only these seven pieces! First up, you can do simple floral designs using just the background stencil in the set and the leaf and floral elements in the foreground stencil:
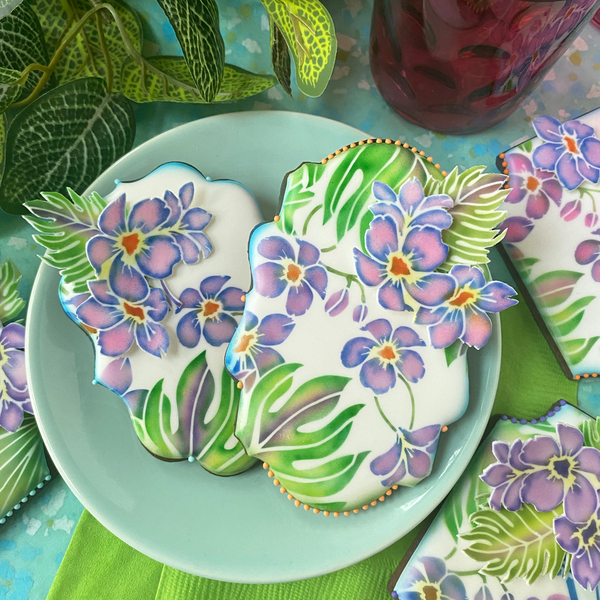
In case this detail escaped you, the flowers and leaves at the top of each cookie are those contoured fondant appliqués that I spoke of earlier. To make them, and any of the others in this post, just follow the instructions at the end of this section*! Also to note: I've nested one curvaceous appliqué within another for added height!
As for the color palette, I wanted a bold, vibrant look like you'd see on a sunny tropical isle, and so I decided to use a wide range of airbrush colorings, including many "electric" hues, pretty much straight out of the container without any softening with white. Above, you see seven AmeriMist colorings in use: Electric Purple and a custom blue (one part Royal Blue to one part Violet) on the flower petals; Orange in the flower centers; and Violet, Electric Purple, Electric Green, Leaf Green, and Avocado in the leaves. Spectrum Flow Sky Blue was also used around the cookie edge, bringing the total number of airbrush colorings to eight! The touch of yellow is dusted compressed petal dust, applied for added oomph after everything was airbrushed! (Of course, you can always simplify matters by using fewer colorings.)
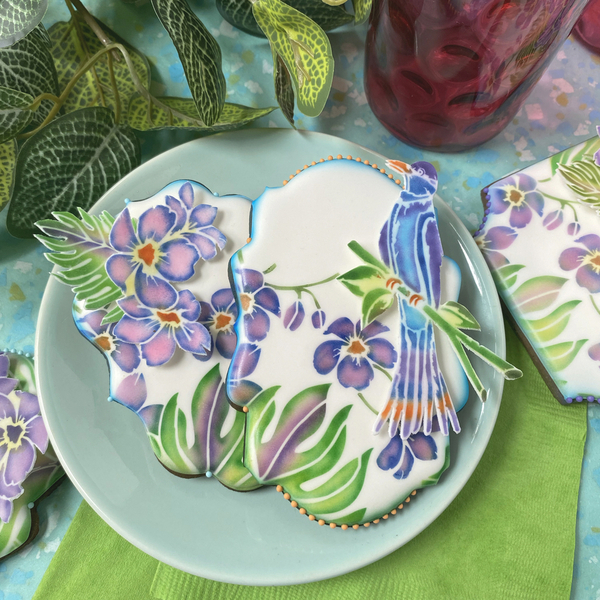
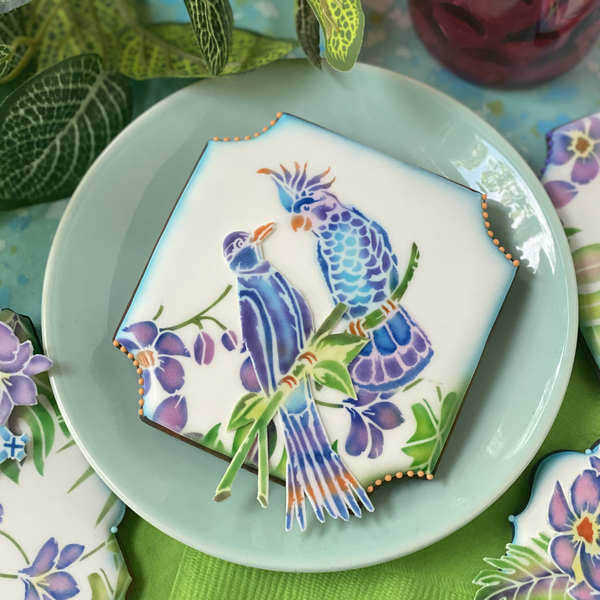
For a sparer look that really allows the bird elements to pop, I masked off about half of the background stencil to leave a void, and filled that area with various permutations of the feathered friends in the foreground stencil:
Above is the lankier of the two birds done as a flat (non-contoured) fondant appliqué. Here, the same colorings were used with Spectrum Flow Sky Blue also airbrushed in the center of the bird's body.
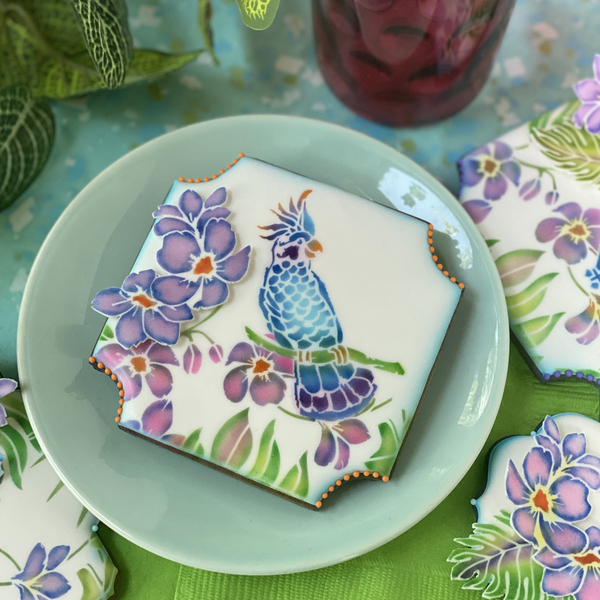
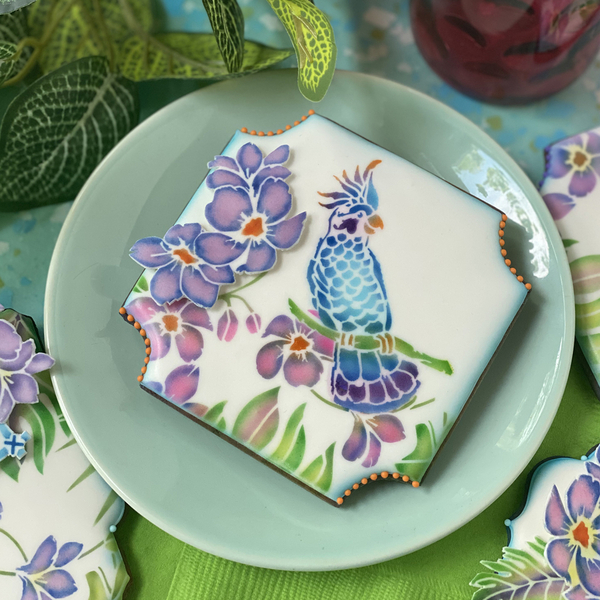
And, another variation with the squatter bird airbrushed directly on the cookie . . .
Here's a slightly closer look so you can better appreciate the dimension of the floral appliqué in the upper left . . .
And, finally, the birds looks super sweet when warbling face to face . . .
Before I forget and move onto the next section, here's that mini how-to I promised . . .
*Mini contoured appliqué tutorial *
(1) Roll out white fondant to about a 1/16-inch (1.5-mm) thickness. I roll using my Atlas pasta machine set on the #4 level, but a fondant rolling pin will, of course, work too. Cut the strip of fondant into manageable lengths, and cover the pieces with plastic until ready to stencil.
(2) Work on one fondant piece at a time. Lay the desired stencil element on a fondant piece, and airbrush over the stencil in the desired colors. Remove the stencil, and then carefully trim around the stenciled area with the tip of a sharp, thin-bladed paring knife.
(3) While the fondant is still pliable, shape it by laying it over or within almost any object. I shaped all of the pieces in this post by laying them inside a paper towel tube that was cut in half. To prevent sticking, lightly dust the tube with powdered sugar before setting the fondant on top.
(4) Let the fondant pieces dry until rigid before placing them on cookies. Drying time is a function of fondant brand and ambient conditions. I use Satin Ice for appliqués, as it dries relatively quickly. It sets partially in 30 minutes to 1 hour, and fully overnight. I generally dry overnight to ensure easiest handling.
***
Now, when the complementary message and frame set (below) is added to the mix, the design possibilities increase enormously!
Slice of Paradise Dynamic DuosTM Background Set (6 pieces)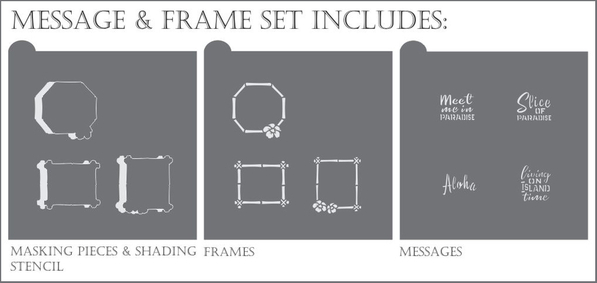
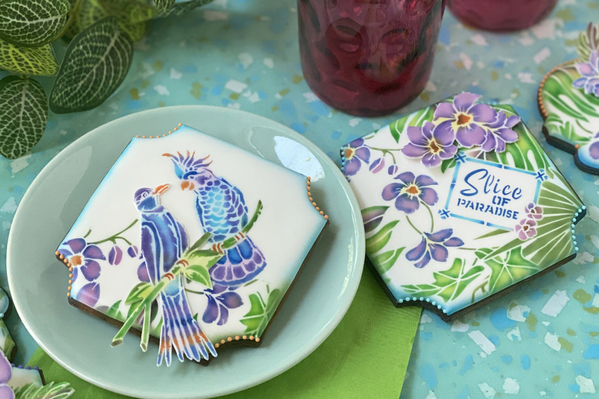
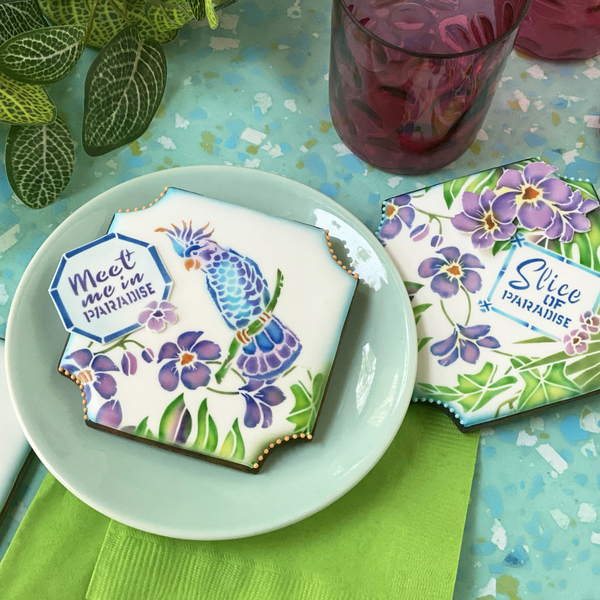
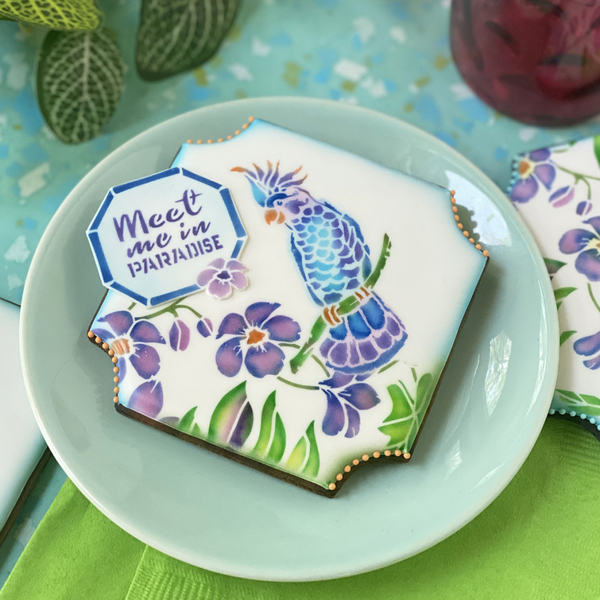
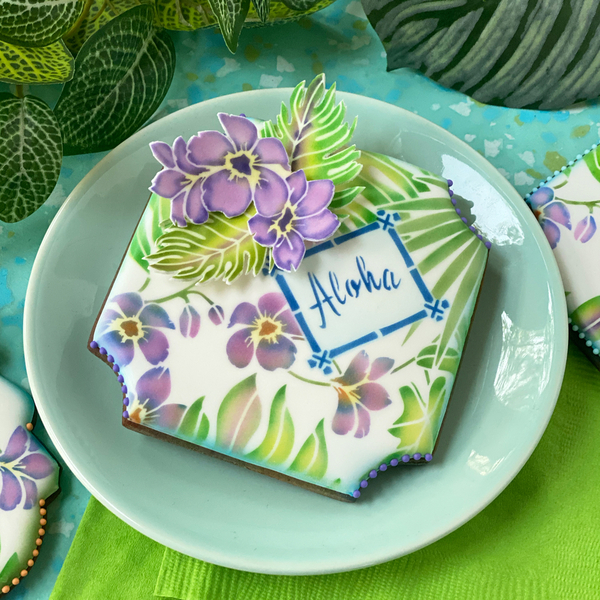
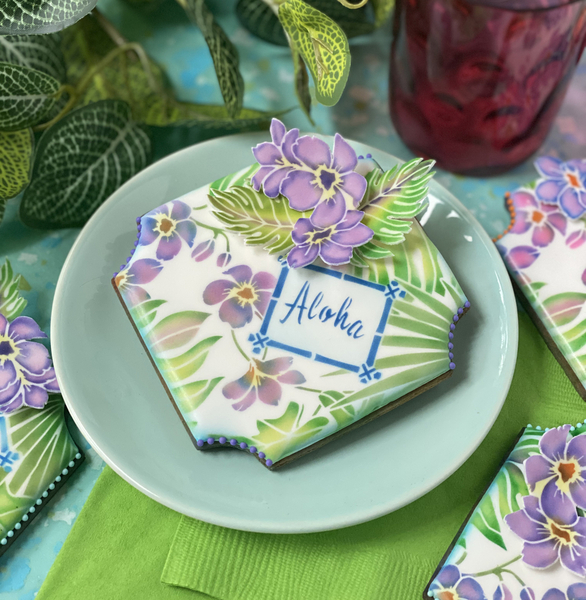
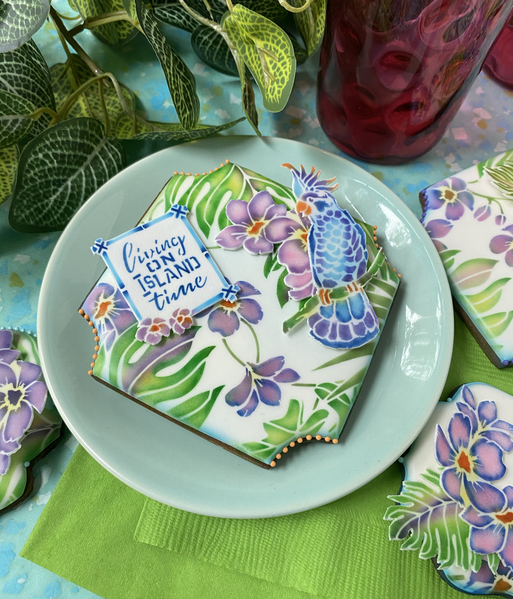
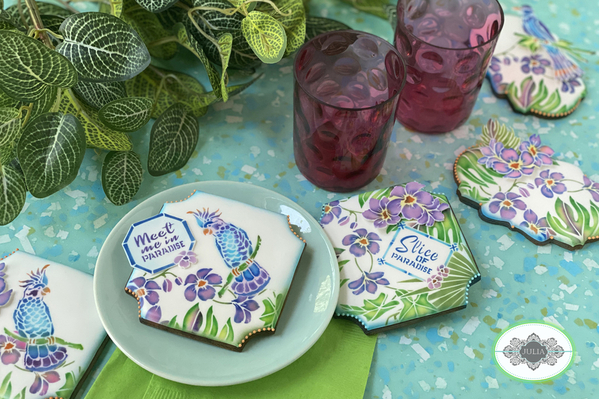
Below, our warblers are joined by a cookie with the set's namesake message and frame airbrushed directly on it . . .
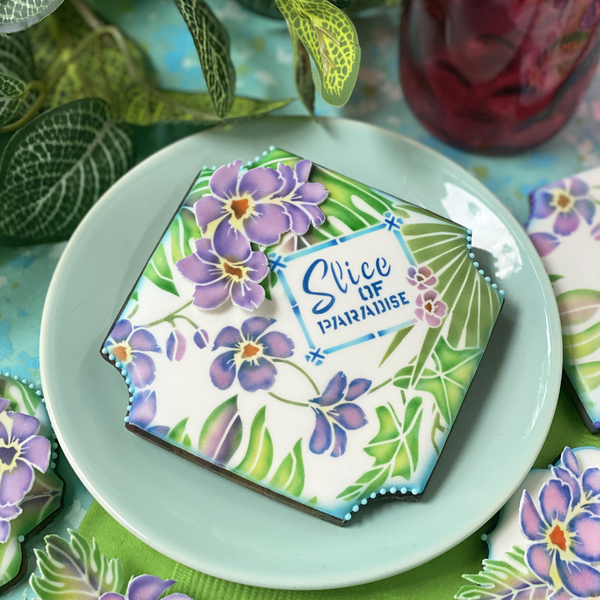
And zoomed in . . .
Notice how even tiny spots in frames (like the dark blue criss-cross bamboo ties and flowers in the lower right corner) can be airbrushed without substantial overspray. Precision-spraying is really just a matter of operating super close to the cookie (about 1 inch or 2.5 centimeters away) with very minimal coloring flow (pullback of the trigger). I have many videos on my YouTube channel that show this technique in great detail, so please check them out if interested.
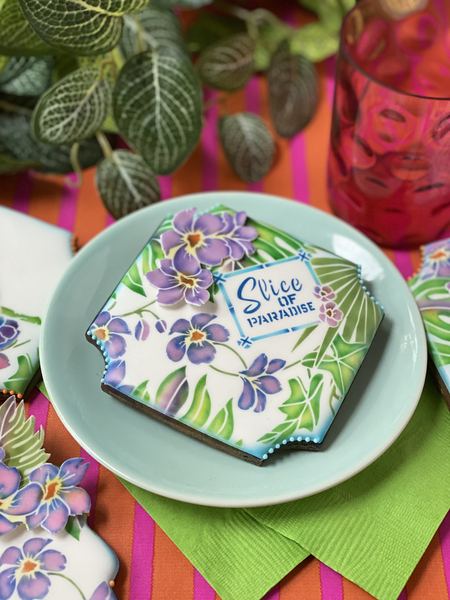
Notice, too, how the simple changing of a photo backdrop can have a huge impact on the look of your cookies . . .
But, I digress. I think I prefer the softer blue effect, so let's stick with that! ![]()
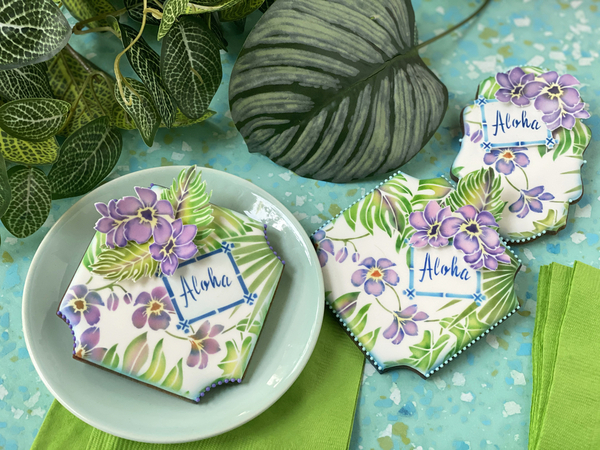
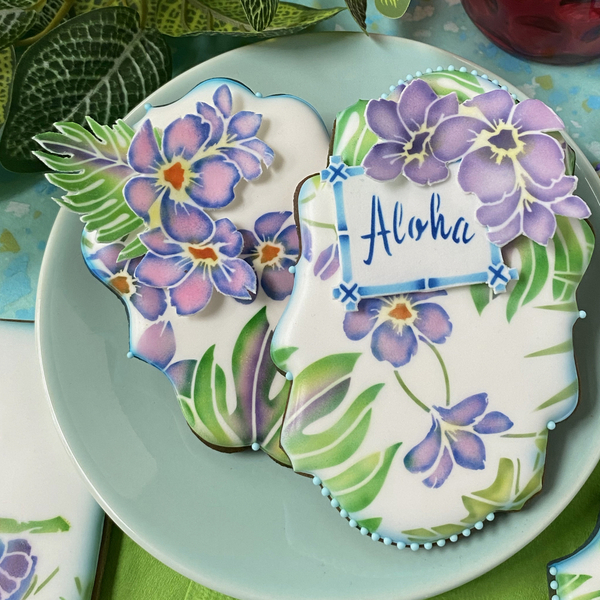
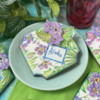
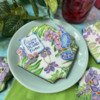
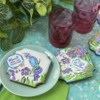
Of course, messages and frames can also be made into fondant appliqués, as demonstrated on the cookie to the left . . .
Here's a closer look . . .
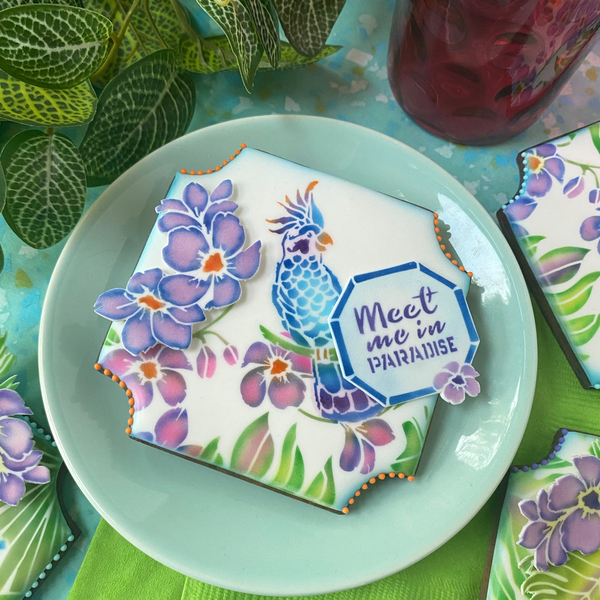
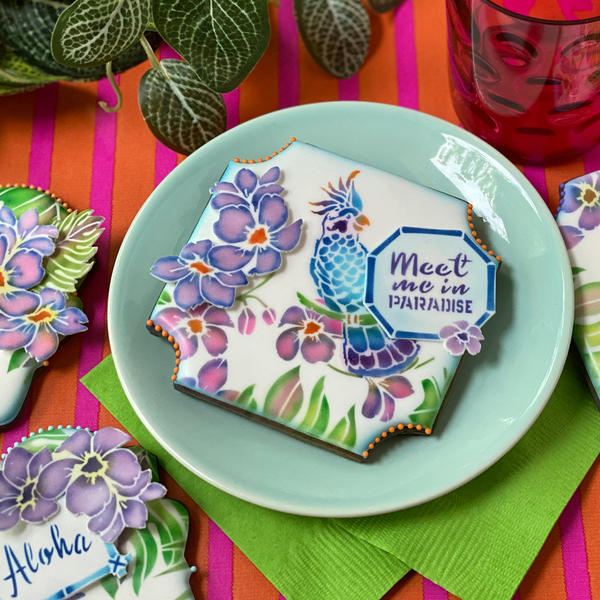
And, now, a similar variation with a contoured floral appliqué and a "Meet Me in Paradise" message on the other side . . .
Sorry, I just can't shake that jazzy striped photo backdrop you saw earlier . . . I'm astonished by the impact of swapping out a single piece of paper!
Like night and day, right?!
The following message cookie set is a reminder that these stencils can work on all sizes of cookies, either directly on them or as appliqués.
Yes, you can use all elements of both Duos™ sets even on a relatively small cookie. Both cookies below are a mere 2 x 3 inches (5.1 x 7.6 centimeters), and the right one uses the background stencil, a foreground element, and a message and frame!
But, good things needn't be confined to small packages. ![]() (At least not in my more-is-more book!) Plus, a bigger cookie "canvas" is helpful if you want to double up or triple up on contoured appliqués . . .
(At least not in my more-is-more book!) Plus, a bigger cookie "canvas" is helpful if you want to double up or triple up on contoured appliqués . . .
The photo below gives a better picture of how layered appliqués (three, in this case) add movement and interest. The tips of the petals and leaves "dance" above the cookie surface by about 1 inch (2.5 centimeters).
Last but not least, you can use the entire background stencil, multiple foreground elements, and a message and frame, and strike a completely wild and exotic look . . .
Personally, though, I think a mix of full versus partial coverage, and flat versus dimensional effects, leads to the most interesting sets . . .
And so I conclude my review of this month's release. I hope these stencils transport you in spirit and mind to a magical paradise where respite from our crazy world can be enjoyed! Aloha 'til next time!
P.S. In a few weeks, I'll be posting a YouTube video showing the use of these sets. Stay tuned!
- To purchase my Dynamic Duos™ sets, click here.
- To join my Stencil of the Month Club, click here.
- To see my entire stencil line, including my Prettier Plaques™ sets, click here.
- To view my videos that show how to create layered looks with my stencil sets, click here.
If you have any technical questions about these stencils, just email me at sweetlife@juliausher.com or leave a comment below. Please, however, direct all ordering and Club questions to my stencil partner, Confection Couture Stencils, at service@confectioncouturestencils.com. Thank you!
*** ADDENDUM - AUGUST 29, 2020 - RELATED VIDEO ***



Comments (6)