[EDITOR'S NOTE: I'm thrilled to announce the addition of another top-flight decorator to our team of contributors - the fabulously talented Lucy Samuels of UK-based Honeycat Cookies.
Every other month, Lucy will be pushing your (and possibly her!) creative boundaries with an innovative cookie design and technique tutorial. For her debut post below, she explores an interesting twist on the wet-on-wet technique, which, as you'll soon see, is a great way to get some relief (so to speak) from your usual wet-on-wet routine ![]() !
!
With each of Lucy's tutorials, I encourage you to stretch your skills by trying out her techniques and posting your results here. We'd love to see! ~JMU]

Well, I’ve been racking my brains to work out how best to start this new column for Cookie Connection, and you know what? If I was meeting you all in person for the first time (how much fun would that be?), I reckon we’d all start with a nice cup of coffee and get right into the cookie chat. So coffee it is!

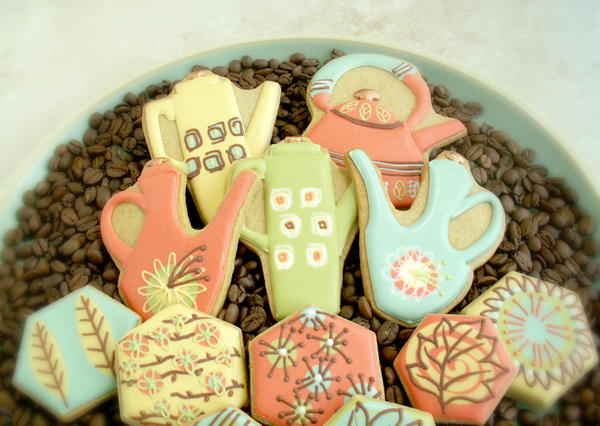
We’ll need quite a few coffee pots (and a kettle) to go round, of course, and if there’s one thing I love, it’s coffee pots. I have a small collection of 60s/70s coffee pots and other pottery, and I love the easy style and colours of some of the ceramic designs from those eras.
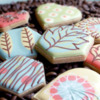
So what I want to show you today is how to create versatile cookie designs to reflect that retro style, using a kind of "wet-on-wet" technique that’s actually "stiff-on-wet" to create an embossed effect.
First, a quick word about the pot cookies: I took my inspiration from a set of fridge magnets that I bought because they reflected this easy, retro style. I simply photographed the magnets, enlarged the picture, printed it out, cut out the shapes, and used the cutouts as templates for hand-cutting the cookies. (There are many other ways of doing this, and I hope to touch on some of them in future posts.) And of course, none of this has to be done on coffee pots – try tea sets, geometric shapes as platter fillers, Valentine’s hearts, flowers for Mother’s Day . . .
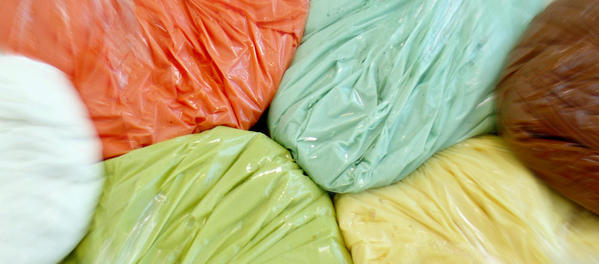
For these designs you will need royal icing in a range of colours in both stiff piping consistency (like toothpaste, as you might use for lettering) and 10-second flood (when you ruffle the icing in the bowl, it takes 10 seconds to settle back to flat again). I used PME 1.5 tips for piping all the stiff icing.
I wanted these to be bright and cheerful, but to give them a retro feel, each of the colours has been toned down with a very little warm brown colouring.
My general approach to icing colours is to go by eye and a sense of the way the set fits together. I often start with what I already have from previous projects, especially if I don’t have to match a pre-existing design. I change them up a bit, and create a few new colours, but I often link them all by mixing a bit of the existing colours into the new ones. Sometimes I go back and forth between colours until the "feel" is right. This is, needless to say, a time-consuming process, but it’s one I get great pleasure from.
There are some excellent resources regarding colour theory and its application to cookies. LilaLoa discusses colour in icing in her blog series Let’s Talk about HUE and Rebekah Shaw of Love at First Bite has started an entire blog about the subject called Cookies and Color.
Design One
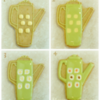
1. Pipe a border on your cookie using the stiff icing of the main colour you have chosen. Taking a contrasting flood colour, pipe a series of rough squares across the cookie, in rows, not worrying too much about exact shape or positioning.
2. Taking the main cookie colour in flood icing, flood the cookie around the squares (leaving smaller areas like the lid and spout for later).
3. Now with a contrasting stiff icing colour, pipe very rough shapes around each of the underlying wet squares, ensuring lack of neatness and symmetry! You can see that the icing doesn’t fully settle into the base.
4. Finally, in a different stiff piping colour, add small shapes to the centre of each square, followed by flooding the remaining areas of the cookie.
Tip: Immediately place the cookie in front of a fan, or in a dehydrator on low temperature, to reduce cratering of the small flooded areas, and bleeding of the patterns.
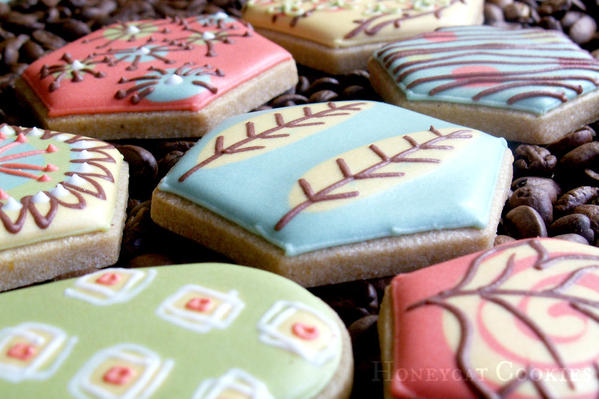
The stiff piping icing will partially sink into the wet flood, but remain slightly raised, leaving a texture to the pattern, similar to that of roughly glazed pottery.
Design Two
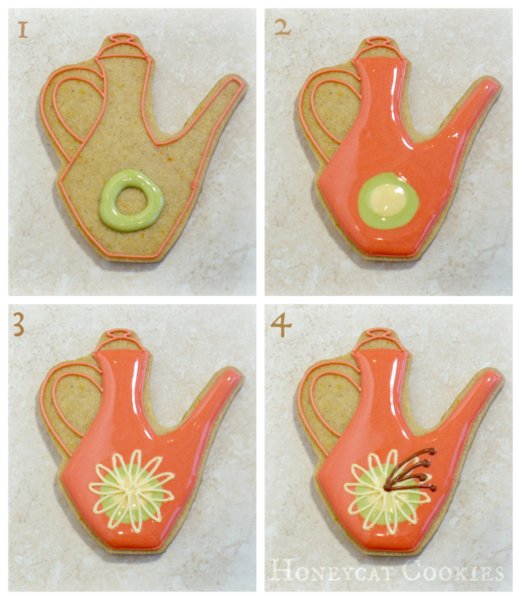
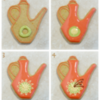
This example follows the same steps as above, but creates a single large flower in the centre:
With a little imagination, the design possibilities are endless, speedy, and easily achievable, since the point is to be carefree, rather than careful!
Remember to start with a wet-on (or around) -wet shape, and add final texture and interest with the stiff piping colour, and most of all, have fun!
Cookie photo credits: Lucy Samuels


Photo credit: Lucy Samuels
Note: What's New, Honeycat? is a bimonthly Cookie Connection blog feature written by Lucy Samuels, which pushes the cookie envelope every other month with innovative cookie design ideas and tutorials. Its content expresses the views of the author and not necessarily those of this site, its owners, its administrators, or its employees. To catch up on all of Lucy's past posts, click here.






Comments (16)