
While creating last month’s bamboo tutorial, I stumbled upon the idea of painting wafer paper with royal icing. This month, I was eager to explore the idea a little further.
So, why paint wafer paper with royal icing?
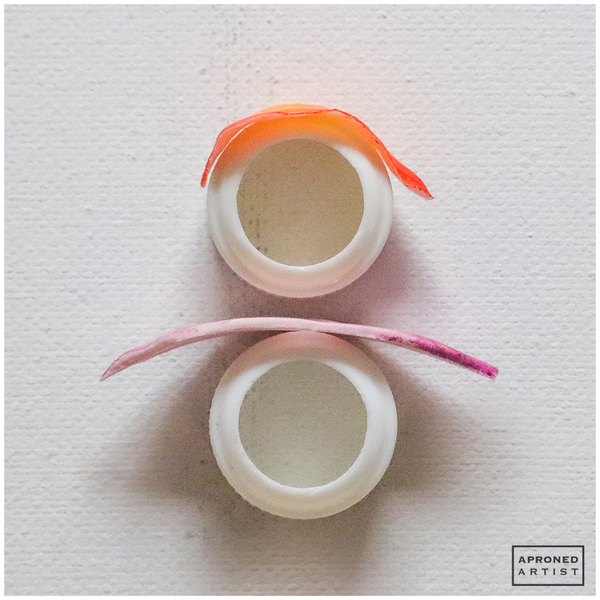
Thinness. My go-to technique for petals and leaves has always been royal icing transfers. The technique works well, however, sometimes the petal/leaf looks disproportionately thick (particularly for smaller scale transfers). Iced wafer paper petals/leaves will remain paper-thin. In the photo below, notice the difference between the iced wafer paper petal (on top) and a royal icing transfer (on the bottom).
Flexibility and strength. The thinner the royal icing transfer, the more fragile it becomes. Plenty of my royal icing transfers don’t even survive removal from their mold or parchment paper. Iced wafer paper is far more sturdy. It retains a small degree of flexibility so you can handle it and paint it without worrying about breaking it. Furthermore, iced wafer paper is strong enough to be contoured into more extreme shapes (like super curled lily petals!).
Painting. Thin royal icing transfers can sometimes crack or even dissolve during painting. On the other hand, painted wafer paper can become stretchy and blotchy. Iced wafer paper combines the benefits of both mediums without these drawbacks. It takes paint just like any other royal icing surface, but it has the added strength of wafer paper to give you a sturdy canvas.
Control. Royal icing has a tendency to spread or round at the edges. Wafer paper, on the other hand, can be cut to any shape, even ones with complex edges or sharp points. With iced wafer paper, the thin painted layer of royal icing on top will match the edges of the wafer paper beneath with no rounding.
Consistency. Iced wafer paper looks just like royal icing so it blends seamlessly with the rest of your design.
As you can see, there are lots of good reasons to give this technique a try!
Supplies:
- Lily Templates document (located in “Files” under “Attachments” at the end of this post)
- Wafer paper
- Food-safe marker (ideally orange or pink)
- Kitchen shears
- Paint brushes:
- Medium flat
- Tiny liner
- 2 1/2-in (6.4-cm) egg-shaped or oval silicone mold (or equivalent)
- Royal icing (I used AmeriColor gel paste coloring to tint the icing):
- Flooding-consistency orange (Electric Orange)
- Stiff-consistency white royal icing
- Stiff-consistency light orange (4 parts Electric Orange/1 part Laurel)
- Stiff-consistency green (4 parts Laurel/1 part Electric Orange)
- Tips:
- AmeriColor (or equivalent) gel paste colorings for painting: Espresso, Deep Pink, Bright White, Laurel, Electric Orange
- Parchment paper
- Props: Plastic wrap, aluminum foil (or equivalents)
- 5 1/2 x 4 1/2-in (13.9 x 11.4-cm) baked rectangle cookie flooded with dark green royal icing (1 part Forest Green/1 part Silver Spruce)
Step 1: Cut and ice wafer paper petals
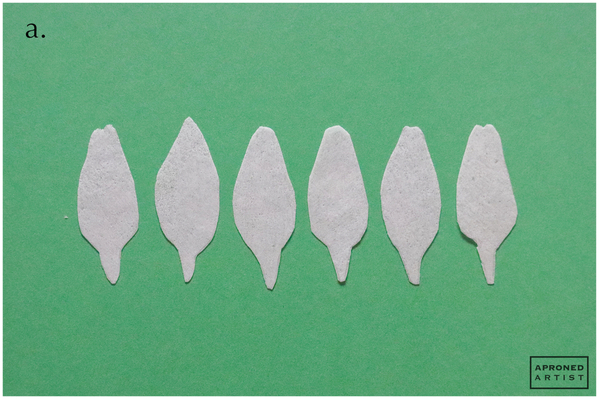
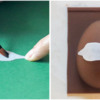
a. Print out the Lily Templates document (located in “Files” under “Attachments” at the end of this post). Place a piece of wafer paper over the petal template, and trace the shape with a food-safe maker. Repeat to trace six petals in total (or more if you want a couple of spare petals). Try to alter each shape slightly to give your petals a more organic look. Use kitchen shears to cut out the shapes.
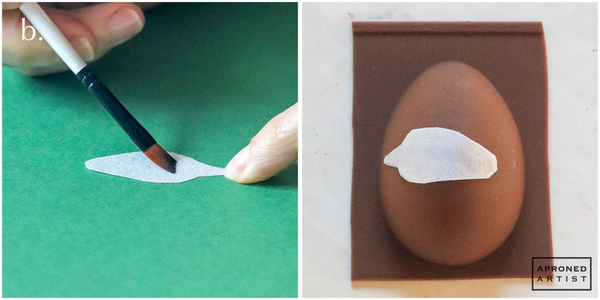
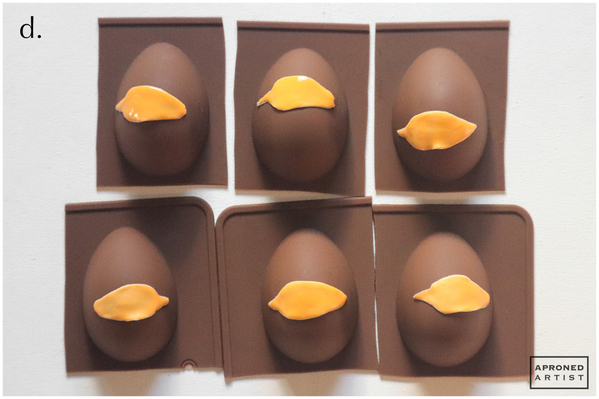
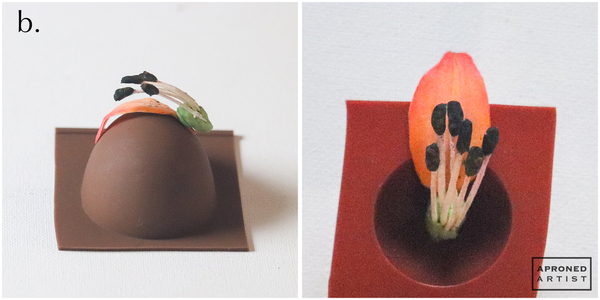
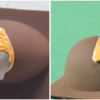
b. Dampen the textured side of the wafer paper petal with a barely damp flat paint brush. This will soften the wafer paper, allowing it to contour and stick to the mold. Flip the wafer paper over so that the damp side faces down, and lay it over an egg-shaped silicone mold (or equivalent) so that the petal bisects the mold horizontally. Press down on the wafer paper to ensure that it mostly sticks to the mold.
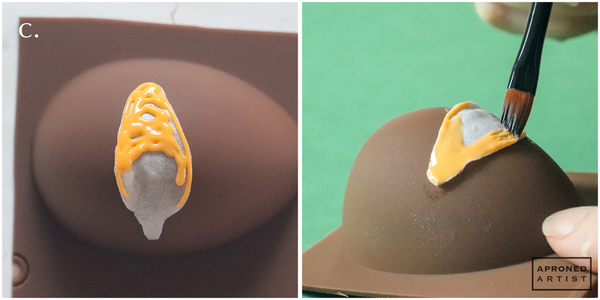
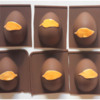
c. Using flooding-consistency orange royal icing and a PME #1 tip (or equivalent), pipe a small amount of icing on the wafer paper petal. You want a very thin coat of icing so don’t overdo it here. Use a damp flat paint brush to spread the icing so that it covers the wafer paper petal. If necessary, add more icing and continue to spread it until the entire petal is covered.
d. Repeat Steps 1b and 1c to ice the remaining wafer paper petals. Try to slightly vary where you place the petal on the molds so that your petals curl in slightly different ways. Allow the icing to dry completely (I let mine dry overnight).
Step 2: Paint petals
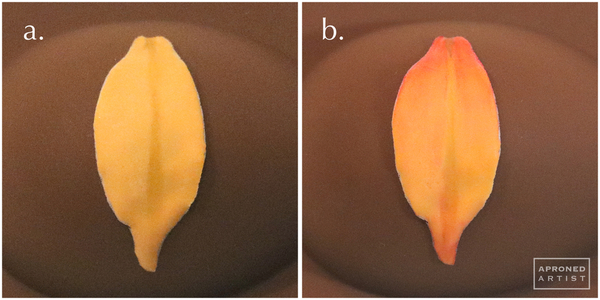
a. Leave the dried petals on their molds as the additional moisture from painting can cause them to curl more. Dilute Espresso gel paste coloring (or equivalent) until it is the consistency of watercolor paint. Using a tiny liner paint brush, paint a faint brown line vertically down the center of the petal, ending the line as you reach the narrow portion of the petal at the base. Widen the line slightly at the lower half of the petal. This dark line will look like a subtle indentation in the petal.
b. Using the point of a flat angled paint brush, apply a small amount of undiluted Deep Pink gel paste coloring (or equivalent) at the top tip of the petal. Clean your brush, blot off most of the water, and blend the pink paint downward with the flat side of the brush. Blend around the center indentation line painted in Step 2a, leaving the line intact. Apply a small amount of pink paint at the bottom tip of the petal, and blend it upward using the same process.
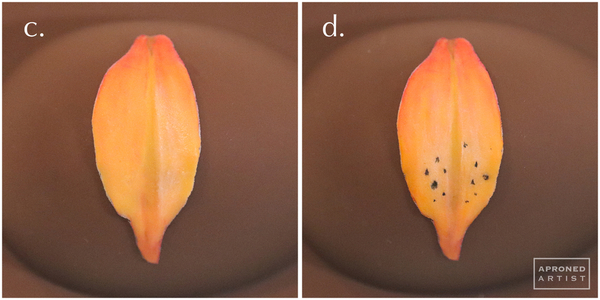
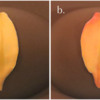
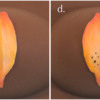
c. Dilute Bright White gel paste coloring (or equivalent) slightly, and use a flat paint brush to paint the widest areas of the petal around the center indentation line. (In the leftmost photo below, the right side of the petal has the painted white highlight; the left side of the petal is yet unpainted.)
d. Using a tiny liner paint brush and undiluted Espresso gel paste coloring (or equivalent), paint a few small dots on the lower half of the petal to either side of the center indentation line. Repeat Steps 2a through 2d to paint the remaining petals.
Step 3: Cut, ice, and paint wafer paper stamens
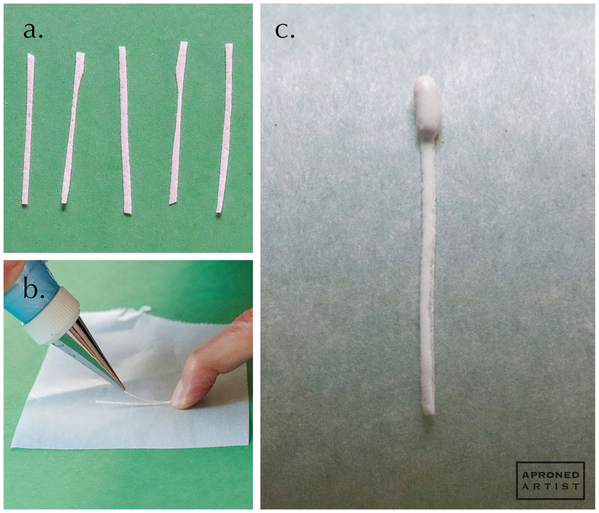
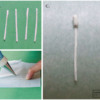
a. Using kitchen shears, cut at least six thin slivers of wafer paper about 1 1/4 inches (3.2 centimeters) in length.
b. With your fingertip, anchor the end of a wafer paper sliver on top of a square of parchment paper. Using stiff-consistency white royal icing and a PME #1 tip (or equivalent), pipe a line of icing to cover the sliver. Use a damp flat paint brush to gently brush the icing along the length of the sliver to ensure that the icing adheres to the wafer paper. Repeat with the remaining slivers of wafer paper.
c. With the same icing and tip, pipe an elongated oval over the top 1/4 inch (0.6 centimeter) of the iced sliver. Shape the oval with a damp paint brush. Repeat with the remaining iced slivers. Allow the icing to dry completely. The stamens may curl slightly as they dry. Once dry, gently peel the larger piece of underlying parchment paper away from the stamen transfers if they remain attached.
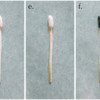
d. Mix a murky green paint comprised of the following gel paste colorings (or equivalents): equal parts Bright White and Laurel plus a touch of Electric Orange. Starting at the bottom of a stamen, use a flat paint brush to drag the green paint up the length of the stamen. Allow the paint to run out as you move upward so that the saturation of the color gradually decreases.
e. Mix a light coral paint comprised of the following gel paste colorings (or equivalents): three parts Bright White, one part Deep Pink, and one part Electric Orange. Starting at the top of a stamen just below the oval, use a flat paint brush to drag the pink color down the length of the stamen. Allow the paint to run out as you move downward so that the saturation of the color gradually decreases.
f. Paint the oval at the top of the stamen with undiluted Espresso gel paste coloring (or equivalent).
Repeat Steps 3d to 3f to paint all of the stamens.
Step 4: Pipe and paint bud and stem transfers
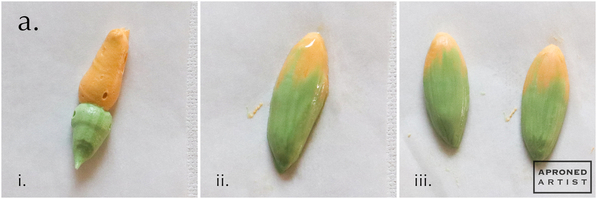
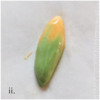
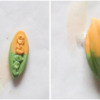
a. Use stiff-consistency light orange royal icing and a Wilton #12 tip (or equivalent) to pipe a line of icing about 1 inch (2.5 centimeters) long on a square of parchment paper. Use stiff-consistency green royal icing and a Wilton #12 tip (or equivalent) to pipe a shorter line of icing about 3/4 inch (1.9 centimeters) long directly beneath the orange line (i). Use a flat paint brush to shape the pointed ends of the bud. Use long vertical brush strokes to gently brush the green icing upward into the orange icing to blend the colors and merge them into a single pointed oval shape (ii). As you shape the icing, the bud will likely shrink to about 1 1/2 inches (3.8 centimeters) tall. Repeat to create the other half of the bud (iii). Do your best to keep the two transfers similar in size and shape. Allow the icing to dry completely.
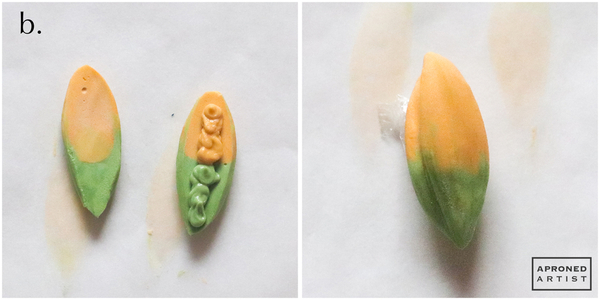
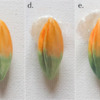
b. Peel the parchment paper away from the bud transfers. Pipe a few dots of the same orange and green icing on the flat side of one transfer, and place the other transfer on top so that the flat sides are facing each other. Use a damp paint brush to clean up any icing that squeezes out, making sure to maintain a crease between the two halves. Allow the icing to dry completely. The transfer will naturally sit on one of the halves, obscuring the other half entirely. In the rightmost photo below, I’ve slightly rotated the assembled bud transfer so that you can see the crease between the halves. This is the orientation that I will use for the final cookie.
c. Dilute a drop of Electric Orange gel paste coloring (or equivalent). Use the pointed tip of a flat angled paint brush to darken the orange icing around the crease of the bud. Paint a few stripes of orange down the top half of the bud. Use the flat side of the paint brush to blend the stripes slightly.
d. Use a tiny liner paint brush and slightly diluted Espresso gel paste coloring (or equivalent) to paint a line down the length of the crease between the two halves of the bud.
e. Dilute a drop of Laurel gel paste coloring (or equivalent) to paint the pointed bottom of the bud. Use the pointed tip of a flat angled paint brush to drag stripes of the green paint upward into the orange icing.
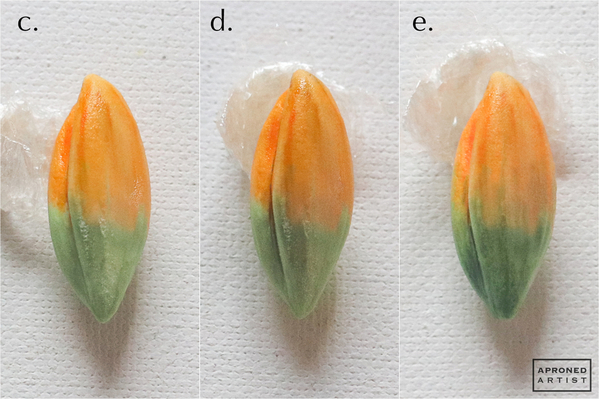
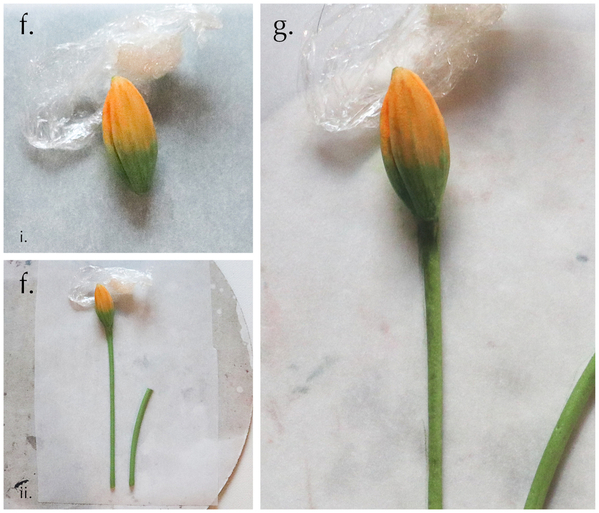
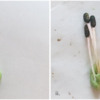
f. Using stiff-consistency green royal icing and a Wilton #6 tip (or equivalent), pipe a dot of icing on a square of parchment paper. Press the bud transfer into the icing at an angle and orientation that best showcases the crease between the halves. Prop the bud with a crumpled piece of plastic wrap (or equivalent) to hold it in place (i). Pipe a straight stem extending down about 4 inches (10.2 centimeters) from the bud. Use a flat angled paint brush to shape the connection between the bud and the stem. Pipe another separate stem, about 2 1/2 inches tall (6.4 centimeters) tall, that curves to the right. Allow the stem transfers to dry completely before carefully peeling the parchment paper away from the transfers (ii).
g. Dilute a drop of Laurel gel paste coloring (or equivalent) until it is the consistency of watercolor paint. Using a flat paint brush, paint the left side of both of the stems to darken them slightly. Paint a small angled portion of the top of the straight stem just below the bud to emphasize the shadow cast by the bud.
Step 5: Assemble final cookie
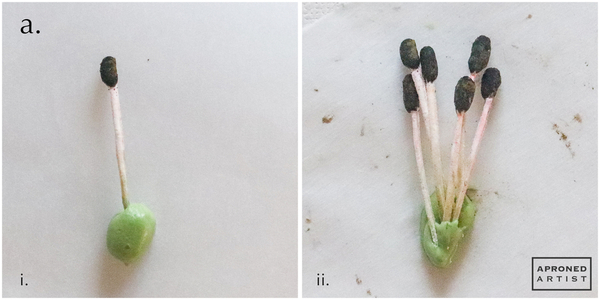
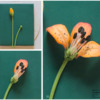
a. Using stiff-consistency green royal icing and a Wilton #12 tip (or equivalent), pipe a dot of icing on a square of parchment paper. Insert a stamen transfer into the top of the icing so that the stamen is laying on the parchment paper (i). Insert the remainder of the stamen transfers into the icing in a tight cluster, stacking them as necessary (ii). Use a flat paint brush to press the icing over the ends of the stamens to ensure that they are securely adhered. Allow the icing to dry completely.
b. Using the same green icing and a Wilton #6 tip (or equivalent), pipe a smaller dot of icing on the bottom tip of a petal. Press the dried green icing of the stamen cluster into the wet icing. Allow the icing to dry completely.
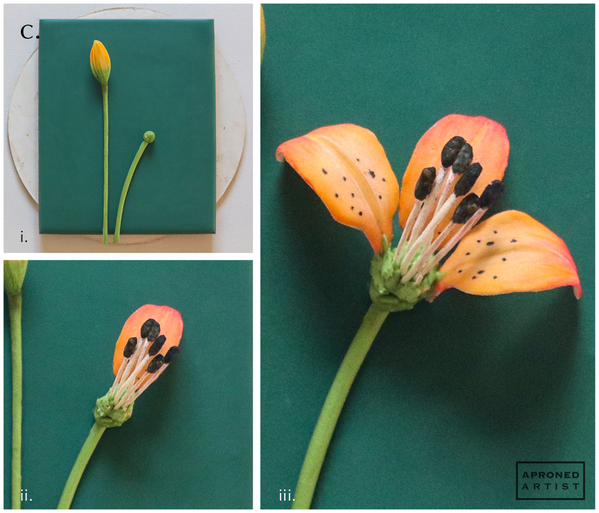
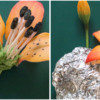
c. Using the same icing and a PME #1 tip (or equivalent), pipe some icing on the flat underside of the two stems. Press the stems gently onto the flooded cookie so that the bottoms of the stems hang off of the bottom edge of the cookie slightly. Switch to a Wilton #6 tip, and pipe a dot of icing above the top end of the curving stem (i). Press the green base of the stamen cluster with the petal into the wet icing so that the tip of the petal rests on the cookie (ii). Pipe two more dots of green icing on the green base of the stamen cluster, one to either side of the first petal. Press the narrow end of a petal into each dot of icing, and angle the petals so that the tips rest on the cookie (iii). Use a damp tiny liner paint brush to drag a little of the excess icing up toward the dark center line of the newly attached petals. Allow the icing to set for at least 15 minutes.
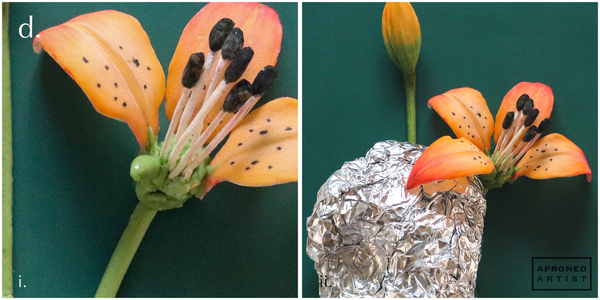
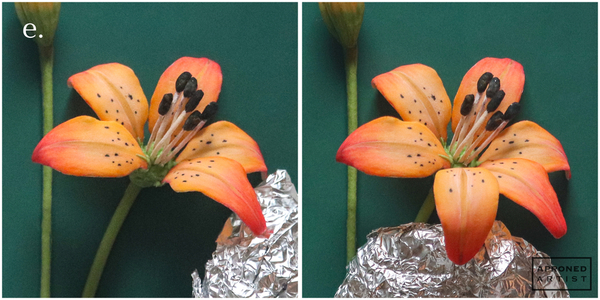
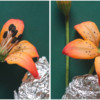
d. Add another dot of icing on the green base of the stamen cluster to the side of one of the attached petals (i). Insert the bottom tip of another petal into the icing. Crumple up a piece of aluminum foil (or equivalent) and place it beneath the petal for support (ii). Use a tiny liner paint brush to drag a little of the excess icing toward the dark center line of the petal. Allow the petal to set for at least 15 minutes before removing the prop.
e. Repeat Step 5d to attach the remaining two petals one at a time.
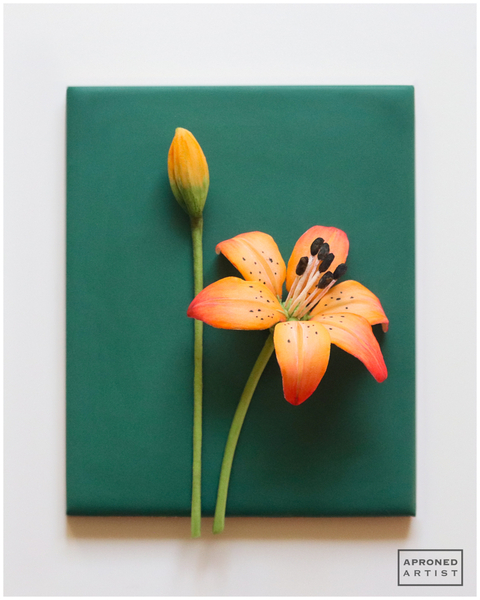
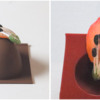
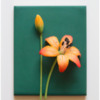
Finished! The iced wafer paper worked beautifully to create thin, sturdy, and vibrantly painted petals.


Samantha Yacovetta began cookie decorating in 2013. While working at a local bakery, Samantha became captivated by cookie art when a customer requested princess-themed cookies. Attracted initially to the precision of cookie decorating, Samantha soon found that the limitless design opportunities turned it into her artistic passion. Samantha began regularly stocking the bakery case with decorated cookies and for several years sold cookies through her own company, Aproned Artist, a cottage food operation. Having retired from the business life, Samantha now enjoys making cookies just for fun from her home in San Jose, California, USA. To learn more about Samantha, please check out her Cookie Connection portfolio, her Facebook page, and her past Every Little Detail tutorials here.
Photo and cookie credits: Samantha Yacovetta
Note: Every Little Detail with Aproned Artist is a monthly Cookie Connection blog feature written by Samantha Yacovetta focused on the special little details that make big statements in cookie design. This article expresses the views of the author, and not necessarily those of this site, its owners, its administrators, or its employees. To read all of Samantha's past Every Little Detail tutorials, click here. And to see all of Cookie Connection's tutorials, click here.




Comments (14)