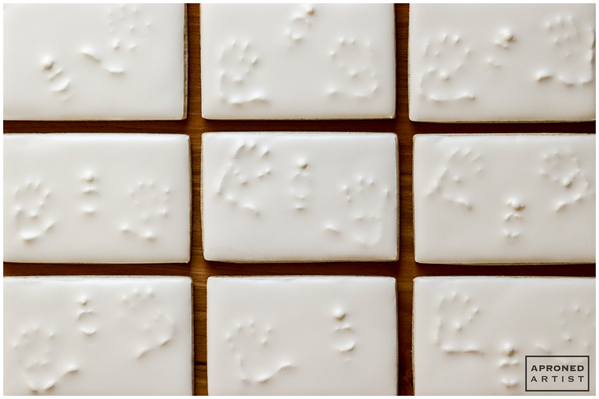
 Despite my love of Halloween cookies, I absolutely hate horror movies. Jump scares send me flying. Zombies give me nightmares. The screaming, the dark, the blood . . . no, thank you. This is all just to say that I can be a little bit of a chicken. If I were to write a horror movie, I think I’d call it When Cookies Go Bad. Imagine: an unsuspecting cookie decorator becomes trapped in her own cookie. Consumed by icing, she screams in silent terror. Spooky, right?
Supplies:
- 1 (2 x 3-in/5.1 x 7.6-cm) rectangle cookie flooded with white royal icing
- Royal icing:
- Stiff-consistency white
- Thin flooding-consistency white (The "tracks" left by the icing when a knife is dragged through it should disappear in four seconds.)
- Tips:
- PME #1 (or equivalent)
- Small paint brush
- Medium angled, flat paint brush
Step 1: Pipe left hand
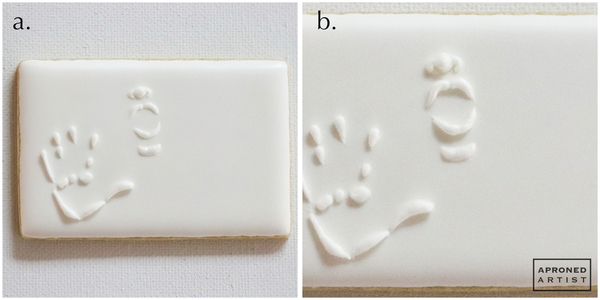
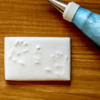
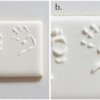
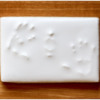
a. Place your iced and dry cookie on your work surface. Using stiff-consistency white royal icing and a PME #1 tip (or equivalent), pipe a handprint on the left side of the cookie. Pipe only the sections of the hand that would be the first to make contact if it was pushing against a surface. This means there will be spaces at some of the joints and even entire regions of the fingers and palm that might not make any imprint at all. Shape and smooth the icing with a small, damp paint brush.
b. With the same icing and tip, pipe on top of the areas of the hand again. Adding this extra tier of icing will ensure that the hand is visible after the cookie is flooded again in Step 5.
Step 2: Pipe face
a. Pipe the face near the middle of the cookie with the same stiff-consistency white royal icing and PME #1 tip (or equivalent). Pipe only those areas of the face that protrude: the nose, lips, and chin. Again, shape the features with a small, damp paint brush.
b. Just as in Step 1a, pipe on top of the areas that protrude the most. I left the chin with only a single tier of icing because I wanted it to recede slightly.
Step 3: Pipe right hand
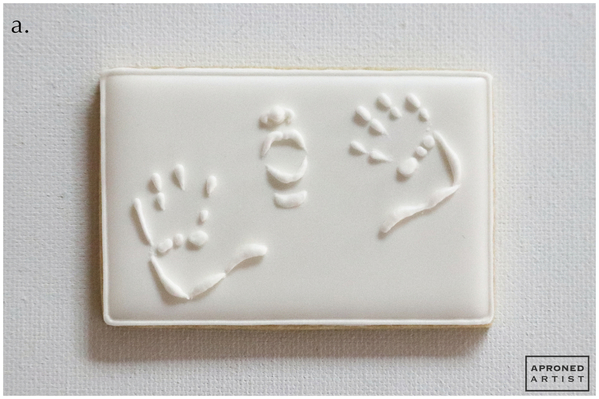
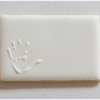
a. Now, pipe the right hand in the same fashion using the same icing and tip. Again, smooth and shape the icing with a small, damp paint brush.
b. Add a second tier of icing to the right hand.
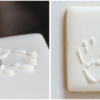
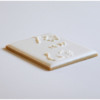
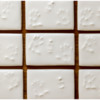
Here is a side view of the cookie so that you can see the height of the icing:
Step 4: Pipe border
a. Pipe a border around the edge of the cookie with stiff-consistency white royal icing and a PME #1 tip (or equivalent).
Step 5: Flood with thin icing
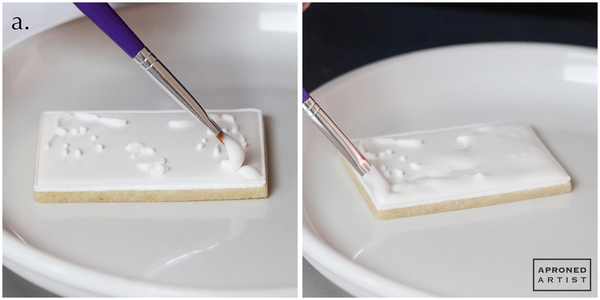
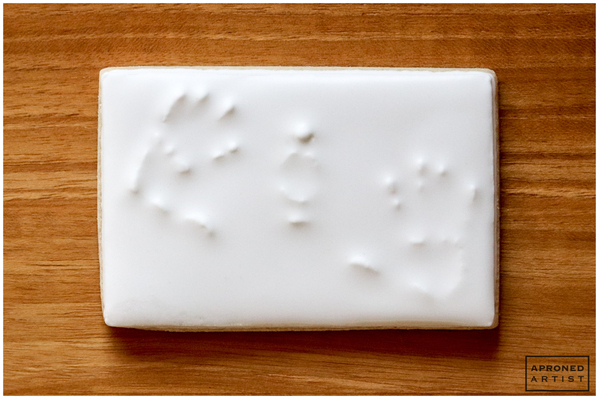
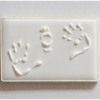
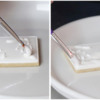
a. Use a medium flat, angled paint brush to dab thin flooding-consistency white royal icing onto the cookie. Work quickly to spread the icing to the edge of the border and to cover the nooks and crannies of the hands and face. Using the paint brush, add enough icing to achieve a smooth, uniform layer, but you should still be able to see the bulge of the hands and face through the icing. If you cannot see the hands and face, use the paint brush to scoop out some icing. Carefully, give the cookie a little shake to help settle the icing.
Allow the cookie to dry completely, ideally in front of a fan to hasten the drying process.
Consumed by your cookies as well? Welcome to my nightmare!
Wishing you all a very happy Halloween.


Samantha Yacovetta began cookie decorating in 2013. While working at a local bakery, Samantha became captivated by cookie art when a customer requested princess-themed cookies. Attracted initially to the precision of cookie decorating, Samantha soon found that the limitless design opportunities turned it into her artistic passion. Samantha began regularly stocking the bakery case with decorated cookies and for several years sold cookies through her own company, Aproned Artist, a cottage food operation. Having retired from the business life, Samantha now enjoys making cookies just for fun from her home in San Jose, California, USA. To learn more about Samantha, please check out her Cookie Connection portfolio, her Facebook page, and her past Every Little Detail tutorials here.
Photo and cookie credits: Samantha Yacovetta
Note: Every Little Detail with Aproned Artist is a monthly Cookie Connection blog feature written by Samantha Yacovetta focused on the special little details that make big statements in cookie design. This article expresses the views of the author, and not necessarily those of this site, its owners, its administrators, or its employees. To read all of Samantha's past Every Little Detail tutorials, click here. And to see all of Cookie Connection's tutorials, click here.





Comments (28)