
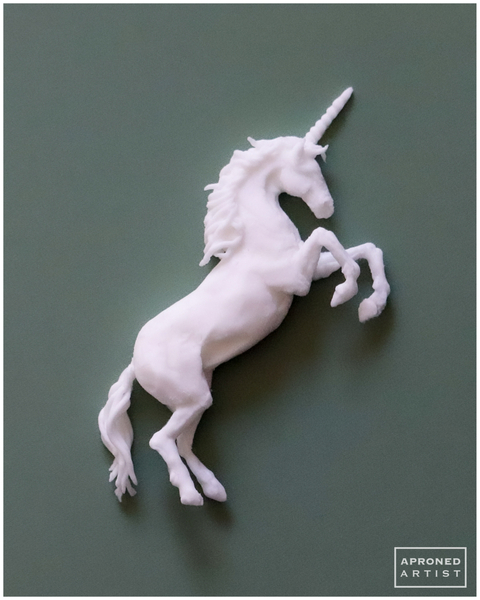
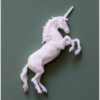
When I made the unicorn royal icing transfer for this cookie, I didn’t have a firm plan for the background. A fairytale setting seemed fitting, but the more details I added, the more the unicorn seemed to get lost. I finally decided to go with a clean, simple frame. Sometimes less really is more. A minimal, mid-century-inspired rainbow fits the theme and allows the unicorn to take center stage.
Supplies:
- Unicorn Templates document (located in “Files” under “Attachments” at the end of this post)
- Parchment paper
- Royal icing (I used AmeriColor gel paste coloring to tint the icing):
- Stiff-consistency white
- Outline-consistency white
- Outline-consistency teal (1 part Forest Green/1 part Teal)
- Flooding-consistency white
- Flooding-consistency teal (1 part Forest Green/1 part Teal)
- Outline-consistency light brown (Warm Brown)
- Tips: PME #1.5, 0, 1 (or equivalents)
- Small flat angled paint brush
- Tiny liner paint brush
- Small trowel or offset spatula
- 3 1/2 x 4-in/8.9 x 10.2-cm (W x H) arch-shaped cookie
- Corn syrup
- AmeriColor (or equivalent) gel paste colorings for dying corn syrup: Ivory, Copper, Red Red
Step 1: Pipe and assemble unicorn royal icing transfer silhouettes
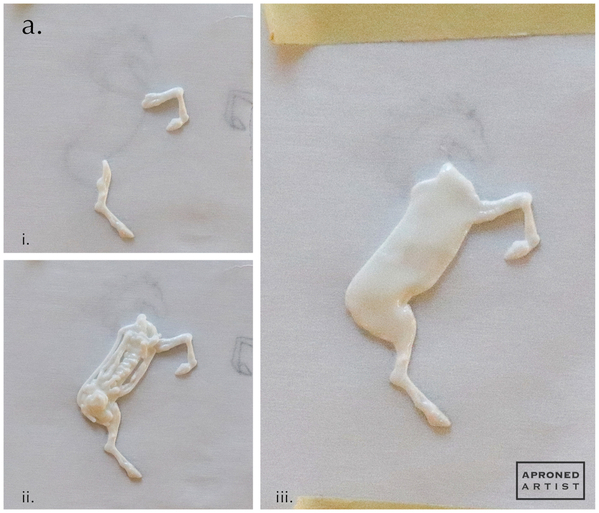
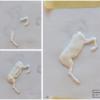
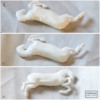
a. Print out the Unicorn Templates document (located in “Files” under “Attachments” at the end of this post), and tape a square of parchment paper over the “Background Silhouette” of the unicorn. Using stiff-consistency white royal icing and a PME #1.5 tip (or equivalent), pipe icing to fill the legs of the unicorn. Use a damp flat angled paint brush to smooth and shape the legs (i). Pipe icing to fill the body, stopping at the lower neck (ii). Use the flat side of a lightly wet paint brush to smooth and spread the icing to fill the silhouette (iii).
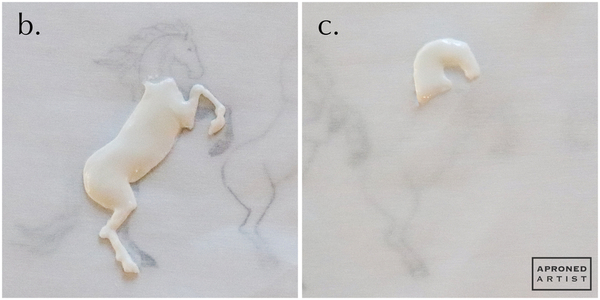
b. Repeat Step 1a to pipe and shape the “Foreground Silhouette” of the unicorn.
c. On another square of parchment paper, pipe icing to fill the “Head Silhouette” down to the lower neck (slightly below where you stopped with the body so that the silhouettes will overlap). Use a lightly wet flat paint brush to smooth the icing to fill the silhouette. Allow the three transfers to dry completely before carefully peeling the parchment paper away from the transfers.
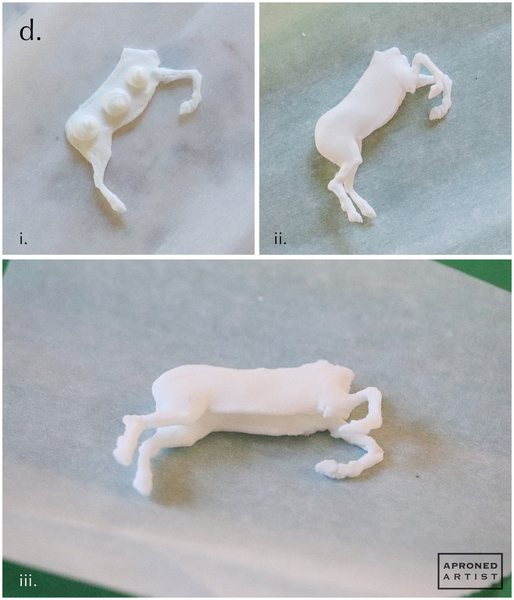
d. Pipe a few beads of icing on the body of the background silhouette (i). Place the foreground silhouette on top of the icing (ii). Press down gently to attach the two transfers, however, maintain some gap to give the unicorn dimension (iii). Allow the icing to set for at least 10 minutes.
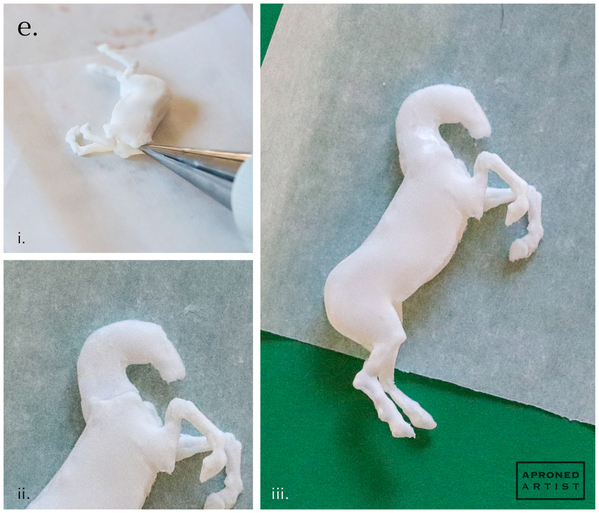
e. Insert your icing tip into the gap between the neck of the two transfers, and pipe a small mound of icing (i). Pipe a dot of icing on the parchment paper above the body; this dot will prop the head at a height that is evenly spaced between the two body transfers. Insert the neck of the head transfer into the wet icing in the gap so that the head rests on the dot of icing (ii). Make sure the dot of icing is not visible from the front of the transfer. Pipe a little icing on the neck, and use a lightly wet flat paint brush to smooth the icing and cover the gap between the neck of the body transfer and the head transfer (iii). Allow the icing to dry completely before peeling the parchment paper away from the transfer.
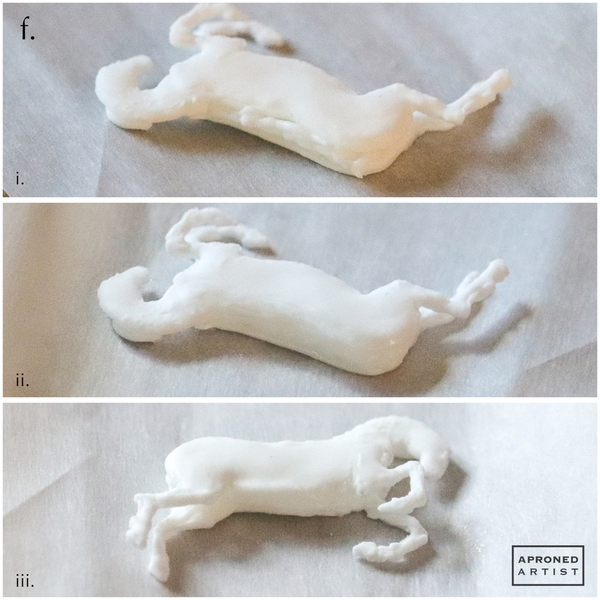
f. Pipe icing along the unicorn’s back to fill the gap between the two body transfers (i). Use a lightly wet flat paint brush to smooth the icing and blend it into the transfers to create a seamless transition (ii). Repeat to fill and smooth the gap along the belly of the unicorn (iii).
Step 2: Pipe and shape unicorn musculature
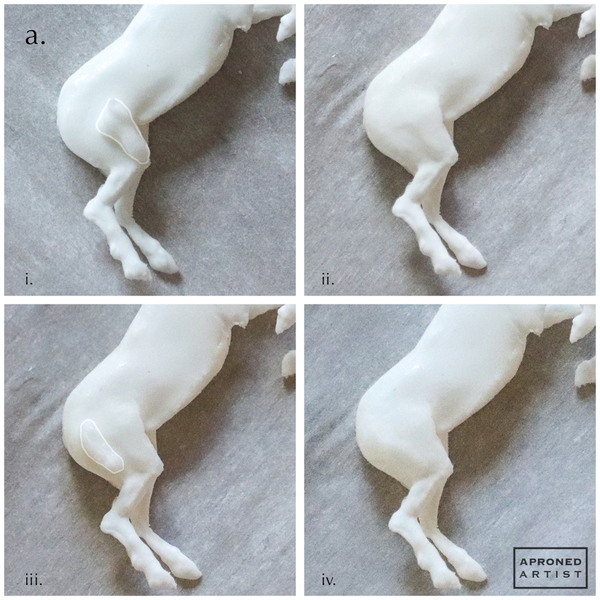
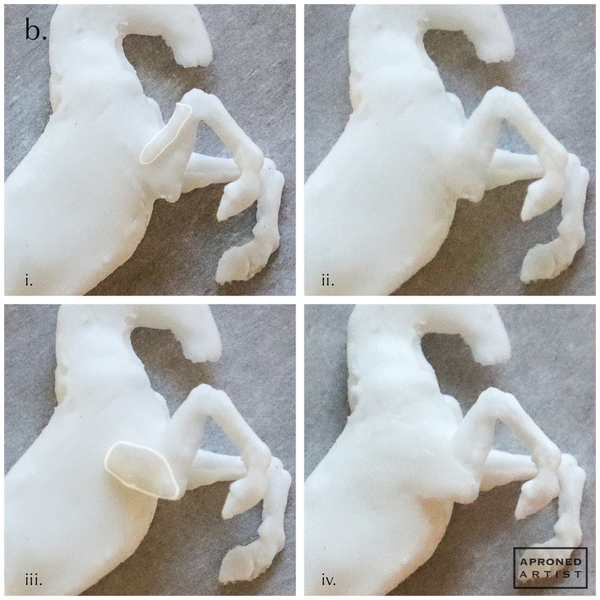
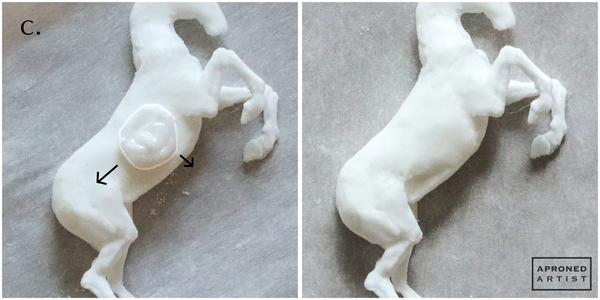
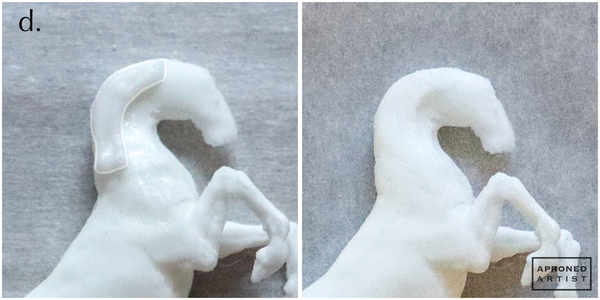
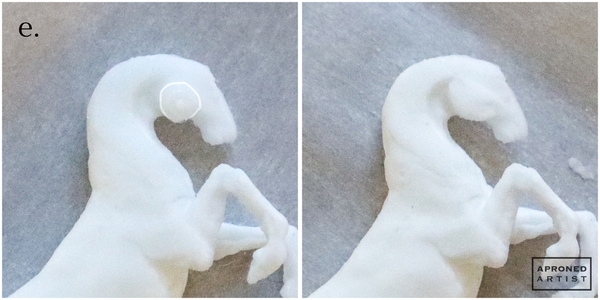
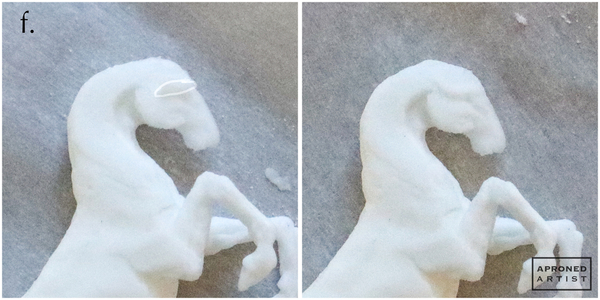
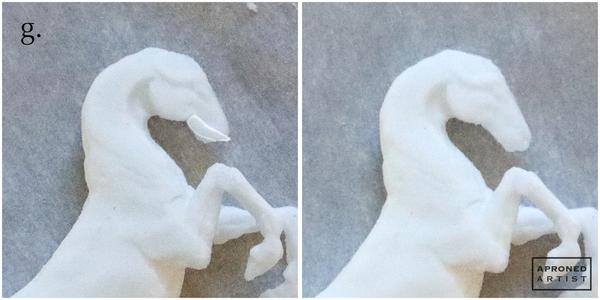
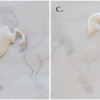
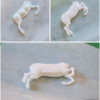
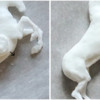
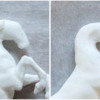
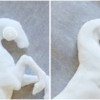
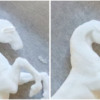
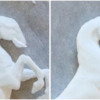
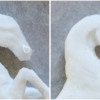
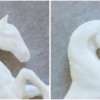
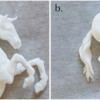
Note: The unicorn silhouettes are quite flat, so we will add icing to round out the form and create subtle bulges and creases of muscle. It’s helpful to have a few reference photos of a rearing horse to help guide you as we bulk up the anatomy. Depending on the shape of your silhouette transfers, you may want to add icing in slightly different areas than I have. I’ve highlighted the added sections of icing in the photos below to make the icing more visible.
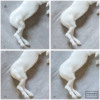
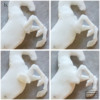
a. Use stiff-consistency white royal icing and PME #1.5 tip (or equivalent) to pipe a rough triangle of icing along the hind leg’s thigh (i). Use a damp flat paint brush to flatten the mound slightly and blend the edges of the triangle into the dried icing of the thigh. Make sure the triangle of icing extends above the belly to create a distinct separation where the thigh overlaps the groin (ii). Pipe a mound of icing that follows the curve of the hamstring (iii). Use a damp flat paint brush to flatten the mound slightly and blend the edges of the shape into the icing of the hamstring (iv).
b. Pipe a line of icing along the upper arm (i). Use a damp flat paint brush to flatten the icing slightly and blend the edges of the line into the dried icing of the upper arm (ii). Pipe a mound of icing extending from the armpit to the elbow (iii). Use a damp flat paint brush to flatten the icing slightly and blend the edges of the mound into the dried icing of the arm. Make sure the icing extends to the interior of the torso to create a distinct separation where the arm overlaps the chest (iv).
c. Pipe a larger mound of icing in the center of the torso to create a bulge for the ribs. Use a damp flat paint brush to flatten the icing slightly. Use the paint brush to push the bottom of the mound toward the rump and the right of the mound under the belly. (This is a good time to reference photos of actual horses to better understand the shape of the bulge). Blend the edges of the mound into the dried icing of the torso.
d. Pipe a few rows of icing that follow the curve of the back of the neck. Use a damp flat paint brush to flatten the icing slightly and blend the edges into the dried icing of the neck to create a distinct ridge of muscle that separates the neck from the throat.
e. Pipe a circle of icing for the cheek. Use a damp flat paint brush to flatten the icing slightly. Blend the top edge into the dried icing of the head, creating a semicircle-shaped bulge.
f. Pipe a short line of icing above where the eye would sit. Use a damp flat paint brush to blend the top of the line into the dried icing to create the ridge of the brow. Drag the left end of the line slightly upward. Blend the right end of the line into the forehead.
g. Pipe a short line along the bottom jaw. Use a damp flat paint brush to blend the edges of the line into the dried icing to create a longer, straighter, and slightly tapered muzzle.
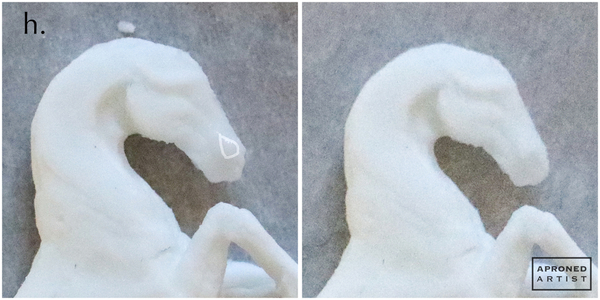
h. Pipe a small teardrop at the nose with the pointed end of the teardrop pointing toward the eye. Use a damp flat paint brush to blend the pointed end of the teardrop into the dried icing of the muzzle. Insert a tiny liner paint brush into the fat end of the teardrop to bore a nostril.
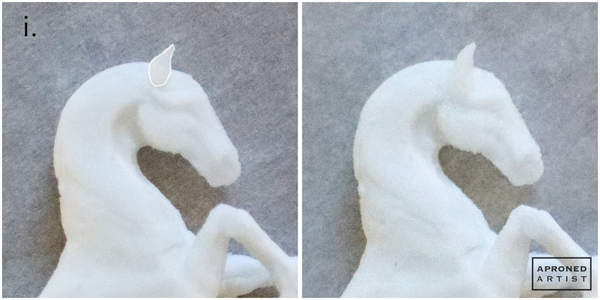
i. For the ear, pipe a larger teardrop of icing above the left end of the brow with the pointed end of the teardrop pointing up. Use a damp flat paint brush to blend the fat end of the teardrop into the dried icing of the head. Use the pointed end of the flat paint brush to shape the pointed end of the ear.
Step 3: Pipe unicorn’s mane, tail, and horn
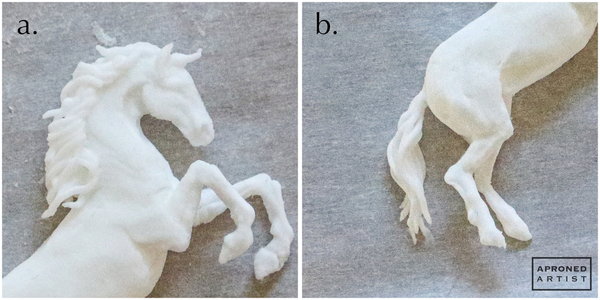
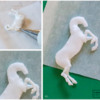
a. Using stiff-consistency white royal icing and a PME #0 tip (or equivalent), pipe short lines extending from the neck and head to build up the unicorn’s mane.
b. Pipe long, twisting lines extending from the rump to build up the tail.
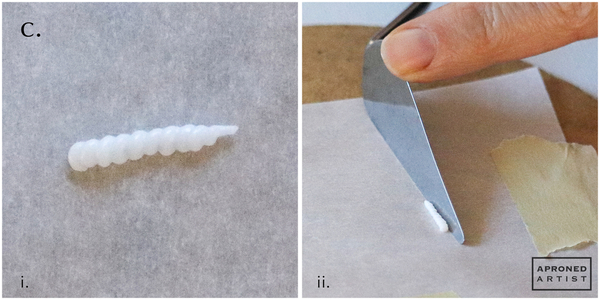
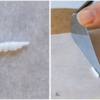
c. Pipe the unicorn’s horn on a separate piece of parchment paper. Using the same icing and tip, pipe a continuous rope of icing about 3/8 inch (1 centimeter) in length by rotating your wrist as you gently apply pressure (i). (Colins Time to Bake has a great video demonstrating this technique, albeit in bigger form on a cake!) Allow the icing to set for a moment before pressing the edge of a small trowel (or equivalent) against each side of the horn to straighten the sides and taper the overall shape (ii). If necessary, use a small damp paint brush to shape the very tip of the horn. Allow the icing to dry completely before peeling the parchment paper away from the transfer.
d. Apply a small dab of icing to the base of the horn, and press it to the top of the unicorn’s head. Reinforce the connection by piping a couple of mane hairs over both sides of the horn's base. With the horn attached, the final unicorn transfer measures 2 inches (5.1 centimeters) tall.
Step 4: Flood cookie, and apply rainbow design
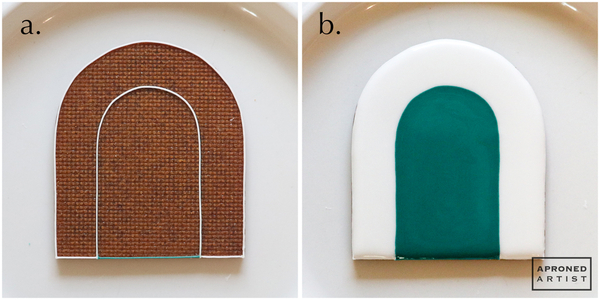
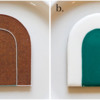
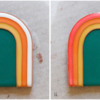
a. Using outline-consistency white royal icing and a PME #1 tip (or equivalent), pipe the outline of the rainbow on the arch-shaped cookie. The rainbow outline should be about 3/4 inch (1.9 centimeters) wide. You can find the exact template I used for the cookie and the rainbow outline in the Unicorn Templates document. Use outline-consistency teal royal icing and a PME #1 tip (or equivalent) to outline the remaining bottom edge of the cookie.
b. Flood the white rainbow outline with flooding-consistency white royal icing. Immediately flood the remaining interior arch of the cookie with flooding-consistency teal royal icing. Give the cookie a good shake so that the two icings flatten out where they meet, creating a single wet-on-wet-style background. Allow the icing to dry completely.
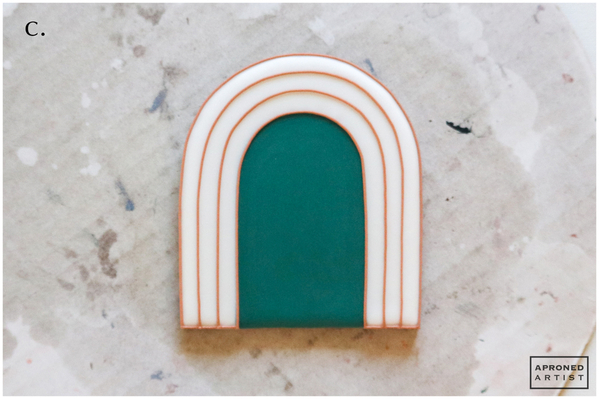
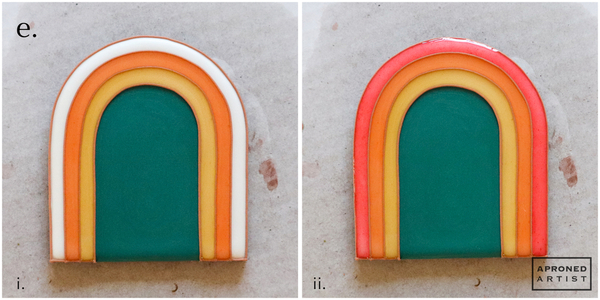
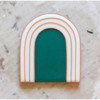
c. Using stiff-consistency light brown royal icing and a PME #1.5 tip (or equivalent), pipe the outline of the rainbow’s three individual bands over the white portion of the cookie. The bands should be evenly spaced, each measuring about 1/4 inch (0.6 centimeter) wide.
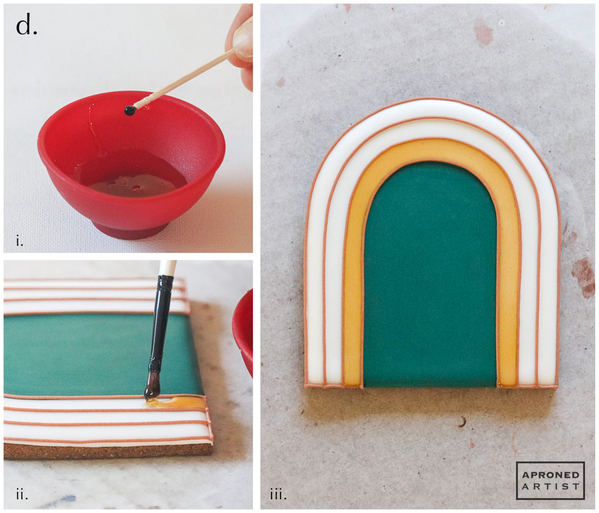
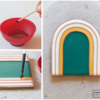
d. Mix about 1 teaspoon corn syrup with a tiny dab of Ivory gel paste coloring (or equivalent) (i). Use a small paint brush to stir the corn syrup and squash any lumps of gel paste coloring until the coloring is dissolved and evenly mixed. Use the paint brush to carefully transfer drops of the colored corn syrup into the lowest band of the rainbow (ii). Add enough corn syrup to fill the channel created by the outline (iii). Use the paint brush to push the corn syrup to the edges of the band.
e. Repeat Step 4d to tint corn syrup with Copper gel paste coloring (or equivalent). Fill the middle band of the rainbow with the orange corn syrup (i). Repeat Step 4d again to tint corn syrup with Red Red gel paste coloring (or equivalent). Fill the top band with the red corn syrup. (Note: The corn syrup will take longer to dry than royal icing; I let mine dry an extra day, and I live in a very dry environment.)
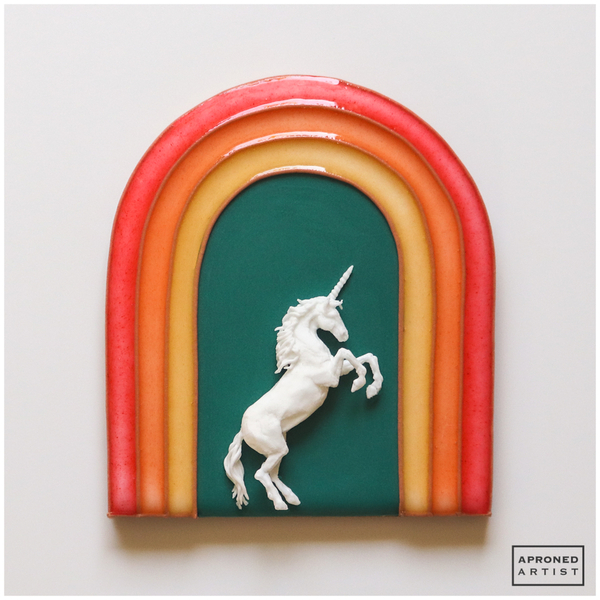
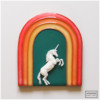
f. Attach the unicorn transfer to the center of the teal area with a small dab of stiff-consistency white royal icing applied behind its torso.
Finished! This unicorn-and-rainbow cookie is definitely a happy ending!
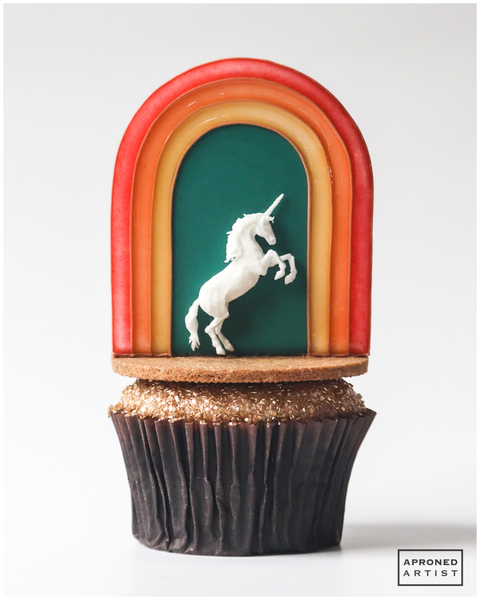
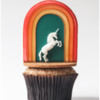
To give you a sense of scale, I've mounted this cookie on a cupcake.
Source: Colins Time to Bake, "How to Pipe and Close a Buttercream Rope"


Samantha Yacovetta began cookie decorating in 2013. While working at a local bakery, Samantha became captivated by cookie art when a customer requested princess-themed cookies. Attracted initially to the precision of cookie decorating, Samantha soon found that the limitless design opportunities turned it into her artistic passion. Samantha began regularly stocking the bakery case with decorated cookies and for several years sold cookies through her own company, Aproned Artist, a cottage food operation. Having retired from the business life, Samantha now enjoys making cookies just for fun from her home in San Jose, California, USA. To learn more about Samantha, please check out her Cookie Connection portfolio, her Facebook page, and her past Every Little Detail tutorials here.
Photo and cookie credits: Samantha Yacovetta
Note: Every Little Detail with Aproned Artist is a monthly Cookie Connection blog feature written by Samantha Yacovetta focused on the special little details that make big statements in cookie design. This article expresses the views of the author, and not necessarily those of this site, its owners, its administrators, or its employees. To read all of Samantha's past Every Little Detail tutorials, click here. And to see all of Cookie Connection's tutorials, click here.

Comments (10)