
Easter is coming, and with it comes warmer weather, bright and lively colors, and (yeah!) lots of baskets full of candy: marshmallow peeps, swirl pops, chocolate bunnies, gold coins (my favorite), jelly beans, cream-filled eggs . . .
But . . . I have to admit that I’m a little tired of the same old Easter baskets.
That’s why today I would like to go a step further and create a cute and easy all-cookie Easter basket, every bit of which can be eaten!
I hope this project inspires you to bring more cookie-sweetness into your home this Easter!
- 2 hen cookies, flooded in pale brown and completely dried (I colored mine by mixing brown, peach, and a pinch of pink. See brands below.)
- 2 side cookies (see template below), flooded in pale brown
- Flat brush for coating cookie backs (I’ve used one from KitchenCraft.)
- Vodka, alcohol rejuvenator spirit (such as this brand), or alcohol-based extract
- White royal icing, medium-stiff consistency, for stenciling
- Polka dot plastic stencil
- Small offset spatula
- Large round paintbrush, for dusting
- White royal icing, medium consistency, for "glue"
- 5 to 10 (or as many as you wish) small egg cookies, flooded in white
- For flooding the hen and side cookies: Sugarflair Dark Brown, Sugarflair Dusky Pink, and Wilton Peach
- For coating the cookie backs: Sugarflair Extra White powder color (or similar white coloring)
- To age the box cookies and speckle the eggs: Rainbow Dust Milk Chocolate dusting powder and Sugarflair Nutkin Brown dusting powder
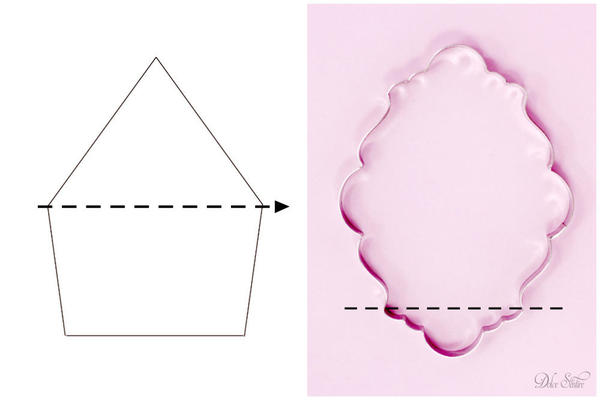
Before starting the tutorial, let's talk about the side cookies, aka the non-hen ones that form the sides of the box. Ideally, they should have exactly the same shape.
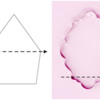
To add interest to mine, I combined two different cookie cutters together. I started by cutting out birdhouse shapes, using the cutter below (left). Then I used the bottom part of my Lillium cookie cutter (right) to trim away the top of the birdhouse and leave behind a more beautiful shape (as pictured in Step 3).
Finally, I baked and flooded them as usual.
So, now we have everything ready to go! ![]()
Hen cookie box decoration and assembly:
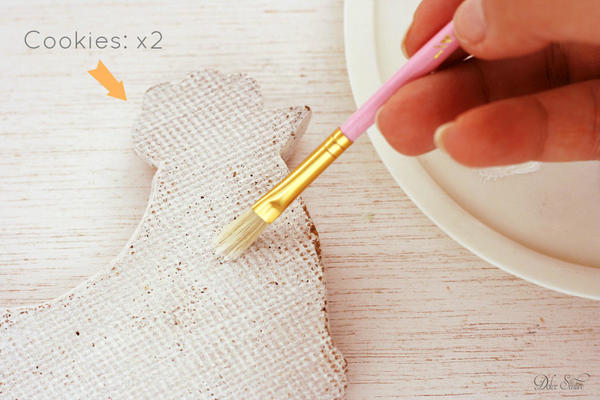
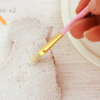
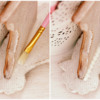
Step 1: Start by mixing white powder color and a few drops of vodka in a palette to create a paint. Then apply a coat of this paint* to the back of one hen cookie with the flat brush. Remember to cover the entire cookie surface (edges too), and let it dry (about 30 minutes at room temperature or 10 minutes in a dehydrator).
Repeat the procedure with the other hen cookie, and also the side cookies.
*If you want to improve the white paint flavor, add any alcohol-based extract. ![]()
Step 2: When the white paint is completely dry, turn both hen cookies over so that their flooded surfaces are facing up.
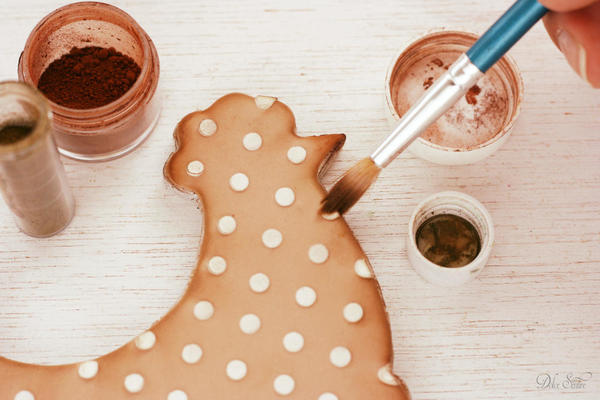
Stencil them using a polka dot plastic stencil, an offset spatula, and medium-stiff royal icing. To do so, just make sure to follow these wise stenciling technique tips from Julia’s site and her video about cookie stenciling basics. [EDITOR'S NOTE: Hey, thanks for the shout-out, Aixa! ![]() ]
]
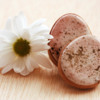
Finally, when the stenciled pattern is totally dry (about 1 hour at room temperature or 15 minutes in a dehydrator), age the edges of both hen cookies using a round paintbrush and both Milk Chocolate and Nutkin Brown dusting powders. (I started by first applying Nutkin Brown and then added intensity with Milk Chocolate.)
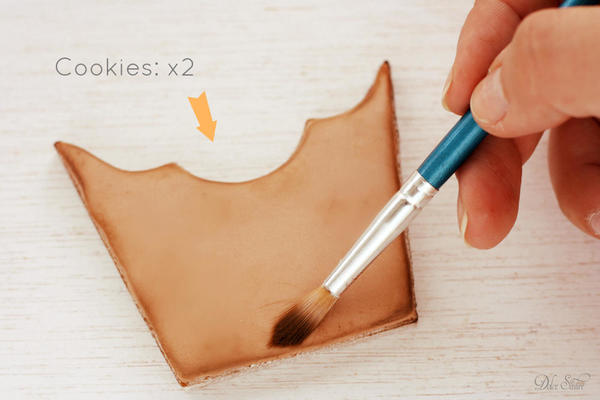
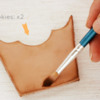
Step 3: Repeat the same dusting process two more times to age both side cookies.
I didn’t stencil these cookies, but if you'd like to do so, please feel free! ![]()
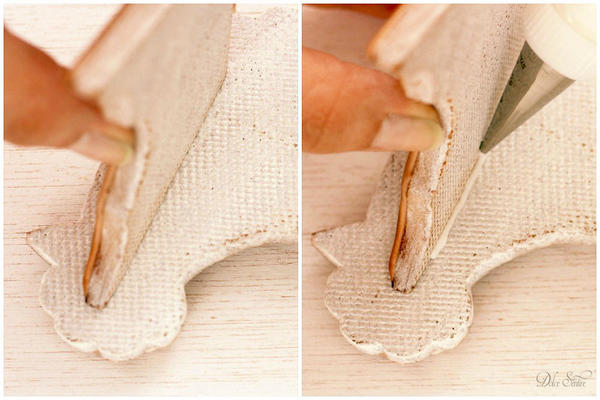
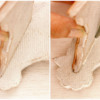
Step 4: Now, the moment of truth has arrived! ![]() Stick together one hen cookie and one side cookie with the white icing of medium consistency.
Stick together one hen cookie and one side cookie with the white icing of medium consistency.
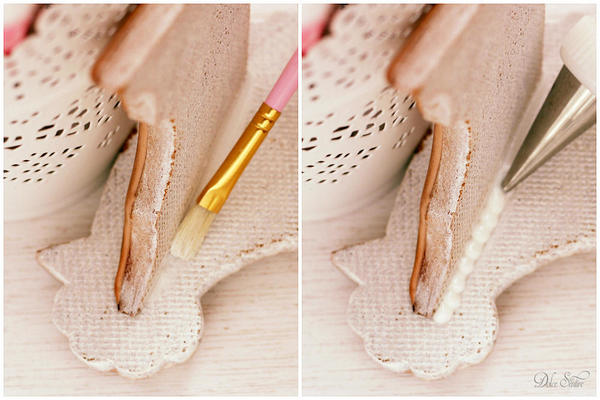
Step 5: Clean any excess icing with a flat brush, and place a vase or container against the cookie side to keep it from falling over as the icing dries. When the icing is nearly dry, pipe a royal icing border along the inner seam to embellish the inside of the box.
Repeat Steps 4 and 5 with the other side cookie, and let the partial structure dry completely (about 4 to 5 hours at room temperature).*
*To accelerate the drying process, place the structure in the oven (a fan-assisted oven is preferred) at a low temperature for around 30 minutes.
Step 6: Attach the remaining hen cookie with the leftover icing "glue", pipe borders along the inner seams, and let the box dry overnight. (Or accelerate the drying again, as described above.)
Speckled egg decoration:
To make the mini speckled egg cookies, flood lots of egg cookies in white and let them dry (overnight at room temperature or 30 minutes in a dehydrator). Then, follow the instructions in SweetAmbs' great video tutorial to speckle the eggs with the diluted powder colors mentioned above.
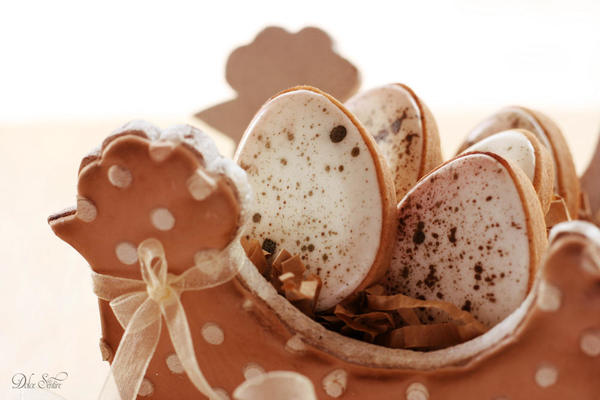
Lastly, let the speckled eggs dry completely, over-stuff the box with paper filler, and then nest all of your egg cookies into the paper. ![]()
Now, get creative! You can customize the hen cookie box any way you like. Try other animal shapes (bunnies, ducklings, or pigs); use different stencil patterns; handpaint the box; or add other materials (wafer paper, fondant embellishments, or transfers) to impressive effect!
Your family and friends are sure to love this original cookie gift filled with sweetness.
Happy Easter! 
Cookie and photo credits: Aixa Zunino

 Aixa Zunino is the soul of Dolce Sentire, a virtual corner of sweetness and creativity dedicated to cookie decorating. On her site, this garden engineer, self-taught decorator, and lover of flowers and animals lets her imagination fly, sharing everything she has learned since discovering the world of cookies in early 2012. She combines this activity with courses around Spain (her current home) where she teaches all the secrets to getting dreamy cookies. Meet her on Facebook or her website, and email her your cookie decorating questions or concerns at dolcesentiredolci@gmail.com.
Photo credit: Aixa Zunino
Note: This article expresses the views of the author, and not necessarily those of this site, its owners, its administrators, or its employees. To read more Cookie Connection tutorials, click here.







Comments (19)