Your kids may still be lolling about and enjoying their summer leisure, but, soon enough, they'll be stocking up on school supplies, and you'll be struggling to roust them out of bed to get to the bus stop on time! I'd also wager that you'll be enlisted to donate cookies to school fundraisers before September even arrives . . . Then there is always that especially deserving teacher too . . . you know, the one who consistently goes above and beyond, and just has to get a thank-you cookie gift! This all being said, there's no better time than the present to launch back-to-school stencils! And, boy oh boy, do I have a fun selection for you this month:
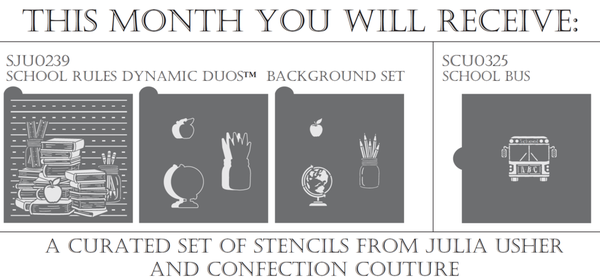
- School Rules Dynamic DuosTM Background Set (upper left),
- School Rules Dynamic DuosTM Message and Frame Set (combined with the DuosTM background set in the upper right),
- My partner Confection Couture's School Bus Basic Accent Stencil (lower right), and
- My School Days Prettier PlaquesTM Set (a reminder of one of my previously released back-to-school sets, in the lower left).
BTW, my partner and I have launched several other school-themed stencils over the last year or so. You can find all of them here.
If you're in my Stencil of the Month Club, this month you'll get both my School Rules Dynamic DuosTM Background Set and Confection Couture's School Bus Basic Accent Stencil - a $22.99 value for only $14.99. As long as you stay a member, you will also get 15% off anything else on the Confection Couture site! Here's what this month's offering looks like:
If you're not yet part of my Stencil of the Month Club and would like to become a member, simply click here for more info and to sign up. If you're not sure about making the commitment to my club, have no fear - you can still get serious savings by bundling my two DuosTM sets each month, as you'll see on the offer on this page.
Now, to use layered stencil sets like these, you'll have an easier go of it with an airbrush! (Only the last layer in a set can typically be done with royal icing.) As you may have heard, I've also got just the airbrush for you! ![]() My new JULIA dual-action airbrush system launched a couple of months ago, and it offers superior control, finer atomization, and easier cleaning, among other things. For more information about my new system, please read my launch blog post or watch these videos, and, to purchase, click here or here.
My new JULIA dual-action airbrush system launched a couple of months ago, and it offers superior control, finer atomization, and easier cleaning, among other things. For more information about my new system, please read my launch blog post or watch these videos, and, to purchase, click here or here.
With that brief sales pitch aside, let's talk (as I usually do) about what's in each DuosTM set, and how these sets can be used alone or together to create myriad designs. We'll begin with the background set, the contents of which are pictured directly below.
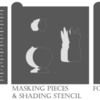
School Rules Dynamic DuosTM Background Set (6 pieces)
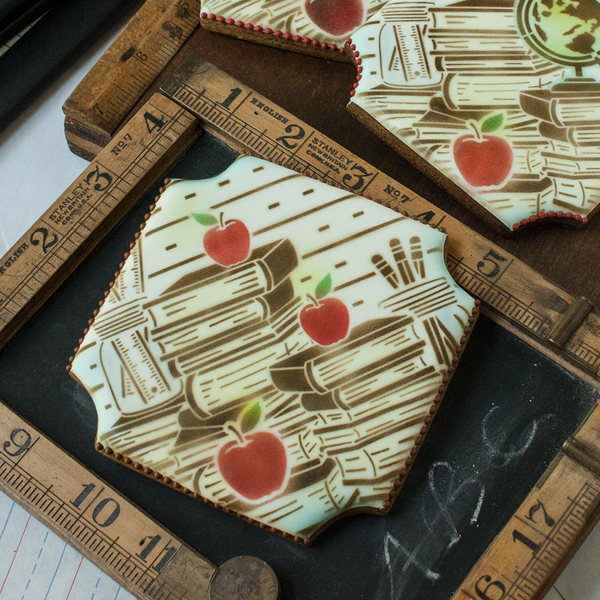
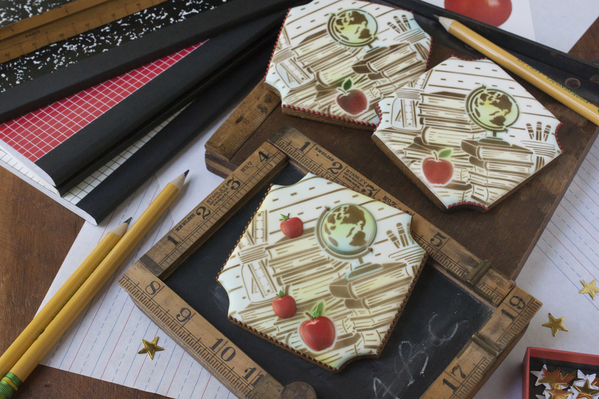
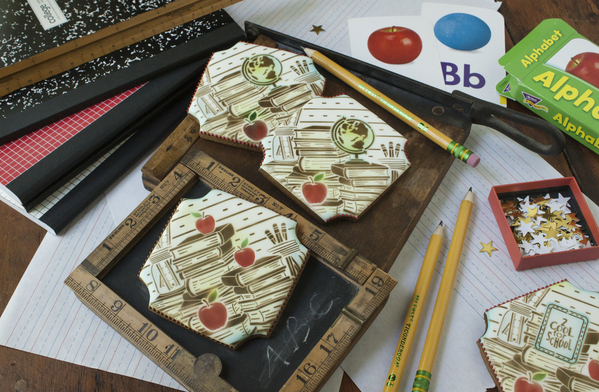
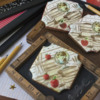
I love this set, not only because the background stencil has enough visual interest to stand on its own, but also because the foreground elements (small apple, pencil jar, and globe) can be inserted in so many fun ways into the background vignette. Here are just a couple of options:
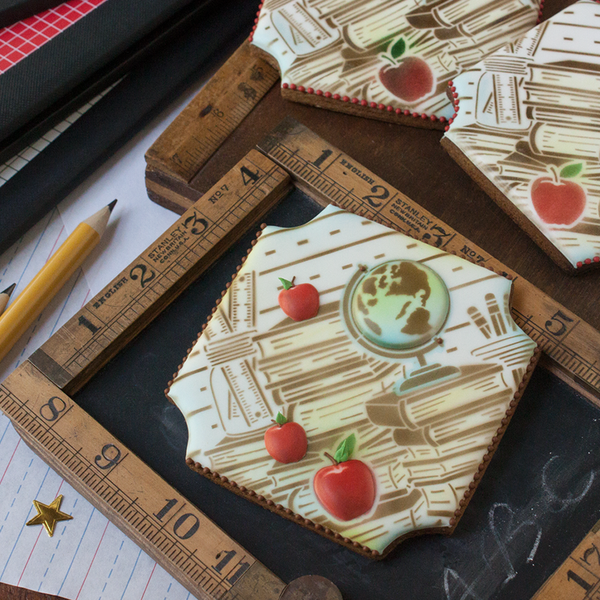
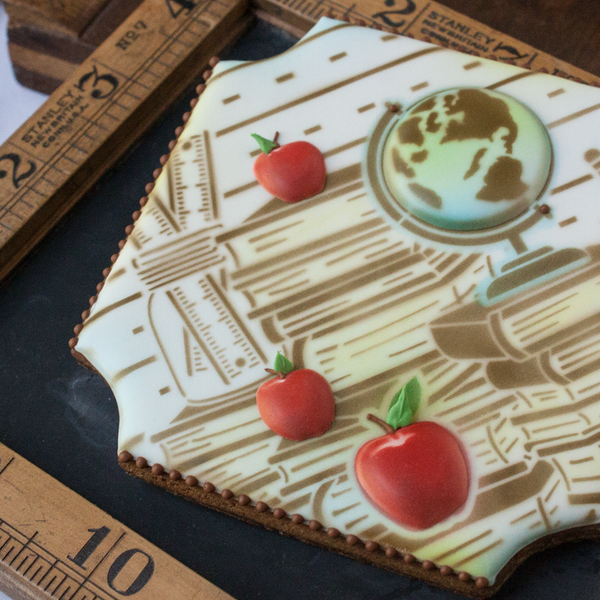
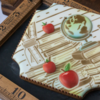
And now, a little closer so you can appreciate the details . . .
(Aside: I used the following airbrush colorings on the above cookies . . . Chefmaster Harvest Brown for the background and globe; Chefmaster Super Red for the apples; a mixture of AmeriColor Electric Green and Leaf Green for the apple leaves; and bursts of Chefmaster Hawaiian Blue and AmeriColor Electric Green on the globes and elsewhere, though mostly around the cookie edges.)
If you want to add messages to the above layered looks, then that's possible too . . . which brings me to my complementary School Rules Message and Frame Set! It contains the following masks, frames, and messages . . .
School Rules Dynamic DuosTM Message and Frame Set (7 pieces)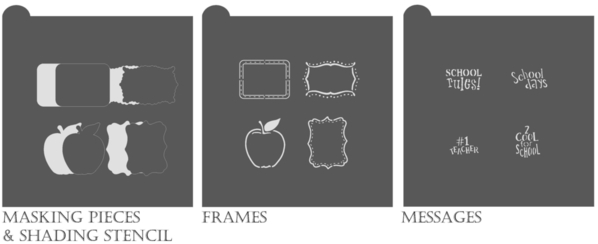
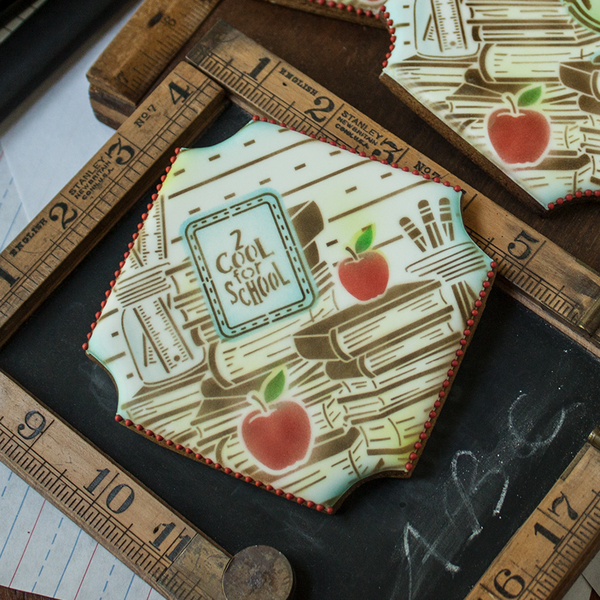
Basically, you've got four message and frame options, any one of which could be used instead of, or in addition to, one of the foreground elements in the background set. What's more, you don't have to use the stencils in the exact orientation shown here. Rotating pieces often affords more possibilities. To make the cookie below, I rotated the frame stencil so that the frame in the upper left ended up vertical, allowing it to fit the "2 Cool for School" message perfectly!
Of course, any of the other messages and frames could work too! Just lay the desired frame mask on your background stencil in the spot where you want the message to reveal. The mask will leave a space for the frame and message to be stenciled in later steps. I'll have a video demoing the use of these particular sets in a few weeks; in the meantime, please check out my other videos for tips on using layered stencil sets.
Remember, even though the background stencil, foreground elements, messages, and frames are designed to work together, you needn't stick with just the pieces in these sets. Below, I've paired the foreground elements and a message and frame from these sets with a different background created by using two different background stencils from two other sets. (And those stencils would be the quatrefoil background in my Prettier PlaquesTM Save the Date set and the Swiss dot background in my Prettier PlaquesTM Single Monogram set.)
I've also done another fun thing with this cookie, which I'm going to share with you in this last big stenciling tip (for this post, anyway)! Don't forget that stencils are crazy-versatile! You don't have to limit yourself to using them in the traditional ways - by which I mean spreading them with royal icing or airbrushing over them. I often use my stencils as guides for doing other things, or for applying other techniques.
For instance, in the cookie above, I used the quatrefoil stencil as a guideline to help apply yellow petal dust more precisely to the background. (I dusted every other diamond with Petal Crafts' compressed Havana dust, which comes in this larger set.)
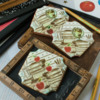
Taking the idea of guidelines a bit further, I then airbrushed the apples and globes in the foreground stencil onto a piece of paper to create a piping guide. I slipped this paper under a piece of acetate, and traced over the shapes with white royal icing to create dimensional transfers. Once these transfers were dry, I then, and only then (!), used the foreground stencil in the traditional way by airbrushing through it onto the transfers. Again, I'll soon have a video detailing all of these steps. But, in the meantime, here is another cookie that uses these same dimensional transfers . . .
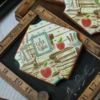
And a touch closer . . .
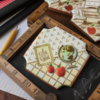
And, last but not least, a super-duper close-up so you can see the additional royal icing stem and leaf details!
And with that tip and a quick recap of key links (below), I conclude my July stencil release. Happy stenciling! May this release ease both you and your kids back into the school spirit!
- To purchase my Dynamic DuosTM sets, click here.
- To join my Stencil of the Month Club, click here.
- To see my entire stencil line, including my Prettier PlaquesTM sets, click here.
- To purchase my new JULIA dual-action airbrush system, click here or here.
- To view my videos that show how to create layered looks with my stencil sets, click here.
If you have any technical questions about these stencils, please don't hesitate to email me at sweetlife@juliausher.com or to leave a comment below. Please, however, direct all ordering and Club questions to my stencil partner, Confection Couture Stencils, at service@confectioncouturestencils.com. Thank you!










Comments (7)