
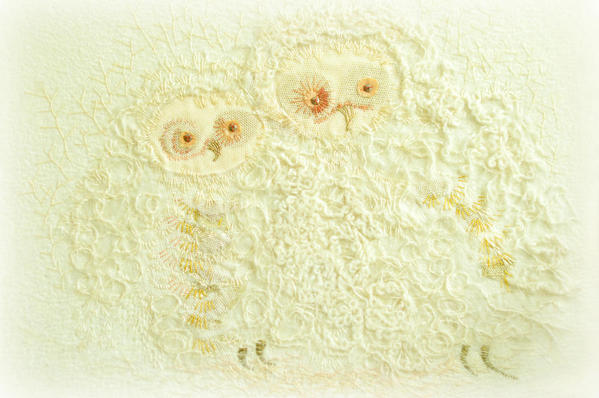
I have a piece of embroidery in my home that I have loved for a very long time. It's these two baby owls, in wool, metallic thread, netting, and felt by a very talented lady named Lois Edmonds*. I've been wanting to cookie it for quite a while now. (Of course I have; doesn't everything become cookieable after you've been looking through cookie-tinted spectacles for a while?) So I decided I'd give it a go for this tutorial, and discovered my design process took me in a surprising direction!
I began by assuming I would be recreating the image of the owls on a cookie, but felt that idea was somehow lacking innovation. Searching for inspiration, I found myself wandering through the wonderful images of cookie arrays you all created for the last Practice Bakes Perfect Challenge #10 (clips here), in awe of the sheer range of creativity and beauty. And it seemed a cookie array was the perfect way to experiment with this image.
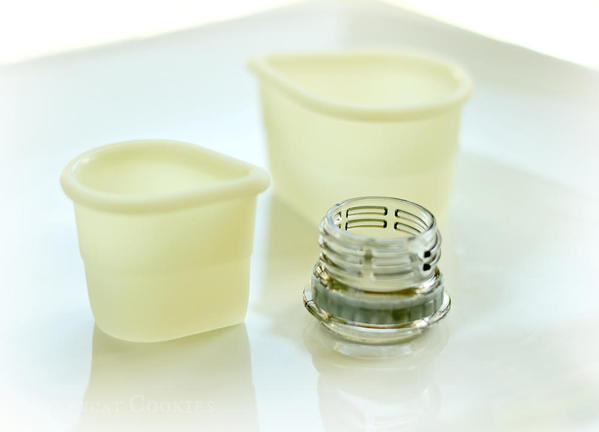
I started rummaging through my cutters. I have a lovely nested teardrop set, which provided me with two sizes, but I needed a small circle to make eyes. I was somewhat surprised to find I don't actually own a small circle, so pushed for a solution, I made my own. Yes, it's a bottle top, and it worked perfectly. (Who needs eBay?)
Small Owl Project Supplies:
- 19 large (2-inch) teardrop cookies
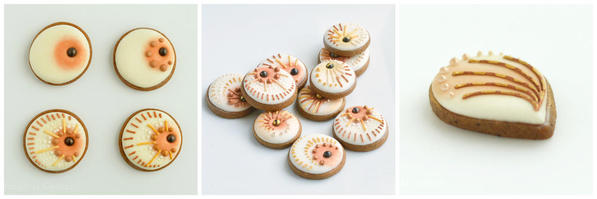
- 10 small (1-inch) teardrop cookies
- 2 small (1-inch) circle cookies
- Thick flood (20-second) consistency royal icing (RI) in cream
- Black (4 mm) sugar pearls
- Range of white sugar pearls and nonpareils (1 mm to 4 mm)
- Lustre dusts in cream, gold, and bronze
- Fine and medium food-use-only paint brushes
- Piping consistency RI in cream, beige, and brown
- A little alcohol or essence (aka extract) to mix lustre
- Gold metallic edible paint (optional)
Note on Colours:
Wherever I mention cream, you could of course substitute white. I used Sugarflair chestnut, melon, and dark brown gel colours and Sugarflair champagne, royal gold, and bronze lustre dusts. The beige is a base for gold overpainting which gives a more subtle effect than using yellow. In addition to the three lustre dust colours, I mixed cream with a very little bronze to create a lovely pale pinkish paint. I also used Rainbow Dust edible food paint in Metallic Light Gold. It creates a much brighter, thicker effect, so I used it sparingly.
Instructions:
1. Flood seven of the large teardrops and all of the small ones in the cream RI and set aside to dry.
2. Flood the circles in cream, and pop a large black sugar pearl onto each one in roughly the same place unless you want your owl eyes to be skew-whiff!
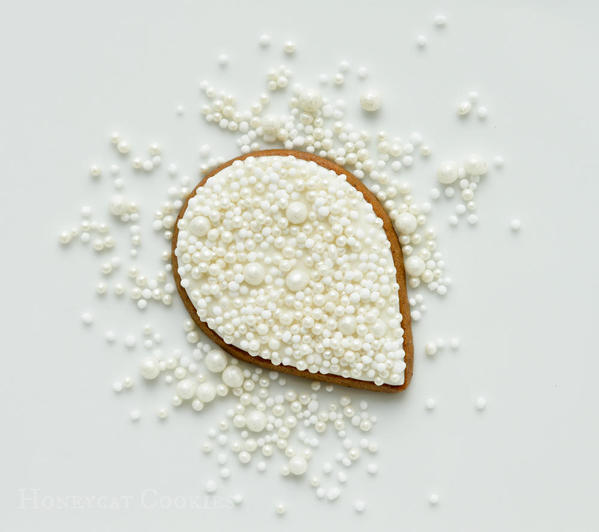
3. Flood the remaining large teardrops in cream and immediately sprinkle them with the mix of various size white sugar pearls. (I first placed the 4 mm ones on with tweezers; then sprinkled with a mix of 1 mm, 2 mm, and 3 mm beads.) Set aside to dry.
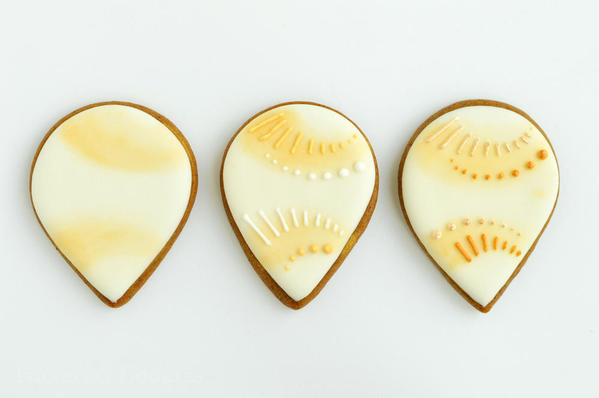
4. Taking two large and two small plainly flooded small teardrops, use the cream and gold lustre dusts to brush on arcs of colour with the medium paint brush. These will be the wings and ears. Pipe various sizes of dots and dashes with the piping consistency beige and cream RI. (I used a PME tip 1.) When the piping is dry, paint with a little cream or gold lustre dust mixed to a paint with alcohol.
5. For the eyes and beak, use the dry bronze lustre dust around the black sugar pearls, and in a streak down the teardrop. Pipe dashes and lines around the eyes in all three piping colours. Pipe the lines of the beak in brown. When the icing is dry, paint with lustre paints. I painted the beak lines in bronze, and when they were dry, I went over the top with a bright gold metallic edible paint applied in dashes, to mimic the effect of stitching.
6. On the remaining seven small teardrops, pipe small circles in cream, and, when dry, paint over them with a pinkish champagne colour mixed using the cream and bronze lustre dusts.
Assembly:
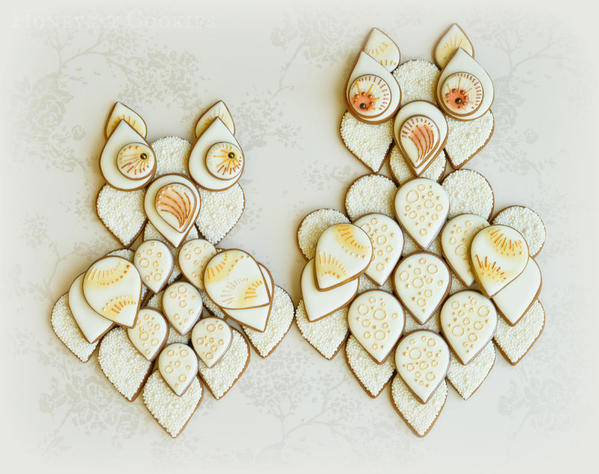
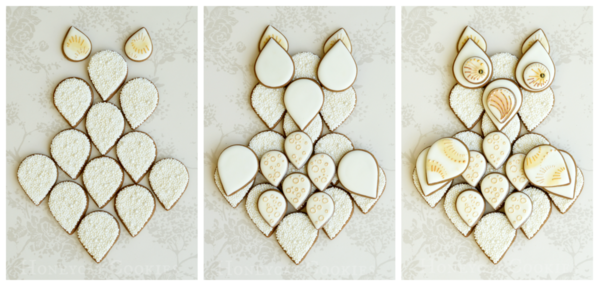
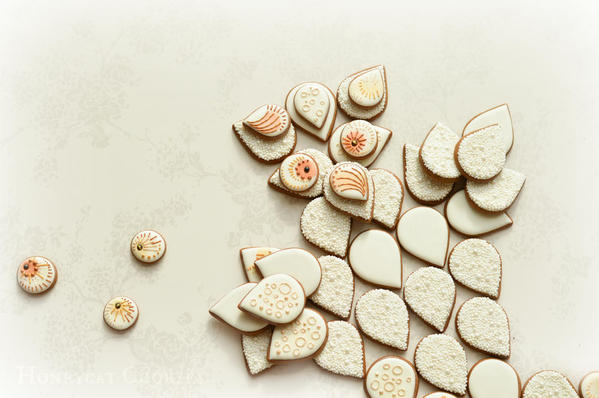
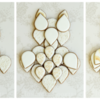
In this collage, I show the stages of setting up the owl. If, like me, you think there's a small teardrop missing from the bottom, then you're right. I swear there was no space there when I was working out the pattern to begin with, and I have been promised that no cookie-thievery took place in our household. But still. I'm sure it was there, and then it wasn't.
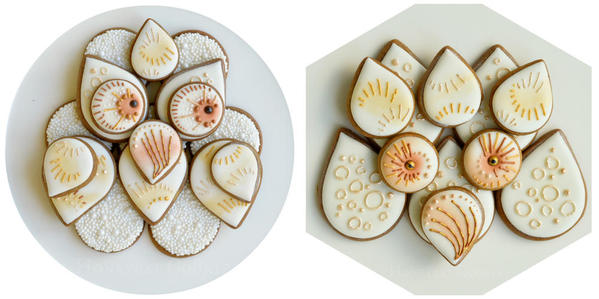
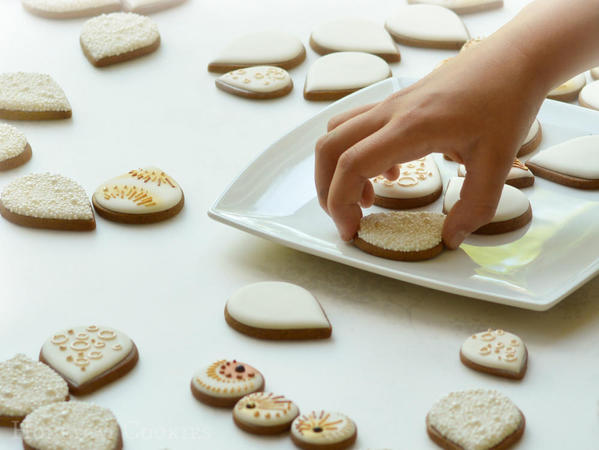
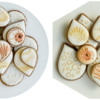
For the large owl, I used 29 large teardrops, 3 small teardrops, and 2 circles. And an awful lot of sugar pearls! But that meant we had a lot of cookies to play with, and we started experimenting with bird designs.
And then we got a little silly . . .
* I did of course ask permission from the artist to use her work in this project, and she had no choice but to agree, as she's my Number One Fan, and also my mother.

 Lucy Samuels is the owner of UK-based Honeycat Cookies. Originally with an art-based career in mind, Lucy attended art college for a year after school but switched to nursing where she spent twenty years specializing in cardiology. After becoming a stay-at-home mom to her daughter Jess, Lucy experimented with a range of crafts, alighting upon decorative cookies almost by accident. In late 2011, she was persuaded to start her business Honeycat Cookies following several requests to place orders. She set about learning the craft from books, the internet, and trial and error. Lucy has a YouTube channel as well as a blog, Honeycat Cookies, that document some of her wider adventures in confectionery.
Photo credit: Lucy Samuels
Note: What's New, Honeycat? is a bimonthly Cookie Connection blog feature written by Lucy Samuels, which pushes the cookie envelope every other month with innovative cookie design ideas and tutorials. Its content expresses the views of the author and not necessarily those of this site, its owners, its administrators, or its employees. To catch up on all of Lucy's past posts, click here.





Comments (11)