I’ve found a new love!
Wafer paper.
I played around with it a bit on my Practice Bakes Perfect Challenge #5 cookie set and then again on my Day of the Dead cookie. Since I got some questions about how I made these floral accents, I decided to make a tutorial!
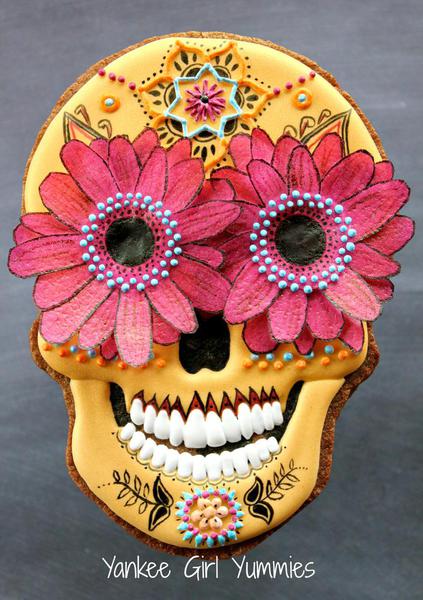
Dear Yankee Girl: How did you make those wafer paper flowers??


Now – my little disclaimer – my kids are not crazy about the taste of wafer paper, but I personally don’t mind it. That being said, should you make these, know your audience! [EDITOR'S NOTE: Or pull off the pretty flowers before eating, save them, and have the best of both worlds - a keepsake and a consumable!] AND I did make these a bit different than I did for the sugar skull. I learned a great deal from making both sets!
What you need:
- Wafer paper (white)
- Airbrush
- Airbrush colors (yellow, orange, red, bronze, gold, silver, and black)
- Scalloped round craft paper punches (2 1/4-inch round and 1-inch round), for cutting the paper
- Scissors
- Small paint brush with water
- Cookies, iced with white royal icing and dry (mine were 1 1/2-inch rounds)
- Heavy shot glass (optional)
- Royal icing in black (stiff consistency) and white (detail consistency)
- Black sanding sugar
- Gloves (optional, but recommended, as I’m looking at my hands and help!
 )
)
Whew! That’s a lot of supplies!
Now, before we get started, let’s talk about the paper punch. These are just regular paper punches that I picked up at a craft store. What I did, mostly to make myself feel better, is rinse them out well with a water/vinegar solution. It did take a couple of days for the punch to completely dry out. All kinds of nooks and crannies on those things! And wet wafer paper can get all kinds of messy.
So, let’s get started!
I began by airbrushing full sheets of wafer paper. I used yellow, red, orange, and silver airbrush colors. On all of them, except the silver, I went back and added a second coat of bronze on the sheet. I like the layered look that it achieved. Also, if you look at wafer paper, there is a rough side and a smooth side. I airbrushed the rough side. Why? Just wanted that side to be colored!
Let’s talk about why I airbrushed the entire sheet, 'cause it does take a bit of time! When the wafer paper gets "wet" with color, it starts to curl on the edges. I found that when I airbrushed the entire sheet (as opposed to the individual shapes), I had a lot less curling. Also, I knew that I was going to use all the scraps for another project . . .
To dry the sheets after they are airbrushed: I let them dry on cookie sheets, UPSIDE DOWN (smooth side up). Again, I found that this approach helped to minimize curling. In the photo below, you can see the curling on the edges to which I'm referring.
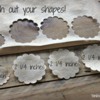
Now, to cut out the scalloped shapes: just go ahead and punch them out! For each flower, you’re going to need three 2 1/4-inch scalloped rounds and one 1-inch scalloped round. Be careful not to tear your paper.

Here’s where you might need those optional gloves we talked about. I took the scalloped shapes and lightly airbrushed the edges with black. Very lightly. Bad news: I’m still trying to clean out my airbrush. Just when I think I’ve gotten out all the black . . .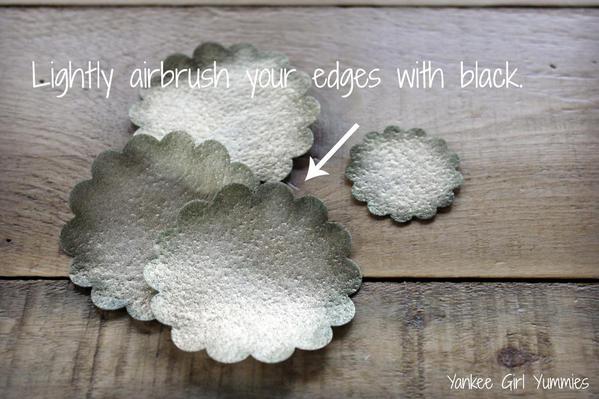
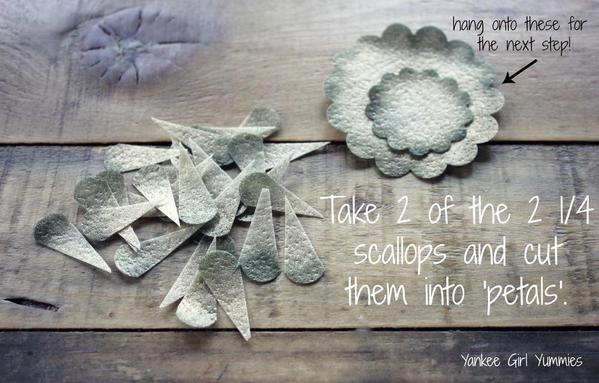
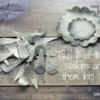
Use your scissors to cut two of the larger scalloped shapes into "petals". I cut the scallop in half and then went from there.
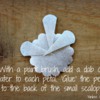
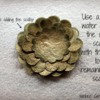
Now, to attach the newly cut petals onto the small 1-inch scalloped round. Flip over the scallop shape, because you’re going to be attaching the petals to the back. Using a paint brush and a tiny (and I mean tiny!) dab of water, "glue" the petals onto the back. Vary the height and distance between petals as you glue them on. In other words, don’t be neat about it! Gives them more of a realistic, layered look. You probably won’t use all the petals that you cut out, but you might!
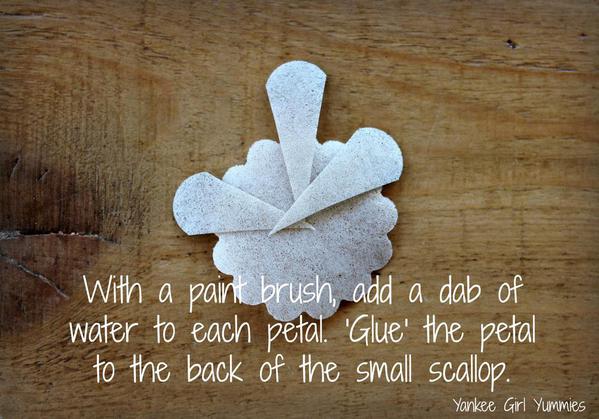
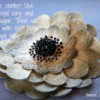
The completed look:
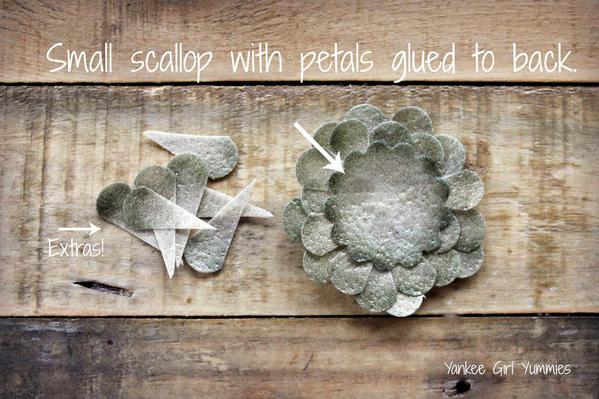
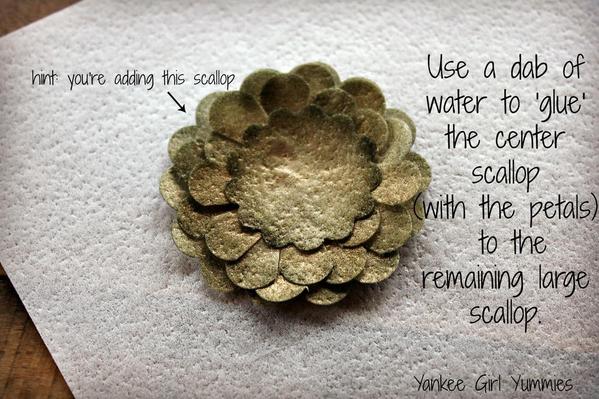
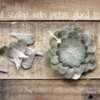
Once you’ve got all your petals "glued" on, you can add that remaining large scallop to the back of the flower. Again, use a dab of water to attach the two.
My favorite part: the center of the flower. You can get creative here. Go as simple or as detailed as you’d like. I chose to use stiff black royal icing and black sanding sugar for these. I just applied the black royal icing and then sprinkled the sanding sugar over the top while the icing was still wet. Then, after it set, I went back and added the tiny black details with royal icing.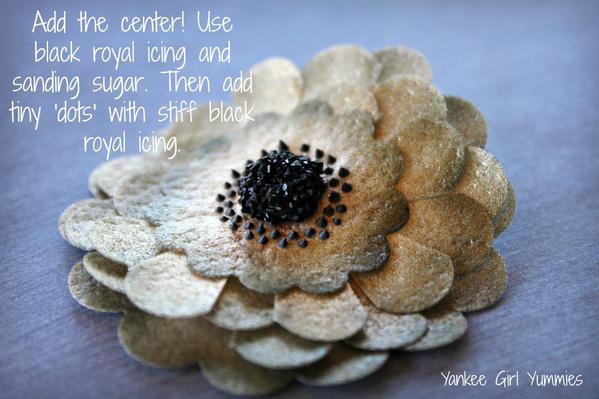
I’m assuming that somewhere in there you made dough, baked cookies (1-1/2 inch rounds), and flooded them with white royal icing. And that they’ve had ample time to dry . . . because we’re ready to attach our flowers!
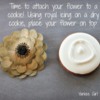
I piped white royal icing (detail consistency) onto my dry cookie and then laid the flower on top.

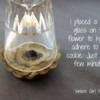
I did find that some of my petals were curling a bit and not laying as flat as I wanted, so I placed a shot glass over the top. The flower really just needed a few minutes to be perfect. See picture for a visual!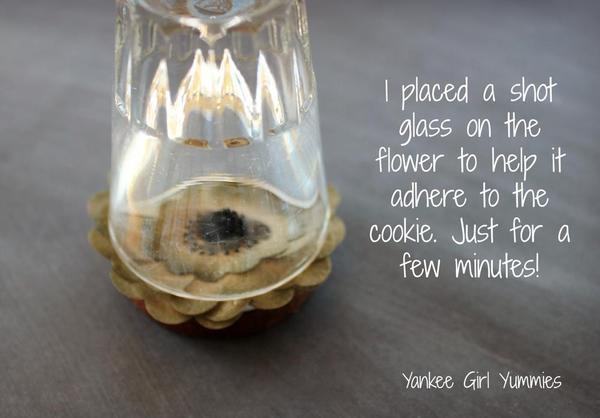
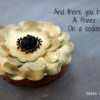
And, hopefully, once you take off the shot glass, you’ve got a perfect little flower cookie too!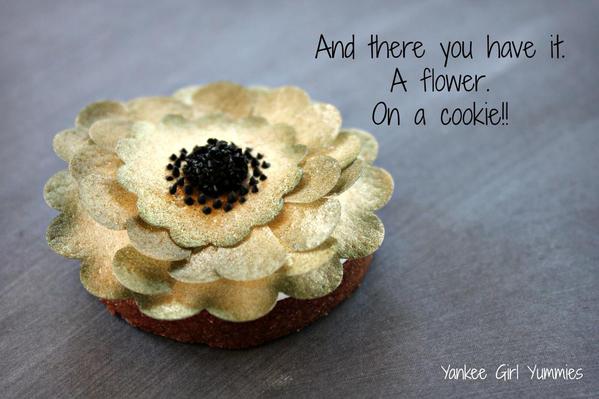
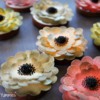
I think these flowers would be great to mix into a set. Or do a bunch (like me!) for wedding or shower favors! 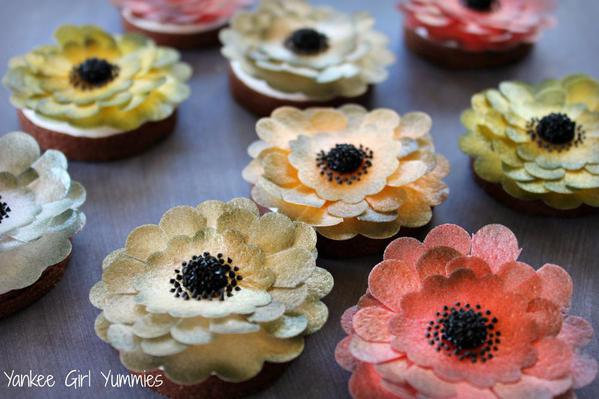
Please let me know if you have any questions. I'd love to hear what you think about these flowers!
All cookies and photos by Yankee Girl Yummies.

 Kari Arroyo started decorating cookies in 2011 after deciding to take a break from nursing, and learned the ways of royal icing by reading tutorials and LOTS of trial and error. When she’s not decorating cookies, you can find her chasing after two busy boys! Check her out on Facebook or her site, and email her your cookie questions at yankeegirlyummies@gmail.com.
Photo credit: Kari Arroyo
Note: Dear Yankee Girl is a regular Cookie Connection blog feature, written by Kari Arroyo, which allows you to get all your critical cookie technique questions answered, Dear Abby-style! Its content expresses the views of the author and not necessarily those of this site, its owners, its administrators, or its employees. To catch up on all of Kari's past posts, click here.



Comments (12)