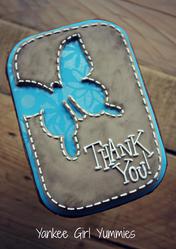
 I made these thank you cookies for the "Giving the Gift of Thank You" project with Anita from Sweet Hope Cookies - a wonderful cause of which I was so proud to be a part. If you’d like to read more about the project, which supports those living with ALS, check out: Sweet Hope Cookies.
After I posted these cookies, I got a lot of questions about how I made the royal icing look like leather. So, I’m here to answer “Dear Yankee Girl . . . show us your suede!" And I'm giving that answer a special Fathers' Day spin!
If your dad is anything like mine, he doesn’t need or want much – which makes gift-giving a challenge. There’s always a card. Sometimes I throw a home improvement store gift card in there . . . But I was thinking that instead of giving a regular greeting card this year, maybe I’d give him a cookie card! Let’s show dad how much we care by writing it out on a cookie. After all, cookies are the new greeting card!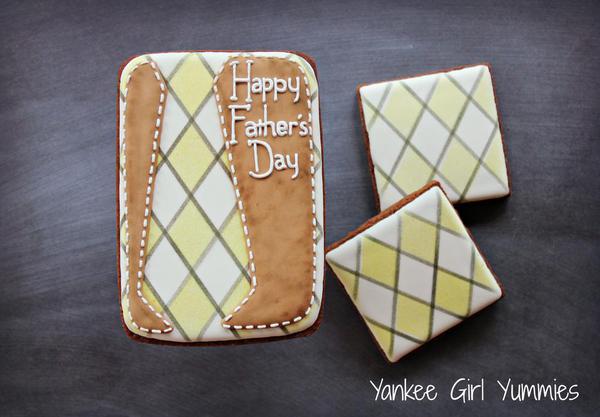

What you are going to need:
- Large cookie – I used a rectangle with the corners trimmed
- White royal icing, flooding consistency
- Airbrush (optional) with yellow sheen and black colors
- Patterned stencils
- Food writer
- Clip art of tie, cut out
- Khaki/brown colored royal icing, 20-second consistency
- Brown and spruce green petal dust
- Soft, round paint brush
- White royal icing, stiff consistency
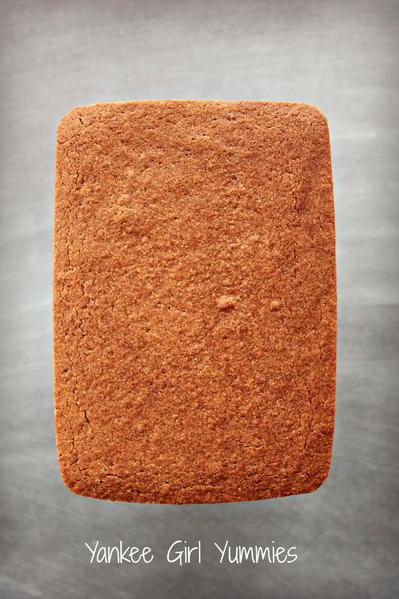
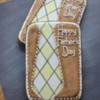
Let’s start with the cookie. I used a rectangle-shaped cookie. To change it up a bit, I rounded the corners before baking. A variety of shapes would work for this project though. Use what you have! And no comments about my baked cookie . . . icing covers a lot of imperfections. ![]()
After the cookie has cooled, flood the entire cookie white. Again, you can make this cookie look any way that you want, so feel free to flood with ANY color! Then allow it to dry overnight.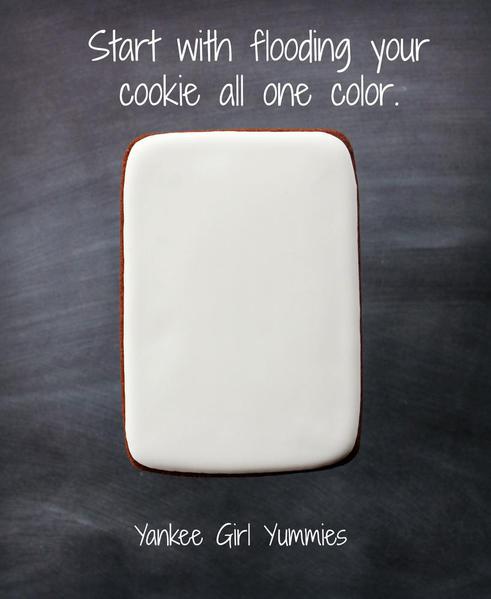
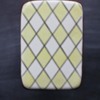
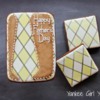
Once your base has dried, you can decorate your "tie". I chose to airbrush a pattern. I used sheen yellow and black color, with a diamond pattern. If you do not have an airbrush, no worries! You can handpaint a pattern. Or you could do a wet-on-wet pattern when flooding in the first step. Make the tie look like something your dad would wear. Just remember to cover the entire cookie with the pattern. [EDITOR'S NOTE: To see how Kari did the stenciled airbrush pattern, click on through to this quick photo tip.]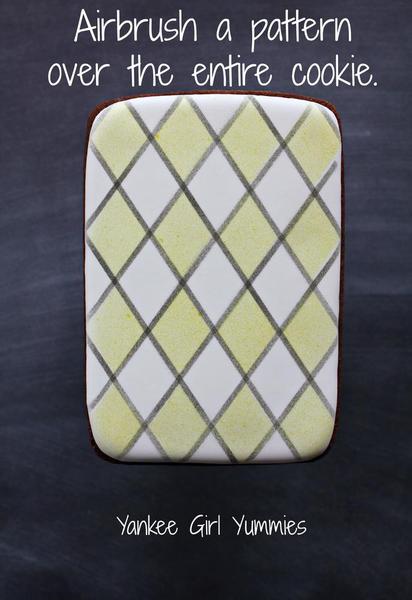
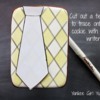
Next, I found an image of a tie online and cut it out. I wanted it to "hang" off the sides of the cookie a bit. You could also freehand this step; I’m just not great at freehanding things like this!
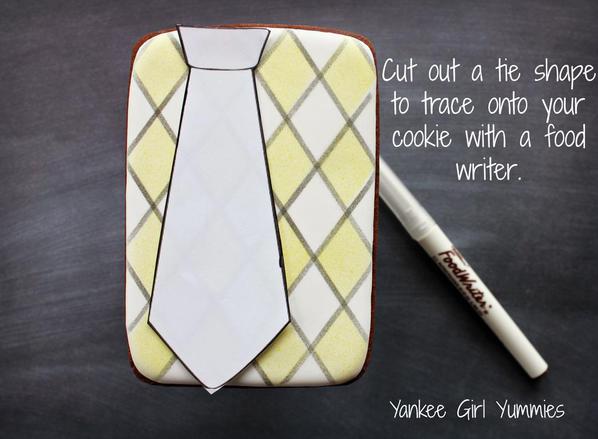
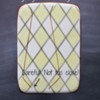
Take your food writer, and trace the image onto the cookie. Be careful not to trace the image all the way to the edge. It’ll be impossible to cover with icing later . . .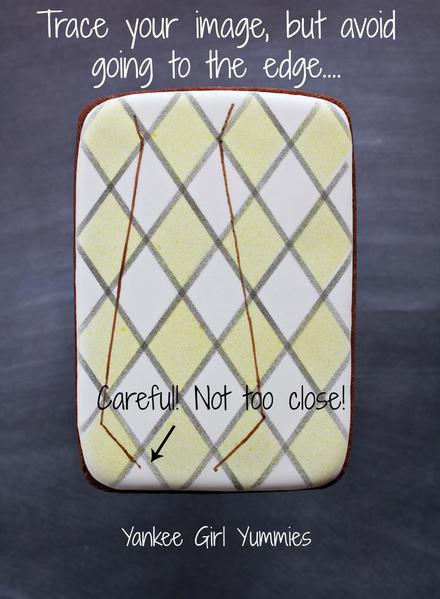
Now you’re ready to flood with your khaki/brown color. In case you’ve never colored royal icing this shade before, the trick is to add a touch of leaf green to the icing. Not too much, just a bit! And keep your icing consistency on the thicker side. You don’t want a lot of movement with it. Follow your food writer line, avoiding the area where your tie is hanging over. I also did not flood all the way to the outside edge. Why? Just because I like the look of the airbrushed area on the edge! Let that area dry for about eight hours. Looks like you’ve got time to go pick up that gift card at the home improvement store!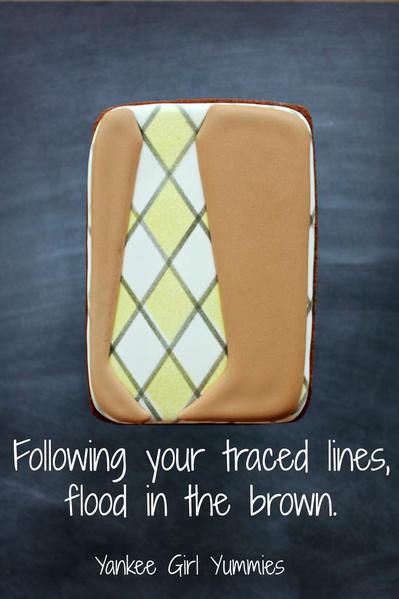
When your khaki/brown icing has dried, you’re ready to "dust". Use a soft, round DRY brush for this step. I mixed together equal parts of the brown and spruce green petal dust. Gently apply the petal dust to the cookie. You’ll want to go a bit heavier on the edges. And remember - a little goes a long way!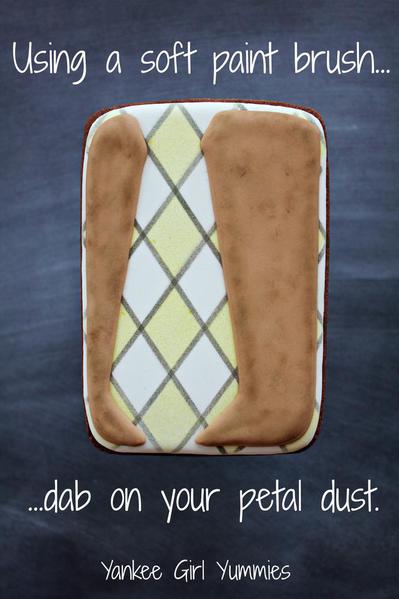
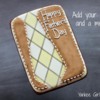
Then it’s time to add the white stitching and message. Using a stiff icing, make small, straight lines around the edge of the cookie and tie. Then add whatever message you’d like!
That, my friends, is how I made my cookie look like suede! And if we could keep this tutorial just between us, I’d appreciate it. My dad did NOT actually get these cookies because . . . well, because I let my kids eat them. And maybe I ate a couple . . . No judging! But I picked out a wonderful greeting card for him! ![]()
As always, email me or leave a comment here with any questions! And Happy Fathers' Day to all those dads out there!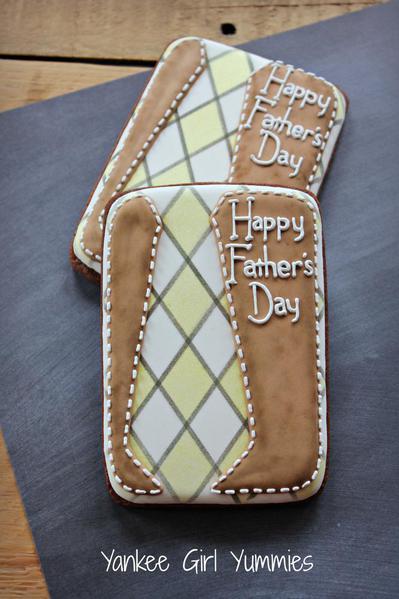

 Kari Arroyo started decorating cookies in 2011 after deciding to take a break from nursing, and learned the ways of royal icing by reading tutorials and LOTS of trial and error. When she’s not decorating cookies, you can find her chasing after two busy boys! Check her out on Facebook or her site, and email her your cookie questions at yankeegirlyummies@gmail.com.
Photo credit: Kari Arroyo
Note: Dear Yankee Girl is a regular Cookie Connection blog feature, written by Kari Arroyo, which allows you to get all your critical cookie technique questions answered, Dear Abby-style! Its content expresses the views of the author and not necessarily those of this site, its owners, its administrators, or its employees. To catch up on all of Kari's past posts, click here.




Comments (22)