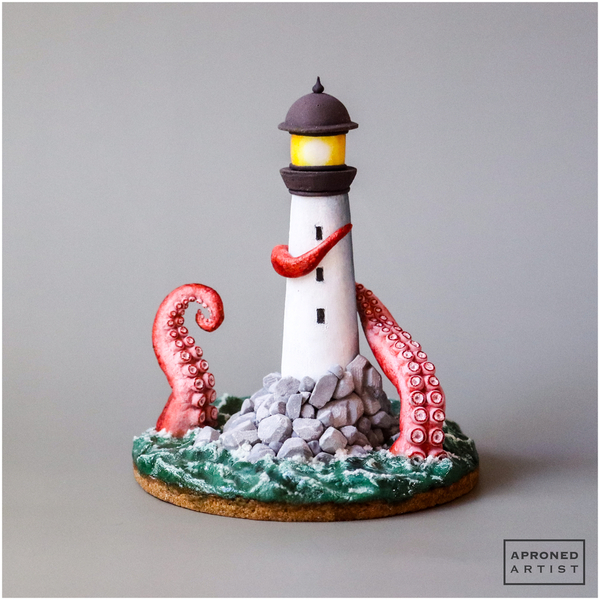
 Around this time last year, I made a treasure chest cookie and declared pirates to be my new favorite theme. This year, I'm sticking with the theme and tapping into pirate lore. What can strike fear in the hearts of the most hardened pirates? What can snap a ship in two like a twig? What has giant, slimy tentacles and a hankering for man-meat? The kraken. Legendary, terrifying, and oh-so-fun when miniaturized in a little cookie scene.
Supplies:
- 14 (5/8-in/1.6-cm) round cookies, rolled 1/8 in (0.3 cm) thick (I used the wide end of a Wilton #12 tip as a cookie cutter)
- Royal icing (I used AmeriColor gel paste coloring to tint the icing):
- Stiff-consistency white
- Thin flooding-consistency* white
- Extra stiff-consistency** white
- Thin flooding-consistency* dark brown (3 parts Chocolate Brown/1 part Super Black)
- Stiff-consistency dark brown (2 parts Chocolate Brown/1 part Super Black)
- Extra stiff-consistency** gray (Super Black)
- Extra stiff-consistency** pink (2 parts Mauve/1 part Deep Pink)
- Extra stiff-consistency** aquamarine (2 parts Forest Green/1 part Silver Spruce)
- 6 (7/16-in/1.1-cm) round cookies, rolled 1/8 in (0.3 cm) thick (I used the tip of a Wilton #2A tip as a cookie cutter)
- Tips:
- Paint brushes:
- Flat paint brush
- Tiny liner paint brush
- Paint brush for confectionary glaze (if using)
- Tiny round paint brush
- Food-safe file
- Parchment paper
- Cookie cutter with a 2 1/2- to 3-in (6.4- to 7.6-cm) opening
- Scribe tool (or equivalent)
- Small trowel or offset spatula
- AmeriColor (or equivalent) gel paste colorings for painting: Super Black, Bright White, Electric Yellow, Chocolate Brown, Terracotta, Silver Spruce
- Confectionary glaze (or mix a glaze of 2 parts corn syrup to 1 part alcohol)
- Powdered sugar
- 1/2-in (1.3-cm) silicone hemisphere mold
- Acetate (or parchment paper)
- 2 toothpicks
- Small props (such as a binder clip and a small jar)
- 3 1/2-in (8.9-cm) round cookie
- Sculpting tool (or equivalent)
*For thin flooding-consistency, the “tracks” left by the icing when dropped into the icing bowl should disappear in three seconds.
**For extra stiff-consistency icing, add powdered sugar to your regular stiff-consistency icing until it is just barely tacky. The icing will be slightly grainy. Extra stiff-consistency icing will be easier to manipulate without risk of it sticking to tools.
Step 1: Create lighthouse tower
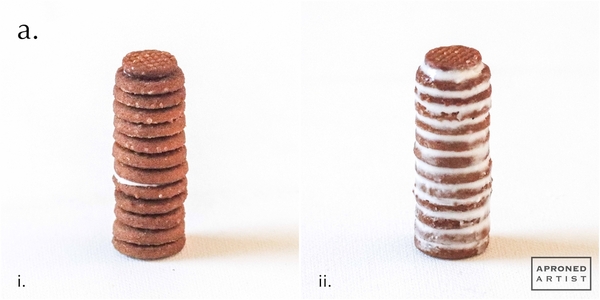
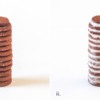
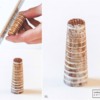
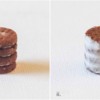
a. Sandwich 13 (5/8-inch/1.6-centimeter) round cookies together with a dab of stiff-consistency white royal icing. Add one (7/16-inch/1.1-centimeter) round cookie on top of the stack (i). Allow the icing to set for a moment. Using a PME #2 tip (or equivalent), pipe a line of icing to cover the seam between two cookies. Use a damp flat paint brush to smooth the icing and fill the seam. Repeat to fill all of the seams (ii). Allow the icing to dry completely.
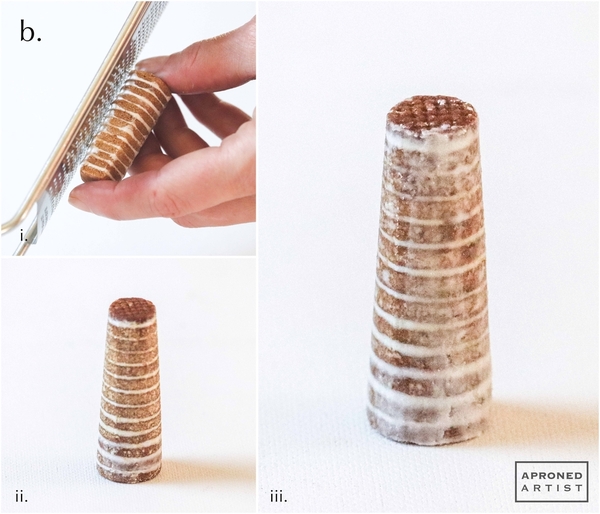
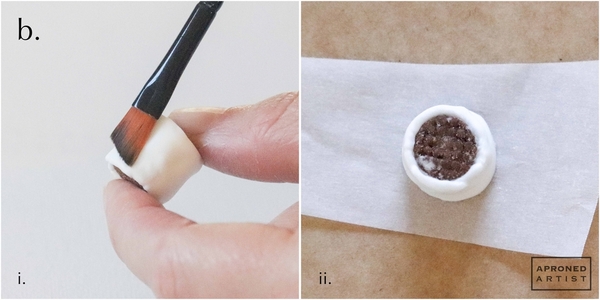
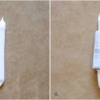
b. Use a food-safe file to sand down the edges of the cookies (i) so that the lighthouse tower gradually tapers to the diameter of the 7/16-inch (1.1-centimeter) round cookie on top of the stack (ii). Use a flat paint brush to paint the sides of the stack with thin flooding-consistency white royal icing to seal in any crumbs (iii).
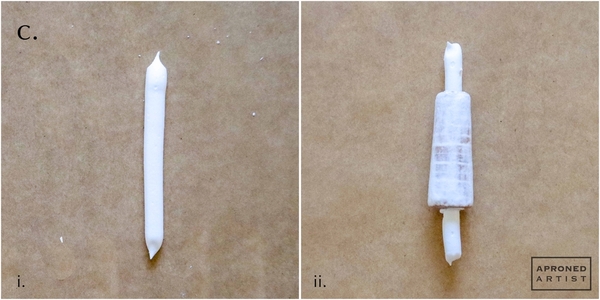
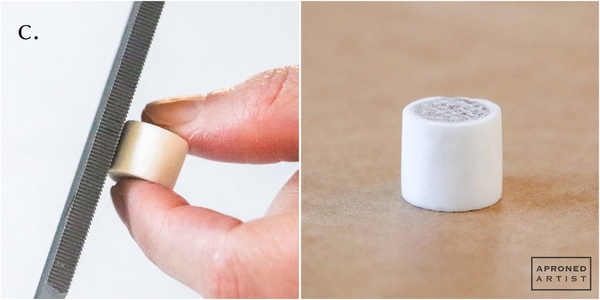
c. Using stiff-consistency white royal icing and a Wilton #12 tip (or equivalent), pipe a 3-inch (7.6-centimeter) line of icing on a piece of parchment paper (i). This transfer will serve as a temporary handle so it doesn’t need to look pretty. Allow the icing to dry completely. Break the transfer in half, and attach a piece to either end of the lighthouse tower with a dab of stiff-consistency white royal icing (ii). It should look a bit like a rolling pin. Allow the icing to dry completely.
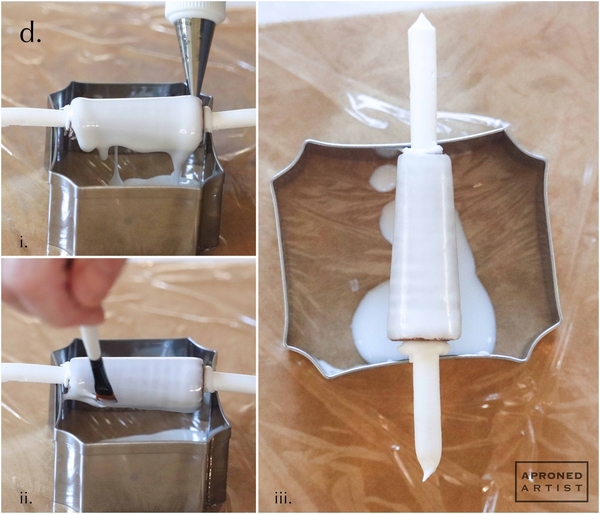
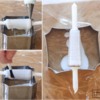
d. Suspend the lighthouse tower over a cookie cutter so that the handles rest on the edge of the cutter and the lighthouse tower sits completely within the opening. Using thin flooding-consistency white royal icing and a PME #2 tip (or equivalent), pipe icing to cover the lighthouse tower (i). Allow the icing to drip over the sides. Pop any air bubbles with a scribe tool (or equivalent). Use a paint brush to spread the drooping icing around the backside of the lighthouse tower (ii). Don’t worry if you can still see the dark color of the cookie beneath the icing. Allow the icing to dry completely.
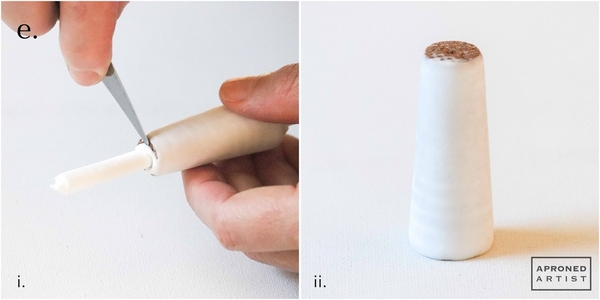
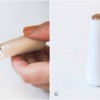
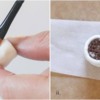
e. Once dry, pry off the handles with a small trowel or offset spatula (i). If necessary, file any remaining icing at the top and bottom of the lighthouse tower where the handles were attached. Additionally, file any drips on the backside of the lighthouse tower so that the layer of icing is even and consistently thick (ii).
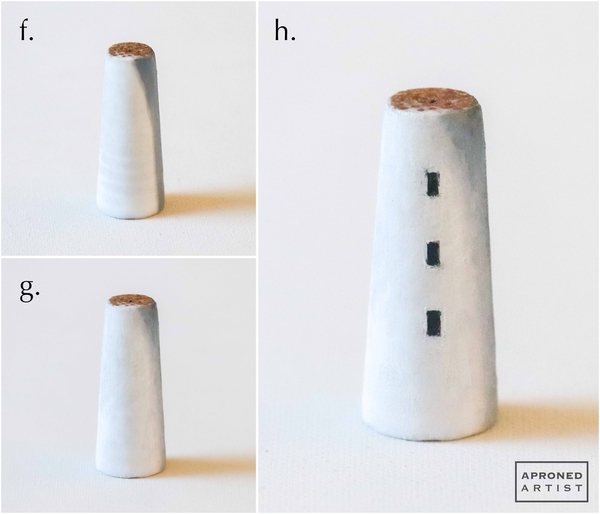
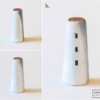
f. Mix a dab of Super Black gel paste coloring into a drop of Bright White gel paste coloring (or equivalents) to create a gray paint. We’ll be using this paint to create a shadow on the right side of the lighthouse tower. Use a damp flat paint brush to paint a stripe down the right side of the lighthouse tower that widens to form a triangle at the top.
g. Paint the remainder of the lighthouse with undiluted Bright White gel paste coloring (or equivalent). You should no longer be able to see the dark color of the cookies beneath the icing. Blend the white paint into the gray shadow to soften the transition slightly.
h. Use undiluted Super Black gel paste coloring (or equivalent) and a tiny liner paint brush to paint three tiny windows down the front of the lighthouse tower.
Step 2: Create lighthouse light
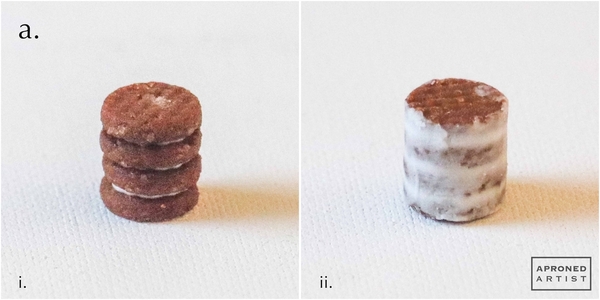
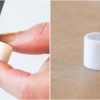
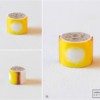
a. Sandwich four (7/16-inch/1.1-centimeter) round cookies together with a dab of stiff-consistency white royal icing (i). Allow the icing to set for a moment. Using a PME #2 tip (or equivalent), pipe a line of icing to cover the seams between the cookies. Use a damp flat paint brush to smooth the icing and fill the seams (ii).
b. Cover the cylinder of cookies with a thick coat of stiff-consistency white royal icing. Use a damp flat paint brush to flatten and smooth the icing (i). Don’t worry about making the icing perfectly even as we will be filing it down in the next step. Place the cylinder on a square of parchment paper to dry completely (ii).
c. Use a food-safe file to smooth the top, bottom, and sides of the cylinder until it is smooth and even.
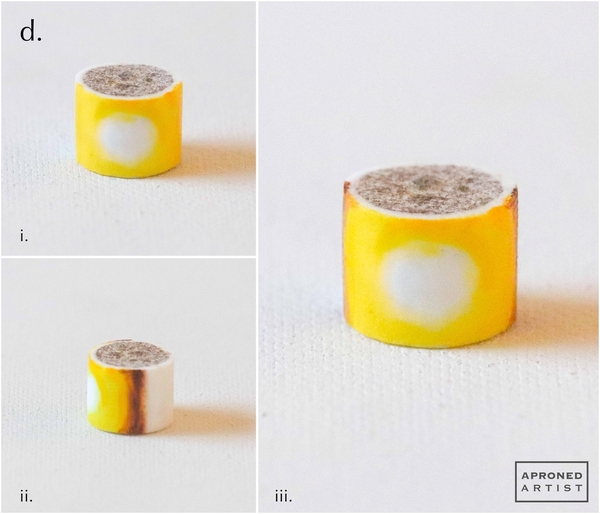
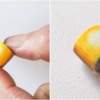
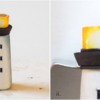
d. Mix Electric Yellow gel paste coloring with a touch of Bright White gel paste coloring (or equivalents) to make a light yellow paint. Leaving a circle of unpainted white icing in the front center of the cylinder, paint the remainder of the front face with the yellow paint (i). Using a damp paint brush, paint a stripe of Chocolate Brown gel paste coloring (or equivalent) on either side of the cylinder. Blend the brown paint to create a diluted curve that follows the side of the white circle in the center (ii). When you look at the cylinder straight on, you should see just an outline of brown on the sides (iii). Repeat on the backside of the cylinder.
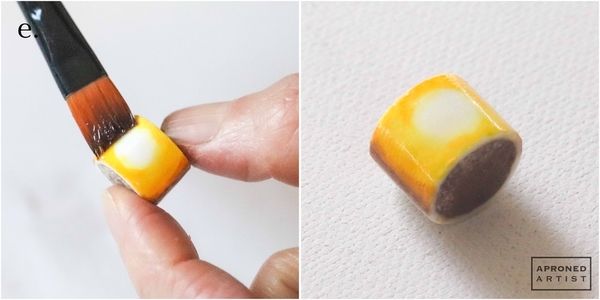
e. Optionally, paint the light transfer with confectionary glaze (or equivalent) to give it a glass-like shine. (Note: If using confectionary glaze, you will need a dedicated paint brush that is only used with that product.) Allow the glaze to dry completely (about 15 minutes for confectionary glaze or a day or more for corn syrup glaze).
Step 3: Create lighthouse cupola transfer
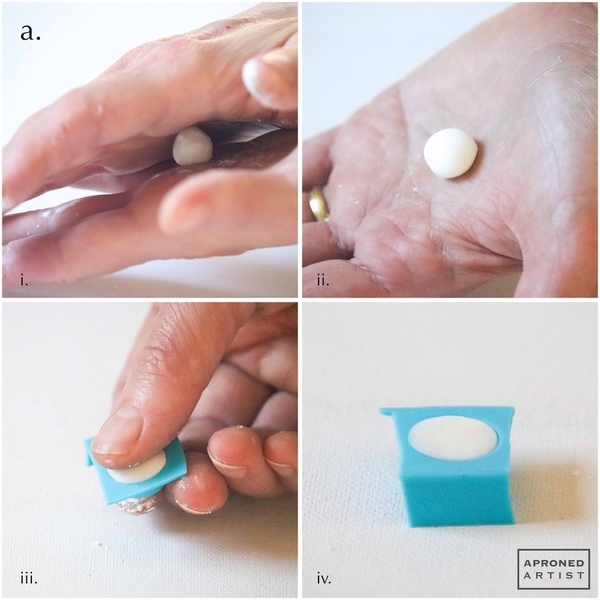
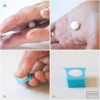
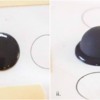
a. Rub some powdered sugar on your palms to prevent the icing from sticking. Roll a small amount of extra stiff-consistency white royal icing between your palms (i) to create a smooth ball (ii). Press the ball firmly into a 1/2-inch (1.3-centimeter) silicone hemisphere mold (iii). Remove any excess icing with a small trowel (or equivalent) so that the icing is flush with the top of the mold (iv). Allow the icing to dry completely (at least a few days) before pressing on the rounded side of the mold to pop out the transfer. Don’t worry if the dried hemisphere has a slightly rough texture as we will be covering it in the next step. This hemisphere transfer will be the cupola (the domed roof of the lighthouse).
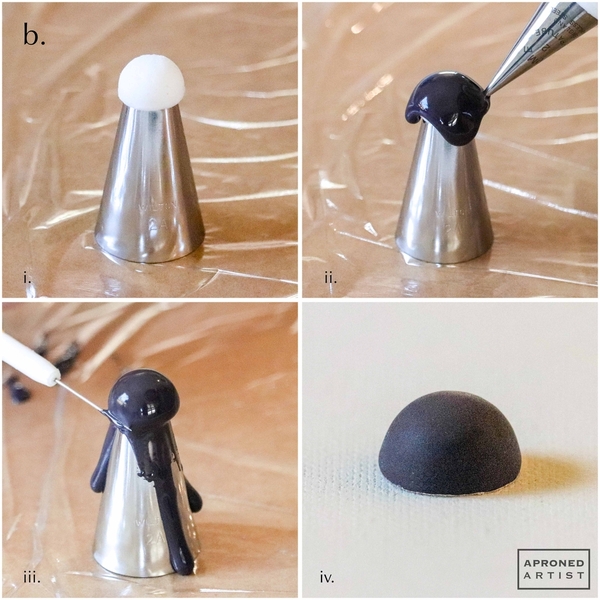
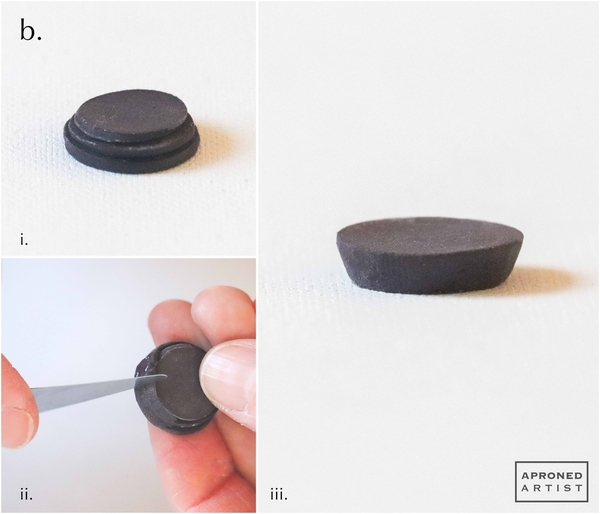
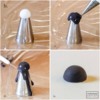
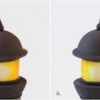
b. Place the cupola transfer on top of a piping tip with an opening that is slightly smaller than the base of the hemisphere (I used a Wilton #2A tip) (i). Using thin flooding-consistency dark brown royal icing and a PME #2 tip, pipe icing to cover the cupola (ii). Allow the icing to drip off of the base of the cupola. Use a scribe tool (or equivalent) to pop any air bubbles. Use the side of the scribe tool (or equivalent) to slice through the drips, dragging the excess icing toward the piping tip (iii). Allow the icing to dry completely before popping the transfer off of the piping tip. File any rough edges along the base of the cupola (iv).
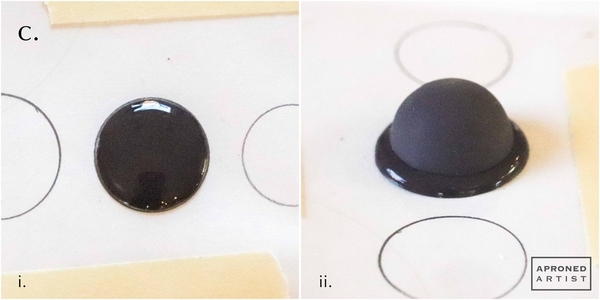
c. Using thin flooding-consistency dark brown royal icing and a PME #2 tip (or equivalent), pipe a circle of icing that is the same diameter as your flooded cupola on a square of acetate (or parchment paper) (i). (My cupola measured 11/16 inch/1.7 centimeters.) While the icing is wet, gently press the base of the cupola into the icing so that some of the wet icing squeezes out around the cupola to create a rim (ii). Allow the icing to dry completely before peeling the acetate (or parchment paper) away from the cupola transfer.
Step 4: Create lighthouse gallery transfer
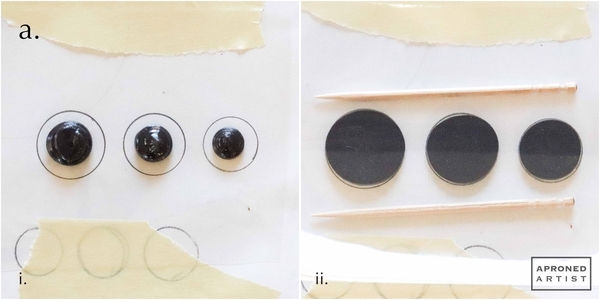
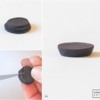
a. Draw three consecutively smaller circles on a piece of paper, ranging in diameter from 3/4 to 5/8 inch (1.9 to 1.6 centimeters). Tape a small piece of acetate (or parchment paper) over the three circles. Using stiff-consistency dark brown royal icing and a PME #2 tip (or equivalent), pipe icing to fill most of each circle (i). Line up one toothpick (or equivalent) near the top of the circles and one toothpick near the bottom of the circles. Place another piece of acetate (or parchment paper) over the top of the icing, and gently press down on each dab of icing until it fills its circle (ii). The toothpicks should help to maintain a consistent height. Allow the icing to dry completely before peeling the acetate (or parchment paper) away from the transfers.
b. Use a dab of stiff-consistency dark brown royal icing to attach the three discs of icing together in order of size (i). Apply some icing to the sides of the stacked transfer. Scrape the side of a small trowel (or equivalent) along the sides of the transfer to smooth the icing and fill the gaps. Continue this process until all of the gaps are filled and the transfer looks like a single piece, kind of like a tiny peanut butter cup (iii). Allow the icing to dry completely.
Step 5: Assemble lighthouse
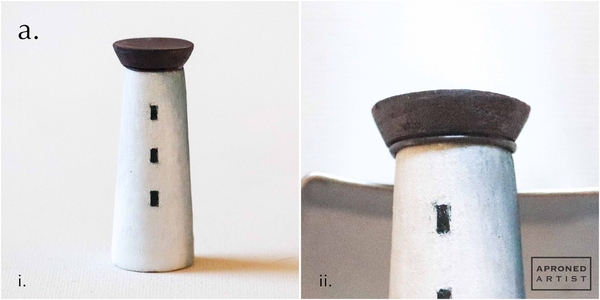
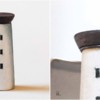
a. Using a dab of stiff-consistency dark brown royal icing, attach the smaller end of the gallery transfer to the top of the lighthouse tower (i). With the same icing and a PME #24 tip (or equivalent), pipe a band of icing to cover the seam between the two pieces (ii).
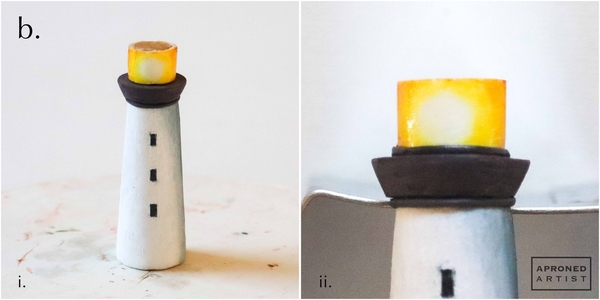
b. Attach the lighthouse light to the gallery with a dab of icing (i). Pipe another band of icing to cover the seam between the light and the top of the gallery (ii).
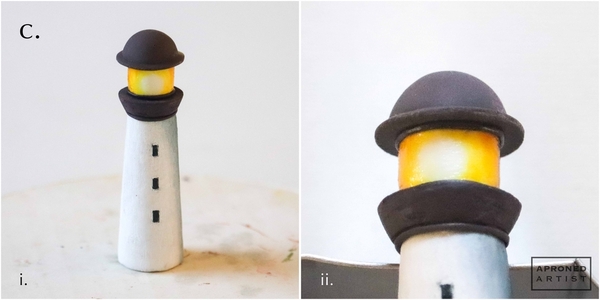
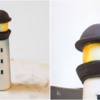
c. Attach the cupola transfer to the light with a dab of icing (i). Pipe another band of icing to cover the seam between the cupola and the top of the light (ii).
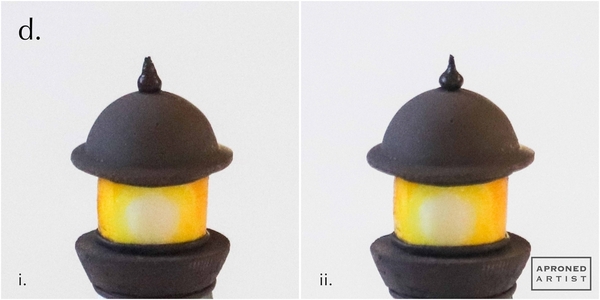
d. Using the same dark brown icing and a PME #2 tip (or equivalent), pipe a dot of icing centered on top of the cupola (i). Let it set for a moment until no longer tacky. Use the side of a dry flat paint brush to shape the icing into a more defined teardrop shape (ii).
Step 6: Pipe and attach rock transfers
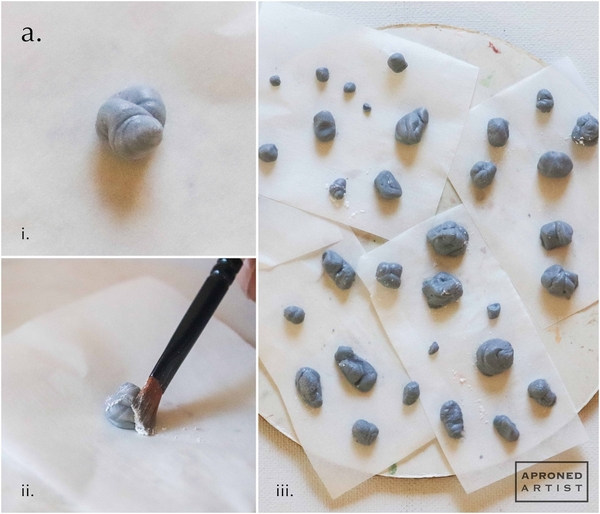
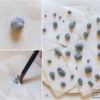
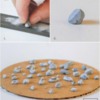
a. Using extra stiff-consistency gray royal icing and a PME #3 tip (or equivalent), pipe a blob of icing about 1/4 inch (0.6 centimeter) wide on a square of parchment paper (i). Press the flat side of a flat paint brush against the side of the icing to compress it slightly (ii). (If your paint brush sticks to the icing, either add more powdered sugar to your icing, or just dip your paint brush into powdered sugar.) Press the brush against all of the sides of the blob. The final form will be somewhat bulbous and irregular. Repeat to create a variety of rocks, ranging in size from 1/8 to 1/2 inch (0.3 to 1.3 centimeters) (iii). Allow the icing to dry completely.
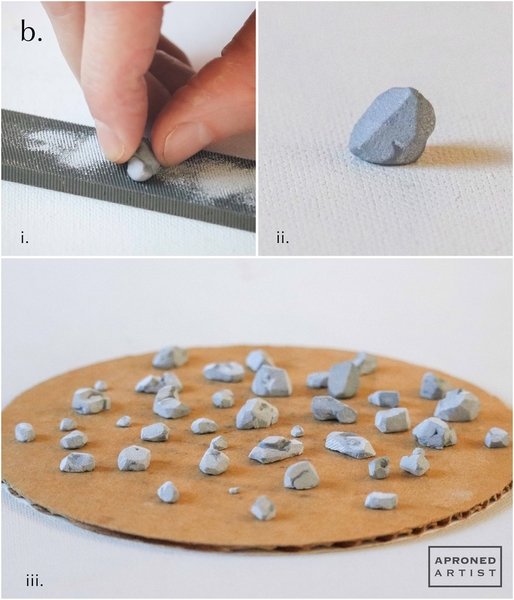
b. Using a food-safe file, file a rock transfer on all of its faces to turn the bulbous shape into something more flat and angular. Repeat with the remaining rock transfers.
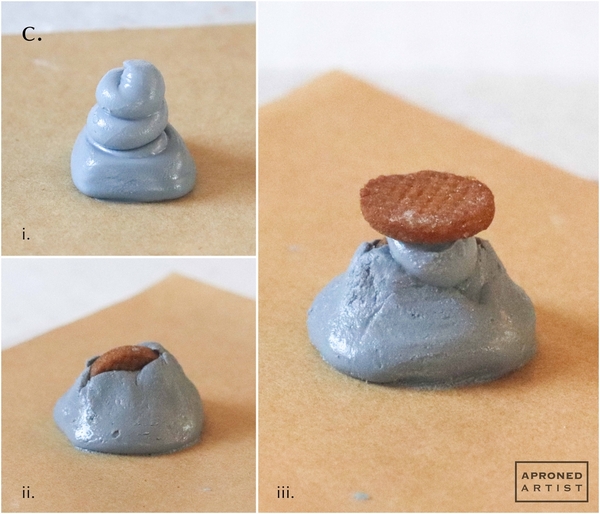
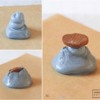
c. Using extra stiff-consistency gray royal icing and a Wilton #12 tip (or equivalent), pipe a tall mound of icing on a square of parchment paper (i). Insert a 5/8-inch (1.6-centimeter) round cookie vertically into the center of the icing, and use a dry flat paint brush to push the icing around the cookie (ii). The vertical cookie will give the icing stability so that it doesn’t sag as we work. With a dab of icing, attach a 7/16-inch (1.1-centimeter) round cookie horizontally to the top edge of the larger cookie (iii). The horizontal cookie will act as a platform for the lighthouse.
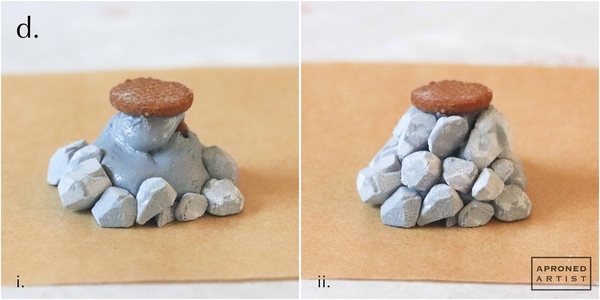
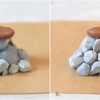
d. While the icing is still wet, begin to press some larger rock transfers into the icing around the bottom of the mound (i). Continue to add rocks to cover all of the wet icing up to the platform (ii). Switch to a PME #2 tip (or equivalent) to apply additional icing as necessary to adhere the rocks. Allow the icing to dry completely.
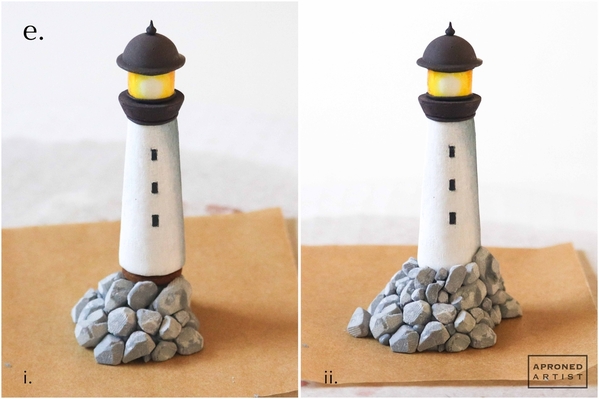
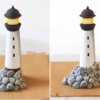
e. Attach the base of the lighthouse to the platform cookie with a dab of icing (i). Continue adding smaller rock transfers until the platform is covered. Add additional rocks as desired to fill out the shape of the island (ii).
Step 7: Pipe kraken tentacles
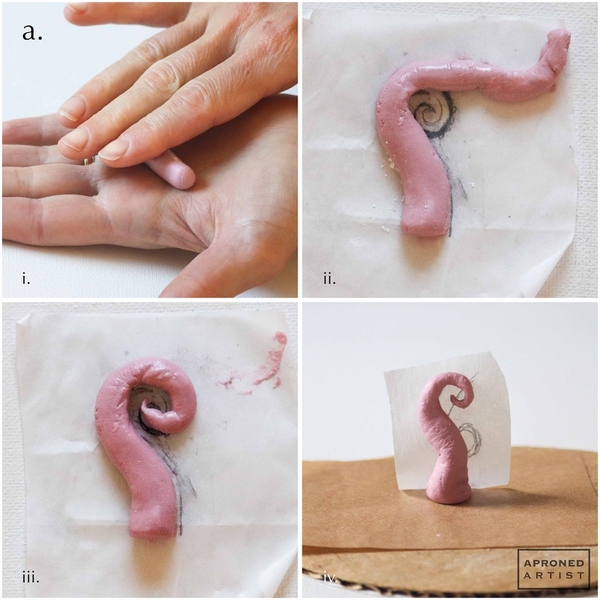
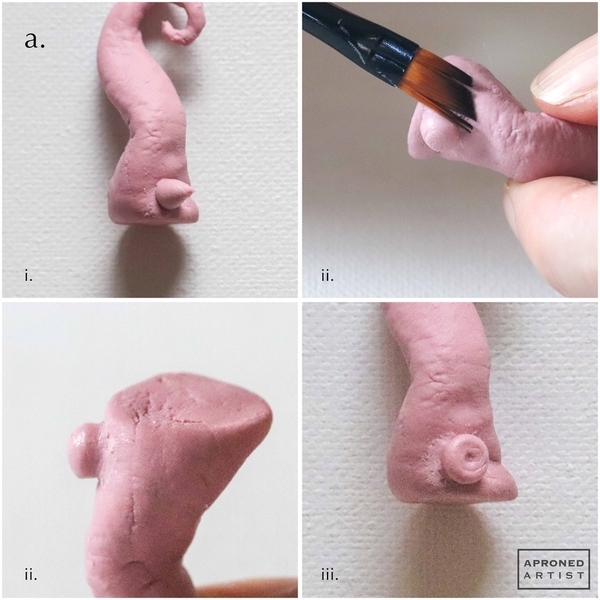
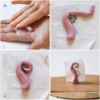
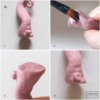
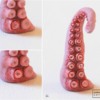
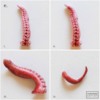
a. Pipe about a tablespoon of extra stiff-consistency pink royal icing on a piece of parchment paper. Allow it to set for a moment until no longer tacky. Rub some powdered sugar between your palms, and scrape the icing into your hand. Roll the icing between your palms like clay to make a slightly tapered rope (i). Set the rope onto a clean square of parchment paper (ii). Use a dry paint brush to position the tapered end into a spiral shape (iii). Trim excess icing with a small trowel or offset spatula, if necessary. Cut off the parchment paper below the thick end of the tentacle, and stick the flat end of the icing onto another square of parchment paper so that the tentacle stands upright (iii). Allow the icing to dry completely before peeling the parchment paper away from the transfer.
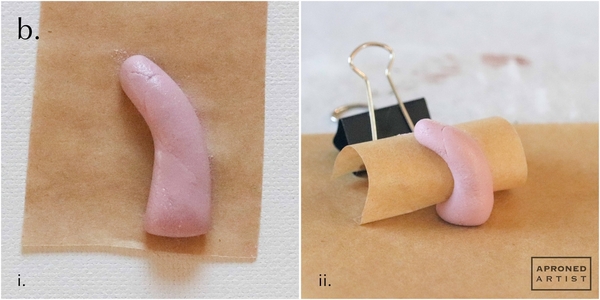
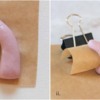
b. Repeat Step 7a to roll another rope of icing that is slightly thicker and less tapered (i). Place the rope on a square of parchment paper, and cut any excess paper below the thick end of the rope. Stick the flat end of the icing onto another square of parchment paper so that the tentacle stands upright. Curl the parchment paper backward so that the icing bends, and slide a prop (such as a binder clip or a small jar) against the curled paper to hold the parchment paper in place (ii). Allow the icing to dry completely before peeling the parchment paper away from the transfer.
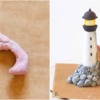
c. Pipe about a teaspoon of icing on a piece of parchment paper, and allow it to set for a minute. Ball up the icing and stick it on the end of the dried transfer created in Step 7b (i). Place a square of parchment paper on the right side of the lighthouse cookie so that the icing will not make direct contact with the lighthouse. (We want to be able to remove the tentacle so that we can more easily add the suction cups in a later step.) Place the dried flat end of the tentacle near the right side of the island. Use a dry paint brush or your fingers to flatten, taper, and extend the wet icing so that it rests on the parchment square and wraps around the back of the lighthouse (ii). Allow the icing to dry completely before removing the transfer and peeling away the parchment paper.
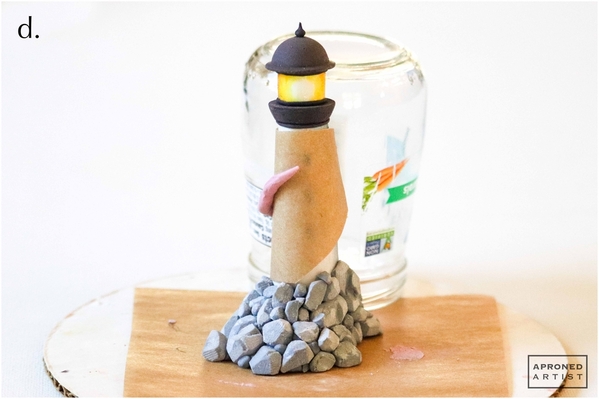
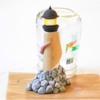
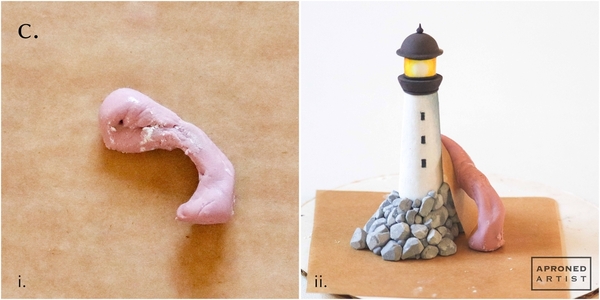 d. Wrap another piece of parchment paper around the lighthouse tower. If necessary, use a small jar or similar prop to hold the paper in place. Pipe about 1/2 teaspoon of icing on a separate piece of parchment paper, and allow it to set for a minute. Roll the icing between your palms to make a small, thin tapered rope. Wrap the rope around the lighthouse so that it looks like a continuation of the lower portion of the tentacle shaped in Steps 7b and 7c. Allow the icing to dry completely before removing the transfer and peeling away the parchment paper.
Step 8: Add suction cups to tentacles
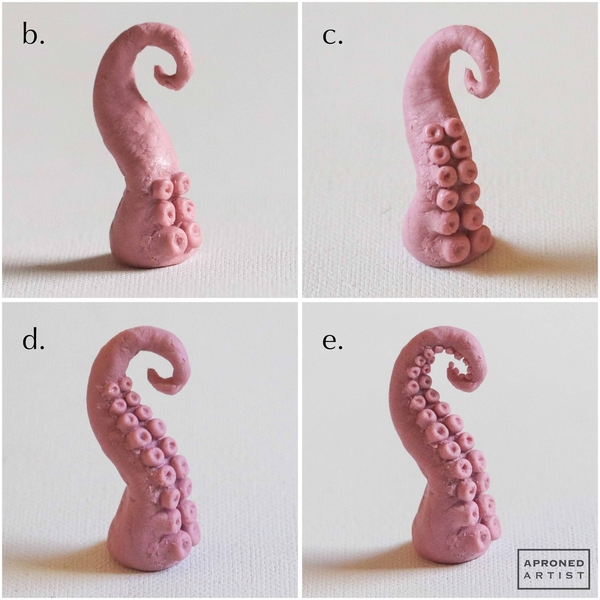
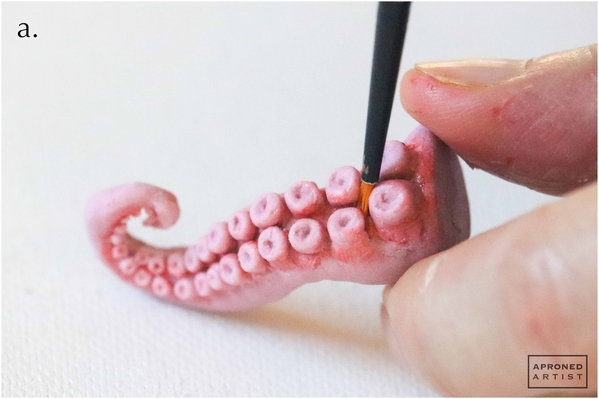
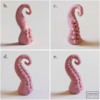
a. Using extra stiff-consistency pink royal icing and a Wilton #5 tip (or equivalent), pipe a dot of icing at the base of the curling tentacle created in Step 7a (i). Flatten the dot of icing with a damp flat paint brush. Use the side of the paint brush to blend the base of the dot into the tentacle (ii) so that it looks like a single piece (iii). Use a tiny liner paint brush to indent a small hole in the center of the suction cup (iv). Repeat to create another suction cup of the same size adjacent to the first to make the first row of suction cups.
b. Pipe and shape two more rows of suction cups (with two suction cups per row). Try to make the suction cups in each row gradually smaller.
c. Using a PME #3 tip (or equivalent), pipe and shape three more rows of suction cups, each with slightly smaller suctions cups.
d. Using a PME #2 tip (or equivalent), repeat to create three more rows of suction cups, each with slightly smaller suctions cups.
e. Using a PME #1.5 tip (or equivalent), pipe and shape rows of suction cups to fill the remainder of the tentacle. As the suction cups get smaller, there’s no need to blend the sides into the tentacle as we did in Step 8a (ii). You may also find that you can only fit one suction cup per row. As the suction cups get really tiny, you may find it easier to transfer dots of icing from the piping tip to the tentacle using a tiny liner paint brush, rather than piping directly on the underside of the curling portion of the tentacle.
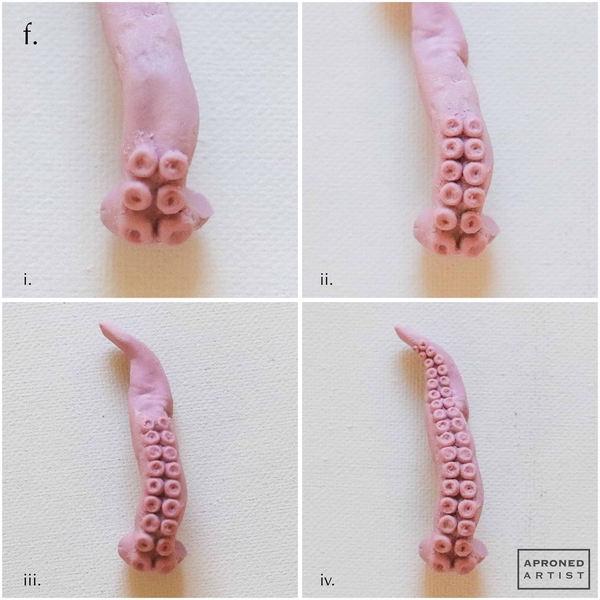
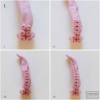
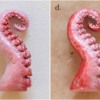
f. Use the same piping and shaping process to add suction cups to the lower portion of the wrapping tentacle created in Steps 7b and 7c. Use a Wilton #5 tip (or equivalent) to pipe the lowest three rows of suction cups (i). Use a PME #3 tip (or equivalent) to pipe the next three rows of suction cups (ii). Use a PME #2 tip (or equivalent) to pipe the next three rows of suction cups (iii). Use a PME #1.5 tip (or equivalent) to pipe suction cups to fill the remainder of the tentacle (iv). The smallest suction cups should be slightly larger than those on the curling tentacle because this is only a portion of the wrapping tentacle.
Step 9: Paint tentacles
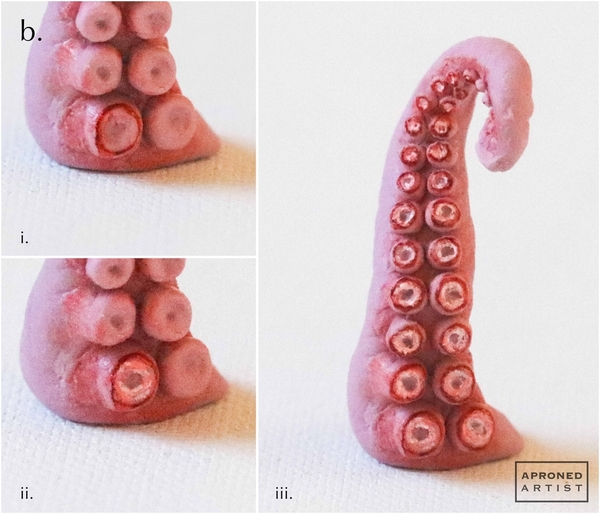
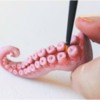
a. Dilute a drop of Terracotta gel paste coloring (or equivalent) with water so that it is the consistency of watercolor paint. Use a tiny round paint brush to spread the paint around the bases of the suction cups.
b. Using a tiny liner paint brush, paint a ring of undiluted Terracotta gel paste (or equivalent) around the top edge of a suction cup (i). While the paint is still wet, paint a donut shape of undiluted Bright White gel paste coloring (or equivalent) within the red ring, leaving a small unpainted circle at the center indentation. Overlap the inside edge of the red ring with the white paint to thin the red ring. The paints will mix, creating some pink areas between the red ring and the white donut (ii). Repeat to paint all of the suction cups (iii).
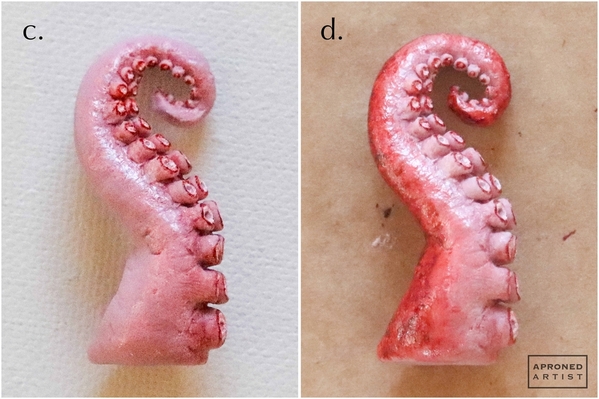
c. Mix a small dab of Terracotta gel paste coloring with a drop of Bright White gel paste coloring (or equivalents) to create an opaque light pink paint. Using a tiny round paint brush, dab the paint along the sides of the tentacle adjacent to the suction cups.
d. With the same brush, dab undiluted Terracotta gel paste coloring (or equivalent) along the back of the tentacle (the side opposite the suction cups). With a clean, damp brush, dab at the seam between the pink section and the dark red section to blend the paints together and create an ombre transition.
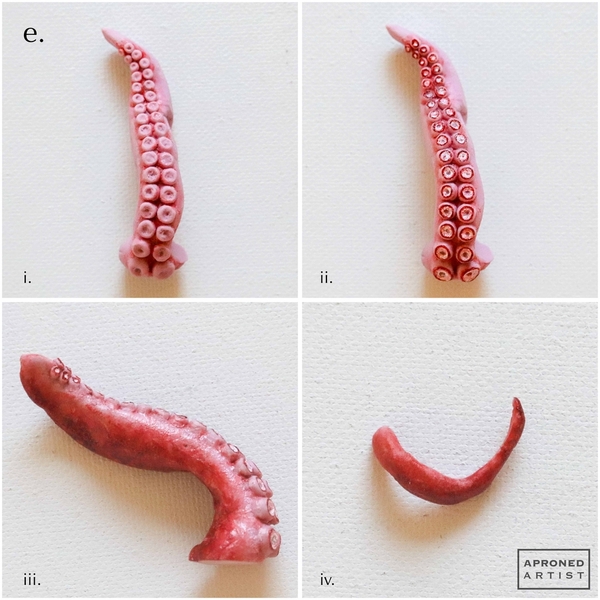
e. Repeat Steps 9a through 9d to paint the lower portion of the tentacle that will wrap around the lighthouse (i, ii, and iii). Paint the small section of the tentacle with undiluted Terracotta gel paste coloring (or equivalent) (iv).
Step 10: Assemble cookie and pipe water
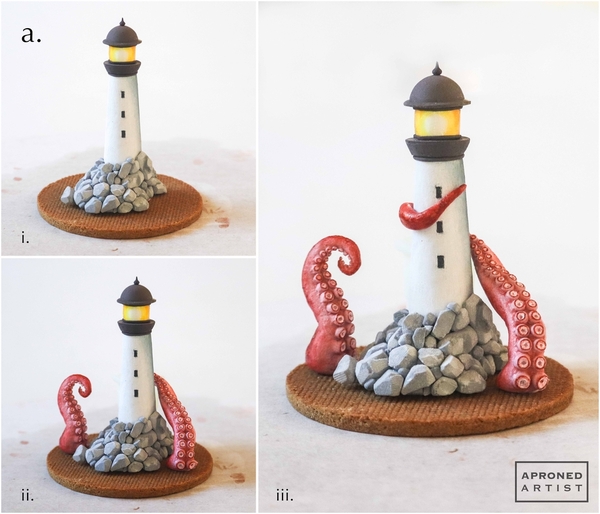
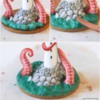
a. Attach the base of the lighthouse island to a 3 1/2-inch (8.9-centimeter) round cookie with a dab of icing (i). Attach the curling tentacle to the cookie on the left of the lighthouse. Attach the lower portion of the wrapping tentacle to the cookie on the right of the lighthouse. Use another dab of icing to secure the lower portion of the wrapping tentacle behind the lighthouse (ii). Attach the small end of the tentacle to the front of the lighthouse so that it looks like a continuation of the wrapping tentacle (iii). If necessary, use a dry paint brush to clean up any icing that squeezes out. (Note: If you want your cookie to be viewable from all sides, make sure to patch and paint the seam between the two sections of the wrapping tentacle where they meet behind the lighthouse.)
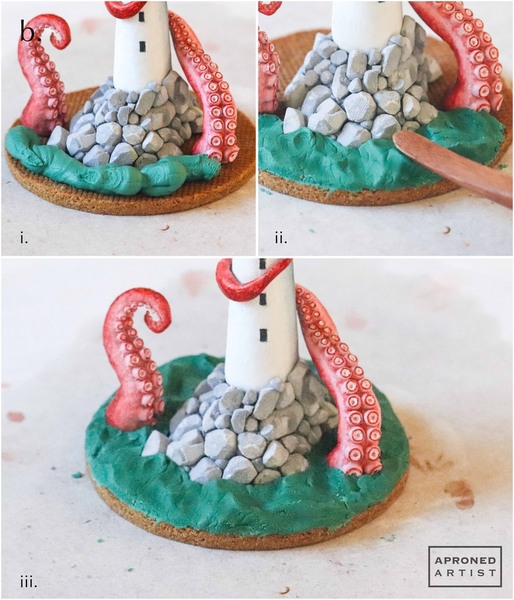
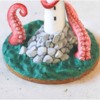
b. Using extra stiff-consistency aquamarine royal icing and a Wilton #12 tip (or equivalent), pipe icing to cover most of the cookie in front of the lighthouse (ii). Flatten the icing into an even layer with a dry flat paint brush. Using the rounded back of a sculpting tool (or equivalent), create random dents in the icing to mimic waves (ii). Repeat, piping and denting the icing, to cover the remainder of the cookie (iii). If necessary, switch to a smaller tip to apply icing to the narrow areas between the tentacles and the lighthouse. Allow the icing to dry completely.
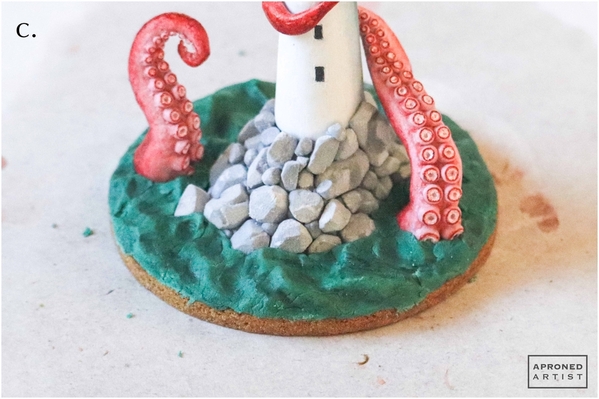
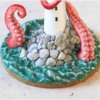
c. Dilute a drop of Silver Spruce gel paste coloring (or equivalent) so that it is the consistency of watercolor paint. Using a tiny round paint brush, apply the paint to the troughs of the waves (the lowest areas of the dented icing) to darken them slightly. The effect here is subtle; contrast the water in photo 10c with that of 10b to really notice the darkened troughs.
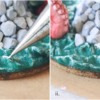
d. Dip a dry tiny round paint brush in Bright White gel paste coloring (or equivalent), and blot off almost all of the paint on a paper towel. Paint the crests of the waves (the raised peaks between the dents of icing) with the mostly dry brush.
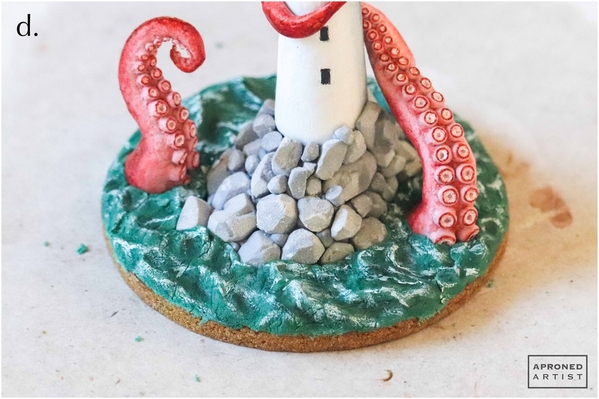
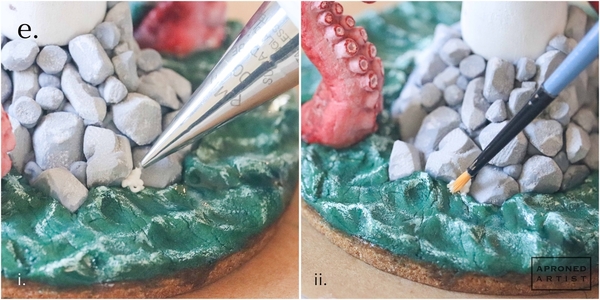
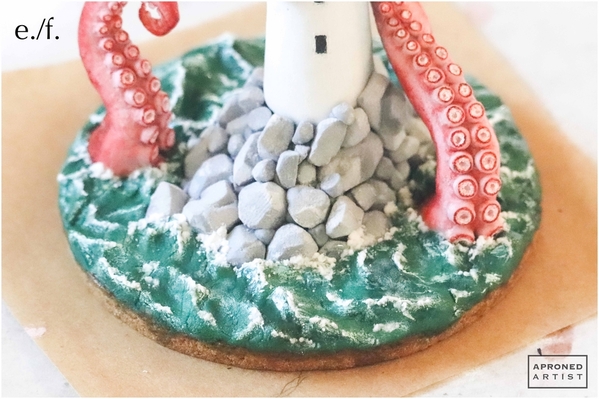
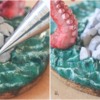
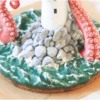
e. Using stiff-consistency white royal icing and a PME #00 tip (or equivalent), pipe a small mound of icing where a rock meets the water (i). Use a dry tiny round paint brush to dab at the icing until it looks like the foam from a wave hitting the shore (ii). Repeat at various intervals along the shoreline and the base of the tentacles.
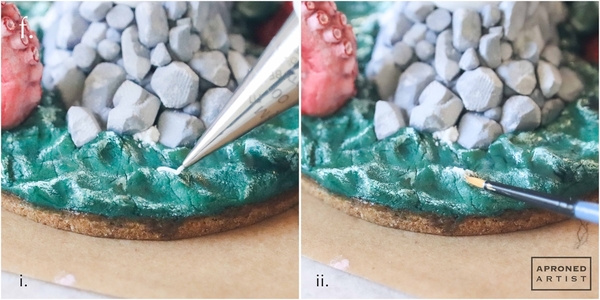
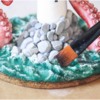
f. Using the same icing and tip, pipe icing along the crests of a wave (i). Use a dry tiny round paint brush to lightly drag some of the icing down the wave (ii). Repeat on all of the crests.
When you have finished applying and shaping the sea foam as described in Steps 10e and 10f, the water should look something like this:
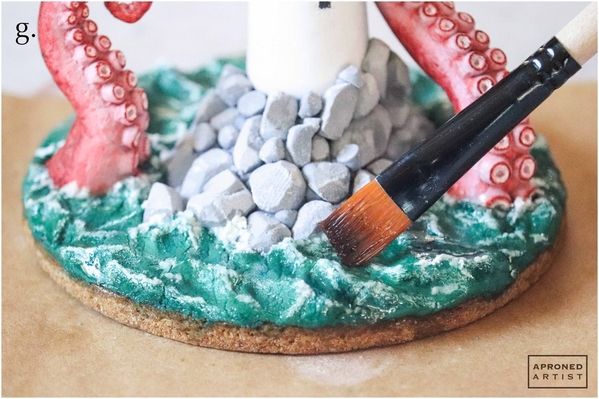
g. Use your designated paint brush to transfer drops of confectionary glaze (or equivalent) to cover the water, doing your best to avoid the icing foam along the land and the crests of the waves. Allow the glaze to pool in the troughs of the waves. It may take a couple of coats of glaze to achieve a shiny, watery look.
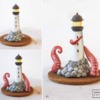
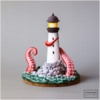
Finished! You could stop after Step 5 and have a lovely lighthouse cookie. However, adding the kraken tentacles turns this cookie into a story with all of the drama befitting such a legend.
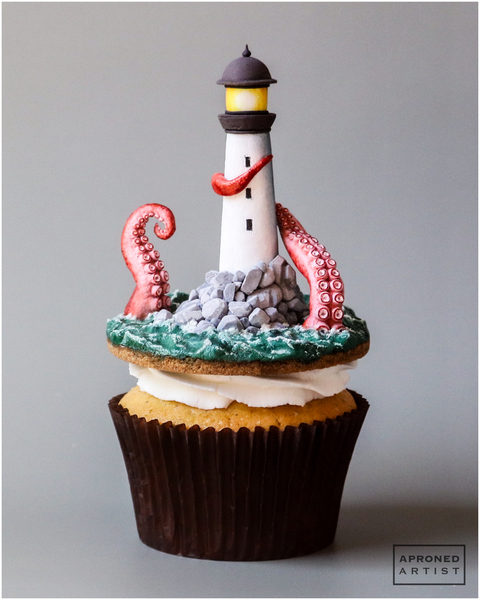
Big drama in a little package. Here it is on a cupcake to show scale:

 Samantha Yacovetta is the author of Every Little Detail with Aproned Artist, a monthly Cookie Connection blog feature that focuses on the special little details that make big statements in cookie design. Samantha began cookie decorating in 2013. While working at a local bakery, she became captivated by cookie art when a customer requested princess-themed cookies. Attracted initially to the precision of cookie decorating, Samantha soon found that the limitless design opportunities turned it into her artistic passion. Samantha began regularly stocking the bakery case with decorated cookies and for several years sold cookies through her own company, Aproned Artist, a cottage food operation. Having retired from the business life, Samantha now enjoys making cookies just for fun from her home in San Jose, California, USA. She is known for her love of miniature 3-D cookie scenes and innovative sculpted royal icing techniques. In 2023, Samantha won the American Cake Awards Cookie Award. To learn more about Samantha, please check out her Cookie Connection portfolio, follow her on Instagram or Facebook, or dive into her past Every Little Detail tutorials on this site.
Photo and cookie credits: Samantha Yacovetta
Note: This article expresses the views of the author, and not necessarily those of this site, its owners, its administrators, or its employees. Again, to read all of Samantha's past Every Little Detail tutorials, click here. And to see all of Cookie Connection's tutorials, click here.


Comments (16)