
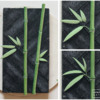
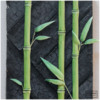
I’ve been watching reels of artisans hand-building ceramic teapots, and I’m absolutely hooked. There’s something so calming about seeing the artists smooth the clay to a silky, flawless finish. It seems impossible to make something so perfect by hand. I recently watched a reel from @yixingteapot_handwork of an artist building a teapot shaped like a section of bamboo. This time, rather than smoothing everything to a velvety smooth finish, the artist intentionally cut away small sections and carved thin grooves to add to the realism. It was a gorgeous piece and the perfect cookie inspiration.
Supplies:
- Kitchen shears
- Silicone straw or parchment paper
- Royal icing (I used AmeriColor gel paste coloring to tint the icing):
- Stiff-consistency green (2 parts Chartreuse/1 part Silver Spruce)
- Flooding-consistency green (2 parts Chartreuse/1 part Silver Spruce)
- Tips:
- Small trowel (or equivalent)
- Paint brushes:
- Medium flat
- Tiny liner
- Wafer paper
- Parchment paper
- 2 (6 x 3 1/2-in/15.2 x 8.9-cm) baked rectangular cookies, rolled 1/8 in (0.3 cm) thick
- Cardstock templates:
- 5 1/2 x 3-in (14.0 x 7.6-cm) rectangle
- 1/2-in (1.3-cm) wide strip
- Sharp chef’s knife
- For crackle texture*:
- 3 1/2 tsp AmeriColor Bright White gel paste coloring
- 1 1/2 tsp cornstarch
- 1/4 tsp black petal dust
- Scribe tool
- AmeriColor (or equivalent) gel paste colorings for painting: Super Black, Ash, Silver Spruce, Chartreuse, Bright White, Chocolate Brown
*Note: Crackle recipe adapted from @Dolce Sentire - Aixa Zunino
Step 1: Pipe bamboo stalk royal icing transfers
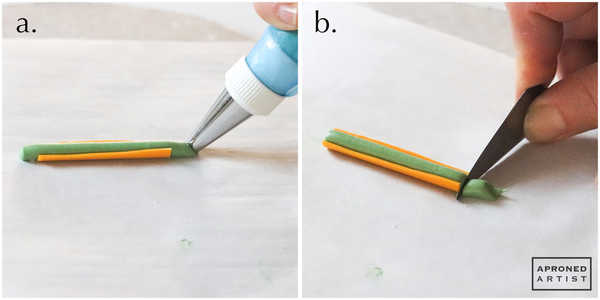
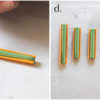
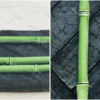
a. Using kitchen shears, cut a silicone straw in half crosswise into sections ranging from 1 to 2 inches (2.5 to 5.1 centimeters). Be sure to vary the lengths of the sections. Then, cut the sections in half lengthwise. Using stiff-consistency green royal icing and a Wilton #10 tip (or equivalent), pipe a line of icing to fill one piece of the straw, allowing the icing to extend slightly beyond the ends. Alternatively, you can pipe the bamboo stalks on parchment paper. Piping into straws will create a uniformly round cylinder, whereas piping directly onto parchment paper will create stalks that are flat on the underside.
b. Use a small trowel (or equivalent) to trim the icing flush with the ends of the straw.
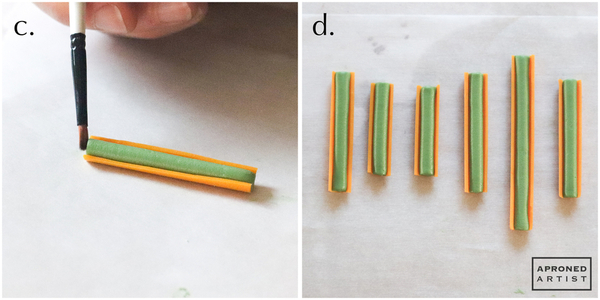
c. If the ends of the icing column become compressed after trimming, use the flat side of a medium flat paint brush to re-form the ends into a more circular shape.
d. Repeat Steps 1a to 1c to fill and trim the remaining straw sections. Allow the icing to dry completely before removing it from the straw sections. (My transfers were slightly brittle but dry enough to use after one day. They were completely hardened after two days. Yours might take longer to reach the same points, as my climate is quite dry.)
Step 2: Prepare painted wafer paper leaves
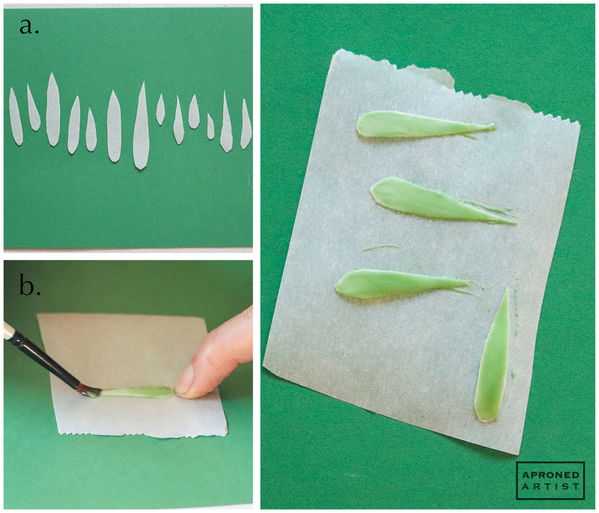
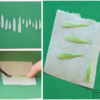
a. Using kitchen shears, cut out several pointed oval leaf shapes, ranging from 1/2 to 1 inch (1.3 to 2.5 centimeters) in length, from a piece of wafer paper.
b. Anchor a wafer paper leaf with your fingertip on a piece of parchment paper, and use a medium flat paint brush to paint the leaf with a thin layer of flooding-consistency green royal icing. Repeat with the remaining leaves. Allow the icing to dry completely. The leaves may curl slightly as they dry.
The wafer paper will lend a small degree of flexibility to the icing. As a result, the leaves remain paper-thin and are less fragile than if they were made from icing alone.
Step 3: Assemble and decorate base cookie
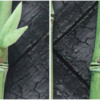
For the background of the bamboo, I wanted to emulate Shou Sugi Ban (also known as Yakisugi). Shou Sugi Ban is an ancient Japanese technique used to preserve cedar by burning the top layers of the wood with a hot flame. The result is a beautifully dramatic and often highly textured surface.
To help achieve a charred look, I adapted the crackle formula from @Dolce Sentire - Aixa Zunino's Cookie Connection tutorial.
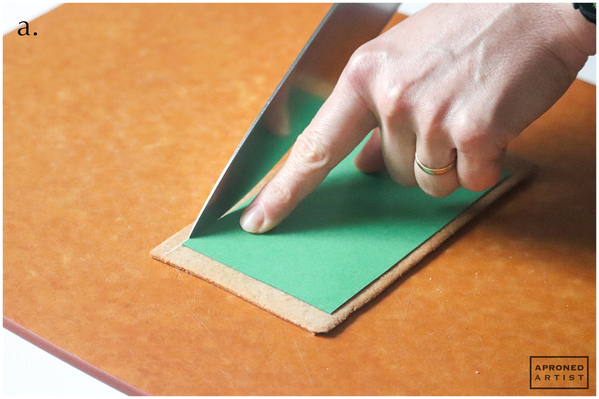
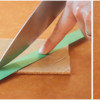
a. Allow the baked cookies to sit in a loosely covered container overnight so that they soften slightly. Place the 5 1/2 x 3-inch (14.0 x 7.6-centimeter) rectangular cardstock template over one baked cookie. Use a sharp chef’s knife to score the cookie around the template. Continue scoring deeper and deeper with each pass until you have completely severed the excess cookie. Scoring the cookie over multiple passes reduces the risk of it cracking when trimming. This process will result in a 5 1/2 x 3-inch (14.0 x 7.6-centimeter) rectangular cookie with precise, clean edges. Repeat with the other cookie. Alternatively, you could bake two cookies that are 5 1/2 x 3 inches (14.0 x 7.6 centimeters), however, cutting the edges will remove any rounding or sloping.
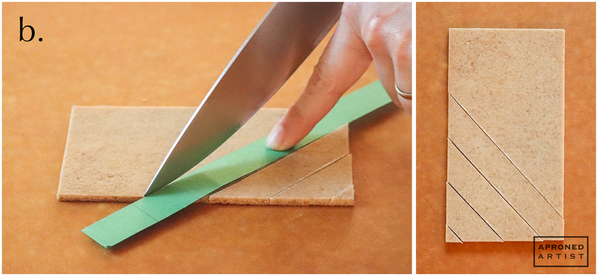
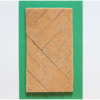
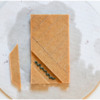
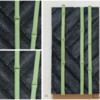
b. Place the 1/2-inch (1.3-centimeter) wide cardstock strip at a 45-degree angle to the bottom of one of the cookies, making sure it just covers the bottom left corner. Use the chef’s knife to score along the right side of the strip until you have cut a small triangular corner away from the cookie. Move the strip template so that the left edge of the template is lined up with the right edge of the cut triangle. Again, score the right edge of the strip until you have cut a diagonal strip from the remaining cookie. Repeat this process twice more until you have cut the bottom left section of the cookie into four diagonal strips.
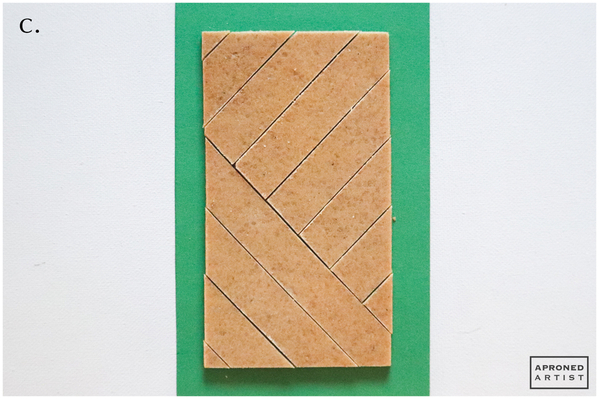
c. Rotate the strip template so it is perpendicular to the strips you have already cut. Repeat the same process used in Step 3b to cut diagonal strips into the upper portion of the cookie that are perpendicular to the diagonal strips in the lower portion.
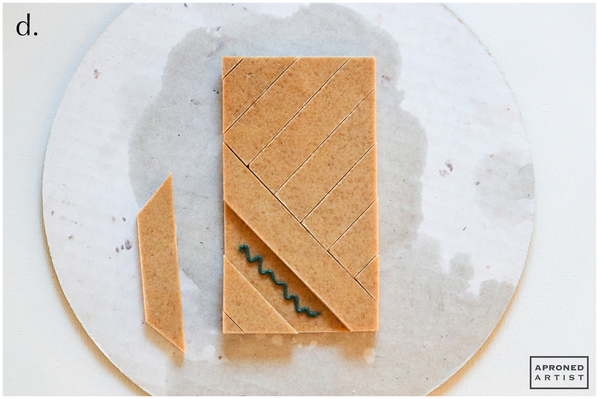
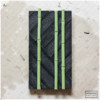
d. Arrange the cookie slats in the same formation on top of the remaining uncut (but trimmed) 5 1/2 x 3-inch (14.0 x 7.6-centimeter) cookie. Leave a tiny gap between the slats so that they look like planked wood and the pattern is visible. (As a result, the slats will hang a millimeter or two off the edges of the cookie underneath.) Remove one slat at a time, pipe a squiggle of stiff-consistency green royal icing in the gap, and replace the cookie slat. Repeat with the remaining slats so that they are all firmly attached to the uncut cookie underneath. Allow the icing to dry completely.
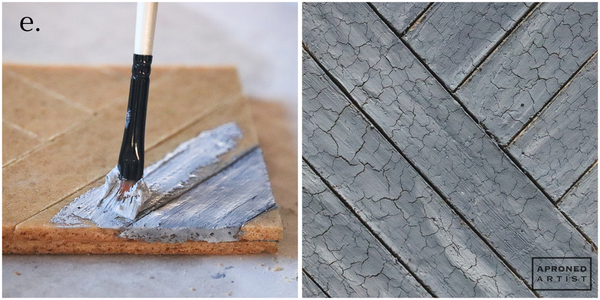
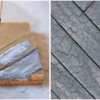
e. In a small cup, mix 3 1/2 teaspoons Bright White gel paste coloring with 1 1/2 teaspoons cornstarch and 1/4 teaspoon black petal dust. The black petal dust will darken the mixture to a medium gray which will make it easier to cover with paint in the next step. The mixture will be very thick. Use a medium flat paint brush to smear the mixture onto the cookie slats. Paint one slat at a time with long brush strokes that follow the length of the slat (in the direction of the “wood grain” if it were actual wood). Run the tip of a scribe tool between the slats to clear away any of the crackle mixture that obscures the gaps. Allow the mixture to sit at least 30 minutes. During this time, the surface should dry and crack.
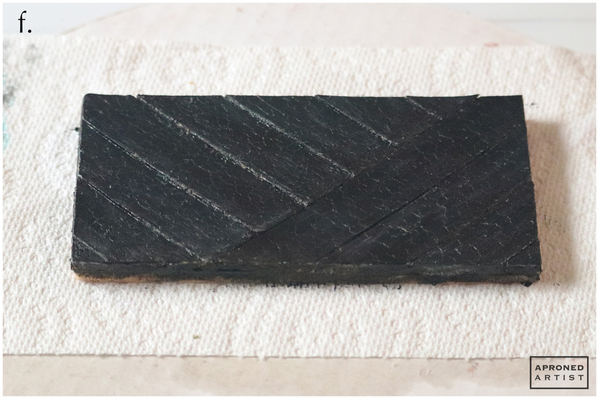
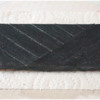
f. Brush the slats and any exposed cookie sides with Super Black gel paste coloring (or equivalent). (If you use Aixa’s original crackle formula and omit the black petal dust, you may need a thicker coat of paint to cover all of the white peeking through.)
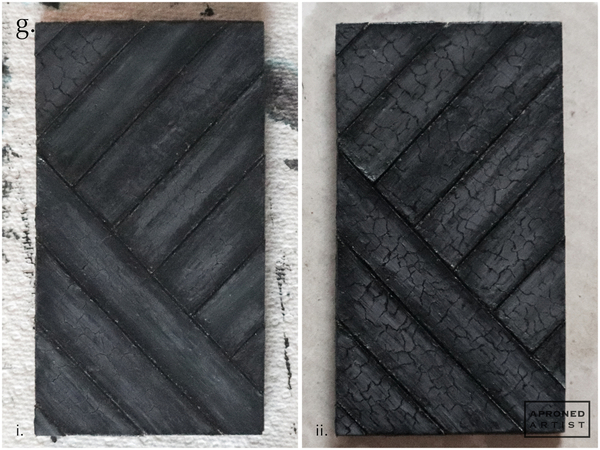
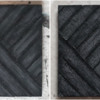
g. Dilute a drop of Ash gel paste coloring (or equivalent) until it is the consistency of watercolor paint, and brush it lightly over the center of each slat using long brush strokes in the direction of the “grain” (i). To emphasize the crackle, I also lined the textured cracks with undiluted Super Black gel paste coloring using a tiny liner paint brush (ii).
Step 4: Attach bamboo stalks to cookie
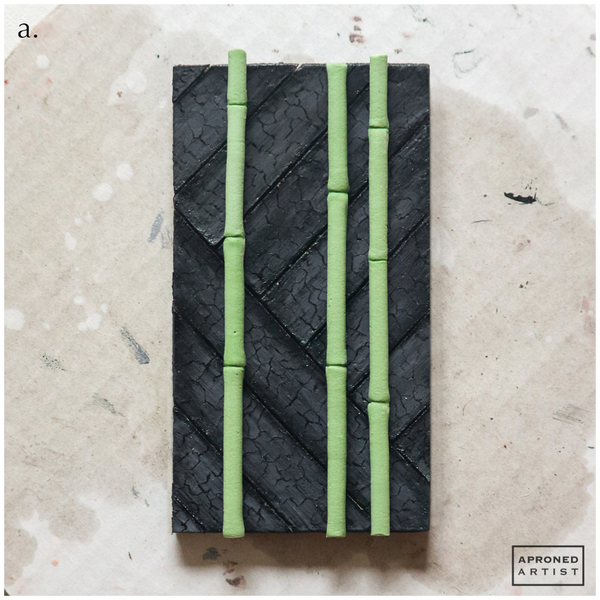
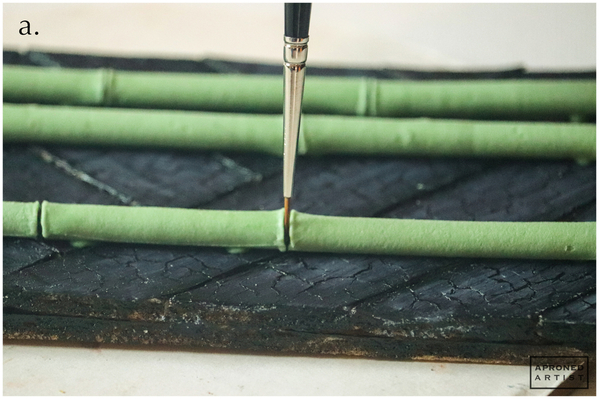
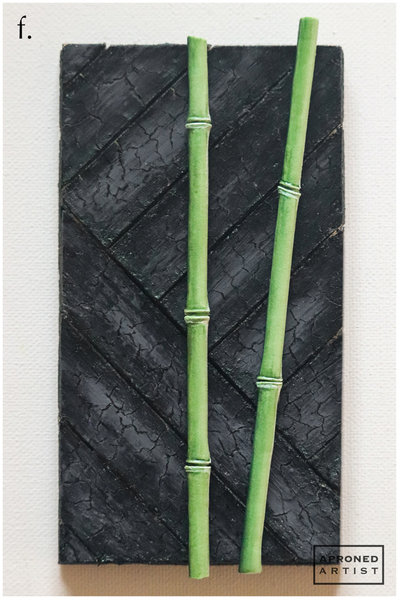
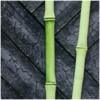
a. Lay out sections of bamboo on top of the cookie, placing one section directly above the next to create long stalks that stretch from the top edge of the cookie to the bottom edge. I allowed my bamboo to hang off of the edges slightly; if you prefer, you can break off pieces and/or file the ends to get the stalks to fit exactly. Once you are happy with the composition, attach the sections of bamboo to the cookie with a few dabs of stiff-consistency green royal icing along the underside of each piece and in between each section. If necessary, use a damp tiny liner paint brush to clean up any icing that squeezes out between the sections. However, you should be able to see the icing in between the sections if you look closely as we will be painting this crease in a later step.
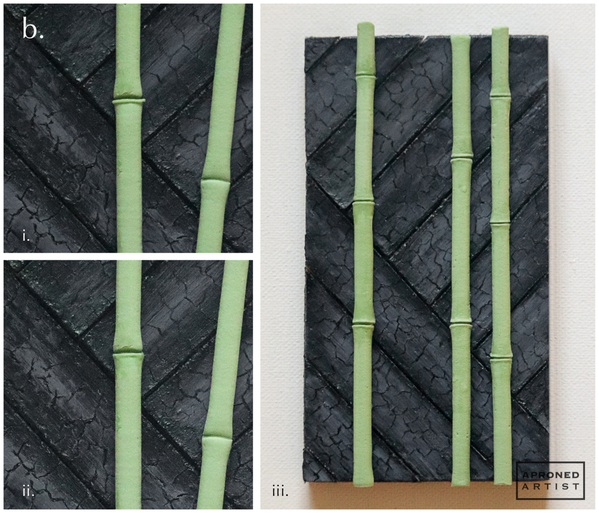
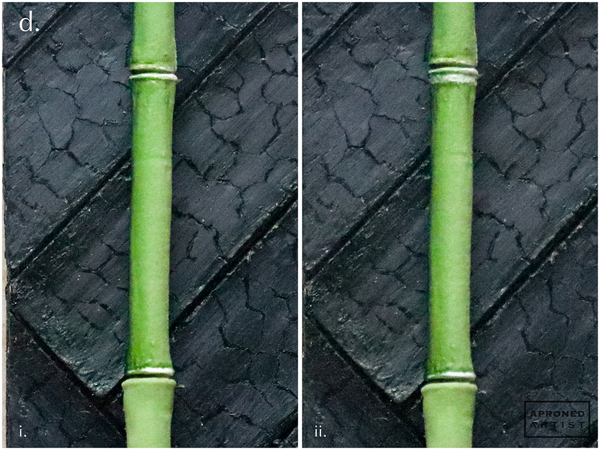
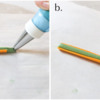
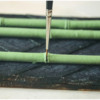
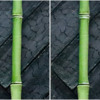
b. Using stiff-consistency green royal icing and a PME #0 tip (or equivalent), pipe a horizontal line of icing along the top edge of a section, just below the seam where two sections meet (i). Tuck the ends of the line beneath the stalk with a paint brush so that the icing wraps around the stalk. Use the side of a paint brush to gently squash and blend the bottom edge of the line (that spans the stalk) downward into the stalk, thus creating a thin rim at the top edge of the section (ii). Pipe another line at the bottom of the same section. Again, tuck the ends, and blend the icing upward into the stalk. Repeat to create a rim at the top and bottom of each section. Leave the ends at the edges of the cookie bare (iii).
Step 5: Paint bamboo stalks
For painting purposes, I imagined the sun positioned to the right of the cookie. Hence, the most well-lit areas (with the lightest color) start on the right and blend to the left. The shadows and darkest color start at the left and blend to the right.
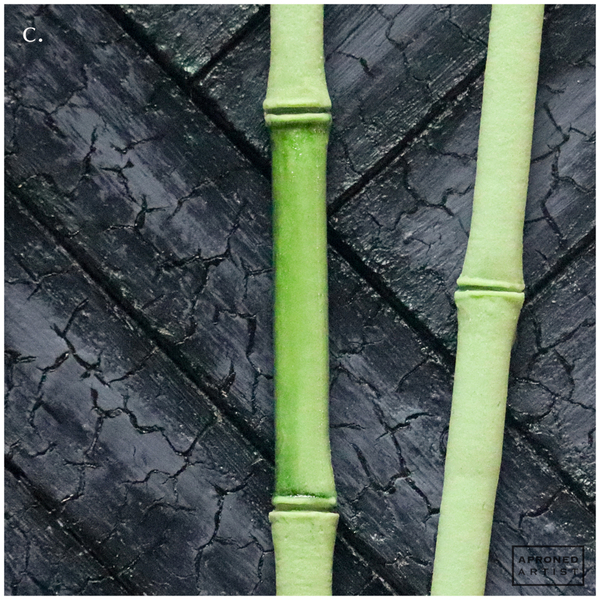
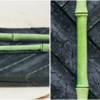
a. Mix a drop of Silver Spruce and Chartreuse gel paste colorings (or equivalents) to make a dark green paint. Use a tiny liner paint brush to paint a line of undiluted paint along the crease between two bamboo sections. Start the line at the left side where the transfer contacts the cookie, and brush to the right so that the paint lightens as it moves across the stalk. Don’t worry if the paint runs out provided some color makes it at least halfway along the crease. Repeat to darken all of the creases.
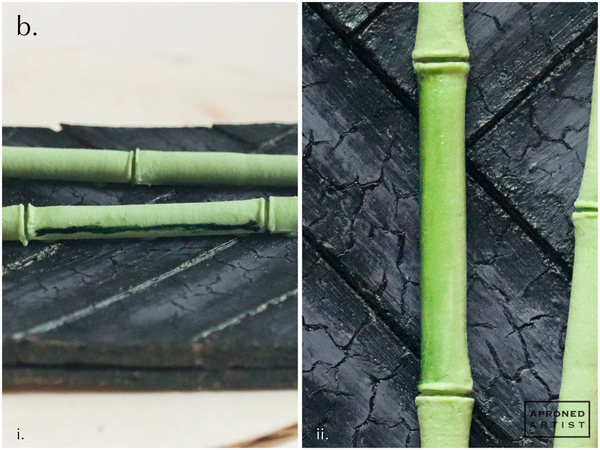
b. Use the same brush and paint to add a line along the left side of one section of bamboo, just above where the transfer contacts the cookie (i). Use a damp flat paint brush and long, vertical brush strokes to diffuse the paint, moving to the right with each stroke. If necessary, add more paint to the left side and continue to blend so that the left edge of the section looks very dark and the color gradually lightens across the left half of the section. The right half of the section should be mostly, if not completely, unpainted (ii).
c. Using the liner brush and the same paint, paint a horizontal line just under the rim at the top of a bamboo section. Just as you did when painting the creases in Step 5a, start at the leftmost point and paint the line to the right so the paint becomes less saturated as it moves across the stalk. Paint a similar line just above the rim at the bottom of the same section.
d. Using undiluted Bright White gel paste coloring (or equivalent), paint a line along the top rim. Now that we’ve transitioned to a light color, start the line at the rightmost point and brush to the left. Repeat to paint the rim at the bottom of the section (i). Add a stripe of white paint just below the green line painted in Step 5c. If desired, add a little bit of the dark green paint just below the white stripe (ii).
e. Paint a vertical line of diluted white gel paste along the right side of the section (mirroring the green line painted in Step 5b). When you look at the cookie straight on, you want to see a faint white glow on the right edge of the bamboo section.
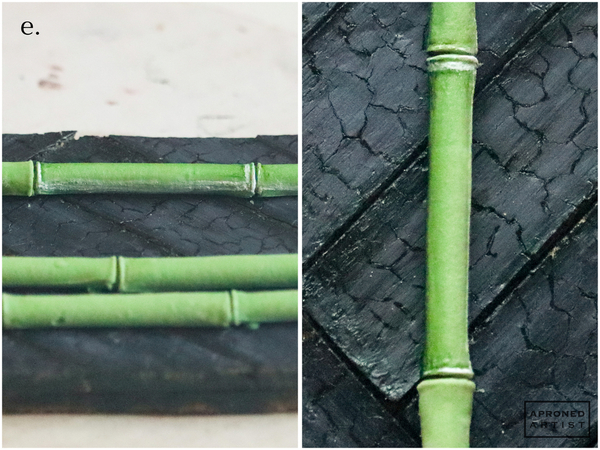 f. Repeat Steps 5b through 5e to paint all of the sections.
Step 6: Attach and paint bamboo leaves
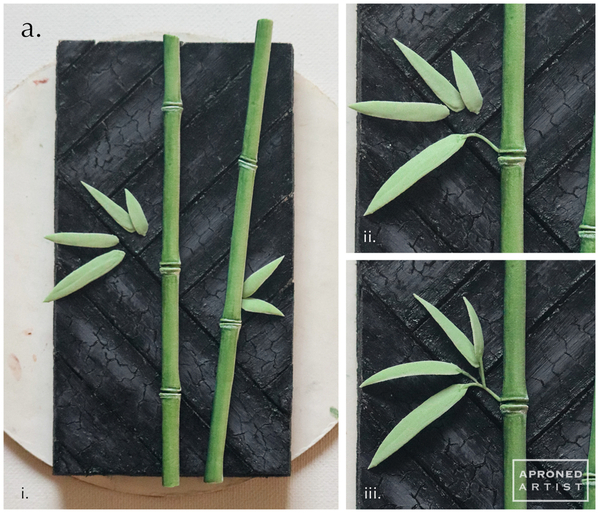
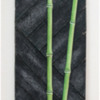
a. Lay out your leaves on the cookie to find a composition that you like (i). Remove one leaf at a time to attach it to the cookie. Using stiff-consistency green royal icing and a PME #0 tip (or equivalent), pipe a small stem extending from the crease between two bamboo sections. Pipe a dab of icing at the end of the stem and insert a leaf (ii). Use a damp tiny liner paint brush to smooth the ends of the icing, if necessary. Repeat to add additional leaves (iii). Allow the icing to dry completely (about 20 minutes in my dry climate).
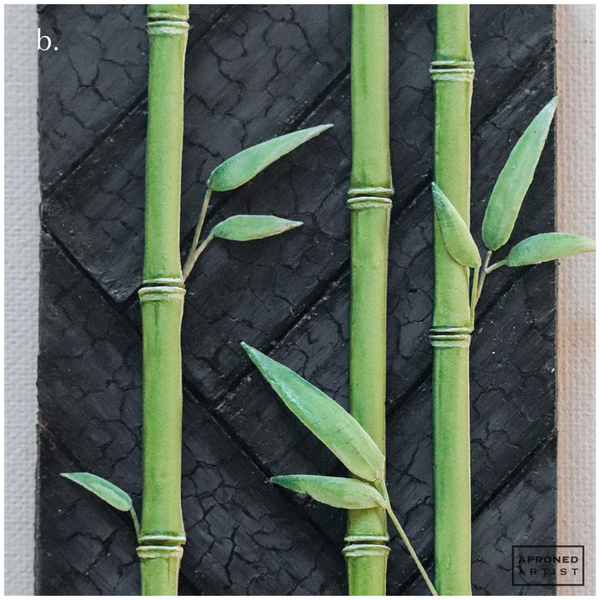
b. To paint the leaves, dilute the same green paint used in Step 5 until it is the consistency of watercolor paint. Use a tiny liner paint brush to gently paint the areas farthest from the light source. Take care not to dislodge the leaves and fragile stems; apply minimal paint and use the lightest touch possible. Dilute a drop of Bright White gel paste coloring (or equivalent), and add just a touch of the paint to the points or edges of the leaves that would face the sun. Mix equal parts of the green paint with Bright White and Chocolate Brown gel paste colorings (or equivalents). Dilute the paint to a watercolor consistency, and gently paint this muddy brown color along the stems.
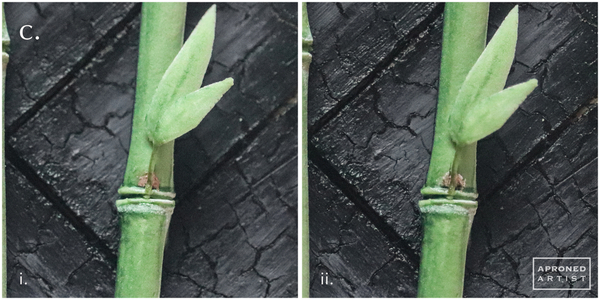
c. If any of your branches attach to the center of a crease, paint a small branch node. Mix equal parts of Bright White and Chocolate Brown gel paste colorings (or equivalents). Paint a small semicircle behind the branch at the crease (i). Outline the semicircle with white paint (ii).
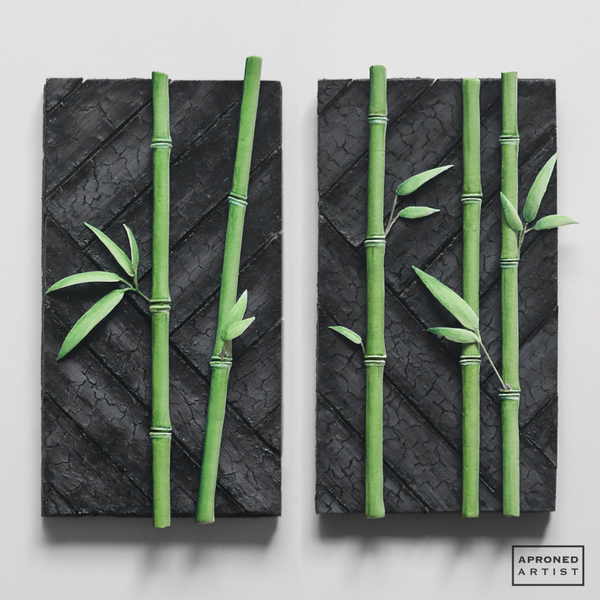
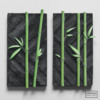
Finished! These peaceful bamboo cookies would make the perfect pairing with the tea in the teapot that inspired them!
Source: Aixa Zunino (aka Dolce Sentire), "Valentine’s Love Boat" tutorial


Samantha Yacovetta began cookie decorating in 2013. While working at a local bakery, Samantha became captivated by cookie art when a customer requested princess-themed cookies. Attracted initially to the precision of cookie decorating, Samantha soon found that the limitless design opportunities turned it into her artistic passion. Samantha began regularly stocking the bakery case with decorated cookies and for several years sold cookies through her own company, Aproned Artist, a cottage food operation. Having retired from the business life, Samantha now enjoys making cookies just for fun from her home in San Jose, California, USA. To learn more about Samantha, please check out her Cookie Connection portfolio, her Facebook page, and her past Every Little Detail tutorials here.
Photo and cookie credits: Samantha Yacovetta
Note: Every Little Detail with Aproned Artist is a monthly Cookie Connection blog feature written by Samantha Yacovetta focused on the special little details that make big statements in cookie design. This article expresses the views of the author, and not necessarily those of this site, its owners, its administrators, or its employees. To read all of Samantha's past Every Little Detail tutorials, click here. And to see all of Cookie Connection's tutorials, click here.


Comments (6)