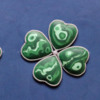
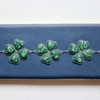
 When I was a teenager, I had a bit of an obsession with semiprecious stones. Malachite, with its brilliant greens and hypnotic swirls, was my absolute favorite. I had an entire collection of malachite treasures: pendants, earrings, keepsake boxes, and carved figurines. One piece I did not have in my collection was a malachite clover, but I wish I did. Because the stone's colors lend themselves so perfectly to clovers, I had to make a cookie version (since I’m not planning to become a jeweler any time soon)!
- Icing:
- Stiff-consistency uncolored icing (See Step 1 for tinting instructions.)
- Stiff-consistency gray
- AmeriColor gel colorings:
- Leaf Green
- Royal Blue
- Super Black
- Pastry bags
- Tips:
- PME #00, 1 (or equivalents)
- Clover transfer template, attached at the very bottom of this post
- Food-grade acetate or parchment paper
- Scribe tool (or equivalent)
- Large (roughly 6 in/15 cm x 3 in/7.5 cm) rectangular cookie, flooded with navy icing and completely dry
- Tiny liner paint brush
- Alcohol
- Silver luster dust
Step 1: Tint icing in ombré of greens
To make the ombré (many shades) of greens, start with the darkest shade and then dilute it repeatedly with uncolored icing to create the lighter shades.
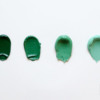
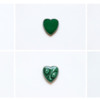
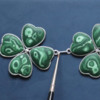
For the darkest shade, begin with an ample amount of uncolored icing. Add gel colorings in a ratio of five (5) parts Leaf Green to two (2) parts Royal Blue to one (1) part Super Black until you reach the desired shade. (Please reference the image below for the exact shade.) Keep in mind that the colors will darken with time. Remove a portion of the dark green, and combine it with more uncolored icing until you reach a medium-dark green. Now, remove a portion of the medium-dark green, and mix it with uncolored icing until you have a medium-light green. Repeat the process one last time to achieve a light green. (Again, reference the image below for exact shades.) Place each shade of icing in a pastry bag fitted with a PME #00 tip (or equivalent).
Step 2: Create clover transfers
a. Print out the clover template (attached at the very bottom of this post), and place it beneath a sheet of acetate or parchment paper. Using the stiff gray icing and a PME #1 tip (or equivalent), outline the heart shapes. (Again, see the image below for step-by-step visuals.)
b. Shallowly fill the outline with medium-dark green royal icing. Make sure not to overfill so there is room for the other icing shades.
c. Working quickly so the icing does not crust, add blobs and/or lines of medium-light green royal icing.
d. Use the dark green royal icing for accents. You can add rings around the blobs of medium-light green icing, add dots within the blobs, or add lines adjacent to the lines you added earlier.
e. Repeat Step 2d, directly above, with the light green royal icing.
f. Use your scribe tool (or equivalent) to gently swirl areas of icing together. Generally follow the direction of the icing, using more circular swirling motions through icing dots, and more linear dragging where you’ve piped lines. Don’t go too crazy when blending; leave some bands or dots of icing unswirled. Malachite has a lot of natural variation. Find some images online for reference, and experiment. Each one should look a little different. Set transfers aside to dry completely, which could be several hours depending on ambient humidity, the icing consistency to start, and the transfer's size.
Step 3: Apply transfers to cookie
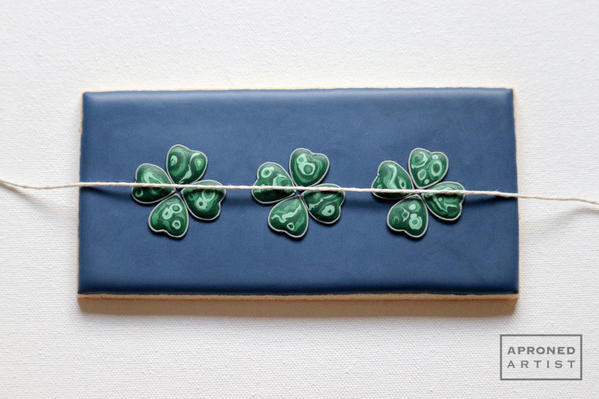
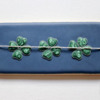
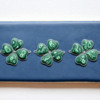
a. Gently remove your transfers from the acetate by peeling away the acetate, rather than tugging on the transfers. Arrange them on your iced (and dry) cookie in groups of four to form three clovers. Play around with the orientation and spacing. I found it helpful to bisect the cookie with a string to help visualize the chain (added in Step 4) and where it will attach to the clovers. When you’re satisfied with the string placement, use your scribe tool to make small marks on the navy background under the string. The marks should be adjacent to each of the clovers and will be used to indicate where the chain should attach. Adhere each clover piece with some stiff gray icing, placing the leaves of each clover as close together as possible.
b. Using the same gray icing and PME #1 tip, pipe a small bead in the center of each group of transfers to connect the leaves.
Step 4: Add icing chain
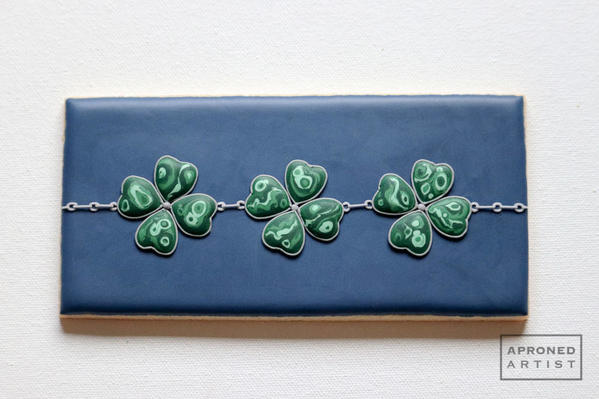
a. Pipe the chain with stiff gray icing and a PME #1 tip, once again. Begin by piping small ovals adjacent to the clovers in those spots marked earlier with the scribe tool. Continue to make small ovals along the center length of the cookie until you reach each edge. Keep the spacing between the ovals at the edges consistent with their spacing between the clovers.
b. With the same icing and tip, pipe lines connecting the inside edge of one oval to the inside edge of the next. Use your scribe tool or a damp paint brush to tuck the ends of the lines into the holes of the ovals. Let the icing dry at least 20 minutes.
Step 5: Paint gray icing with silver dust
Mix a few drops of alcohol into the silver luster dust until it reaches the consistency of paint. Use a tiny liner paint brush to paint the “metal” elements of your malachite chain.
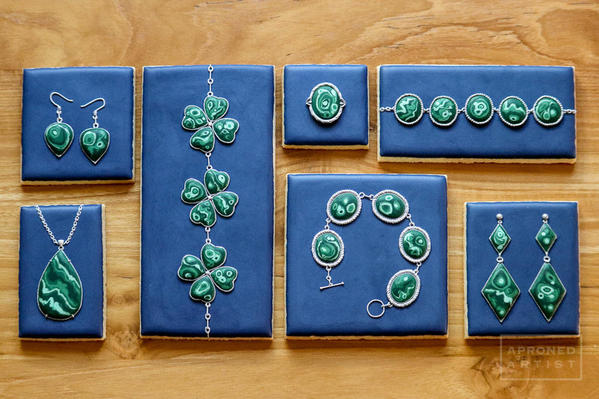
The vibrant greens make beautiful clovers, but don’t stop there! The malachite stones can be used in so many jewelry designs.

Samantha Yacovetta began cookie decorating in 2013. While working at a local bakery, Samantha became captivated by cookie art when a customer requested princess-themed cookies. Attracted initially to the precision of cookie decorating, Samantha soon found that the limitless design opportunities turned it into her artistic passion. Samantha began regularly stocking the bakery case with decorated cookies and for several years sold cookies through her own company, Aproned Artist, a cottage food operation. Having retired from the business life, Samantha now enjoys making cookies just for fun from her home in San Jose, California, USA. To learn more about Samantha, please check out her Cookie Connection portfolio, her Facebook page, and her past Every Little Detail tutorials here.
Photo and cookie credits: Samantha Yacovetta
Note: Every Little Detail with Aproned Artist is a bimonthly Cookie Connection blog feature written by Samantha Yacovetta focused on the special little details that make big statements in cookie design. This article expresses the views of the author, and not necessarily those of this site, its owners, its administrators, or its employees. To read all of Samantha's past Every Little Detail tutorials, click here. And to see all of Cookie Connection's tutorials, click here.








Comments (29)