After last week's polar vortex fiasco, I'm hopping as fast as I can into spring - and so is this month's Dynamic Duos™ design! The design, called "Hopping Into Spring" (of course, what else?! ![]() ), is more whimsical than my usual releases, and there's good reason for that. In light of all we've been going through, I really wanted to give you something that would elicit huge smiles this time! And so, here you have it, in all of its super cuteness, my February 2021 stencil release . . .
), is more whimsical than my usual releases, and there's good reason for that. In light of all we've been going through, I really wanted to give you something that would elicit huge smiles this time! And so, here you have it, in all of its super cuteness, my February 2021 stencil release . . .
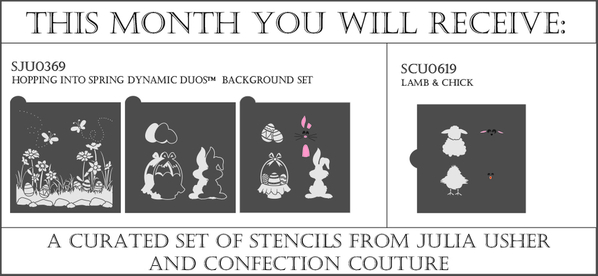
You'll find all of these goodies on my partner Confection Couture Stencils' site, under the following links:
- Hopping Into Spring Dynamic Duos™ Background Set (upper left),
- Hopping Into Spring Dynamic Duos™ Message and Frame Set (combined with the Duos™ background set; upper right),
- My partner Confection Couture Stencils' Lamb and Chick Cookie Stencil (lower right), and a past Easter release that's less whimsical and more sophisticated . . .
- Easter Greetings Dynamic Duos™ Sets.
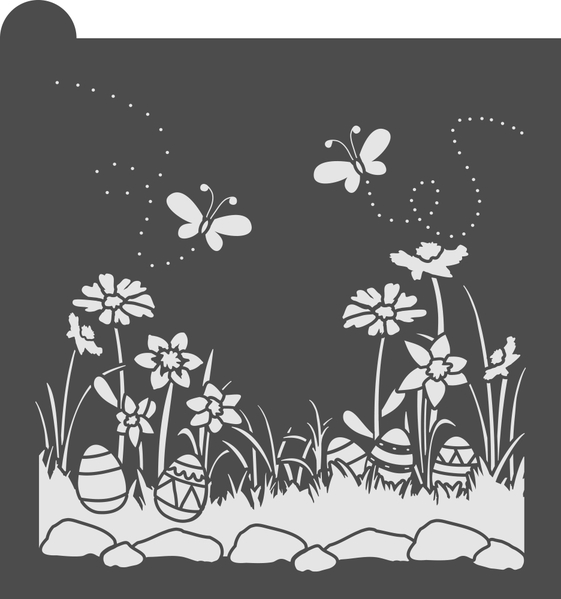
Also, have you heard?! The background stencil in each month's background set is now being sold separately! So, if you're not up to tackling fully layered sets, you can get my fun-loving Easter Lawn Background Stencil (pictured directly below) on its own and make several cheerful springtime designs with just it. I'll be showing you a few of those designs in a bit.
But, first, let's talk about what Stencil-of-the-Month Clubbers will receive in their mailboxes this month. As always, they'll get the carefully curated bundle of my Duos™ background set along with Confection Couture Stencils' complementary accent stencil (the lamb and chick one, in this case) . . .
So sweet! But what's even sweeter is that club members automatically get these stencils - my very latest releases - at huge savings (about 20% off) each month. To read more about my club and to sign up, click here.
Now, on to that background set . . .
Hopping Into Spring Dynamic DuosTM Background Set (6 pieces)![]()
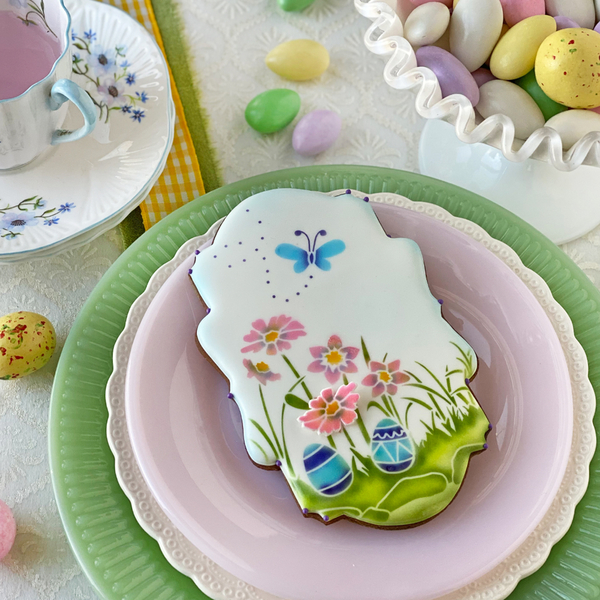
This set is super special this month insofar as the foreground stencil includes extra overlays to add a bunny face, ears, and belly to the bunny body. I'll show you how they all work together in a sec, but I first want to address how you can use the background stencil all by itself. One option is simply to airbrush it onto the cookie. Here, I captured just the left side of the stencil, because this cookie is rather narrow . . .
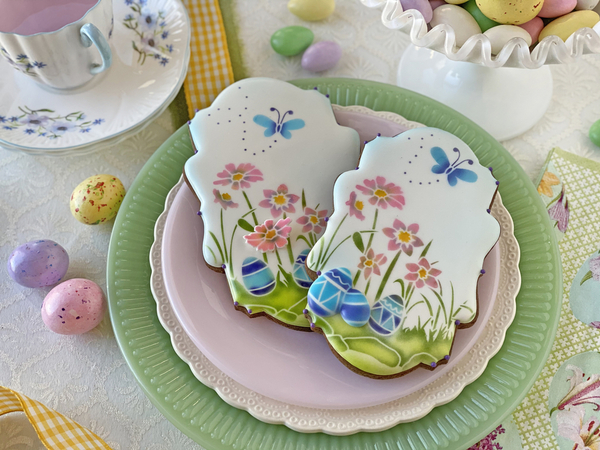
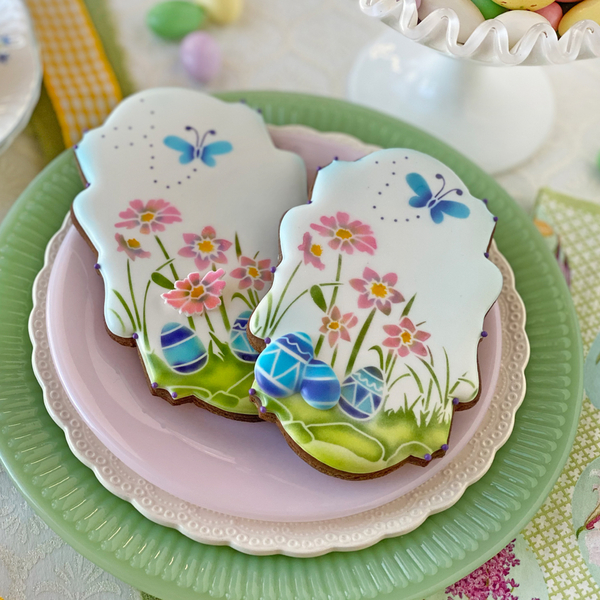
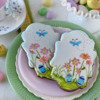
But, regardless of my cookie's size, I love capturing just portions of the background stencil, in different ways on each cookie. These various views lend interest to a set. For example, on the top cookie below, I simply flipped over the stencil to capture the mirror image on the right rather than the left side . . .
This orientation looks great too!
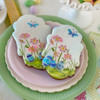
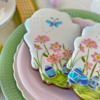
Before I move on, I should do a little 'fessing up, however! I actually did a little more than airbrush the background stencil onto the above cookies. If you were looking closely, you'd have seen that I snuck in some teeny floral fondant appliqués for a touch of dimension. In addition to airbrushing the flowers onto fondant and then cutting out that fondant, I also contoured the cut pieces by setting them to dry inside measuring spoons of various sizes. That drying process is what gives them their gentle curve.
Now, what to do with the foreground stencil elements and their corresponding masking pieces?! The masks are designed to block out space on the background stencil, so that the foreground elements can sit pleasingly on top with no interference from the background pattern. But, in the case of the top right cookie below, I opted to airbrush the large egg duo onto a royal icing transfer rather than directly on the cookie. The transfer was made by tracing the duo's shape with royal icing, letting it dry, and then airbrushing the egg patterns on top . . .
Here's a closer view . . .
I love the extra dimension that these egg transfers provide. I'm hoping the super-zoomed close-up below helps you better appreciate their poofy-ness!
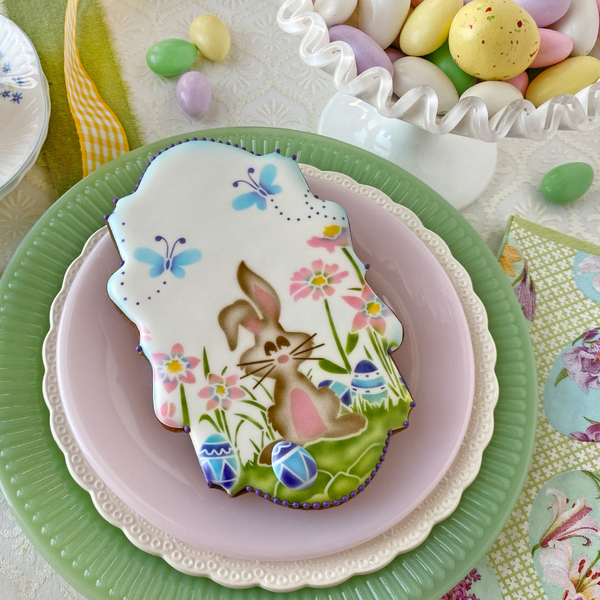
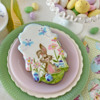
I also airbrushed the bunny onto some cookies in the more classic way, by using the masking piece to leave room for it. Here are a couple of those variations . . .
Peek-a-boo! This bunny's being a little shy, so here he is again, coaxed into a full-screen view . . .
Technique Aside: To make the bunny, I first shaded the body very lightly (and at a distance) with brown; then I set the combo ears-face-belly overlay on top and hit it with pink (ears, nose, and belly) and dark brown (eyes and whiskers). Lastly, I removed the overlay, reset the body stencil, and airbrushed around the edge with more brown to better define the bunny shape.
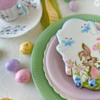
But . . . who said you have to capture the entirety of the bunny on the cookie? He looks awfully cute with just his head peeking out from the bottom of this plaque . . .
Here's a closer take . . .
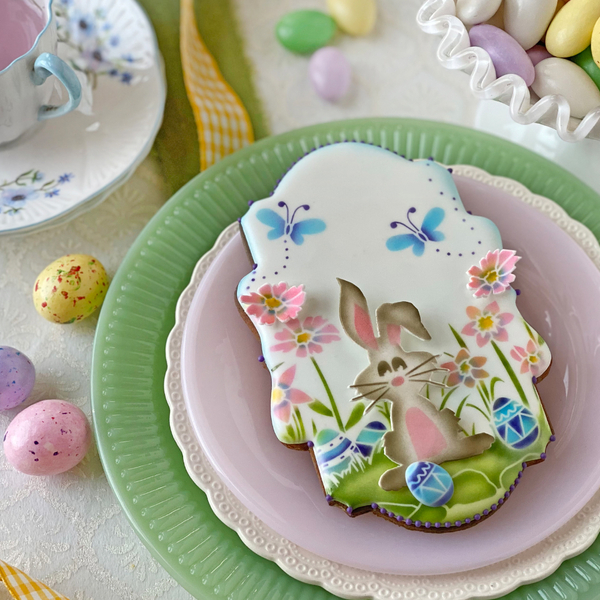
In the above cookie, I've added a bit of dimension with floral appliqués, but why not take the cookie to even greater heights (pun intended) by turning the bunny into an appliqué that hovers above the cookie surface?! I did just that in the following cookie, and then also used the bunny as a prop to stack an egg transfer even higher on top . . .
Zooming in so you can see these details more clearly . . .
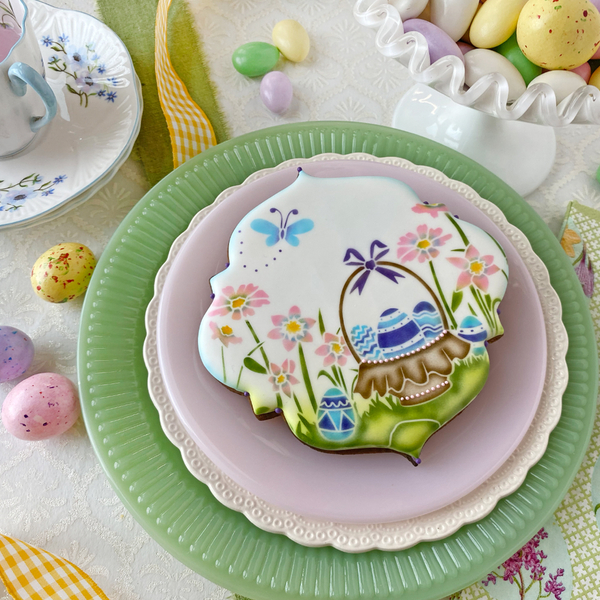
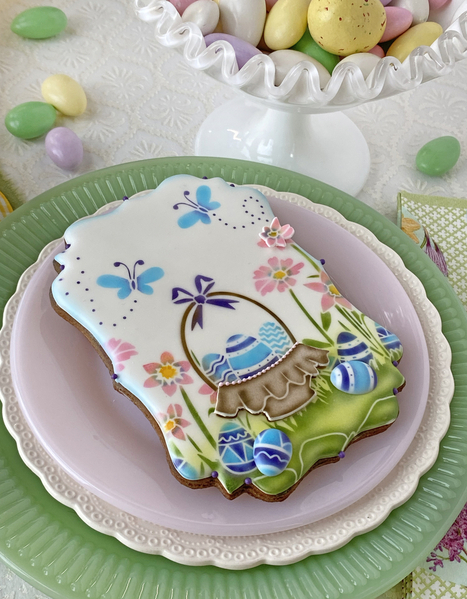
We're not finished yet (in fact, we've barely gotten started ![]() )! The background set contains yet another foreground element - the Easter basket! Below, you'll see it airbrushed and stenciled directly onto the cookie in the classic way . . .
)! The background set contains yet another foreground element - the Easter basket! Below, you'll see it airbrushed and stenciled directly onto the cookie in the classic way . . .
Whereas, here, I've elevated the design, literally and figuratively, with a fondant appliqué for the basket bottom and royal icing egg transfers!
Lastly, a side view to give you an appreciation of the depth and dimension that these techniques create . . .
As you can see, so many designs are possible with just the background set. But, IMO, few cookie sets are complete without messages. And, on that note, let's turn to this month's message and frame set! ![]()
Hopping Into Spring Dynamic DuosTM Message and Frame Set (7 pieces)![]()
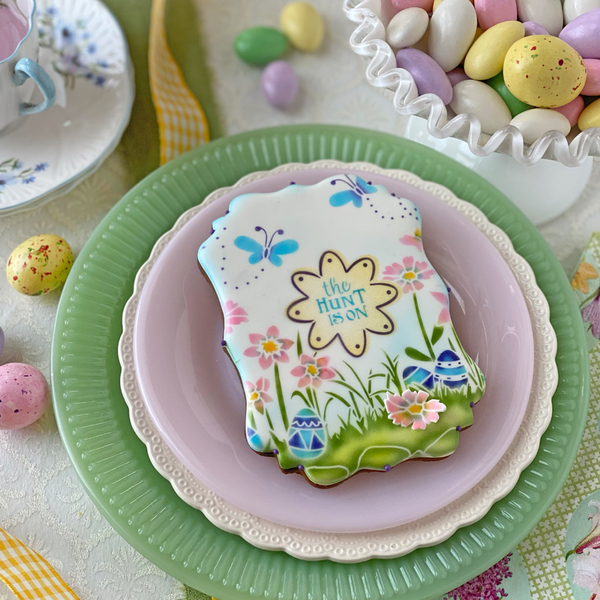
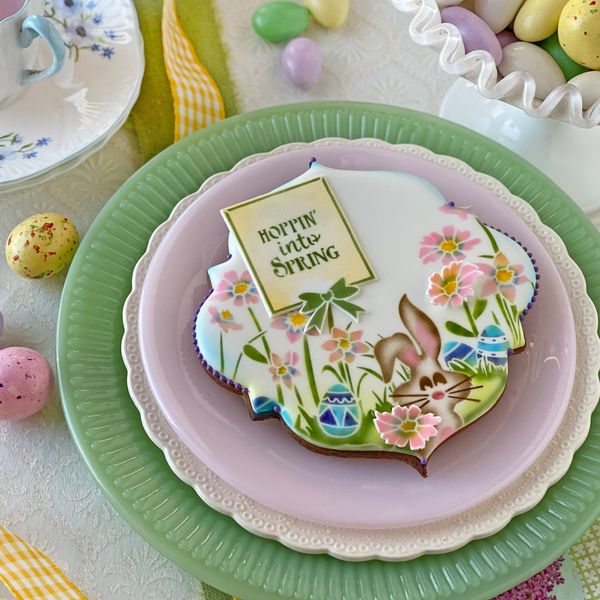
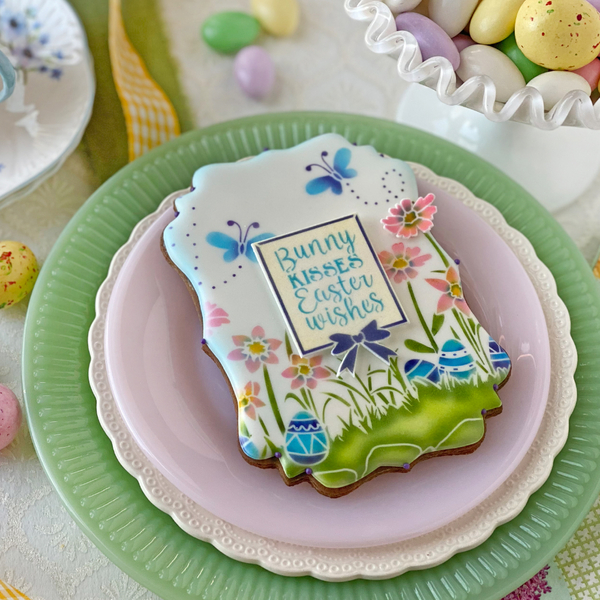
Naturally, it's got lots of bunny- and spring-themed messages to tie into the visuals in the background set. In the photos below, I've applied the messages and frames to the cookies in both the classic way (directly airbrushed) and also as fondant appliqués. I'll start with two examples of the former . . .
For the cookie above, I chose to balance the blue and purple in the eggs with more of those same colors in the message plaque.
But other color combos can work too, as you'll see below. My general rule of thumb, though, is to draw on colors already used in the background, just to keep the look from getting too busy.
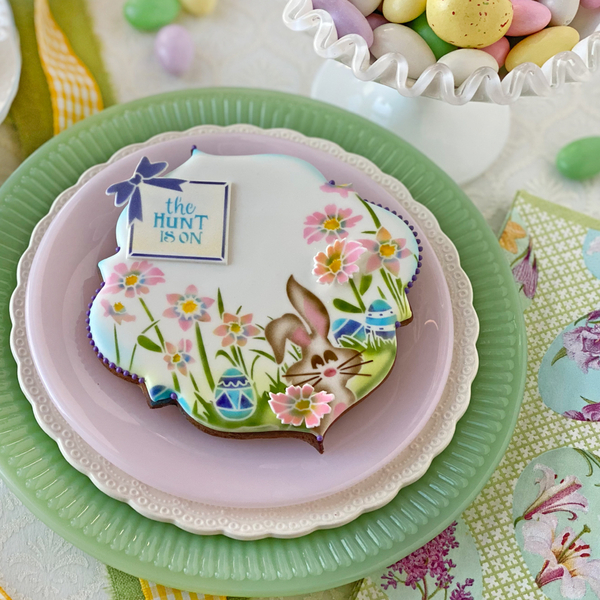
As cute as these two cookies are, I often prefer to create the framed messages as fondant appliqués. That way, I have the flexibility to try out different options before I commit any one permanently to the cookie with royal icing. For example . . .
I like the above framed message, but I'm thinking it hides too many flowers. Now, this round frame exposes the flowers on the left . . .
. . . but still seems to dominate the cookie space, perhaps because its dark bow is dead-center?! I finally settled on this smaller message with the bow turned to the other side, away from the bunny action! Just right!
Those bigger messages definitely have their place, however. This one fits perfectly, nestled between the flowers without any pesky bunny getting in the way! ![]()
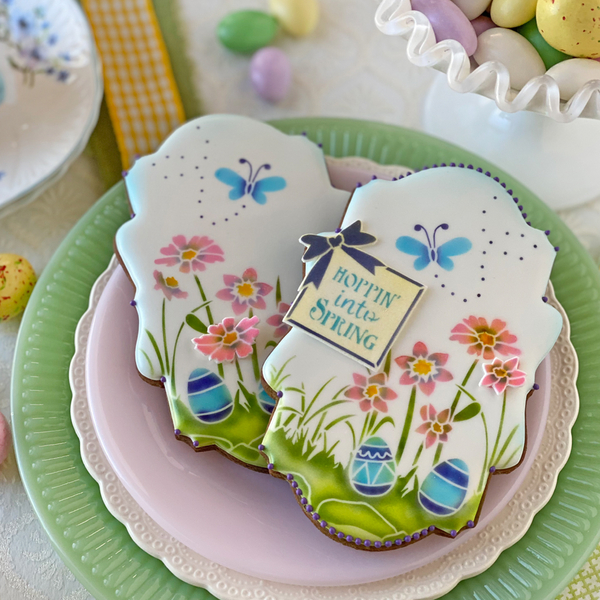
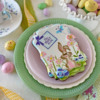
Of course, appliqués also allow me to dress up cookies at the last minute if I think they look too plain. Remember the righthand cookie (below) from the top of this post? Now, she's looking even smarter with a small message off to one side . . .
I could go on, but for fear of going into photo-overload, I leave you with one last image showing most of this Duo's design elements in action!
For a fuller recap, take a peek at the "style reel" directly below, and also at the video beneath it, which shows how I layered the various elements on a bunny cookie.
Style Reel:
Time-Lapsed Tutorial:
'Til next release, stay warm and cross your fingers for an early spring!
- My Dynamic Duos™ stencil sets
- My Stencil of the Month Club
- My entire stencil line, including my Prettier Plaques™ sets
- More Easter stencils
- My videos that show how to create layered looks with my stencil sets
If you have any technical questions about these stencils, just email me at sweetlife@juliausher.com or leave a comment below. Please, however, direct all ordering and Club questions to my stencil partner, Confection Couture Stencils, at service@confectioncouturestencils.com. Thank you!

















Comments (10)