Okay, call it wishful thinking, but I'm hoping we've seen the last of this winter's unbearably cold weather, and that spring flowers aren't more than a single snow-thaw away! To will away winter and hasten springtime here, I'm launching an Easter-themed set this month that's perfect in a palette of cheerful floral hues! This time last year, I gave you bunnies in a field of clover, and, this time, it's fluffy chicks in a garden overgrown with tulips! Enjoy!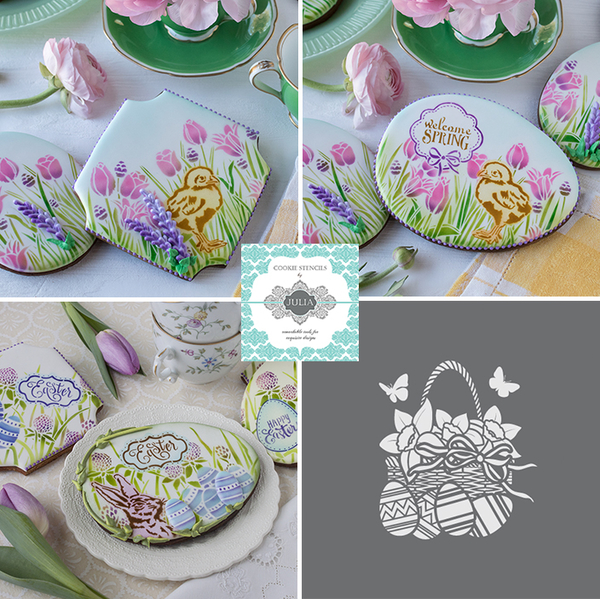
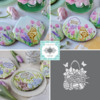
- Easter Greetings Dynamic DuosTM Background Set (upper left),
- Easter Greetings Dynamic DuosTM Message and Frame Set (combined with the DuosTM background set; upper right),
- My partner Confection Couture's Vintage Floral Easter Basket Accent Stencil (lower right), and
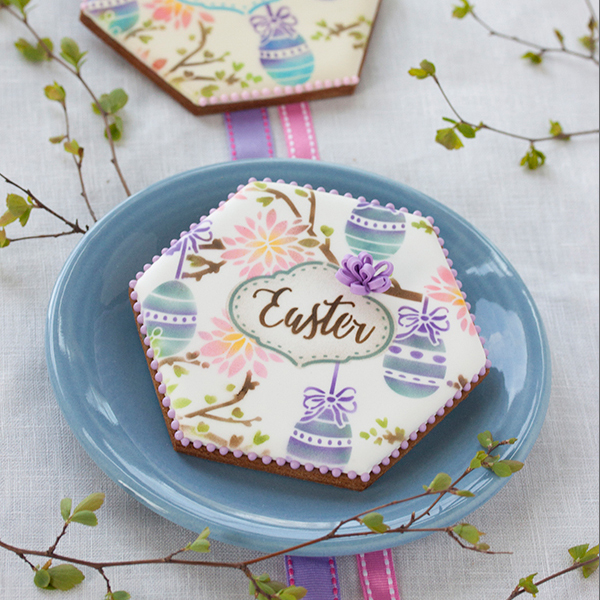
- Egg Hunt Dynamic DuosTM Set (last year's Easter-themed release).
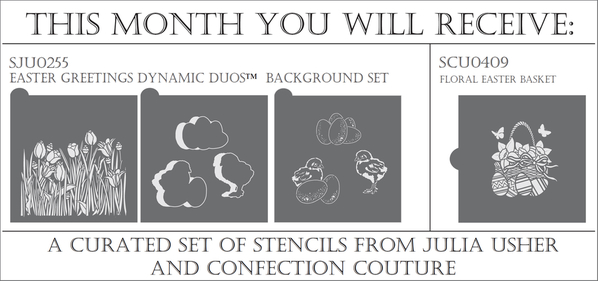
If you're a Stencil of the Month Club member, this month you'll get both my Easter Greetings Dynamic DuosTM Background Set and Confection Couture's Floral Easter Basket Accent Stencil. This specially curated bundle is worth $22.99, but Club members get it for only $14.99! Plus, as long as you stay a member, you also get 15% off anything else on the Confection Couture site! If you're more of a visual type, here's what this month's Club offering looks like in one concise picture:
Now, let's move on to discussing how the background set can be used on its own, without the complementary message and frame set. But first, a closer look at the elements in that set . . .
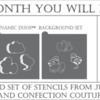
Easter Greetings Dynamic DuosTM Background Set (6 pieces)
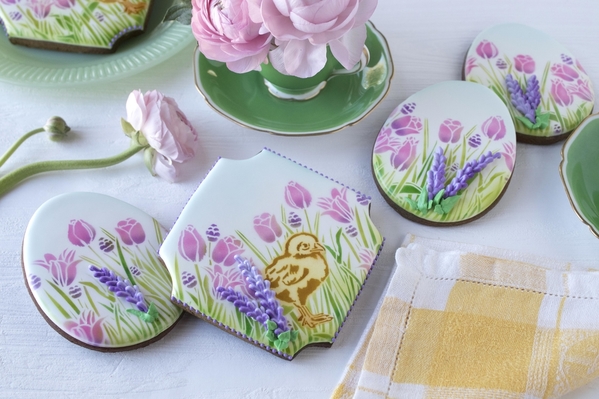
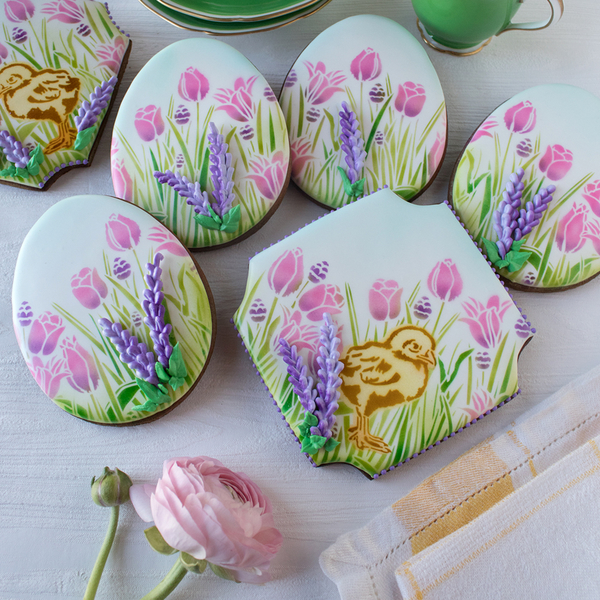
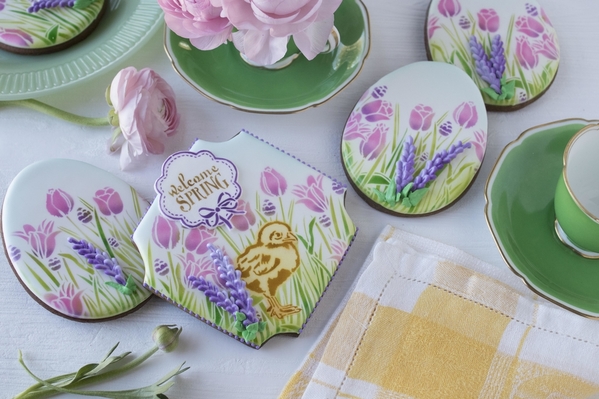
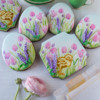
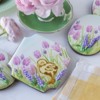
As always, there are myriad ways to configure all of these design elements. If you're a stencil- or airbrush-newbie, or just a minimalist, then, by all means, use the background stencil on its own, sans chicks or eggs. The effect is simple, but striking. I did exactly this on the egg-shaped cookies on the periphery of this photo:
(BTW, the lavender- or hyacinth-like flowers in the foreground are hand-piped royal icing transfers. I used a relatively thick lavender icing, and then, once the icing was dry, I airbrushed one side of each flower with AmeriMist Violet to add depth and dimension.)
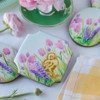
To step up this design a notch, simply mask off areas for any (or all!) of the foreground elements, spray the background, remove the masks, and then stencil the foreground element(s) in the void(s) left by the mask(s). Again, this is precisely what I did on the large center cookie, using the solo chick mask and stencil. As for other ideas, I could have flipped over the chick and done a mirror image, or I could have used the solo chick in combination with the five-egg stencil, or I could have used those eggs alone . . . I think you catch my drift! ![]()
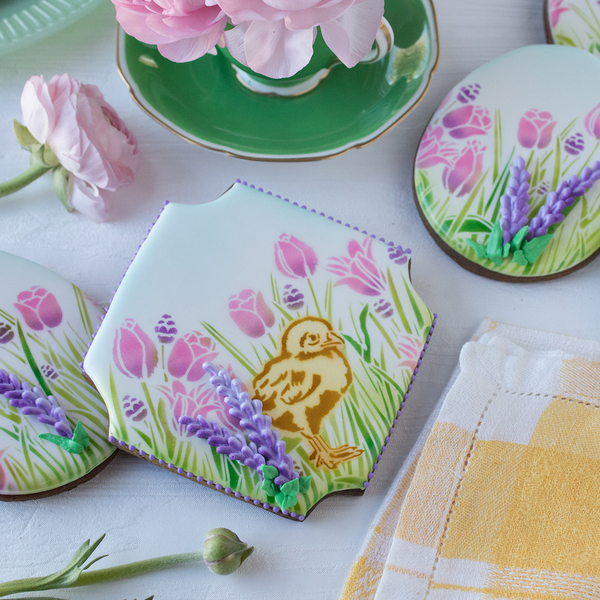
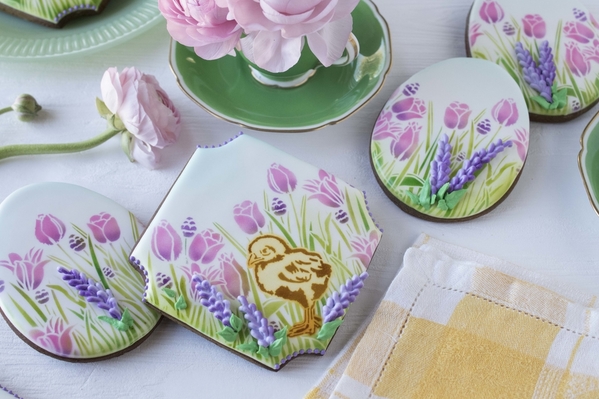
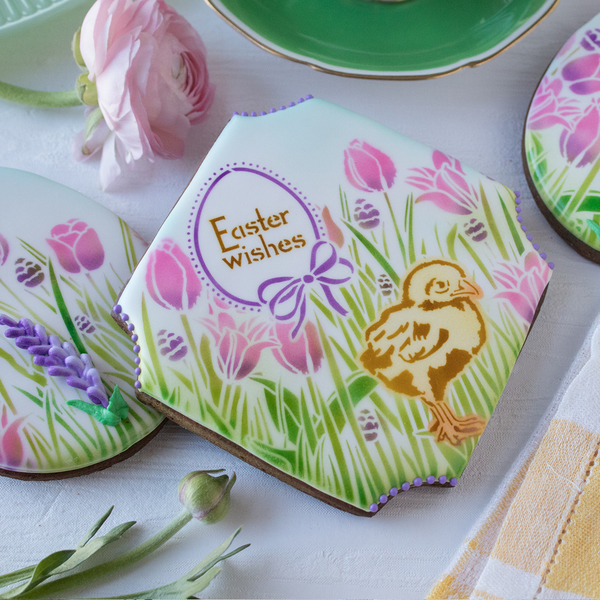
Before we proceed to the complementary message and frame set, here's a closer view of the cookies in question:
And an even closer look at the central chick cookie:
Also, a slight variation of the chick design with a mirror-image chick and more royal icing flowers on top:
(Shhh, don't tell . . . One of the flowers above is actually strategically placed to conceal some icing runoff on the side of the cookie! Yikes! That's what I get for trying to crank out a stencil release in just one day when I usually need three or four days to bake, ice, airbrush, add details, and photograph!)
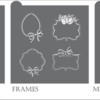
Now, for the message and frame set. It's got four messages and frames this time, for a grand total of seven pieces . . .
Easter Greetings Dynamic DuosTM Message and Frame Set (7 pieces)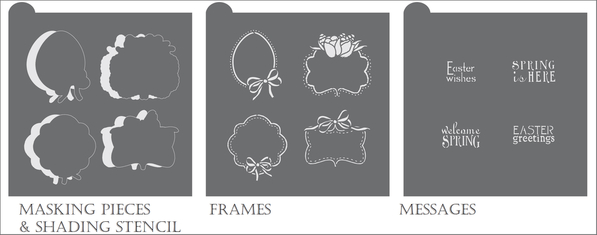
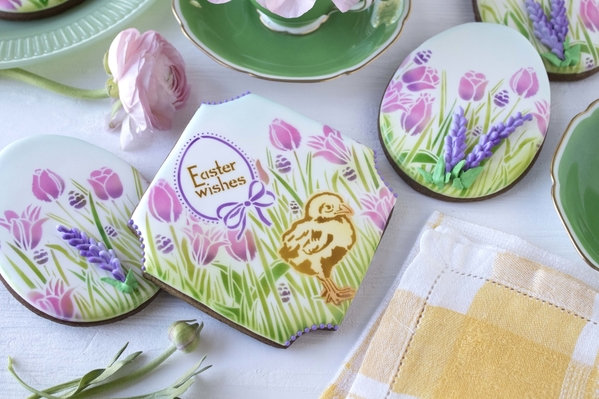
To add a framed message over the background, the process is basically the same as what I just described for layering a foreground element on top: mask, spray over the mask, remove the mask, and then, in the remaining void, airbrush over both a frame stencil and a message stencil, usually in that order. (Of course, if you prefer, you could apply royal icing over the last stencil instead.)
Anywho, here's one such all-airbrushed look:
And another with different message and frame stencils in action on a bigger egg-shaped cookie:
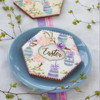
Of course, you needn't stencil directly on the cookie either. On the center cookie below, I made a fondant appliqué for the message by stenciling on a thin sheet of fondant and then cutting out the stenciled area, just as I've done in recent videos. This approach adds a bit more dimension to the end-cookie, and also allows more flexibility in message placement (note how it overhangs the cookie edge).
Finally, one closer look that underscores the value of these layered sets and all of their masks! The masking process helps to ensure a minimum of overspray across key design elements. See how distinct the chick and message are from the background?! Well, that's all thanks to the magic of the masks! ![]()
Before I close out this release, I want to give you a quick rundown of the colors I used above, just in case you want to try replicating my cookies. I used the following colors in the following areas:
- Tulips: AmeriMist Deep Pink mixed with Spectrum Flow White Matte (about 1:1);
- Purple Flowers: AmeriMist Electric Purple mixed with AmeriMist Violet (about 2:1); this same purple was used to hit the very bottoms of the tulips;
- Grass: AmeriMist Electric Green mixed with AmeriMist Avocado (3:1); then an overlayer of AmeriMist Leaf Green was applied to some blades;
- Chick: AmeriMist Lemon Yellow (for the body) and Chefmaster Sunset Orange (for the beak and feet), with Chefmaster Harvest Brown applied on top; and
- Messages and Frames: Various permutations of Chefmaster Harvest Brown and the purple blend used for the flowers.
Last but not least, I'd like to remind you of another great Easter set that harks back to my first Prettier Plaques™ series. It's called Easter Whimsy, and it's quite fun - definitely one to consider adding to your inventory to round out your Easter repertoire!
And that's all she wrote! As always, here's a quick recap of key links:
- To purchase my Dynamic DuosTM sets, click here.
- To join my Stencil of the Month Club, click here.
- To see my entire stencil line, including my Prettier PlaquesTM sets, click here.
- To view my videos that show how to create layered looks with my stencil sets, click here.
If you have any technical questions about these stencils, please don't hesitate to email me at sweetlife@juliausher.com or to leave a comment below. Please, however, direct all ordering and Club questions to my stencil partner, Confection Couture Stencils, at service@confectioncouturestencils.com. Thank you, and I'll "see" you again around this time next month!






Comments (2)