There’s no debating it: Halloween is one of the best, if not THE best, cookie seasons of the year - which is why I’ve got a second Halloween-themed release for you this month! It's called "A Haunting We Will Go", and it's a spook-tacular haunted mansion vignette with four different ghouls that can prowl out front! Plus, it’s got an extra layer in the background set that takes the art of layered stenciling to an altogether new level of detail.
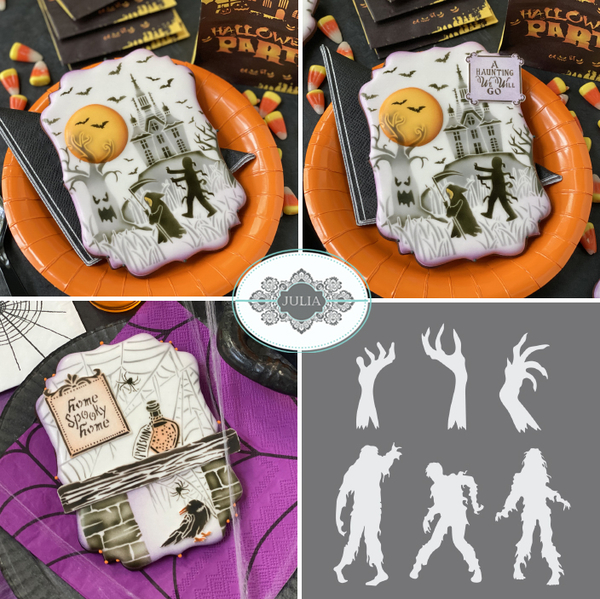
But, before I get into all of this added versatility, here's what my September release looks like at a glance:
And where can one find all of these fab-boo-lous stencils, you ask? Simple! Just click on these links:
- A Haunting We Will Go Dynamic Duos™ Background Set (upper left),
- A Haunting We Will Go Dynamic Duos™ Message and Frame Set (combined with the Duos™ background set; upper right),
- My partner Confection Couture Stencils' Zombies Accent Stencil (lower right), and, last but not least, a reminder of August's equally fun Halloween release, my . . .
- Home Spooky Home Dynamic Duos™ Sets.
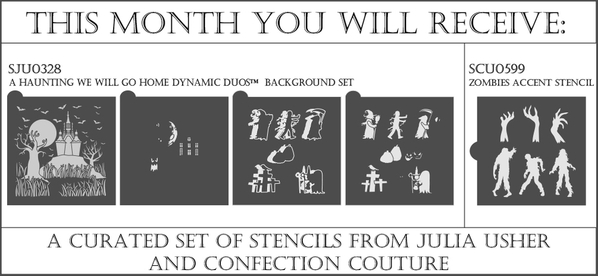
Of course, you could purchase my sets one at a time when they come out, or you could join my Stencil of the Month Club and get them automatically sent to you each month at great savings - typically 20% off normal retail price. If you go for the club, you'll receive a specially curated set of stencils that always includes the month's Duos™ background set and the single stencil designed by my partner. For instance, this month, club members will get . . .
Take note of the extra layer I mentioned (the second item from the left)! It contains elements for adding shadows on the moon, a scary face on the big ol' tree out front, and the necessary doors and windows on the mansion! For more information about my monthly club, click here.
Now, let's see how all 10 (YES, 10!) pieces in the background set might work together. First, a closer view of that set and the special, extra layer!
A Haunting We Will Go Dynamic DuosTM Background Set (10 pieces!)![]()
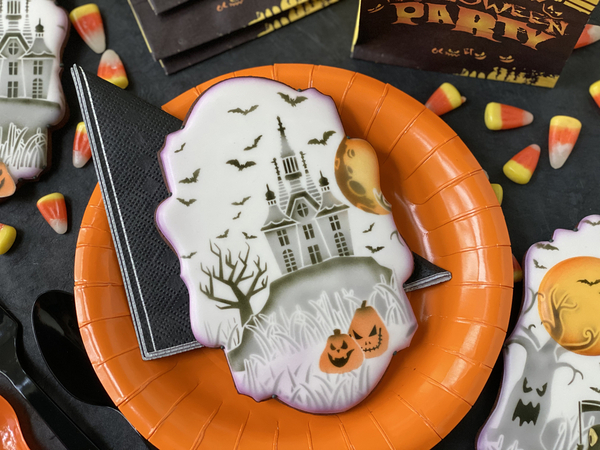
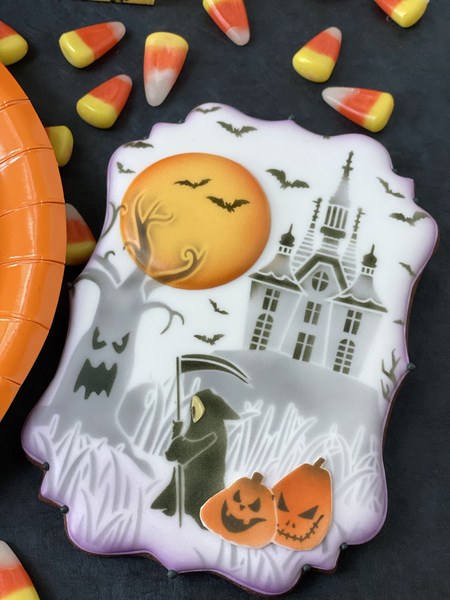
Here's an example of this set in use at one of the simplest of levels. It uses both background stencils and just a single element (the jack-o-lanterns) from the foreground stencil. Note that the jack-o-lanterns are comprised of two layers, both of which are on the foreground stencil: (1) the pumpkin "bodies" and (2) their faces (to the right).
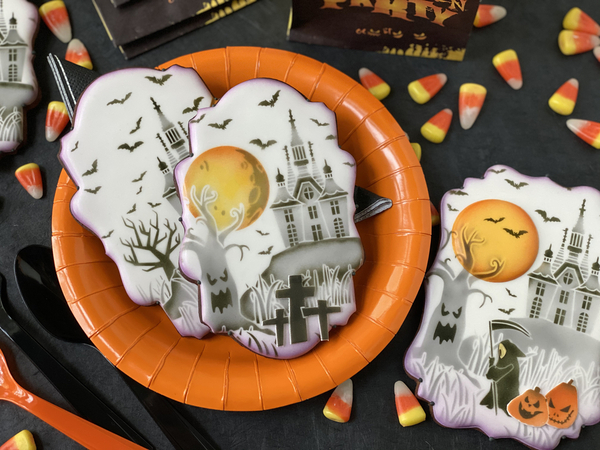
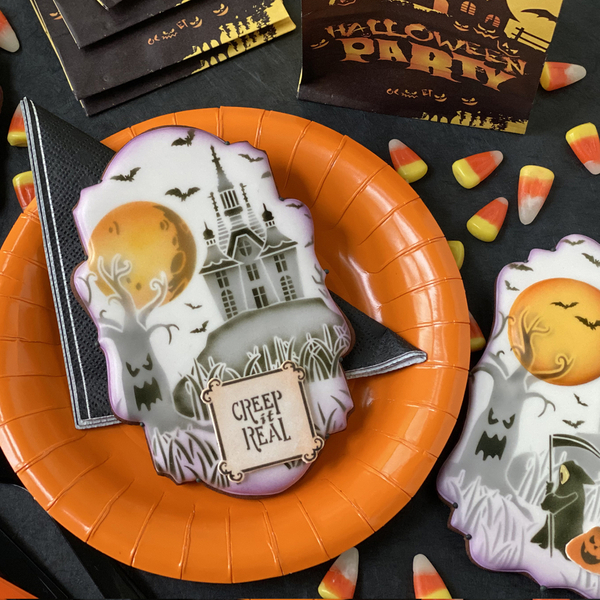
Everything on the above cookie was airbrushed directly onto the icing, which is why it looks so smooth and sleek. Of course, many of the foreground elements can also be turned into fondant appliqués (separate dried fondant pieces), which then get applied to the cookie for added dimension. Such is the case with the graveyard crosses on the center cookie (below) and the jack-o-lanterns on the bottom right cookie. (Note: I trimmed the raven off the top of the crosses below, but you'll see the entirety of that foreground element in use in the next section.)
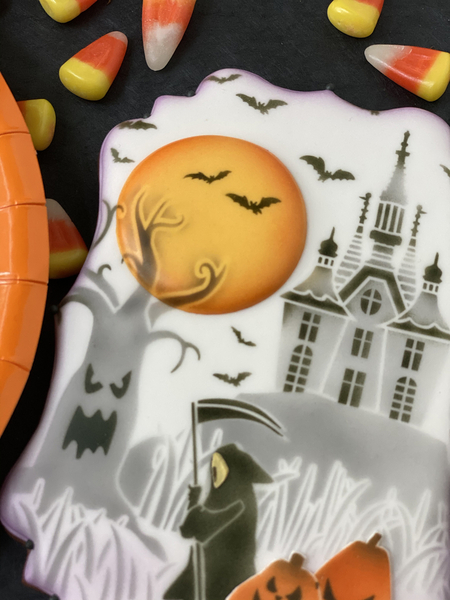
Let's take a closer look at that cookie to the right, because it has something else very special going on! That moon is actually a royal icing transfer, which is why it looks so dimensional. I first airbrushed the moon onto a piece of paper (to use as a piping guide); then I placed acetate over the guide and piped the moon on top with an orange-yellow royal icing. Once dry, the moon was stenciled and airbrushed using two different sections of the background stencil (the upper part of the tree and a couple of bats). I also shaded its edge with orange airbrush coloring.
Here's a closer view . . .
I was careful to airbrush the branches on the moon so that, when the moon was placed on the cookie, the branches on it would align perfectly with those underneath on the cookie. The result is a completely continuous design, despite the "disruption" of the dimensional moon.
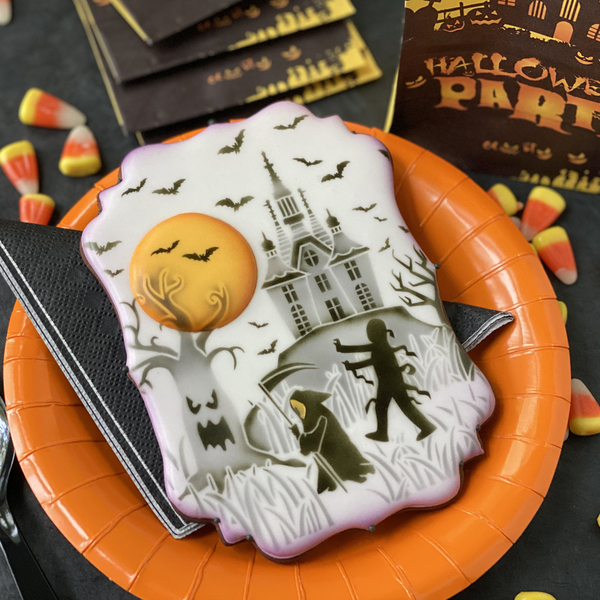
Here's another cookie with the moon done the same way, but with two ghouls now in the foreground. BTW, I hope you're appreciating the multiple layers of the Grim Reaper - three stencil elements, all on the foreground stencil, were used to complete him. First, the body was airbrushed in black; second, the yellow "aura" around his face was stenciled in royal icing using the large "face" element (to the immediate right of the body on the stencil); and, last, the small black face was airbrushed in black on top of the yellow. That small face element sits to the immediate right of the large face element, also on the foreground stencil.
Of course, I could go on an on with different permutations of the elements in the background set, but let's move on to the complementary message and frame set . . .
A Haunting We Will Go Dynamic DuosTM Message and Frame Set (5 pieces)![]()
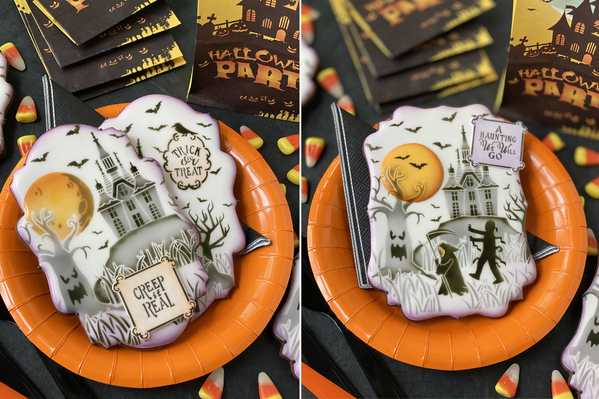
It's got two frames and five messages, many of which can mixed and matched. Here's a sampling of some different message types and placements:
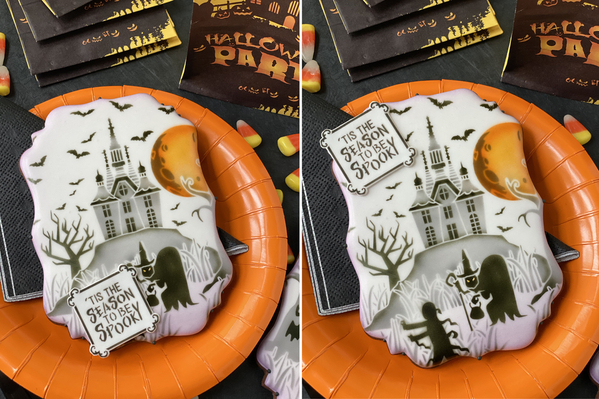
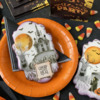
In the case of the bottom left cookie and the one to the right, both messages were made as fondant appliqués. By contrast, the one in the upper left was directly airbrushed on the cookie. What's great about fondant appliqués is they allow you more design flexibility, meaning you can test them on different spots on your cookie before committing them to a place with royal icing . . .
High or low?? Ooh, still not sure which way to go! (As I'm deciding, zoom in to see the witch's eyes. Yes, they are a separate stencil element as well, also on the foreground stencil in the background set!)
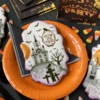
Some close-up views of various message types and placements . . .
For the cookie below, I turned the background stencil over and shifted it far left to capture the small craggy tree as opposed to the big one. Just another way to change up the cookie design all while using the same stencil!
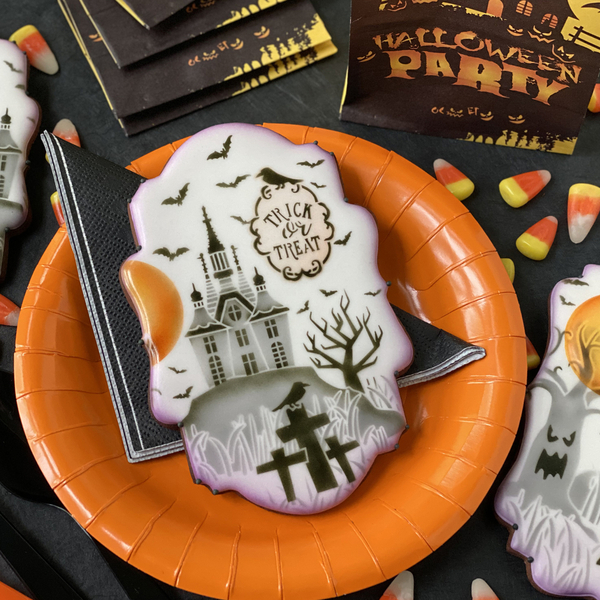
The cookie below demonstrates the interchangeability of the messages and frames! "Trick or Treat" looks equally fab in both frames, I think! (You can also see the graveyard crosses complete with raven, as they appear on the actual stencil.)
This message makes most sense when the witch foreground element is also in use, but that's certainly not a requirement! ![]() Truly, there are no rights or wrongs when using these sets.
Truly, there are no rights or wrongs when using these sets.
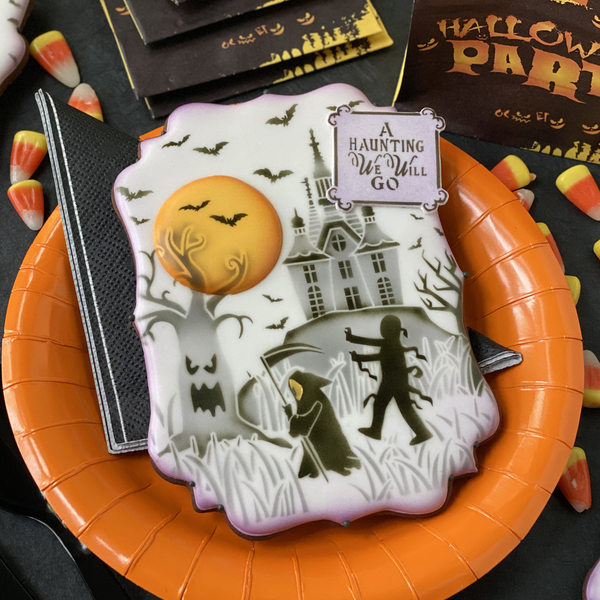
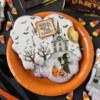
And, one more close-up that shows almost every element and technique in use: a royal icing moon transfer, layered stencils on the tree and haunted house, dual face stencils on the Grim Reaper, two ghouls instead of one, and a message done as a fondant appliqué! Phew - that's a lot, but it's still a very cohesive vignette!
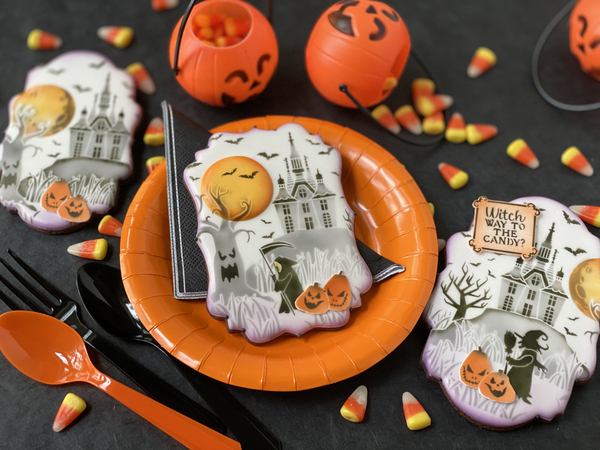
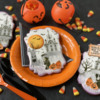
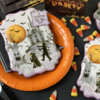
And, because I like to mix up my photo styling, I tried some mini jack-o-lantern props with cookies that all use the jack-o-lantern foreground element . . . I think this combo works too!
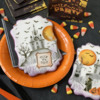
One final group shot and a video to recap all of the many design possibilities!
I hope these photos and video spur you to conjure up other boo-tiful cookie designs this Halloween season. (So sorry, I'm a sucker for bad Halloween puns, if you hadn't detected that already! ![]() ) 'Til next release, happy decorating!
) 'Til next release, happy decorating!
- To purchase my Dynamic Duos™ sets, click here.
- To join my Stencil of the Month Club, click here.
- To see my entire stencil line, including my Prettier Plaques™ sets, click here.
- To view my videos that show how to create layered looks with my stencil sets, click here.
If you have any technical questions about these stencils, just email me at sweetlife@juliausher.com or leave a comment below. Please, however, direct all ordering and Club questions to my stencil partner, Confection Couture Stencils, at service@confectioncouturestencils.com. Thank you!










Comments (6)