I have a cookier confession to make . . . I own not a single food mold. Not a one. And so, it should come as a surprise to no one, that I have also never made a molded cookie. I sure admire lots of molded cookies here on Cookie Connection. And, no one does a molded cookie creation like our very own Julia M. Usher. But my bet is that many of you, just like me, have never done a single molded cookie. Ever.
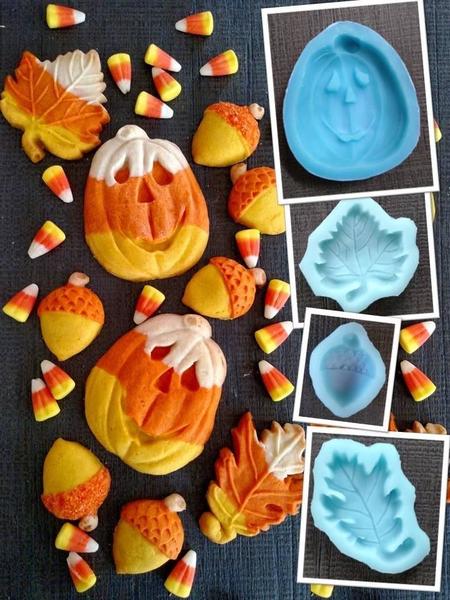
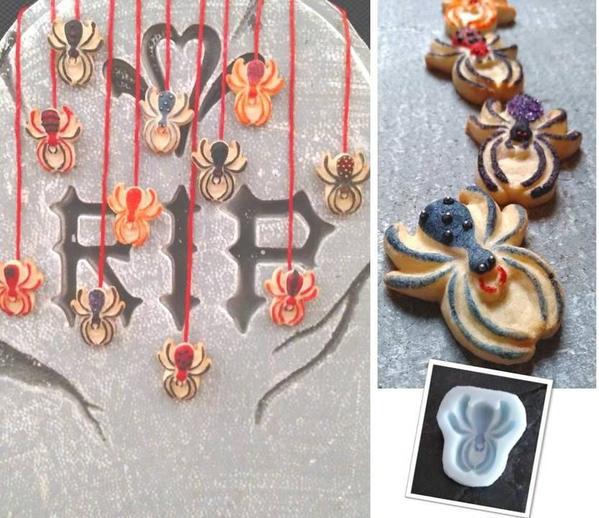
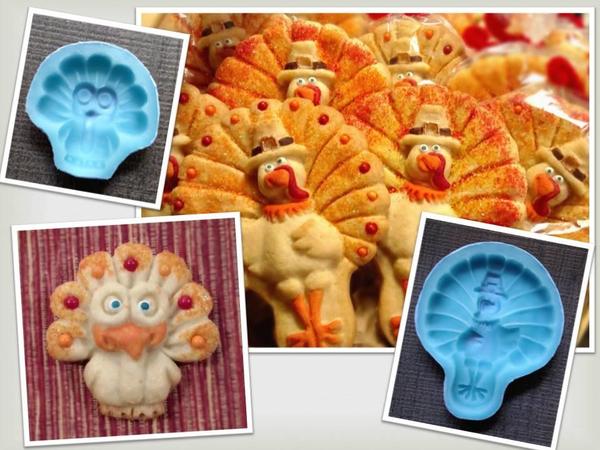
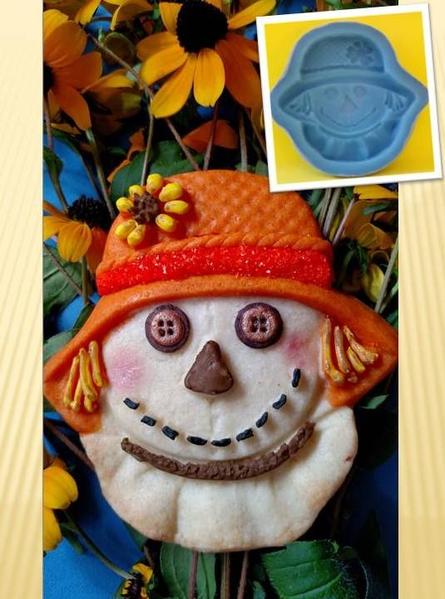
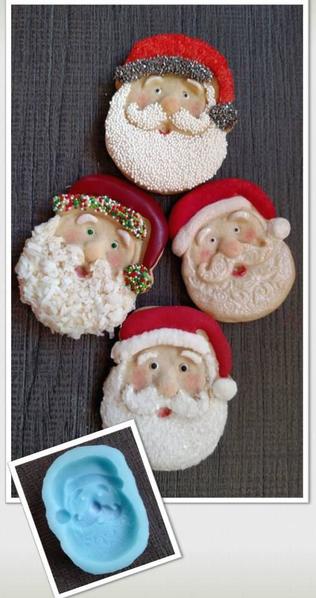
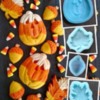
Well, here is your (our) BIG chance to give molded cookies a go! Before we get to the details and rules for this challenge, let's talk about something really fun - like our prize for this challenge! One very lucky entrant, chosen at random from among all the entrants, will win an incredibly generous $100 gift certificate to Cookie Connection member @Susan Moniz's mold shop, Artesão Molds! Here is just a sampling of the incredible molds you can find at Artesão Molds:
If you can't wait to get your hands on some of these fabulous molds, you can always buy them TODAY by heading directly to Artesão Molds online and purchasing some for yourself! And, while there, be sure to check out Artesão Molds' very timely Trump and Clinton molds!
Now that I've got you all fired up about this challenge's fabulous prize, let's talk about the challenge details. For this challenge, I would like you to make a cookie or set of cookies that use(s) molds and/or various texture-applying tools and techniques to create cookies without much additional royal icing. I really want to see the cookies' molded textures shining through. To give you an idea of where I am going with this challenge, here are a few examples of molded cookies.
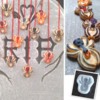
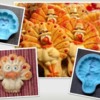
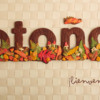
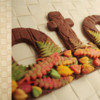
Otoño Tardío by tupetitcomite [EDITOR'S NOTE: In the second photo, tupetitcomite shows how many colors of cookie dough she used to make her tiny molded cookies in this masterpiece!]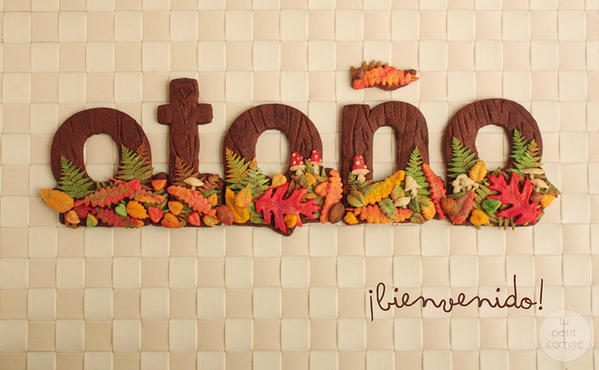

3-D Woodland-Themed Cookie Box by Julia M. Usher [EDITOR'S NOTE: For the wood grain effect, I first used a texture mat to emboss the dough; after baking and cooling the dough, I randomly painted areas with black food coloring, and, finally, filled all recesses with ivory royal icing. For the flowers and ferns, I baked tinted cookie dough in molds; I then dusted and painted the centers of the flowers once the cookies were popped from the molds and completely cool.]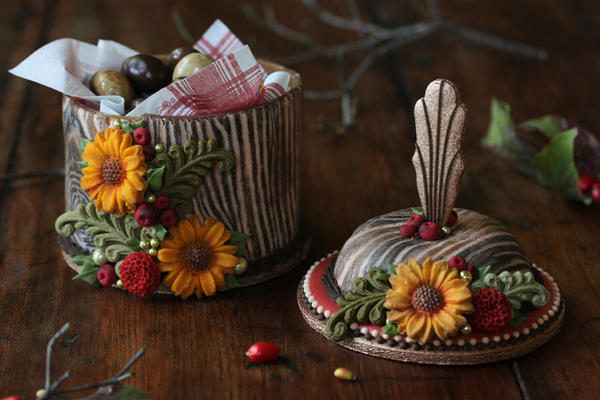
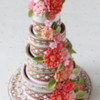
3-D Contoured Cookie Wedding Cake by Julia M. Usher [EDITOR'S NOTE: All of the flowers on this cake, except for the smallest pale pink ones, were made using tinted cookie dough baked in molds. Some flowers were also sprayed with gold or pearl luster for added sheen and depth.]
As you can see, by their very nature, molded cookies tend to lend themselves to 3-D cookie structures, but not necessarily. As you can also see, using colored cookie dough and other spraying and painting techniques really reduces the need for using royal icing. In all of the examples above, royal icing is only used very sparingly - for small details and embellishments - but, really, it is the textured cookies that are center stage.
Before we get to the rules of this challenge, I'd like to share with you some of the most helpful tutorials I have found for working with molded cookies. Knowing next to nothing about molded cookies myself, I have found them tremendously helpful.
- How to Make Embossed (aka Molded) Cookies by Julia M. Usher is an excellent and comprehensive overview of the techniques for creating and baking molded cookies, including suggestions for the types of dough that work best, and tips about how to color dough. Wondering if you should bake in the mold or not? Find your answer to this critical question, and more, here!
[EDITOR'S NOTE: I would add that if you do not plan to bake in your molds, or cannot because the molds are not oven-proof, then use a non-spreading dough. Basically, a few key factors control the spreading of dough: the ratio of flour to fat (more results in less spreading), the amount of leavening (less results in less spreading), and the type of fat (shortening has a lower water content and higher melting point than butter, so all else being the same, it causes less spreading). For recipes, please check out those on the Artesão Molds site.] - How to Make 3-D Woodland Cookie Boxes by Julia M. Usher is an excellent overview of how to make textured cookie pieces (such as wood grain) using mats and how to create and assemble 3-D cookie structures.
- How to Make 3-D Contoured Wedding Cake Cookies (Part 2) by Julia M. Usher is a great tutorial on all of the above, but also very instructive about how to make molded embellishments and smaller molded cookies, like flowers and such, and how to construct larger 3-D projects.
[EDITOR'S NOTE: Wow! Thanks, Christine, for plugging my YouTube channel so exhaustively. I imagine there are other great molded cookie tutorials out there, so, everyone, if you know of other helpful links, please do not hesitate to post them in the comments below.]
Note: You do NOT have to use actual, store-bought molds for this challenge. Texture mats, cake lace mats, textured rolling pins, and other texturing tools used for cakes and other crafts can be used. Or you could make your own molds. Even easier . . . virtually any sort of kitchen vessel or utensil can be used as a mold or to texture dough, such as an upturned heat-proof bowl to create a hemisphere shape, or a piece of burlap or cheesecloth to emboss the cookie surface. Really, everything in your kitchen is a potential molding or texturing tool! (Though, ideally these tools should be food-safe if you plan to eat your cookies!)
Now that we are all experts in molded cookies, let's get to the rules for this challenge! Please read and follow them carefully.
Rules:
1. Create a cookie or set of cookies using a minimum of three different molds or textures. For instance, a mold might be a rose-shaped cookie, and a texture might be something like wood grain or burlap. If you make a set of cookies, rather than just a single cookie, then you may distribute the three molds/textures across the set; however, every cookie in the set must have at least one molded/textured element, and the set must have a total of at least three molded/textured elements.
2. Your cookie(s) must be largely unadorned - that is, a minimum of royal icing should be used. However, using other techniques for coloring your molded cookies, such as tinting dough, airbrushing, spraying, dusting, and painting, are welcome and encouraged.
3. In the first comment under your entry, please list the molds and textures that you used and how you achieved them (i.e., silicone mold, over-turned bowl, texture mat, cheesecloth, etc.). If you used purchased molds or tools, please also cite where you got those things, as I'm sure others will be dying to know!
4. As always, we ask that you make a brand new cookie (or cookies) for this challenge.
5. Think outside the box, take some healthy risks, and HAVE SOME FUN.
- Please post an image of your cookie (or cookies) to the site under the Practice Bakes Perfect clip set no later than November 28, 2016 at 5 pm central.
- Please state which molds/textures you used in your entry in the first comment under the photo. This information is a requirement of the challenge; photos without it will be disqualified.
- Because these challenges will be ongoing, we ask that you put "Practice Bakes Perfect Challenge #19" in your photo caption field AND in a tag, so that we can tell the challenges apart from month to month. Please use the main title field to uniquely name your cookie as you normally would.
- Please also assign other relevant clip sets and tags to your image, as you normally would. (Meaning don't just use the Practice Bakes Perfect clip set and leave it at that, or your photo won't easily be found with keyword searches.)
- You can enter more than once, but please post only one clip of each distinct entry/cookie. Multiple clips of the same entry/cookie are not allowed unless added in a comment beneath the one primary clip.
After the challenge has closed on November 28, we will announce the winner in the Saturday Spotlight the following weekend (December 3). The next challenge will be announced after that Spotlight.
And one last thing . . . This is NOT meant to be a competition. The only person you should be competing against is yourself. Period. These challenges are intended to inspire the artist in you and push you to be the best cookie artist YOU can be at this snapshot in time. Remember, the whole point of this exercise is to get you out of your comfort zone - to "take healthy risks," as my wise-beyond-his-years son always reminds me. Plus, prizes are given entirely at random, so healthy risk-taking has its own rewards!
I would love to chat with you as you journey through this process, so if you have any questions about the challenge, are having trouble getting started, need help bringing an idea to life, or want technical advice, please leave a comment below.

 Christine Donnelly began her professional baking career at 16, when she was hired on the spot at her local bakery to work the counter and decorate cakes. After detours to college and law school, she worked as a trial lawyer in Chicago for many years, ultimately leaving that career to become a stay-at-home mother to her two children. In her “retirement,” she continued to bake at home, at last finding her preferred artistic medium in decorated cookies. In February 2013, Bakerloo Station was born with a presence on both Facebook and Instagram. Christine makes cookies to balance her left brain, to inspire and share creative ideas, and to feed those needs that only art can satisfy.
Photo credit: Christine Donnelly
Note: Practice Bakes Perfect is a bimonthly Cookie Connection blog feature written by Christine Donnelly that poses inspiration or challenges to get you to stretch as a cookie artist - for practice, for prizes, and for fun! Its content expresses the views of the author and not necessarily those of this site, its owners, its administrators, or its employees. Catch up on all of Christine's past Cookie Connection posts here.




Comments (21)