

A flower necklace: My attempt at an advanced tutorial. [EDITOR'S NOTE: Per members' recent requests for more advanced tutorials, I've asked all of our site contributors to push cookie boundaries for you! As you'll soon see, Kari's done a great job with this challenge - of course, I expected nothing less from this very talented lady! ![]() ]
]
I can’t say that anyone said, “Hey, Yankee Girl! How would I make a flower necklace?!”, but I figured that since I was going to making the cookie necklace anyway, I’d write out the steps for you. Will any of you run back to your kitchen and make this necklace? I don’t know. At the very least, I hope that you’ll read through this tutorial and gain the confidence to make your own 3-D creation!
What you’re going to need:
- Four-petal flower cookie cutter (see attached template if you don’t have this cookie cutter)
- Mini circle cookie cutter (sized to fit in the middle of your flower)
- Chopstick/straw for making holes
- White royal icing, flooding consistency
- Airbrush colors for painting (or gel colors if that’s what you have)
- Paintbrush
- Gray royal icing, detail consistency
- Silver luster dust
- Clear extract to mix with the luster dust
- Airbrush with pearl sheen coloring
- Ribbon/twine
Let’s get started!
I do not have a four-petal flower cookie cutter. ![]() So, I ended up hand-cutting mine. Just for reference, my flowers were about 3 inches across. Rebecca – The Cookie Architect – was so kind and made a template for you. (Again, you can find it attached to the bottom of this post.) A template doesn’t save you from hand-cutting, BUT at least you don’t have to draw the flower too!
So, I ended up hand-cutting mine. Just for reference, my flowers were about 3 inches across. Rebecca – The Cookie Architect – was so kind and made a template for you. (Again, you can find it attached to the bottom of this post.) A template doesn’t save you from hand-cutting, BUT at least you don’t have to draw the flower too!
Cut out your flowers and place them on your baking sheet. I used a chopstick to make holes in the petal (for the ribbon to run though). Make sure that the chopstick makes a hole all the way through the cookie. No giggling at my hand-cut/unbaked cookie! Remember – icing covers a lot of imperfections!
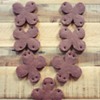
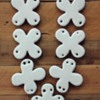
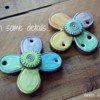
Now before you go and start making holes in all the petals – there is a pattern! Follow the pattern to make your petal holes. Once completed, bake up your flower cookies.
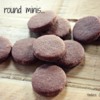
You also need to bake up some mini circle cookies. These will be attached to the centers of the flowers. Dig through your mini cookie cutter collection, and find a circle cutter that works for your flower. You don’t want it to be too large or too small . . . Just for reference, mine was 1 inch across. Another point to make about these mini cookies is that I did make them thinner than usual. I wanted them to be raised from the flower, but just slightly – so they were rolled out to a thickness of 1/8 inch prior to baking.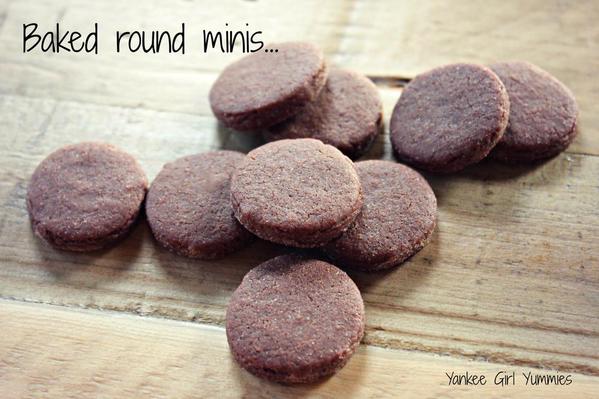
Okay. Cookies are baked and cooled. Now you can go ahead and flood ALL the cookies white - flowers and the mini circles. Be careful with the holes. You don’t want them filled with icing.
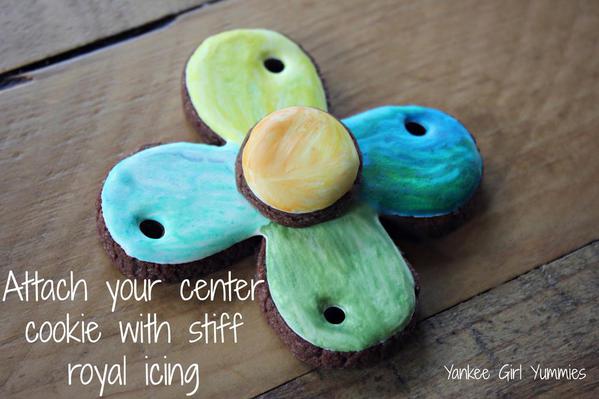
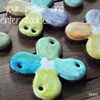
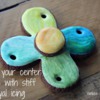
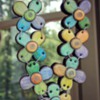
Once your cookies have dried 8 to 12 hours, it’s time to paint them. If you have access to airbrush colors, I find that they are easier to paint with. They just seem to be the right consistency. If you do not, then use gel colors and incorporate a touch of water. Using a paintbrush, just brush the color on. If you have too much water involved, your icing is going to break down. No one likes that! Try to have fun with this part, get creative! I painted each petal a different color but I did try to blend colors. If you look closely, you can see that even a blue petal has a bit of green mixed in. I just thought that it looked pretty . . . Don’t forget to paint your mini circles too!
Once the paint is dry, attach the mini circle to the center of your flower. You should use stiff royal icing to do this.
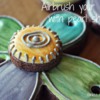
Using some gray royal icing (detail/stiff consistency), pipe on some details. I added a border around each petal as well as some swirls on the centers.
Let the gray icing dry and then you can paint it with the silver luster dust. You may need a smaller paintbrush for this step, depending on the detail that you added. Just add a few drops of clear extract to a bit of luster dust to get the correct painting consistency. If your icing starts to break down, your mixture is too diluted. If the paint is clumpy, it’s not diluted enough. Apply a thin coat. It’s so pretty, right?!

I decided that the silver luster wasn’t quite enough "bling" for me, so I airbrushed the cookies with pearl sheen. I know that you can’t truly appreciate it in the photo, but the pearl sheen coating was the perfect touch.
Once everything is dry, you’re ready to start the assembly. Refer back to the "hole pattern" photo to set up for the assembly. You don’t want to attach the wrong cookies together!
Start with the top two cookies. I used silver twine for my project, but you can use whatever ribbon works for you. I cut the top ribbon (the part that goes around your neck) to be a length of 2 1/2 feet long. This may have been a bit excessive, but I wanted to make sure that I had enough! Tie a knot to secure.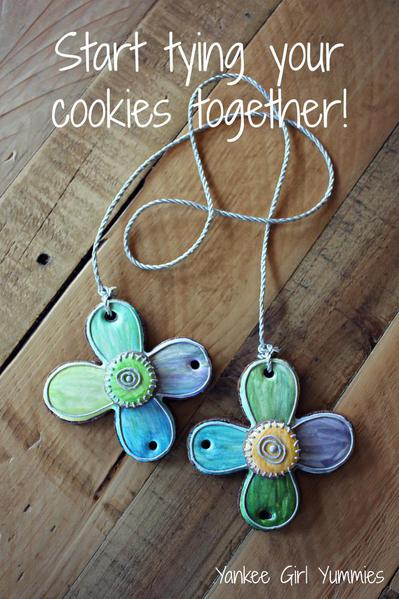
Once you have your cookies all laid out in their pattern, start running the ribbon through the holes. I cut my ribbon pieces to 9 inches in length. Again, it was a bit excessive, but I’d rather have too much than not enough. Run one end of the ribbon through the top side of the hole in one cookie and the other end of that ribbon through the top side of the hole in the cookie that will hang directly beneath - the idea being that the knot (tied in the next step) will end up in the back of the necklace. I had to tape the ends of the ribbon, due to fraying, to help thread it through the small holes. You may or may not need to do this, depending on the type of ribbon you use. This step is a very delicate one. You do not want to force the ribbon through because your cookie will break. Use a toothpick to gently make the opening wider, if needed.
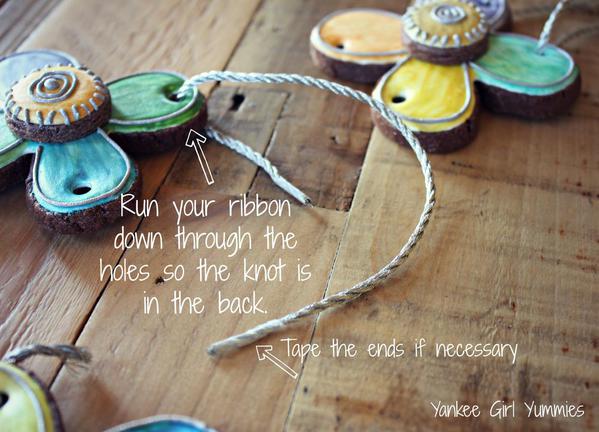
Now you can start tying your ribbon. Try to make the knots all equal in their "tightness", or rather try to make the distance between each cookie the same. You may need to play around with the knots a bit to get it right. If you need to flip over the necklace, ask for some assistance. You do not want the cookies to be rubbing against each other – this is too tight!
Once the knots are all tied, trim the excess ribbon.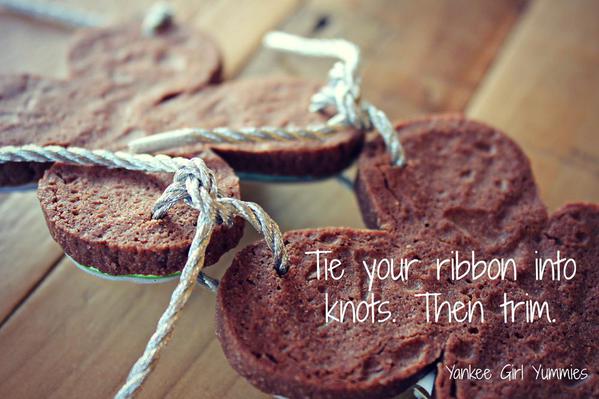
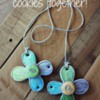
And then, ta-da!! A flower cookie necklace! Just for you!!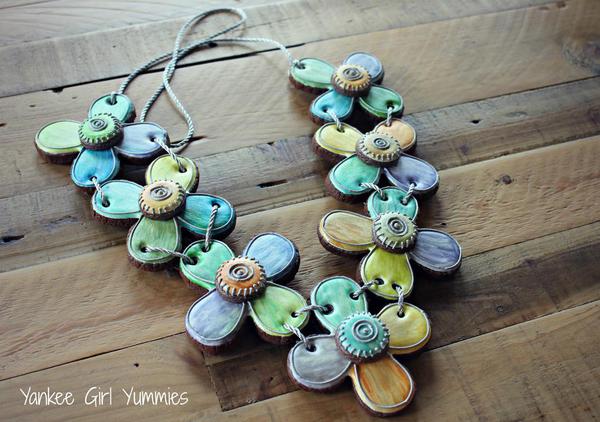
If you made it through the entirety of this tutorial, I thank you! I know that it was lengthy, but I had a lot to say.![]()
As always, email me or leave a comment with any questions. Thank you again to The Cookie Architect for the flower template!

 Kari Arroyo started decorating cookies in 2011 after deciding to take a break from nursing, and learned the ways of royal icing by reading tutorials and LOTS of trial and error. When she’s not decorating cookies, you can find her chasing after two busy boys! Check her out on Facebook or her site, and email her your cookie questions at yankeegirlyummies@gmail.com.
Photo credit: Kari Arroyo
Note: Dear Yankee Girl is a regular Cookie Connection blog feature, written by Kari Arroyo, which allows you to get all your critical cookie technique questions answered, Dear Abby-style! Its content expresses the views of the author and not necessarily those of this site, its owners, its administrators, or its employees. To catch up on all of Kari's past posts, click here.




Comments (14)