I made you some money.
Yes, I did.
Well, not REAL money. But close enough!
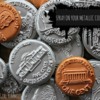
After the last tutorial, I got some questions about the gold coins from my leprechaun set. How did I make them? Since I don’t really like to make a set of cookies twice (weird, I know ![]() ), I decided to make some real coin cookies! One of my boys is learning how to count money in school, so I can dole these out to the children as a learning tool, and it’s a win-win for everyone!
), I decided to make some real coin cookies! One of my boys is learning how to count money in school, so I can dole these out to the children as a learning tool, and it’s a win-win for everyone!

What you’re going to need:
- Flooded and dry cookies
- Image to put onto your cookies (shamrock, President Lincoln . . .)
- Set-up to do a royal icing transfer or a Kopykake
- Piping consistency royal icing – same color as your flooded cookie (optional, if doing an image with no detailing such as a shamrock)
- Airbrush with metallic sheen colors or a bottle of Wilton Color Mist
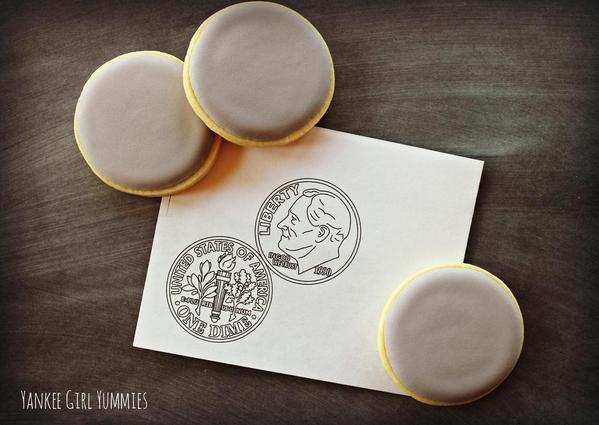
There are two ways to do these coins - based on the equipment that you have available. I used my Kopykake and airbrush because I am comfortable with them. But these cookies can very easily be made without either of those tools.
Start with a flooded cookie that you’ve allowed to dry overnight. I found free clipart images of the coins and, using the Kopykake, outlined and flooded the presidents' faces. Of course, they can also be done as transfers.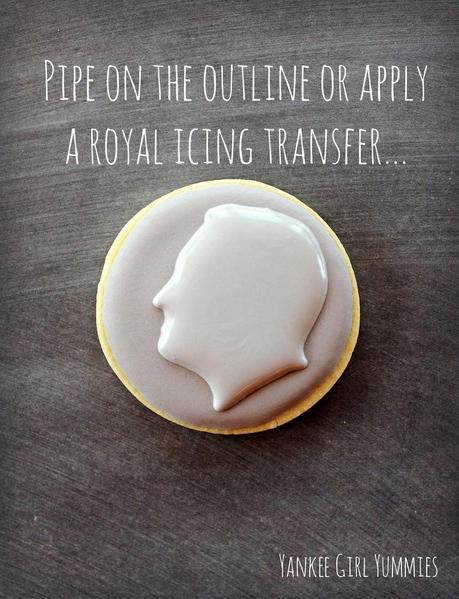
Once the flooded areas had dried, I used the same color to add the details. Obviously, the shamrock did not have any detail – so you could skip right over this step! Allow your details to dry.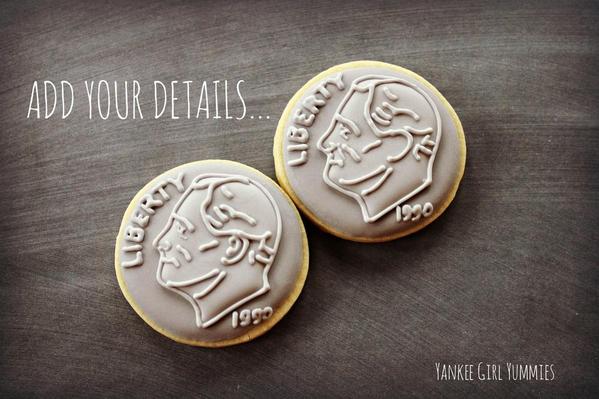
Now the airbrushing part! What can I say? Spray it! If you’re using the Wilton spray – be CAREFUL! That stuff comes out way fast. With the airbrush, I did apply two coats to give it that super shiny look!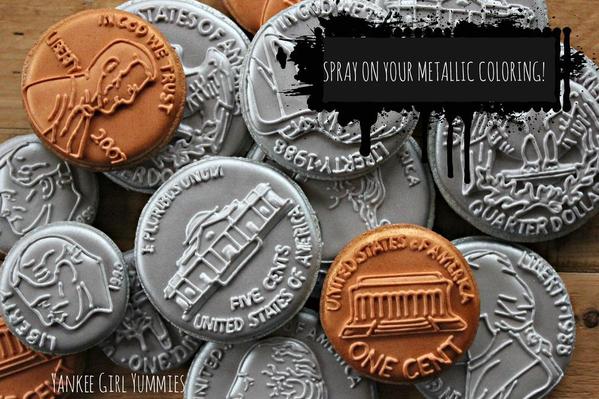
I do want to share a few things that I learned while doing this tutorial:
- I’m short 25 cents because while flooding a cookie, it overflowed . . . it happens. To everyone.
- On the quarter, George Washington has a double chin. Was this a necessary detail? I’m serious. Look in your change jar.
- Invest in some disposable gloves to wear during airbrushing. Take it from the girl with gold fingers . . .
And that’s it! You’ve got yourself some coins!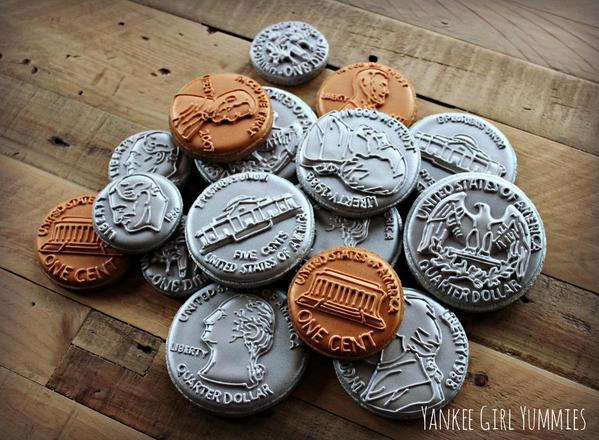
Please remember to email me or leave a comment with questions! I love all the material that you guys are giving me!
Cookie photo credits: Kari Arroyo

 Kari Arroyo started decorating cookies in 2011 after deciding to take a break from nursing, and learned the ways of royal icing by reading tutorials and LOTS of trial and error. When she’s not decorating cookies, you can find her chasing after two busy boys! Check her out on Facebook or her site, and email her your cookie questions at yankeegirlyummies@gmail.com.
Photo credit: Kari Arroyo
Note: Dear Yankee Girl is a regular Cookie Connection blog feature, written by Kari Arroyo, which allows you to get all your critical cookie technique questions answered, Dear Abby-style! Its content expresses the views of the author and not necessarily those of this site, its owners, its administrators, or its employees. To catch up on all of Kari's past posts, click here.



Comments (22)