
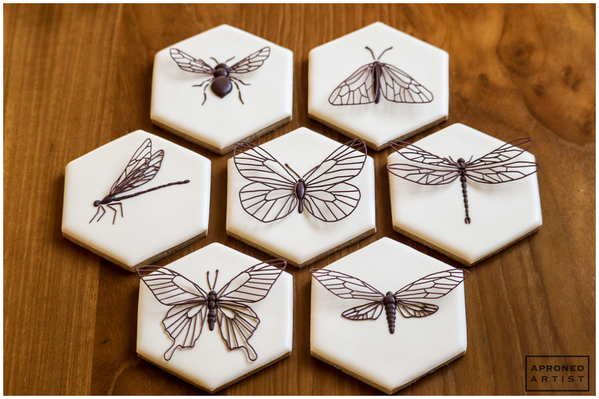
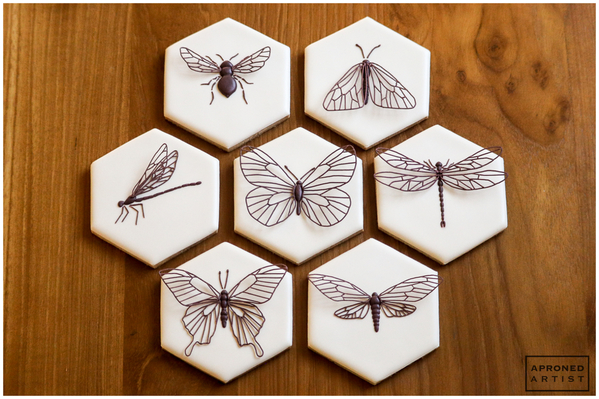
Like everyone else, we’ve been cooped up inside for some time now, feeling anxious due to the uncertainty of recent events. The view from my front window, however, remains largely unchanged. The butterflies and bees are still going about their business, fluttering happily from one flower to the next. There’s a comforting simplicity and beauty in that bit of normalcy, a sense of peace that I hoped to capture with this flying butterfly cookie.
Supplies:
- Butterfly Wing Design Template (See “Files” in “Attachments” at the end of this post.)
- Parchment paper
- Tape
- Royal icing (I used AmeriColor gel paste to color the icing):
- Stiff-consistency bronze (2 parts Regal Purple/1 part Chocolate Brown)
- Thick flooding-consistency bronze (The icing should be thick enough that it won’t settle without stirring with your scribe tool.)
- Tips:
- PME #0, 1.5, 1 (or equivalents)
- Small paint brush
- 3-in (7.6-cm) baked hexagon cookie, flooded with ivory icing
- Scribe tool (or equivalent)
- Thick card stock cut roughly into 2 (2 x 3-in/5.1 x 7.6-cm) rectangles
- 2 chopsticks (or equivalents)
Step 1: Pipe wing transfers
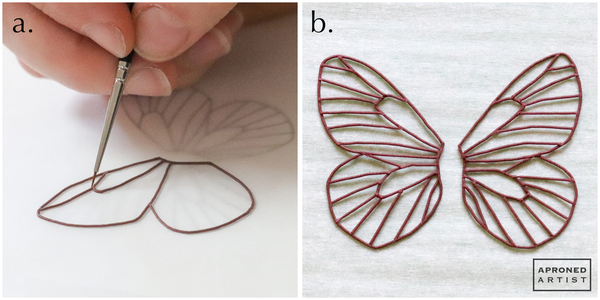
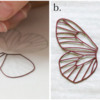
a. Place the Butterfly Wing Design Template (see “Files” in “Attachments” at the end of this post) beneath a piece of parchment paper. Tape the parchment down to your work surface so that it doesn’t curl. Pipe along the lines of the template using stiff-consistency bronze royal icing and a PME #0 tip (or equivalent; you can use up to a #1.5 tip if you want a sturdier transfer). Use a small damp paint brush to smooth any peaks where one line meets the next. You will only need one set of wings for the cookie; as a precaution, you may want to use the template to pipe an extra set of wings. Allow the icing to dry completely.
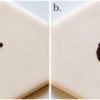
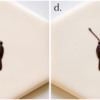
b. In my experience, the dry transfers will detach themselves from the parchment paper without any intervention. (If you look closely at the rightmost photo below, you can tell by the shadows that the transfers have already lifted from the parchment. If you can’t tell visually, you can also test a transfer's readiness by very gently nudging it with a dry paint brush to see if it slides freely along the parchment.) If the wings are dry but still sticking, carefully peel the parchment away from the transfers. (For a great illustration of how to remove parchment paper or acetate from a transfer, check out the photo for Step 3d in Manu’s Love Letter Tutorial.)
Step 2: Pipe butterfly body
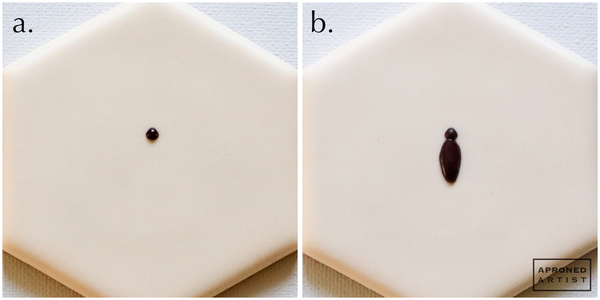
a. Using thick flooding-consistency bronze royal icing and a PME #1.5 tip (or equivalent), pipe a triangular bead of icing for the butterfly head slightly above the center of the flooded hexagon cookie. Use a scribe tool (or equivalent) to smooth any peaks in the icing.
b. Allow the head to set for about 15 seconds before piping an ovular body just below, measuring about 3/4 inch (1.9 centimeters) in length.
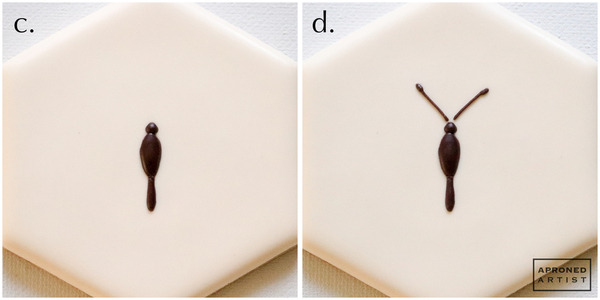
c. Pipe an elongated teardrop shape below the ovular body, measuring roughly the same length as the body.
d. Using stiff-consistency bronze royal icing and a PME #0 tip (or equivalent), pipe two antennae.
Step 3: Attach wing transfers to body
a. To prepare for attaching the wings, carefully slide a small rectangle of card stock beneath each wing transfer so that the inside edge of the wing (where it will attach to the body) is hanging slightly off the edge of the card stock. Place the wings to the side for easy access.
b. Lay a chopstick (or equivalent) vertically on top of the right edge of the cookie. Using stiff-consistency bronze royal icing and a PME #1 tip (or equivalent), pipe a thin line along the right edge of the ovular section of the butterfly body.
c. Pick up the rectangle of card stock with the right wing transfer, and lay the card stock along the chopstick so that the inside edge of the wing sits on top of the icing piped in Step 3b. The card stock and chopstick will help to support the wing and keep the proper angle while it dries.
d. Repeat Steps 3b and 3c with the left wing. Allow the icing to dry completely.
e. Once dry, pull the chopsticks laterally away from the cookie. The card stock should fall, leaving the wing transfer delicately suspended in the air. Carefully slide the card stock away from the cookie.
Finished!
Hope you all are safe and enjoying little pleasures wherever you can find them.


Samantha Yacovetta began cookie decorating in 2013. While working at a local bakery, Samantha became captivated by cookie art when a customer requested princess-themed cookies. Attracted initially to the precision of cookie decorating, Samantha soon found that the limitless design opportunities turned it into her artistic passion. Samantha began regularly stocking the bakery case with decorated cookies and for several years sold cookies through her own company, Aproned Artist, a cottage food operation. Having retired from the business life, Samantha now enjoys making cookies just for fun from her home in San Jose, California, USA. To learn more about Samantha, please check out her Cookie Connection portfolio, her Facebook page, and her past Every Little Detail tutorials here.
Photo and cookie credits: Samantha Yacovetta
Note: Every Little Detail with Aproned Artist is a monthly Cookie Connection blog feature written by Samantha Yacovetta focused on the special little details that make big statements in cookie design. This article expresses the views of the author, and not necessarily those of this site, its owners, its administrators, or its employees. To read all of Samantha's past Every Little Detail tutorials, click here. And to see all of Cookie Connection's tutorials, click here.



Comments (28)