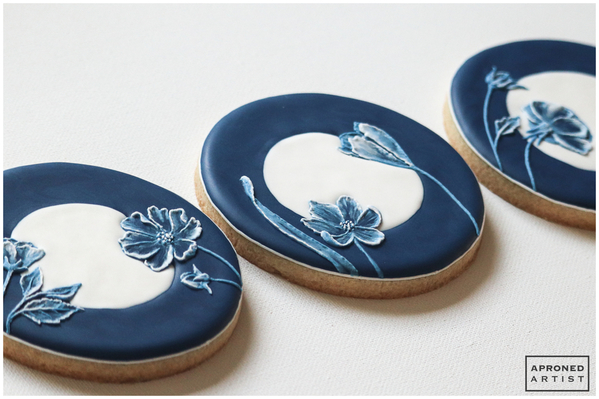
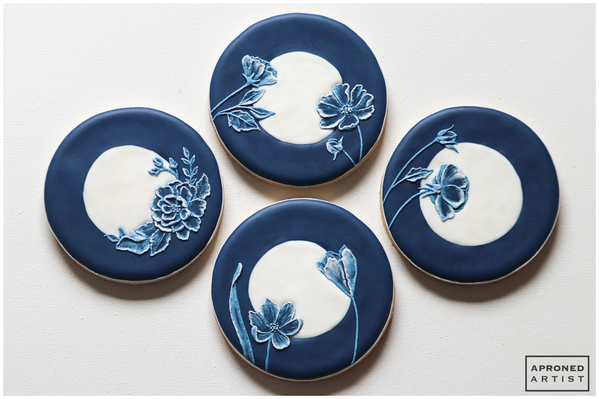
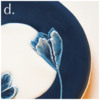
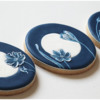
 I’ve always had a love of blue and white china. The patterns are classically beautiful but with a striking contrast that makes me want to look closer. Recently, I came across this blue and white dinner plate. With its large-scale flowers, it felt like a modern, fresh take on the traditional patterns. This cookie version is not meant to look like a plate, per se, but it shares the same contrast, hopefully drawing you in for a closer look.
Supplies:
- 3 1/2-inch (8.9-cm) circle cookie
- Royal icing:
- Stiff-consistency white
- Stiff-consistency navy* (AmeriColor Navy)
- Flooding-consistency navy* (AmeriColor Navy)
- Flooding-consistency white
- Tips: PME #1.5, 0, 1, 00 (or equivalents)
- China-Inspired Brush Embroidery Design Template (See “Files” in “Attachments” at the end of this post.)
- Pico or other projector
- Food-safe marker (optional, if projector not used)
- Scribe tool (or equivalent)
- Small flat angled paint brush
- Small cup of water, for dampening paint brush
*Note: Ideally, dye the navy icing the day before you intend to use it. Use enough gel paste coloring so that the icing is slightly lighter than you intend for final use. The icing will darken as it sits overnight. Pre-coloring the icing will give you a much more stable color (so you don’t end up with a cookie that looks great wet, but ends up too dark by the time it dries). Additionally, dying the icing early will minimize the likelihood of the blue icing bleeding into the white.
Step 1: Outline and flood cookie
a. Pipe a line around the perimeter of the cookie using stiff-consistency white royal icing and a PME #1.5 tip (or equivalent).
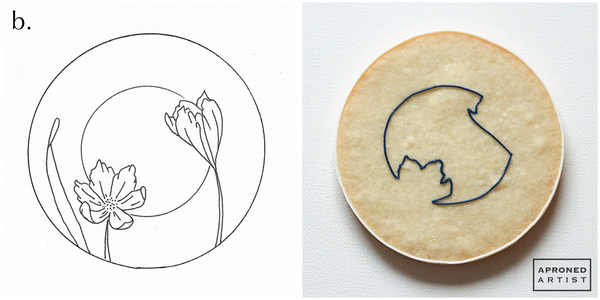
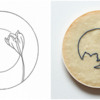
b. Project the China-Inspired Brush Embroidery Design Template, located in “Files” at the end of this post, on to your cookie. (Alternatively, you can cut out a paper template and trace it on the cookie’s surface with a food-safe marker.) Using stiff-consistency navy royal icing and a PME #0 tip (or equivalent), pipe a continuous line around the border of the inner circle and the portions of the flowers that extend into the inner circle (reference the photo below).
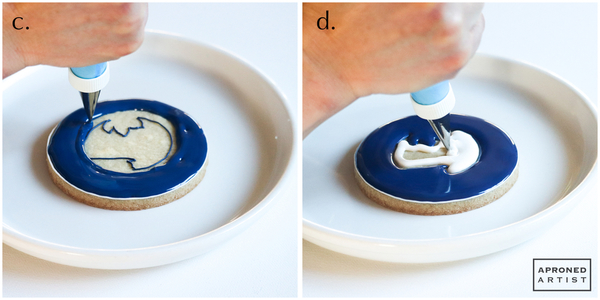
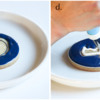
c. Flood the area between the cookie’s white edge border and the blue inner border with flooding-consistency navy royal icing. Use a scribe tool to carefully guide the icing into the pointed flower sections.
d. Immediately, flood the inner area with flooding-consistency white royal icing. Again, use a scribe tool (or equivalent) to work the white icing into the small, pointed sections. Let the icing dry completely.
Step 2: Pipe left brush embroidery flower
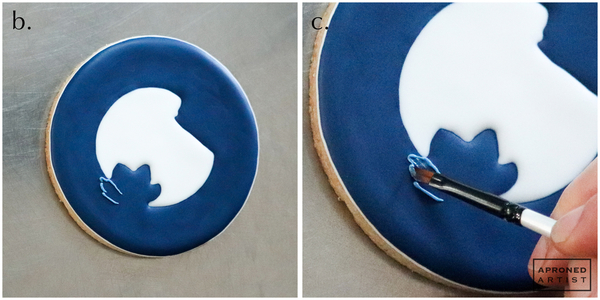
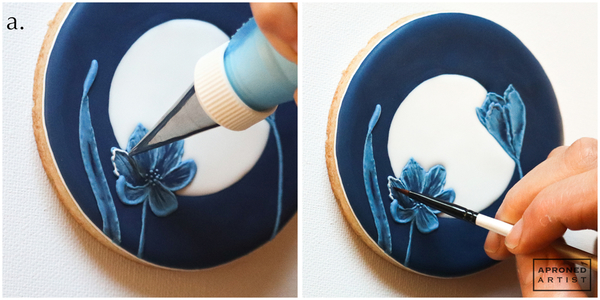
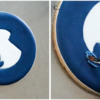
a. Mix a small amount of the flooding-consistency navy royal icing into some stiff-consistency white royal icing until you achieve a light blue color and a consistency similar to toothpaste.
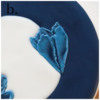
b. Using this light blue icing and a PME #1 tip (or equivalent), pipe a line around one of the petals of the left flower.
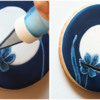
c. Immediately, dip a small flat angled paint brush into a cup of water and remove the excess water by running the brush over the rim of the cup. For the brush embroidery effect, align the angle of the paint brush with the edge of the petal and brush the icing down toward the center of the flower. For more control, you can also rotate the brush to use just the pointed tip to guide the icing toward the center. If you want a more opaque petal, add more icing along the edge of the petal, and repeat the process. Add a little more water with your paint brush if you want to minimize the look of the brush strokes.
d. When piping a petal that is curled, repeat the outlining and brushing process described in Steps 2b and 2c. Then, pipe a thicker bead of icing along the top of the petal, trailing off toward the petal’s bottom edge. Shape the bead with your paint brush, if necessary.
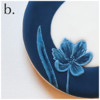
e. Continue outlining and brush-embroidering the remaining petals. Add a few tiny dots in the center of the flower.
f. Pipe a line of icing for the stem of the flower. Use the damp paint brush to gently flatten and shape the piped line.
Step 3: Pipe right brush embroidery flower
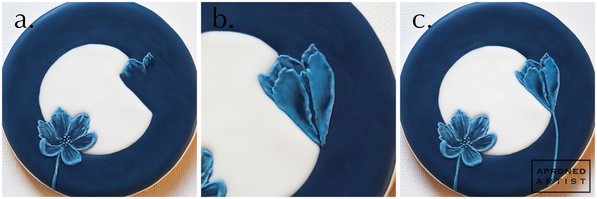
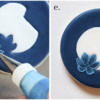
a. Use the same brush embroidery technique described in Step 2 for the right flower. Begin with the two back petals.
b. Pipe and brush-embroider the small petal on the left side and the small petal in the middle of the two large front petals. (Unfortunately, I forgot to take a picture of this phase.) Finally, add the two large front petals.
c. Pipe a long line for the stem, and flatten it gently with the damp paint brush.
Step 4: Pipe brush embroidery leaf
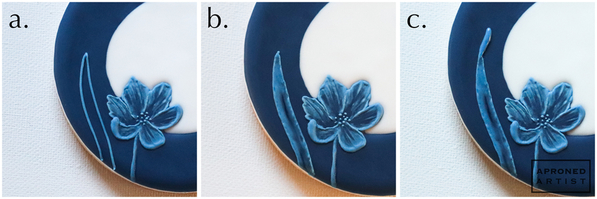
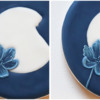
a. Now apply the same brush embroidery technique to the leaf. Pipe an outline of the leaf with the light blue icing and PME #1 tip (or equivalent), omitting the top section where it curls.
b. Use the damp paint brush to brush the icing at a downward angle toward the center of the leaf. Add more icing and/or water if desired, depending on how filled in and/or blended you want your leaf to look.
c. Finally, pipe a large bead at the top of the leaf where it curls, trailing off to meet the left edge of the leaf. Shape the bead with the damp paint brush, if necessary.
Step 5: Add brush embroidery highlights
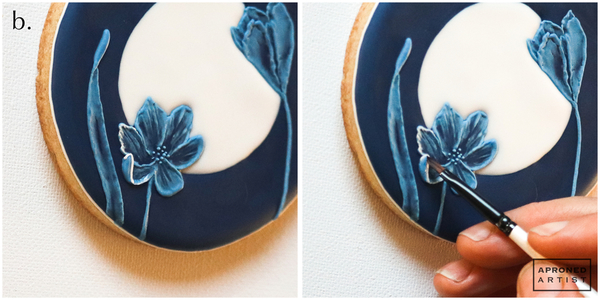
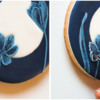
a. Using stiff-consistency white royal icing and a PME #00 tip (or equivalent), pipe a line along the top edge of one of the petals. Dampen the paint brush and use the tip of the brush to drag the icing toward the center of the flower.
b. When highlighting a petal that curls inward, pipe the highlight along the inside edge of the piped bead. Then, brush the icing toward the outside of the flower.
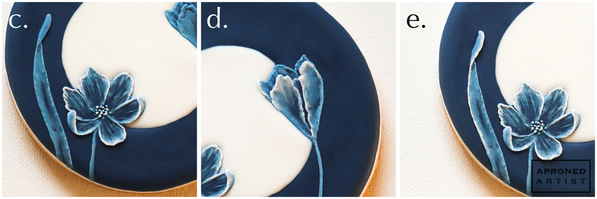
c. Continue adding highlights to all of the petals on the left flower. Add a few small dots to the center of the flower.
d. Add highlights in the same manner to just the front petals of the right flower. As before, if you want a larger highlighted area, repeat the process of piping and brushing with additional white icing. If you want to minimize the brush strokes, add a little bit more water with the paint brush.
e. Finally, add highlights to the curled top of the leaf by piping along the inside of the bead and brushing the icing toward the outside. Additionally, pipe a line along the left edge of the leaf, and brush downward at a diagonal angle toward the center of the leaf.
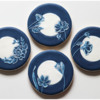
Finished!
It’s been a while since I’ve used brush embroidery, but I’m reminded of why it's one of my favorite techniques. Although the process is unhurried and relatively forgiving, the end result looks impressive with a unique elegance and dimension.


Samantha Yacovetta began cookie decorating in 2013. While working at a local bakery, Samantha became captivated by cookie art when a customer requested princess-themed cookies. Attracted initially to the precision of cookie decorating, Samantha soon found that the limitless design opportunities turned it into her artistic passion. Samantha began regularly stocking the bakery case with decorated cookies and for several years sold cookies through her own company, Aproned Artist, a cottage food operation. Having retired from the business life, Samantha now enjoys making cookies just for fun from her home in San Jose, California, USA. To learn more about Samantha, please check out her Cookie Connection portfolio, her Facebook page, and her past Every Little Detail tutorials here.
Photo and cookie credits: Samantha Yacovetta
Note: Every Little Detail with Aproned Artist is a monthly Cookie Connection blog feature written by Samantha Yacovetta focused on the special little details that make big statements in cookie design. This article expresses the views of the author, and not necessarily those of this site, its owners, its administrators, or its employees. To read all of Samantha's past Every Little Detail tutorials, click here. And to see all of Cookie Connection's tutorials, click here.



Comments (32)