[EDITOR'S NOTE: My sincerest apologies for the delayed posting of this tutorial, which was submitted in early August for August posting. All my bad. The good news is: you will get two tutorials from Samantha in September! ~JMU]
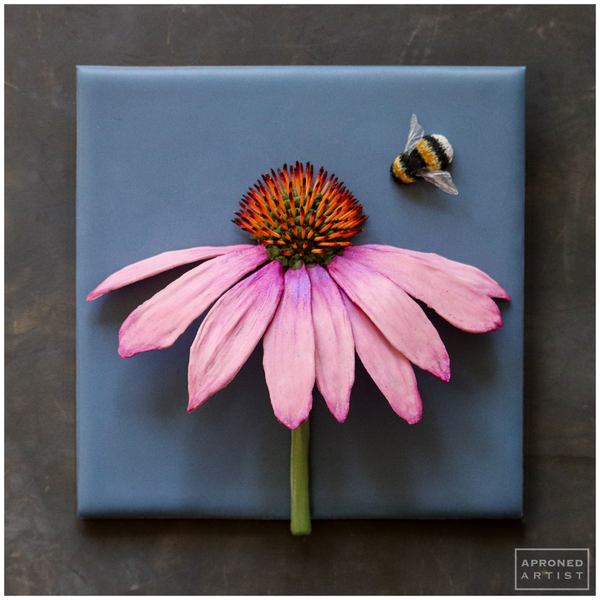
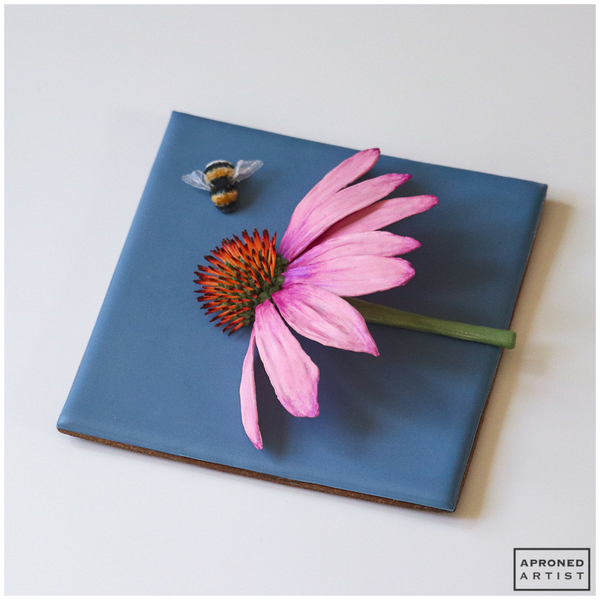
 I love flowers of all kinds, but I have a special fondness for flowers that look a little unique. The coneflower, with its spiky, vibrantly colored seed cone and skirt of purple petals, definitely fits the bill. Apparently, bees are just as partial to them as I am, so this dimensional coneflower cookie comes with its own buzzing admirer.
Supplies:
- Small piece of rice paper
- Kitchen shears
- Silicone petal veiner (or parchment paper)
- Medium flat paint brush
- Parchment paper
- Royal icing (I used AmeriColor gel paste coloring to tint the icing.):
- Stiff-consistency white
- Stiff-consistency gold (1 part Ivory/1 part Gold)
- Stiff-consistency black (Super Black)
- Stiff-consistency fuchsia (1 part Deep Pink/1 part Burgundy)
- Stiff-consistency green (Laurel)
- Stiff-consistency light orange (Apricot)
- Stiff-consistency dark green (2 parts Laurel/1 part Olive/touch of Super Black)
- Tips: Wilton #8, 2, 1 (or equivalents)
- 1-in (2.5-cm) silicone hemisphere mold (or parchment paper)
- AmeriColor (or equivalent) gel paste colorings for painting: Super Black, Ivory, Bright White, Super Red, Burgundy
- Small round paint brush
- Fuchsia luster or petal dust (or equivalent)
- Small file (optional)
- Silicone mat (or parchment paper)
- 5-in (12.7-cm) square cookie flooded with blue icing (4 parts Navy/2 parts Regal Purple/1 part Super Black)
- Aluminum foil for propping
- Paper towel (or equivalent)
- Small cookies (or equivalent) for propping
Step 1: Create bumblebee transfer
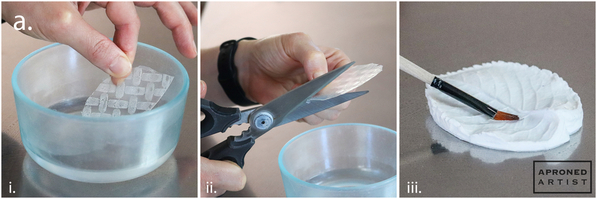
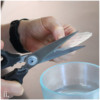
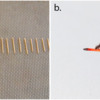
a. To create the bumblebee’s wings, dip a small piece of rice paper into a shallow bowl of cold water (i). Allow the rice paper to sit in the water for only a few seconds until it softens just enough to cut it without risk of it cracking. Use kitchen shears to cut two small wings about 1/2 inch (1.3 centimeters) tall (ii). Place the rice paper wings on top of a silicone petal veiner to dry. Use a wet, flat paint brush to gently press the rice paper into the veins of the mold (iii). This process will give the wings a subtle pattern and opacity.
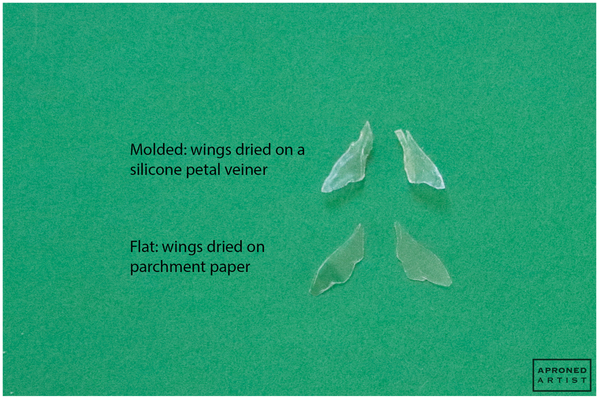
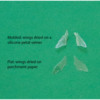
If you don’t have a petal veiner, place the wings on a small piece of parchment paper to dry. The wings dried on parchment paper will be flat and more translucent. (Notice the difference between the molded and flat wings in the photo below.) Allow the rice paper wings to dry completely.
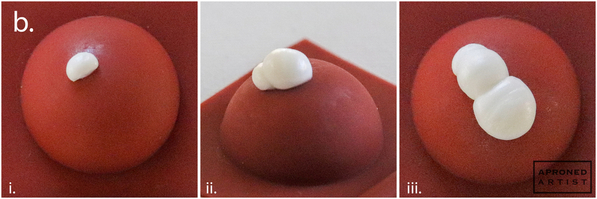
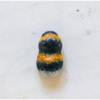
b. Using stiff-consistency white royal icing and a Wilton #8 tip (or equivalent), pipe a bead of icing on top of a small silicone hemisphere mold (i). If necessary, use a damp, flat paint brush to shape the bead into the head of a bumblebee. Pipe a larger bead of icing for the first segment of the body, overlapping the head (ii). Finally, pipe a slightly elongated bead for the lower segment of the body, adjacent to (but not overlapping) the first segment. The two beads should touch each other, but there should be a subtle narrowing at the waist where they meet (iii). Alternatively, if you don’t have a silicone mold, pipe the bee on a piece of parchment paper, and allow it to dry over the convex side of a small bowl. Let the icing dry completely (I dried mine overnight).
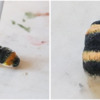
c. Use black gel paste coloring and a damp flat paint brush to paint the head and two stripes (one at the bottom of the first body segment and another in the middle of the lower body segment). Dilute ivory gel paste coloring with water to create a thin and semi-translucent paint to make the two golden stripes.
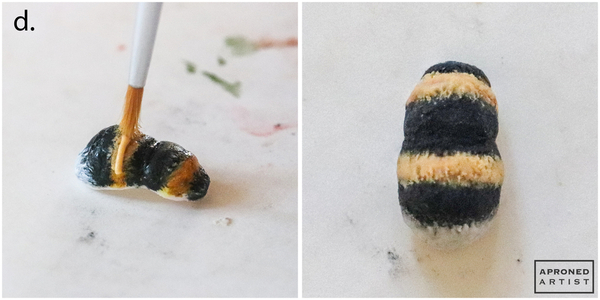
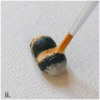
d. Using stiff-consistency gold royal icing and a Wilton #2 tip (or equivalent), pipe a small amount of icing on top of one ivory-painted stripe. Use a small round paint brush and a vertical dabbing motion to stipple the icing, creating a soft, hairy texture. Repeat this process with the other ivory stripe. Use stiff-consistency black royal icing to stipple over the black-painted portions of the bumblebee transfer. Finally, use stiff-consistency white royal icing to stipple over the white rear of the bumblebee.
e. With a clean paint brush, dab a little bit of the diluted ivory paint (created in Step 1c) over the center of the stippled gold stripes (i). Use a dry round paint brush and a small amount of undiluted white gel paste coloring to dab little white “hairs” between the stripes (ii).
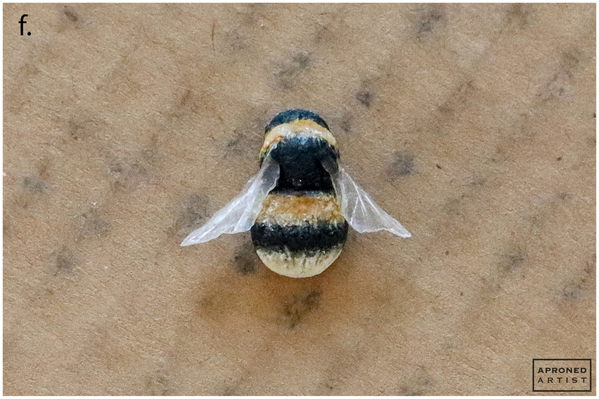
f. Attach the wings with small dabs of stiff-consistency black royal icing.
Step 2: Create petal and stem transfers
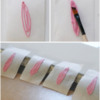
a. Using stiff-consistency fuchsia royal icing and a Wilton #2 tip (or equivalent), pipe the outline of a petal about 2 inches (5.1 centimeters) long onto a square of parchment paper. Pipe a few lines within the outline. Use a damp medium flat paint brush to spread the icing to fill the outline. If necessary, add a little more icing, however try to maintain a thin, even layer. Use long, vertical brush strokes to create subtle creases along the length of the petal. Place the parchment paper square over the rim of a baking sheet (or equivalent) so that the petal will dry with a slight curl. Repeat to create about 12 petals (which should give you a few extras).
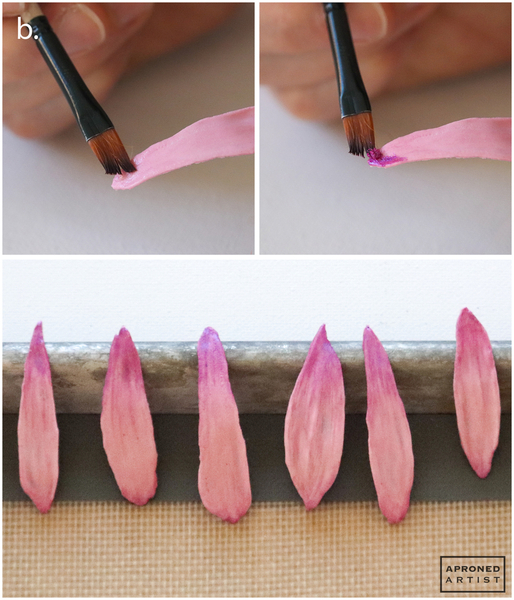
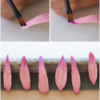
b. Once the petal transfers have dried, use a flat paint brush dipped in water to dampen the top and bottom tips of a petal. With a clean, dry paint brush, apply fuchsia luster dust to the dampened tips. Using vertical brush strokes, blend the luster dust away from the tip. Repeat this process with the remaining petals. Alternatively, paint the tips with diluted fuchsia gel paste coloring.
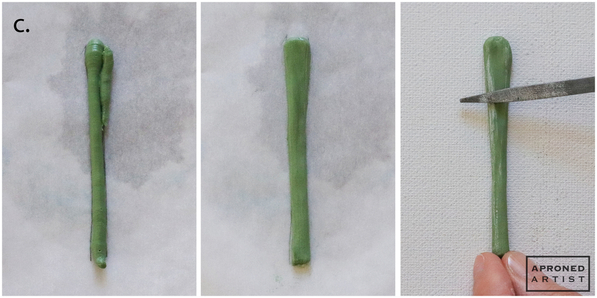
c. Using stiff-consistency green royal icing and a Wilton #8 tip or equivalent, roughly pipe a stem measuring about 3 inches (7.6 centimeters) long onto a piece of parchment paper. Use a damp paint brush to smooth the icing into a stem shape that widens slightly at the top. Allow the icing to dry. Optionally, scuff up the surface of the dried stem with a small file to give it a hairy appearance.
Step 3: Pipe, paint, and assemble seed spike cone
a. Using stiff-consistency light orange royal icing and a Wilton #1 tip (or equivalent), pipe small spikes about 3/4 inch (1.9 centimeters) long onto a silicone mat or a piece of parchment paper. (In my experience, piping onto a silicone mat yields straighter, more consistent lines because the mat does not wrinkle or curl like parchment paper.) You will need about 100 spikes. Allow the spikes to dry completely.
b. Mix a dab of red gel paste coloring with a touch of burgundy gel paste coloring, and paint this mixture onto the tip of a seed spike. Use a clean, damp paint brush to blend the paint downward, creating an ombre effect. Repeat with all of the spike transfers. Allow the paint to dry completely.
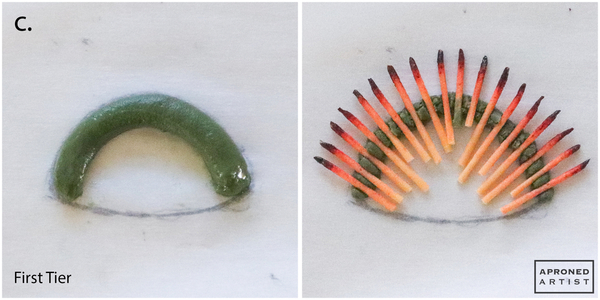
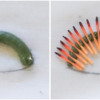
c. As a guide for the seed cone, draw a semicircle onto a piece of parchment paper that measures about 1 inch (2.5 centimeters) at its base. Flip the parchment paper over (so that the drawing is on the underside), and use stiff-consistency dark green royal icing and a Wilton #8 tip (or equivalent) to pipe over the top arc of the semicircle. Insert about 18 of the spike transfers so that the dark tips point outward and extend about 1/4 inch (0.6 centimeters) beyond the edge of the arc. If the dark green arc is drying too quickly, add a small dot of dark green icing beneath each spike before you place it. You may need to break off the unpainted ends of a few of the spikes so that they don’t overlap each other.
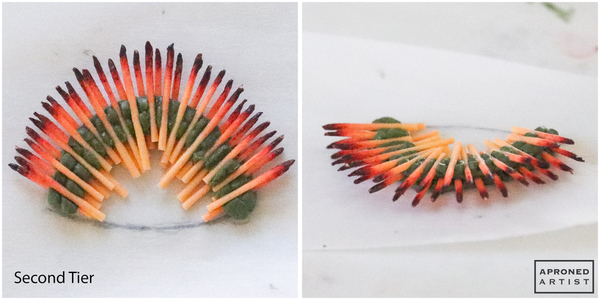
Pipe another arc of dark green icing on top of the seed spikes that lines up just below the original arc of dark green icing. Insert another tier of about 17 spike transfers, angling the dark tips slightly upward.
Pipe a line of the dark green icing at the bottom of the arc. Additionally, pipe a smaller arc of dark green icing in the center of the cone and use a damp paint brush to push the icing between the ends of the spike transfers. This step will help to cement everything together. For the third tier, add another arc of icing on top of the spikes, just below the arc of the second tier. Insert about 14 spike transfers, angling the tips slightly more upward.
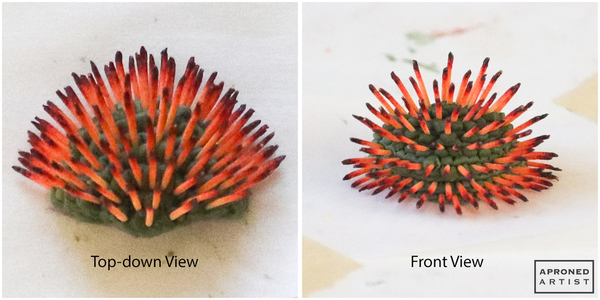
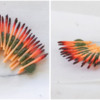
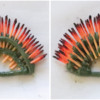
Repeat these steps to complete the seed cone: pipe an arc of dark green icing just below the arc of the previous tier; insert seed spikes, angling the tips more and more vertically with each successive tier; gradually fill in empty spaces within the center of the cone with dark green icing. My finished seed cone had a total of nine tiers with the following number of spike transfers in each respective tier: 18, 17, 14, 13, 9, 10, 7, 4, 1. Add as many spikes and tiers as necessary to maintain relatively even spacing between the spikes. Allow the icing to dry completely.
Step 4: Attach transfers to cookie
a. As a guide, line up the bottom edge of the stem transfer with the bottom edge of the cookie. Attach the seed cone transfer directly above the stem with a dab of dark green icing. Remove the stem transfer.
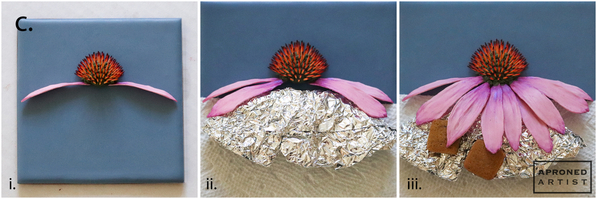
b. Crunch up a piece of aluminum foil, shaping it into a shallow dome. Place it on top of a piece of paper towel below the seed cone. The paper towel will prevent the foil from scratching the icing beneath.
c. Apply a dab of dark green icing to the top (narrower) tip of a petal, and press it up into the bottom of the seed cone so that the petal extends to the side. Repeat on the opposite side of the seed cone (i). Using the same technique, adhere another petal to each side, resting them on the aluminum foil prop (ii). Allow the icing to dry so that you don’t disrupt the attached petals when you add more. Once dry, continue attaching more petals until the flower’s “skirt” is full. You may need to use a few small cookies (or equivalent) to provide additional support for some of the petals (iii). Once the icing is completely dry, carefully remove the foil and any other props.
d. Finally, attach the stem and the bumblebee transfers with small dabs of icing.
Finished! If only all of the flowers in my garden were so striking.


Samantha Yacovetta began cookie decorating in 2013. While working at a local bakery, Samantha became captivated by cookie art when a customer requested princess-themed cookies. Attracted initially to the precision of cookie decorating, Samantha soon found that the limitless design opportunities turned it into her artistic passion. Samantha began regularly stocking the bakery case with decorated cookies and for several years sold cookies through her own company, Aproned Artist, a cottage food operation. Having retired from the business life, Samantha now enjoys making cookies just for fun from her home in San Jose, California, USA. To learn more about Samantha, please check out her Cookie Connection portfolio, her Facebook page, and her past Every Little Detail tutorials here.
Photo and cookie credits: Samantha Yacovetta
Note: Every Little Detail with Aproned Artist is a monthly Cookie Connection blog feature written by Samantha Yacovetta focused on the special little details that make big statements in cookie design. This article expresses the views of the author, and not necessarily those of this site, its owners, its administrators, or its employees. To read all of Samantha's past Every Little Detail tutorials, click here. And to see all of Cookie Connection's tutorials, click here.















Comments (30)