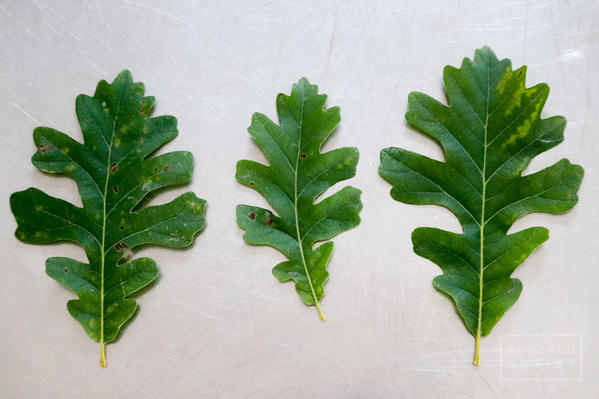
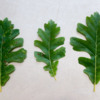
 Fall is in the air, it seems . . . everywhere except here. Around this time of year, I start dreaming of cozy sweaters and steamy drinks, but the season is slow to take hold in California. As I write this, the temperature hovers near 80°F, and the leaves from my oak tree look like this:
Not exactly autumnal. So for this tutorial, I had to make my own fall leaves, mottled with the golden yellows, rusty oranges, and deep reds that I would love to see (but probably won’t until November).
- Roll of parchment paper
- Icing:
- Flooding-consistency (about 15-second) white
- Stiff white
- Stiff brown (1 part Regal Purple and 1 part Gold; both AmeriColor colors)
- Tips:
- Wilton gel colors, for painting (Golden Yellow, Copper, No-Taste Red, Brown, and Ivory)
- Paint palette (I use this deviled egg platter - lots of wells for mixing and guaranteed to be food-safe.)
- Eye dropper (Having broken my share of glass droppers, I love these.)
- Alcohol or water, for painting
- Medium paint brush (I used an angled flat brush, but I think any style brush would work.)
- Tiny liner paint brush
- Acetate or more parchment paper
- 3-inch round cookie(s) flooded with cream-colored icing
Step 1: Pipe leaf transfers
The first thing we’re going to do is make leaf transfers. I am a huge fan of royal icing transfers for a variety of reasons: they add a unique dimension to an otherwise flat cookie; they can be made in advance, dramatically speeding up the decoration phase; and, perhaps most importantly, transfers are perfect for testing a technique that may be a little out of my comfort zone (like painting). I love the peace of mind of knowing I’m happy with the result before I commit icing to cookie.
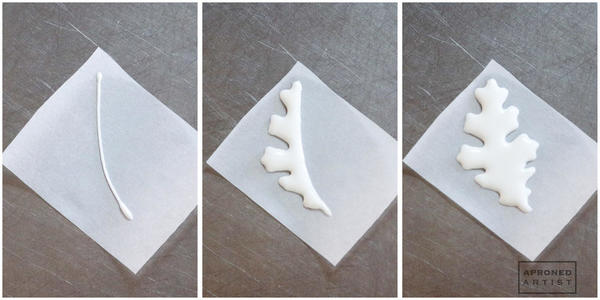
Normally, I prefer to use acetate for my transfers, as parchment paper tends to buckle or curl as the transfers dry. However, those pesky curls make parchment ideal for this project. Cut your parchment paper into approximately 3-inch squares. The squares will likely arch slightly. Gather various kitchen objects with gently rounded edges: bowls, rimmed plates, cookie tins, even a watermelon will work! Take one parchment square with the arch facing upwards (like a bowl), and hold it flat on your work surface with your non-piping hand. Using the flooding-consistency white icing and a PME #1.5 tip, pipe a line for the center vein of your oak leaf. Then, using real leaves or images of real leaves for reference, pipe the lobes of the left side of the leaf. Finally, using the left side as a reference, pipe the lobes of the right side of the leaf. Organic objects are wonderfully imperfect, so don’t worry too much about being symmetrical.
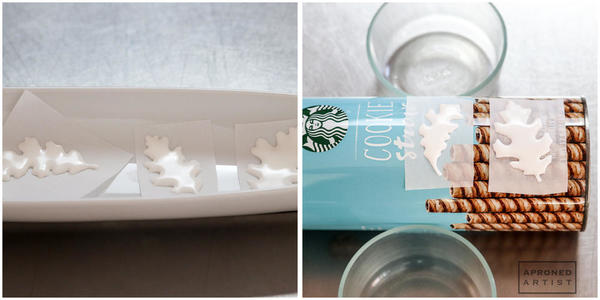
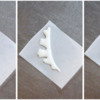
Immediately place the parchment square inside a bowl or rimmed plate such that the square sits in its original curled position (upper left image, below). Repeat with a square that arches downwards, placing it on an object that curves in the same direction (like the underside of a rimmed plate, the watermelon, or the blue Starbucks container shown in the upper right image, below). Where you place the leaf on the object will result in different curves in your leaf. You might want to use a small piece of tape to secure the parchment so it doesn’t slide off your curved object. Also keep in mind that round objects (like a cookie tin on its side) may roll even if you barely nudge them, so it’s best to brace them with other stable objects. Repeat with the remaining parchment squares. None of my transfers broke during the process, but I’d recommend making extras just in case. Allow the leaves to dry overnight.
Step 2: Paint leaf transfers
Once dry, the transfers should be easy to remove from the parchment squares. (Mine practically fell off, so be careful, especially when removing the convex transfers.)
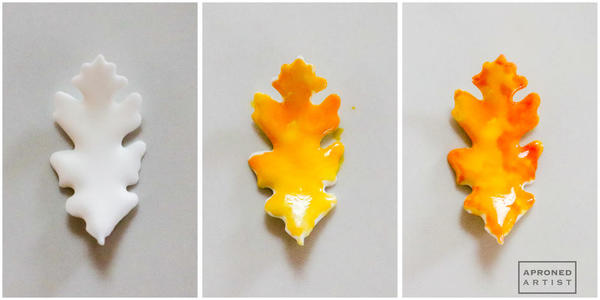
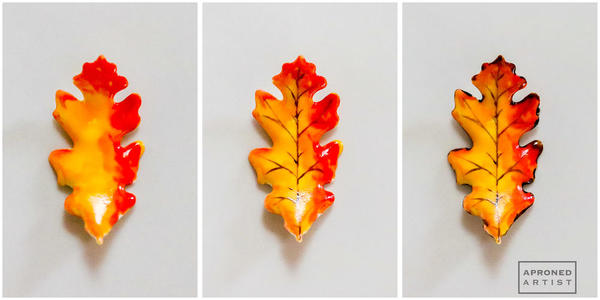
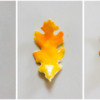
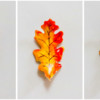
Place a small dab of each gel color in individual wells of your paint palette. Using the eye dropper, add a few drops of alcohol to the wells with yellow, copper, and red. (Leave the brown as is.) Mix thoroughly. Load your medium paint brush with yellow. You want your brush wet enough that the paint spreads easily along the surface, but not so wet that the paint penetrates and erodes the icing. Dab and brush the yellow haphazardly onto the entire leaf. This painting style is quick and messy, so you should have some areas with more concentrated color and others that may have no color at all. Just have fun with it; you really can’t go wrong. Next, add the copper color to just the lobes of the leaf. Then, add some red to the edges of the lobes. Switch to the tiny liner brush, and use the brown color to paint the veins of the leaf. Finally, add some brown to the edges of the leaf. Set the leaf aside to dry, and repeat with the remaining transfers. You may need to add a few more drops of alcohol as you go if it evaporates too quickly.
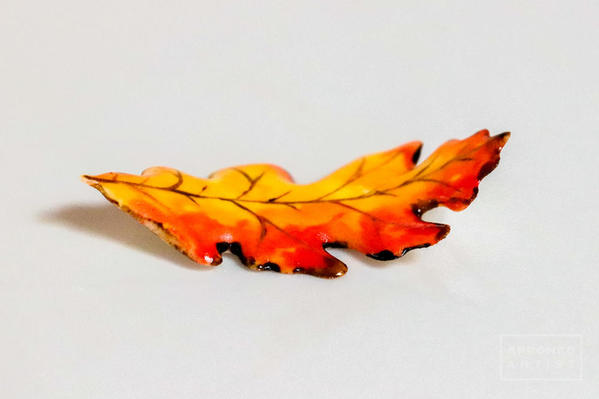
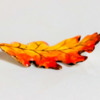
Here is a picture of the transfer from the side so you can see the curl we’ve achieved, thanks to our curved containers:
Step 3: Pipe and paint acorn transfers
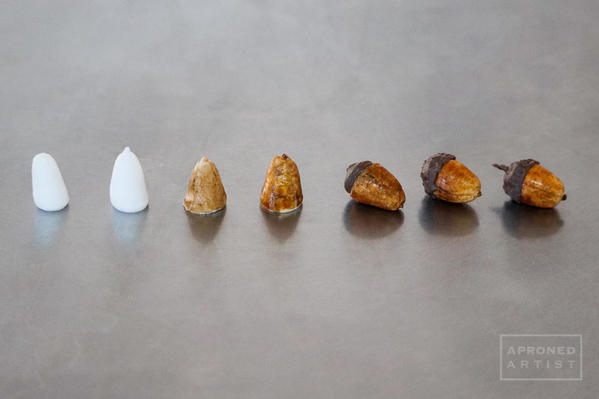
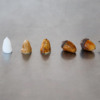
a. To begin the acorn transfers, pipe tall mounds of stiff white icing on acetate (or parchment paper) using a Wilton #12 tip (or equivalent). Use a damp paint brush to gently round the top. These mounds will be the lower portion of the acorn.
b. Switch to a PME #1.5 tip, and, using the same white icing, pipe a small nub on the top center of each mound. Set aside to dry for several hours.
c. To paint the lower portion of the acorn, add brown and ivory to your palette. Dilute the brown with a few drops of alcohol, but leave the ivory as a thick glaze. With the medium paint brush, paint the acorn with the brown paint, using vertical strokes from the bottom (where it touches the acetate) to the top.
d. Then, add a thin layer of ivory over the top of the brown paint, again using vertical strokes. Finally, use your liner brush to add some brown to the nub at the top. Set aside to dry. (The thick ivory paint will remain tacky for days, so try to handle the acorns as little as possible so as not to rub off the paint.)
e. Once dry, choose your favorite side. The acorn will ultimately sit on its side on the cookie, so choose the face you would like to point up. If the acorn has popped off the acetate already, adhere it to the acetate again, using a little bit of icing on the underside. This step will keep the acorn from moving around as you apply the remaining details on it. Using the stiff brown icing and a Wilton #8 tip, pipe a cap on top of the acorn. Set aside to dry for an hour.
f. Using the stiff brown icing and a PME #1.5 tip, pipe a squiggle of icing on the cap of the acorn. Dab at the icing with a damp paint brush to create a bumpy, dimpled texture.
g. With the same icing and tip, pipe a small stem extending from the center of the cap. Let dry for 15 minutes.
Step 4: Adhere transfers
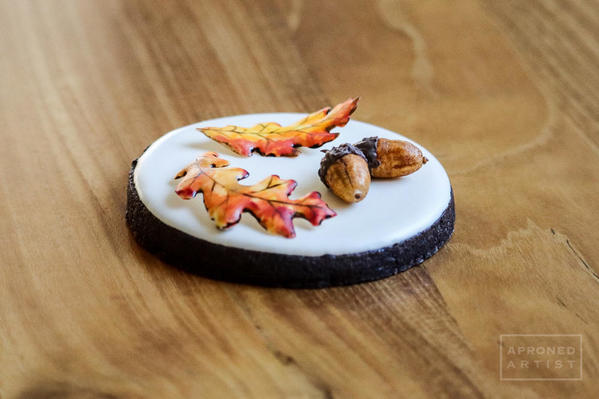
Arrange some leaf and acorn transfers on your flooded cookie as if they’d been blown to the ground by wind. Adhere them with a small dab of icing where the transfer makes contact with the cookie.
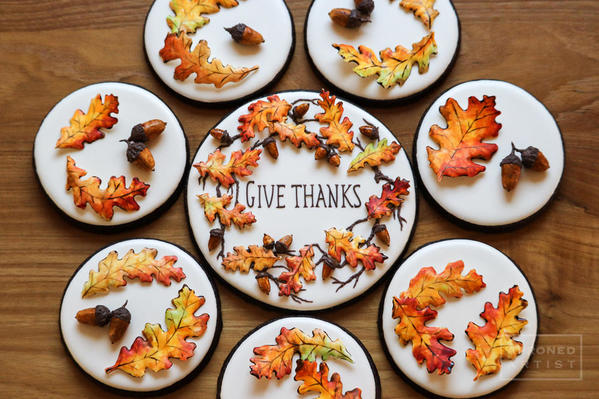
Now, it’s looking like fall!

Samantha Yacovetta, the decorator behind Aproned Artist, began cookie decorating in 2013. While working at a local bakery, Samantha became captivated by cookie art when a customer requested princess-themed cookies. Attracted initially to the precision of cookie decorating, Samantha soon found that the limitless design opportunities turned it into her artistic passion. Samantha began regularly stocking the bakery case with decorated cookies and has since transitioned to running her own company, Aproned Artist, a cottage food operation. She enjoys the challenge and inspiration of creating designs that feel personal and unique to each customer. Samantha lives in San Jose, California, USA. To learn more about Samantha, please check out her Cookie Connection portfolio and her site.
Photo and cookie credits: Samantha Yacovetta
Note: Every Little Detail with Aproned Artist is a bimonthly Cookie Connection blog feature written by Samantha Yacovetta focused on the special little details that make big statements in cookie design. This article expresses the views of the author, and not necessarily those of this site, its owners, its administrators, or its employees. To read all of Samantha's past Every Little Detail tutorials, click here. And to see all of Cookie Connection's tutorials, click here.





Comments (24)