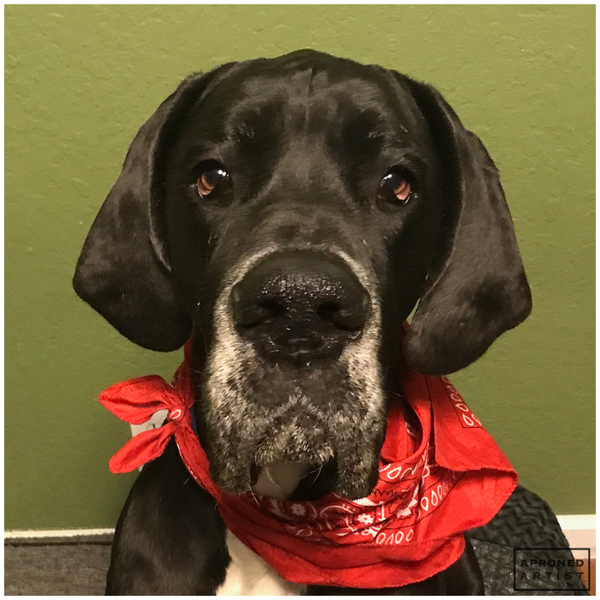
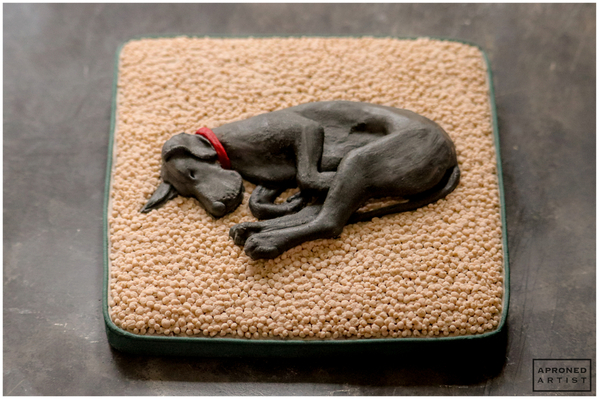
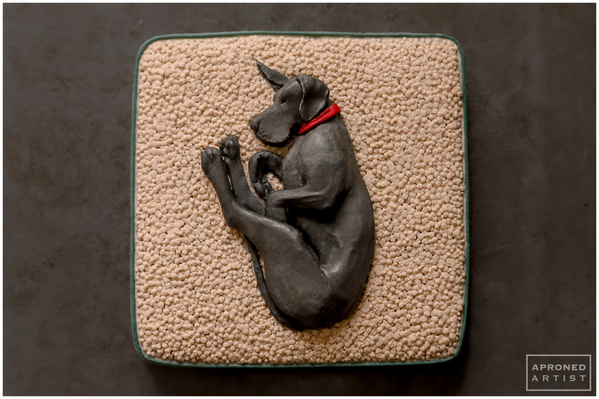
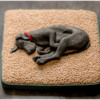
 Meet my muse for this cookie: my Great Dane, Atlas.
Atlas is a giant goofball, literally and figuratively. He jumps like he’s on a pogo stick, he flings slobber to unfathomable heights, and he sleeps folded in half like a pocketknife.
Supplies:
- Sleeping Dog Template (See “Files” in “Attachments” at the end of this post.)
- Parchment paper
- Royal icing (I used AmeriColor gel paste coloring to tint the icing.):
- Stiff-consistency light black (Super Black)
- Stiff-consistency red (Super Red)
- Stiff-consistency dark green (1 part Cypress/1 part Avocado)
- Stiff-consistency tan (2 parts Warm Brown/1 part Taupe)
- Tips:
- Medium flat angled paint brush
- Plastic wrap and tape
- 4 1/2-in (11.4-cm) square cookie with rounded corners, rolled 1/2 in (1.3 cm) thick
Step 1: Pipe limbs, tail, and torso
Before you get started, it’s helpful for reference to have a variety of pictures of sleeping dogs at various angles (or even better, a live model!).
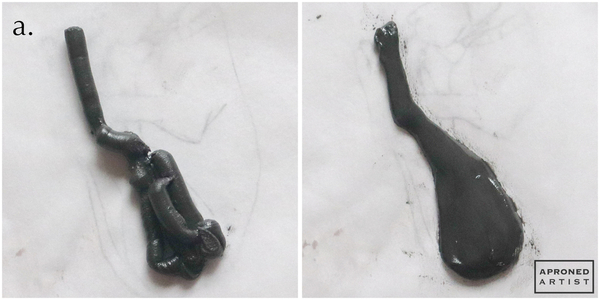
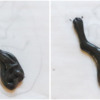
a. Place the Sleeping Dog Template (located in “Files” in “Attachments” at the end of this post) beneath a piece of parchment paper. Using stiff-consistency light black royal icing and a Wilton #8 tip (or equivalent), pipe icing to fill the bottom leg of the template. Smooth the icing with a damp flat angled paint brush.
b. Using a PME #3 tip (or equivalent), pipe a short vertical line on top of the end of the foot. Use the flat side of the paint brush to blend the end of the line into the foot, creating a toe. Use the pointed end of the paint brush to carve the outline of the center pad into the paw, beside the toe. Remove the template, and allow the bottom leg to set while you work on the other limbs.
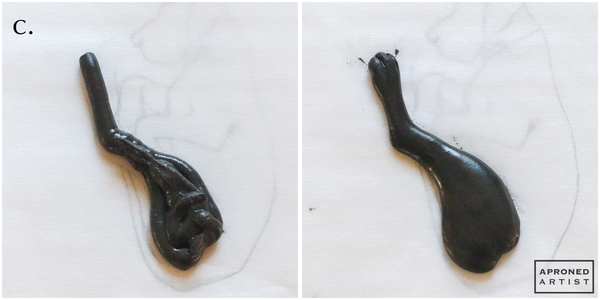
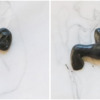
c. Place the template beneath a clean piece of parchment paper. Using a Wilton #8 tip (or equivalent), pipe icing to fill the top leg of the template. Smooth the icing with the flat side of the damp paint brush. Use the pointed tip of the brush to carve the indentations between the toes. Remove the template from beneath the parchment paper, and set the top leg aside to dry.
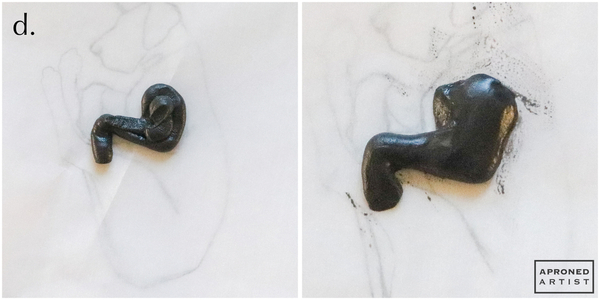
d. Place the template beneath a clean piece of parchment paper. With the same icing and tip, pipe icing to fill the top arm of the template, including the shoulder. Smooth the icing with the damp paint brush. Flatten the paw slightly where it will be covered by the top leg. Remove the template.
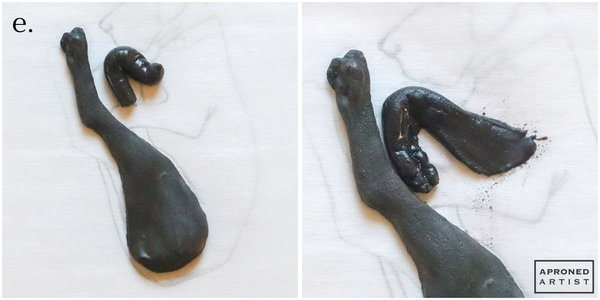
e. Place the template beneath the first piece of parchment paper with the bottom leg transfer. By now the leg should have crusted. Be careful as you work not to crack or smush the icing of the leg as it will not be completely dry. With the same icing and tip, pipe icing to fill the bottom arm of the template. Shape the icing with the damp paint brush. Flatten the arm slightly where it will be covered by the torso. Use the pointed tip of the paint brush to carve indentations for the toes.
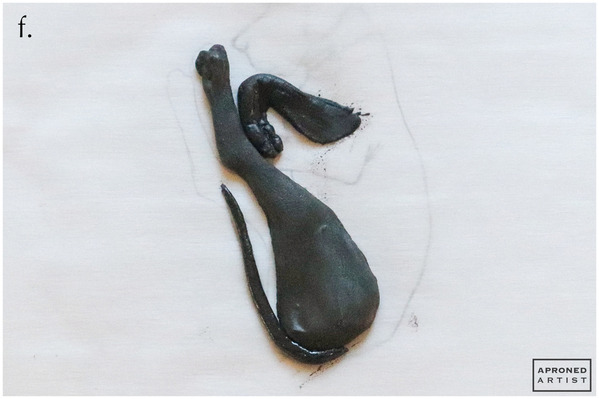
f. Use a PME #3 tip (or equivalent) to pipe the tail.
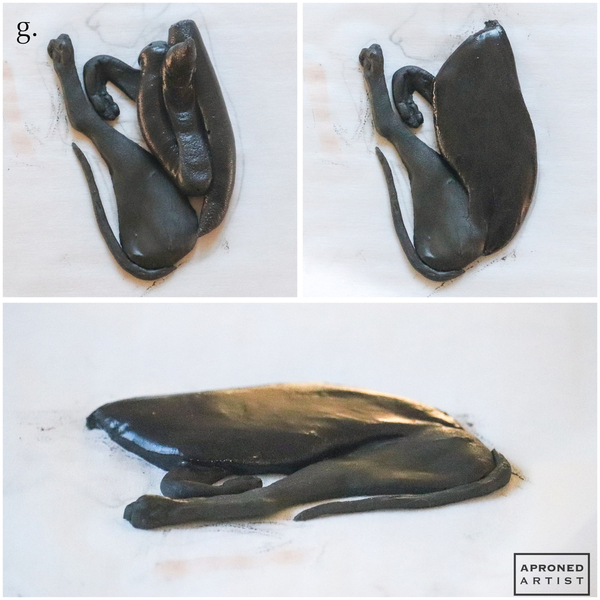
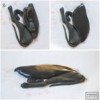
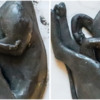
g. Switch to a Wilton #12 tip (or equivalent), and pipe icing to fill the torso. Use the damp paint brush to smooth the icing and blend it into the bottom leg. The torso should be relatively flat (see bottom picture below) because the top limbs will sit on top of it. Allow all of the transfers to dry completely. (I let mine dry overnight.)
Step 2: Attach top limbs
a. Carefully peel the parchment paper away from the top arm and the top leg. Using a Wilton #8 tip (or equivalent), pipe a dot of icing on the underside of the shoulder of the top arm, and place it on the torso according to the template. Similarly, pipe a dot of icing on the underside of the hip of the top leg, and place it on the torso so that it partially covers the paw of the top arm.
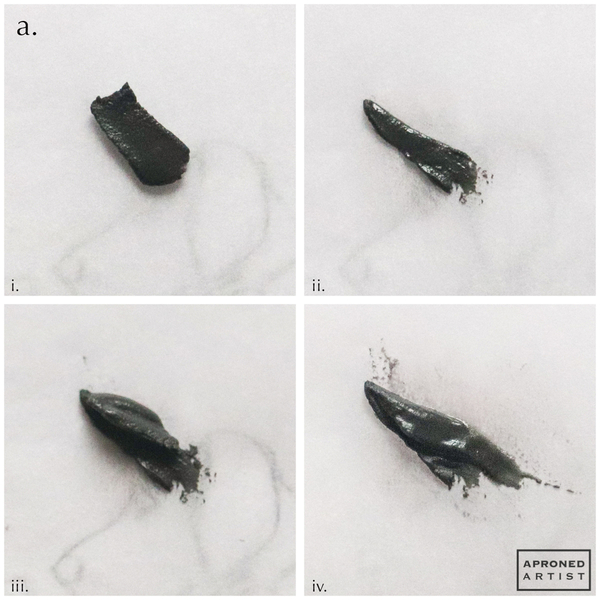
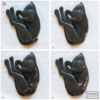
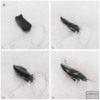
b. Add some icing to fill the rump area of the template (i). Shape the icing with the damp paint brush, blending it into the dried icing of the leg and torso (ii). Add more icing on top of the hip and back (iii). Use the damp paint brush to blend the fresh icing into the dried icing of the torso and hip to seamlessly attach the transfers. Shape the newly added icing to create the narrow curve of the abdomen (iv).
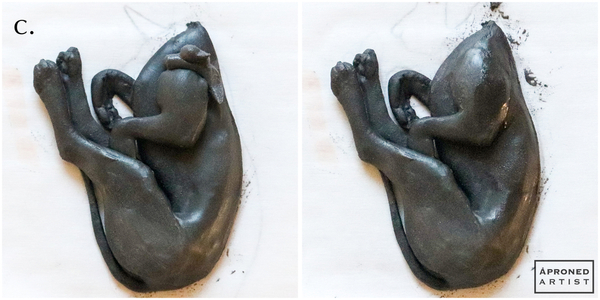
c. Pipe some icing along the top of the arm transfer. Shape the icing with the damp paint brush, blending it into the dried icing of the torso to finish the shoulder.
d. Optionally, refine the shape of the arm if it looks too flat. Using a PME #3 tip, pipe a line of icing along the forearm. Blend the fresh icing into the dried icing with the damp paint brush to add dimension to the arm.
Step 3: Pipe head and collar
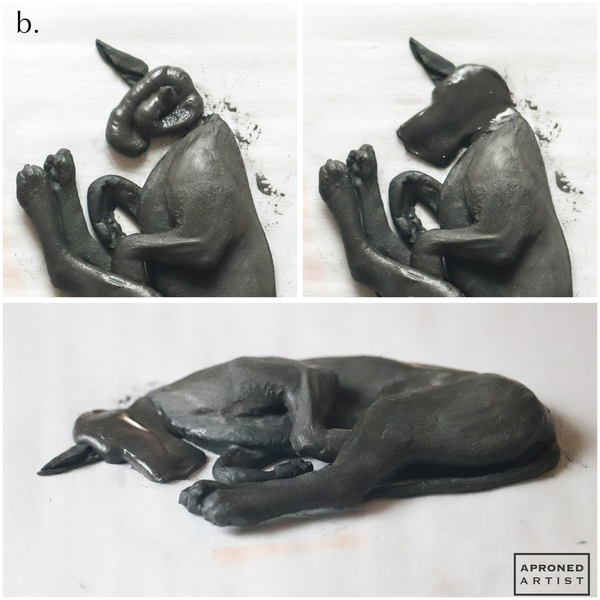
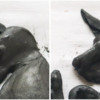
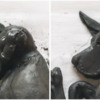
a. Using stiff-consistency light black royal icing and a Wilton #44 tip (or equivalent), pipe icing to fill the bottom ear of the template (i). Trim away any excess icing and shape the icing with the damp paint brush (ii). Pipe another layer of icing on top of the icing you just shaped (iii). Shape the icing to create the ear flap (iv) as depicted on the template.
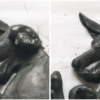
b. Using a Wilton #8 tip (or equivalent), pipe icing to fill the head of the template. Shape the icing with the damp paint brush to create a relatively flat layer (see bottom picture below). Building up the icing of the head in small layers will give us the most control over the anatomy and dimension of the head. Allow the icing to set for a minute before continuing to the next step.
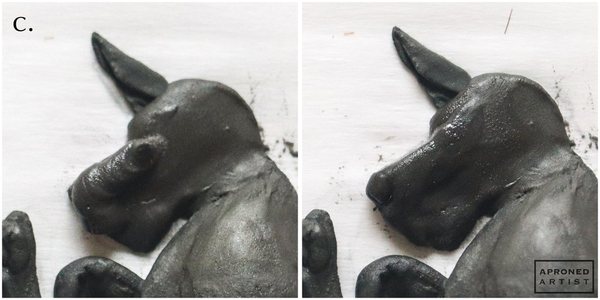
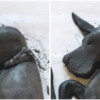
c. Pipe a line of icing along the top of the muzzle. Use the flat side of the damp paint brush to blend the icing toward the back of the head. Use the pointed tip of the paint brush to define the nose.
d. Pipe a dot of icing below the nose. Use the flat side of the damp paint brush to blend the icing toward the back of the head, creating the chin. The chin should not completely cover the bottom jowl (piped in Step 3b).
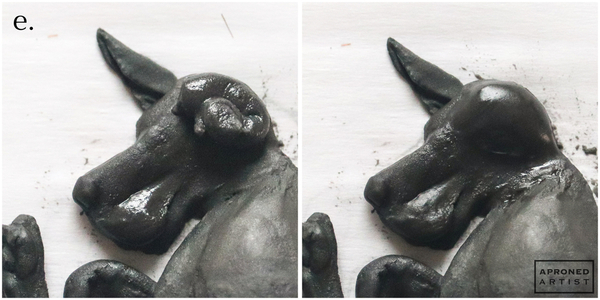
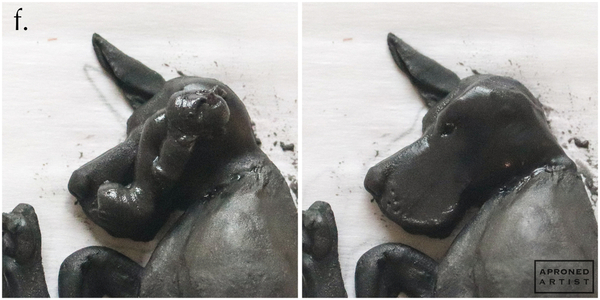
e. Pipe some icing on top of the back of the head. Use the flat side of the damp paint brush to blend the fresh icing into the existing icing, building up the forehead and the back of the head.
f. Pipe icing below the muzzle leading up to the back of the head. Smooth the icing with the damp paint brush, blending it into the top of the muzzle to create the top jowl and into the top and back of the head to create the top brow. Use the pointed tip of the paint brush to indent the eye and to poke a few tiny dots beneath the nose.
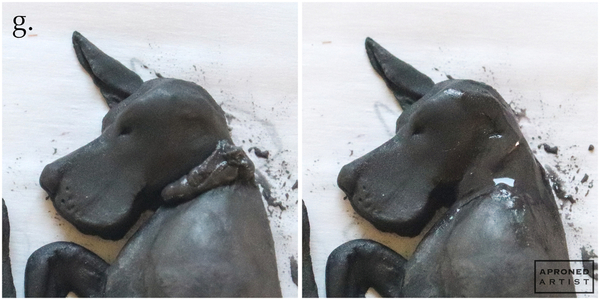
g. Pipe some icing along the neck, and smooth it into the head and torso with the flat side of the damp paint brush.
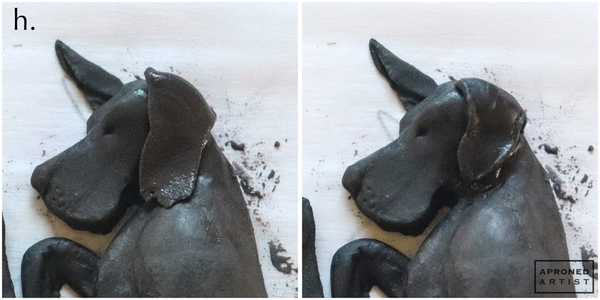
h. Switch to a Wilton #44 tip (or equivalent), and pipe a band of icing for the top ear. Use the damp paint brush to trim away any excess icing and to refine the shape of the ear.
i. Modify a clean Wilton #44 tip (or equivalent) by blocking half of the tip’s opening with plastic wrap and taping the plastic wrap in place. Using stiff-consistency red royal icing and the modified tip, pipe a band of icing for the collar. Use the damp paint brush to tuck the ends in around the sides of the neck. Allow the icing to dry completely before carefully peeling the parchment paper away from the completed dog transfer.
Step 4: Decorate dog bed cookie
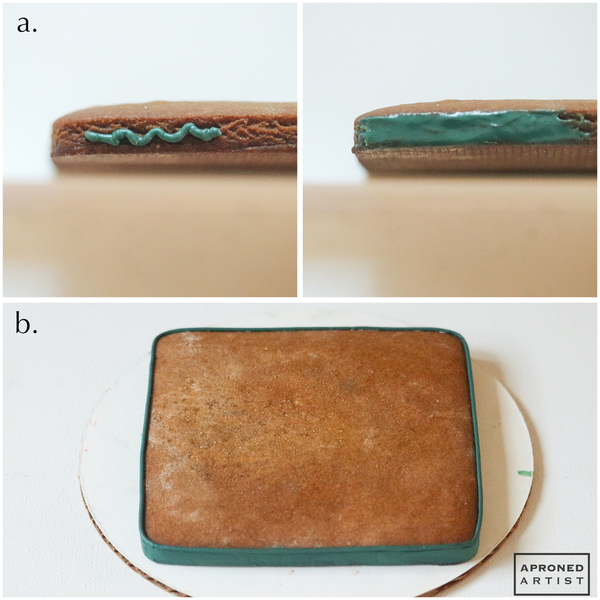
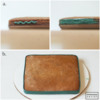
a. Using stiff-consistency dark green royal icing and a PME #3 tip (or equivalent), pipe some icing along the side of the baked cookie. Use the flat side of the damp paint brush to smooth the icing along the edge of the cookie. Continue to pipe and smooth icing in small sections until all four sides are covered with a thin layer of icing.
b. Using the same icing and tip, pipe a border around the perimeter of the cookie.
c. Using a PME #1.5 tip (or equivalent) and stiff-consistency tan icing, pipe icing adjacent to the border. Use the damp paint brush to spread the icing into a thin layer.
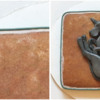
Additionally, I recommend spreading a thin layer of tan icing around the center of the cookie where the dog will lay. (I attached the dog first and then spread icing around him which proved to be quite tedious.) Attach the dog transfer to the center of the cookie with more tan icing.
d. Using the same icing and tip, fill the surface of the cookie with small dots, flattening them slightly with the damp paint brush to create a fleece-like texture.
Finished! Our gentle giant sleeps, for now . . .


Samantha Yacovetta began cookie decorating in 2013. While working at a local bakery, Samantha became captivated by cookie art when a customer requested princess-themed cookies. Attracted initially to the precision of cookie decorating, Samantha soon found that the limitless design opportunities turned it into her artistic passion. Samantha began regularly stocking the bakery case with decorated cookies and for several years sold cookies through her own company, Aproned Artist, a cottage food operation. Having retired from the business life, Samantha now enjoys making cookies just for fun from her home in San Jose, California, USA. To learn more about Samantha, please check out her Cookie Connection portfolio, her Facebook page, and her past Every Little Detail tutorials here.
Photo and cookie credits: Samantha Yacovetta
Note: Every Little Detail with Aproned Artist is a monthly Cookie Connection blog feature written by Samantha Yacovetta focused on the special little details that make big statements in cookie design. This article expresses the views of the author, and not necessarily those of this site, its owners, its administrators, or its employees. To read all of Samantha's past Every Little Detail tutorials, click here. And to see all of Cookie Connection's tutorials, click here.



















Comments (23)