
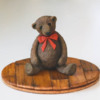
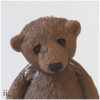
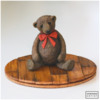
The holidays are right around the corner, and I’m feeling mixed emotions. On the one hand, I have all of the joyful anticipation of family gatherings and delicious food. On the other hand, there’s the shopping. In real life, I haven’t even started. But in my cookie fantasies, everyone wants a sweet, chubby teddy bear. And this little guy has been waiting patiently under the tree to fulfill all their Christmas dreams.
Supplies:
- 2 3/8-in (6-cm) silicone egg molds
- 1-in (2.5-cm) silicone hemisphere molds
- Gingerbread cookie dough (I used Julia’s gingerbread recipe.)
- Metal cookie cutters large enough to support the silicone molds (optional)
- Small metal binder clips (optional)
- Food-safe file
- Royal icing (I used AmeriColor gel paste coloring to tint the icing.):
- Stiff-consistency brown (Espresso)
- Stiff-consistency black (Super Black)
- Stiff-consistency red (2 parts Red Red/1 part Crimson)
- Tips:
- Small round paint brush
- Small wisp paint brush
- Parchment paper
- Medium flat angled paint brush
- AmeriColor (or equivalent) gel paste colorings for painting: Espresso, Ivory
- Small trowel or offset spatula
Step 1: Shape and bake teddy bear torso and head
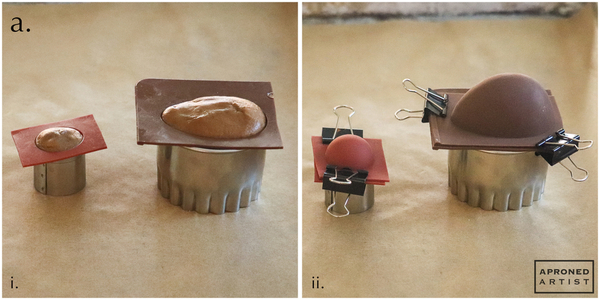
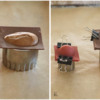
a. Pack one silicone egg mold and one small hemisphere mold with cookie dough that mounds slightly over the top edge of each mold. If you have cut your silicone molds into individual cavities, suspend each filled mold over an appropriately sized round cookie cutter to keep it level while it bakes and to prevent the bottom of the mold (and, thus, the cookie dough) from flattening. (i). Place an identical mold on top of each cavity to help contain the cookie when it expands in the oven. Optionally, use small metal binder clips to attach the two matching silicone molds together to reduce any seams that might form during baking (ii). Bake your cookies until firm and browned. Note: This step may take considerably longer than usual because of the thickness of the dough. I baked my cookies at 375°F/191°C. Though I didn't watch baking time exactly, I would guess that I baked the dough in the smaller mold (for the bear head) about 10 minutes and the larger bear torso about 25 minutes.
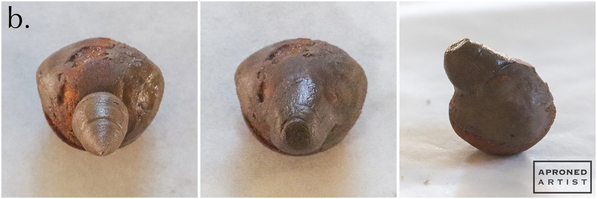
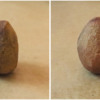
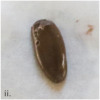
b. Using a food-safe file, file the bottom of the egg cookie so that it can stand upright with the narrow end pointing up. If necessary, file away any seam or uneven areas to create a relatively uniform pot-bellied torso for the bear.
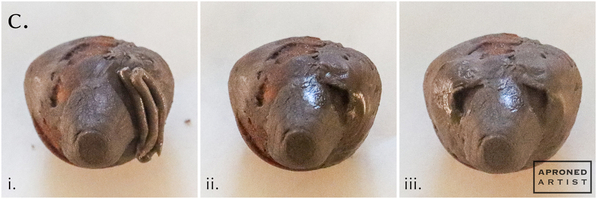
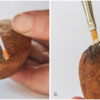
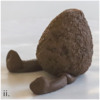
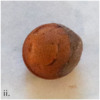
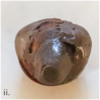
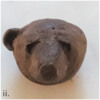
c. Using stiff-consistency brown royal icing and a PME #3 tip (or equivalent), pipe a line along the bottom of the bear’s torso. Use a small round paint brush to gently dab at the icing to flatten it slightly (i). Then, use a small wisp paint brush to rake the icing toward the base of the torso to create a fur-like texture (ii). Repeat, piping a line of icing directly above the first line (toward the head) and texturing it in the same manner so that the “fur” of the second line slightly overlaps the top of the first line. Continue this process until the entire torso is covered.
Step 2: Pipe and attach teddy bear limbs
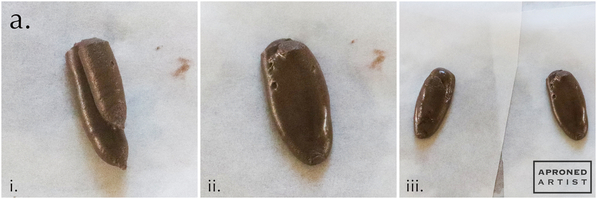
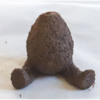
a. To pipe a leg, use stiff-consistency brown royal icing and a Wilton #12 tip (or equivalent) to pipe a short line about 1 1/2 inches (3.8 centimeters) long on a square of parchment paper. Add another shorter line on top to bulk up the thigh (i), and use a flat paint brush to blend the two lines together (ii). Repeat to create the other leg (iii). Allow the icing to dry completely.
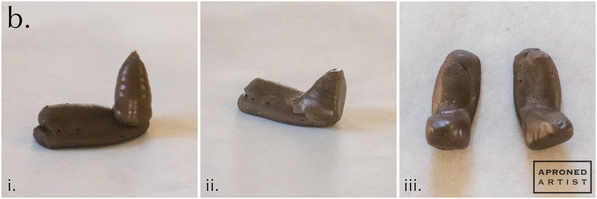
b. With the same icing and tip, pipe a bead of icing on the narrow end of the leg for the foot (i). Use a damp flat paint brush to blend the icing of the ankle into the leg, to flatten the sole of the foot, and to round off the toe (ii). Repeat to create the other foot (iii). Allow the icing to dry completely before carefully peeling the parchment paper away from the leg transfers.
c. On a clean sheet of parchment paper, position the leg transfers how you want them to sit on the bear, and pipe a bead of icing above each thigh (i). Sit the bottom of the torso on top of the fresh icing (ii). Use a damp flat paint brush to blend the wet icing into the dried icing of the thigh (iii). Allow the icing to dry completely.
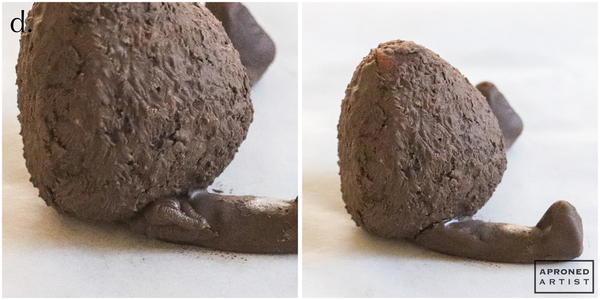
d. Using the same icing and a PME #3 tip (or equivalent), add a bit of icing to the side of the thigh where it meets the torso. Use a damp flat paint brush to smooth and shape the icing to create a more natural hip. Repeat on the opposite leg.
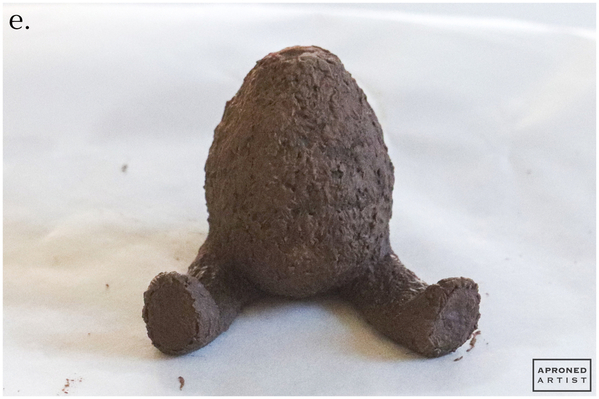
e. Starting at the feet (but leaving the soles untextured), pipe and texture fur on the legs in the same manner as on the torso (see Step 1c).
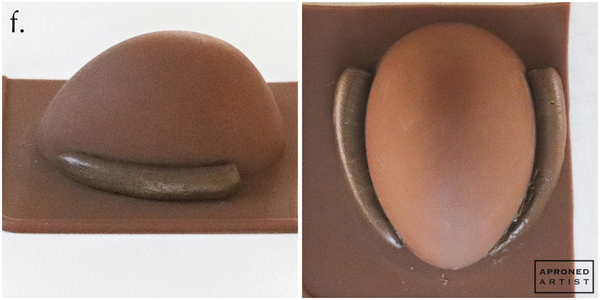
f. Use a Wilton #12 tip (or equivalent) to pipe an arm along the side of a clean silicone egg mold. I find it easier to pipe toward myself, so I pipe the arm upside down. To do this, place the egg mold with the narrow end facing you, start piping at the paw (the thicker end) about three-quarters of the way up the egg, and pipe toward you, gradually diminishing the pressure on your piping bag to thin the arm at the shoulder. Repeat on the opposite side of the mold to create the other arm. Allow the icing to dry completely before depressing the mold to remove the arm transfers.
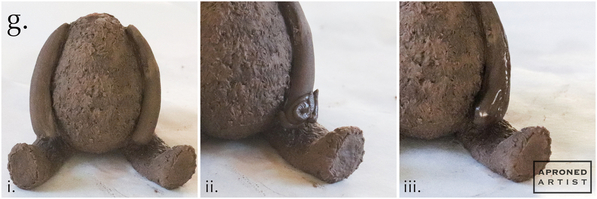
g. Use a PME #3 tip (or equivalent) to pipe icing along the inside of each arm. Attach the arms to the torso (i). Add some icing to the fat end of the arm (ii). Use a damp flat paint brush to smooth the icing and shape it into a rounded paw (iii). Repeat to create the other paw.
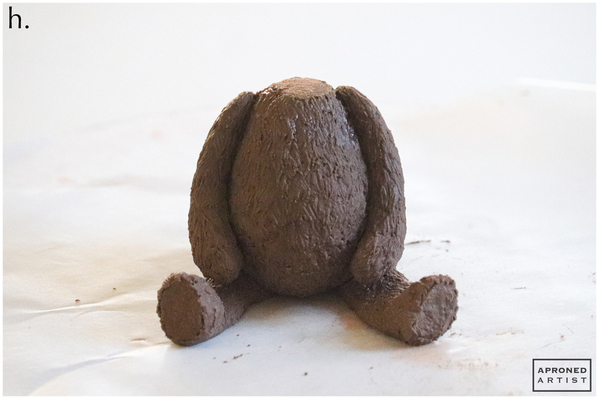
h. Starting at the paws, pipe and texture fur on the arms in the same manner as on the torso (see Step 1c).
Step 3: Decorate and attach teddy bear head
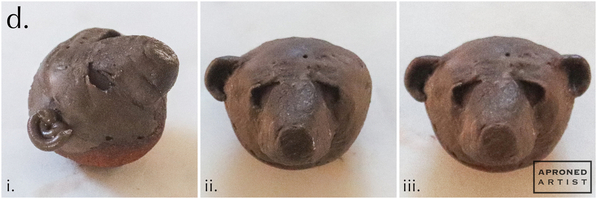
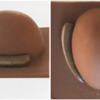
a. Position the small hemisphere cookie baked in Step 1a so that it is sitting on the flatter side with the rounder side facing up. The rounder side will be the teddy bear’s face. Using stiff-consistency brown royal icing and a PME #3 tip (or equivalent), add some icing to the top right quadrant of the hemisphere (i). Use a damp flat paint brush to smooth and blend the icing into the cookie to create a more angular face (ii). Mirror this shape on the other side of the face (iii). Allow the icing to dry.
b. With the same icing and a Wilton #12 tip (or equivalent), pipe a bead of icing on the lower half of the face for the muzzle. Allow the icing to set for a minute until no longer tacky. Use a dry flat paint brush to flatten the sides and front of the muzzle. Use a damp paint brush to blend the icing at the base of the muzzle into the face.
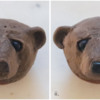
c. Switch back to a PME #3 tip (or equivalent), and add some icing to one side of the face adjacent to the muzzle (i). Use a damp flat angled paint brush to smooth the icing. Insert the tip of the paint brush into the icing adjacent to the muzzle where you intend to place the eye and push the icing upward to create a shelf for the brow. Push the icing beneath the brow to the side to widen the eye socket (ii). Mirror these steps on the opposite side of the face (iii).
d. For the ear, pipe a tight circle of icing where the bear’s head widens. Pipe another circle around the edge of the first circle (i). Use the point of a flat angled paint brush to indent the inner circle of icing. Use the flat side of the brush to shape the exterior of the ear (ii). Repeat to create the opposite ear (iii).
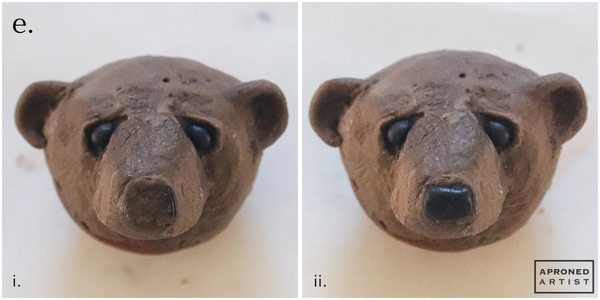
e. Using stiff-consistency black royal icing and a PME #3 tip (or equivalent), pipe a teardrop of icing in each eye socket (i). Pipe some icing on the tip of the muzzle, allow it to set for a minute until no longer tacky, and use the flat side of a paint brush to flatten the icing into the nose. Use the edge of the brush to gently push against each side of the nose to straighten the edges (ii).
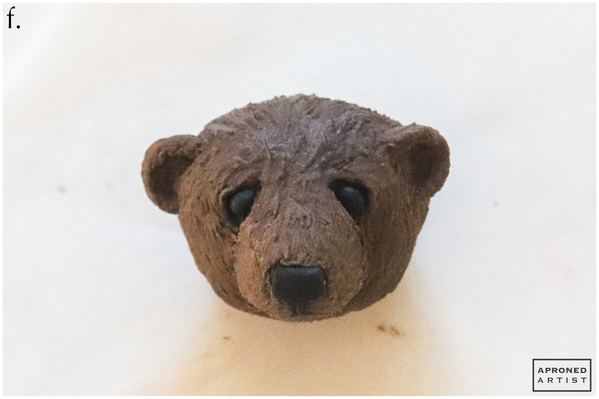
f. Pipe and texture fur on the head in the same manner as on the torso (see Step 1c). Allow the icing to dry completely.
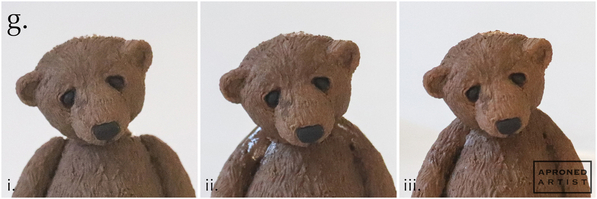
g. Attach the head to the top of the torso with a bead of stiff-consistency brown royal icing (i). Add icing to form the top of the shoulders and neck, and blend it into the dried icing with a damp paint brush to smooth the transition between the head and the body (ii). Allow the icing to dry before adding fur texture to the shoulders and neck (iii).
h. Dilute a drop of Espresso gel paste coloring (or equivalent) until it is very watery, and give the entire bear a light wash of paint. Concentrate the darkest areas of paint in the creases beneath the arms, belly, and neck as well as in the inner indentations of the ears.
The bear is now done except for a final bow decoration, which will be made in the next step. For perspective, my completed bear is about 2 1/2 x 3 1/2 x 3 1/4 inches (D x W x H) or 6.4 x 8.9 x 8.3 centimeters.
Step 4: Pipe and attach bow
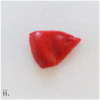
a. Using stiff-consistency red royal icing and a Wilton #44 tip (or equivalent), pipe one side of the bow on a square of parchment paper. Begin by piping to the left and then fold the icing over on itself as you pipe to the right (ii). If necessary, shape the end into a point with a damp paint brush (ii). Repeat to mirror the shape for the other side of the bow (iii).
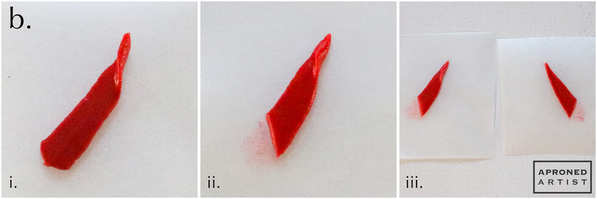
b. With the same icing and tip, pipe a ribbon about 3/4 inch (1.9 centimeters) long, again on parchment paper. Shape one end of the ribbon into a point with a small damp paint brush (i). Use a small trowel or offset spatula to trim the fat end of the ribbon at an angle (ii). Repeat to mirror this shape for the opposite ribbon (iii).
Allow the bow parts made in Steps 4a and 4b to dry completely before carefully removing them from the parchment paper.
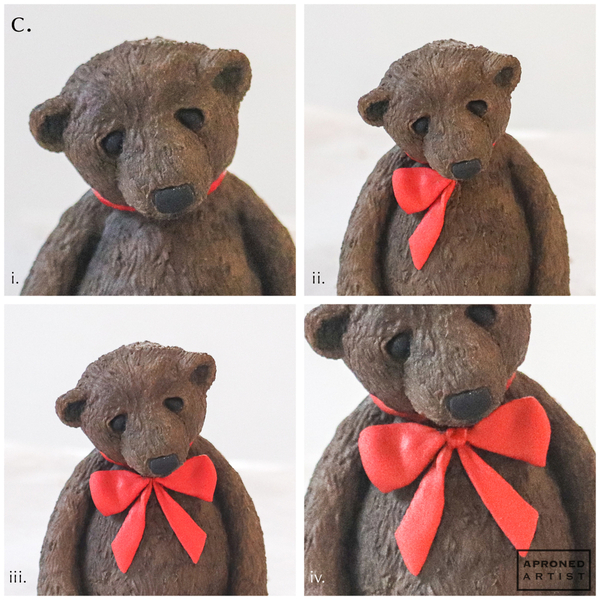
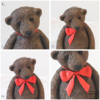
c. Switch to a PME #25 tip (or equivalent), and pipe a collar around the bear’s neck (i). Use a small dab of icing at the narrow end of the bow transfers to attach one side of the bow and the corresponding ribbon (ii). Repeat to attach the opposite bow loop and ribbon (iii). Pipe two small vertical lines over the point where the four bow pieces come together to create a knot (iv).
Step 5: Create hardwood cookie, and attach bear
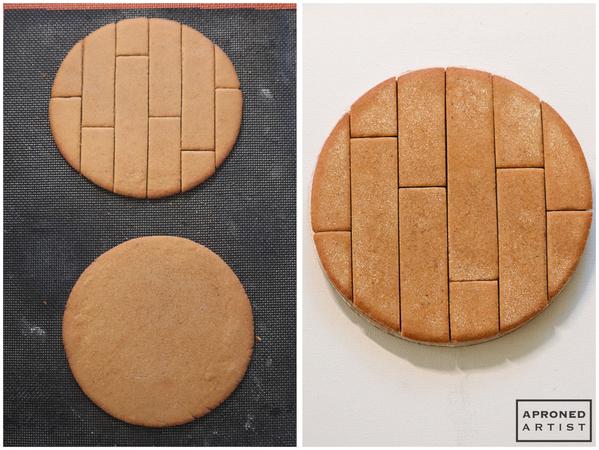
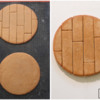
a. Roll your gingerbread dough about 1/8 inch (0.3 centimeters) thick directly on your baking mat or parchment paper, and cut out two 6-inch (15.2-centimeter) circles. Remove the excess dough. Without moving the dough, cut one circle into 1-inch/2.5-centimeter-wide vertical planks. Cut the planks horizontally at random intervals like a hardwood floor. Bake both circle cookies (one whole and one cut into planks) for about five minutes or until set but not fully cooked. (As @Manu biscotti decorati explains in Step 1c of her mum tutorial, baking the plank cookies close together will help to maintain their shape and ensure that everything fits together as snugly as possible.) Remove the cookies from the oven and re-score the seams of the plank cookies. Continue baking until the cookies are evenly golden (i). Separate the plank cookies, and file the edges so that the cookies fit together as neatly as possible. File the top surface of the cookies to give them the flat appearance of hardwood (ii).
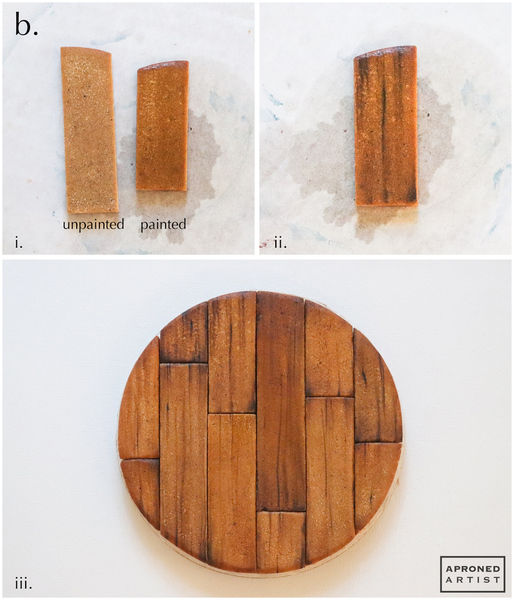
b. Dilute a drop of Ivory gel paste coloring (or equivalent) until it is very watery. Use a medium flat angled paint brush to paint the entire top surface of one plank cookie. For a darker base wood color, add a very watery coat of diluted Espresso gel paste coloring on top of the coat of Ivory paint (i). Dip just the tip of the paint brush into undiluted Espresso gel paste coloring (or equivalent). Using vertical strokes, lightly brush on a few lines of dark paint to give the impression of wood grain (ii). Repeat to paint the remaining plank cookies, varying the base wood color if desired (iii).
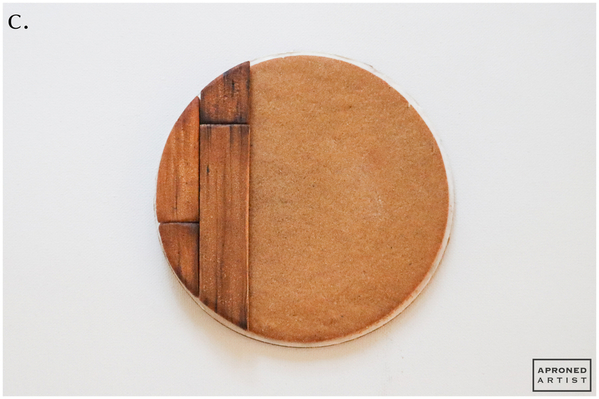
c. Attach the hardwood cookies to the whole circle cookie with a dab of icing beneath each plank.
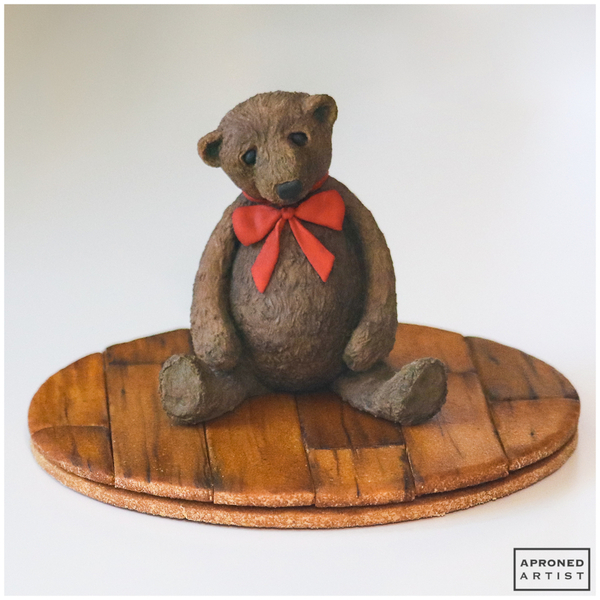
d. Finally, attach the bear transfer to the hardwood cookie with a dab of icing.
Finished! This adorable teddy bear is ready for Christmas.


Samantha Yacovetta began cookie decorating in 2013. While working at a local bakery, Samantha became captivated by cookie art when a customer requested princess-themed cookies. Attracted initially to the precision of cookie decorating, Samantha soon found that the limitless design opportunities turned it into her artistic passion. Samantha began regularly stocking the bakery case with decorated cookies and for several years sold cookies through her own company, Aproned Artist, a cottage food operation. Having retired from the business life, Samantha now enjoys making cookies just for fun from her home in San Jose, California, USA. To learn more about Samantha, please check out her Cookie Connection portfolio, her Facebook page, and her past Every Little Detail tutorials here.
Photo and cookie credits: Samantha Yacovetta
Note: Every Little Detail with Aproned Artist is a monthly Cookie Connection blog feature written by Samantha Yacovetta focused on the special little details that make big statements in cookie design. This article expresses the views of the author, and not necessarily those of this site, its owners, its administrators, or its employees. To read all of Samantha's past Every Little Detail tutorials, click here. And to see all of Cookie Connection's tutorials, click here.
















Comments (18)