
In my elementary school years, Valentine’s Day was always one of my favorite events. I remember sitting amongst a pile of craft supplies with my friends, transforming shoeboxes into heart-covered, pink-and-red-bedazzled mailboxes. In a giddy parade, we’d deliver our cards and treats to the other students’ mailboxes, just as excited about bestowing our goodies as we were were about the box of treasures that awaited us back at our desks. It was always a joyous and inclusive day with a sweet ending - a pile of candies to take back home.
Supplies:
- Edible glue
- 2 small bowls
- AmeriColor (or equivalent) gel paste coloring: Deep Pink, Super Red, Orange
- Medium flat paint brush
- Parchment paper
- Royal icing (I used AmeriColor gel paste to tint the icing.):
- Stiff-consistency white
- Stiff-consistency yellow (1 part Lemon Yellow/1 part Egg Yellow)
- Stiff-consistency brown (Chocolate Brown)
- Stiff-consistency pink (Burgundy)
- Stiff-consistency orange (Orange)
- Stiff-consistency green (1 part Mint Green plus a touch of Sky Blue)
- Stiff-consistency purple (Lilac)
- Tips:
- Valentine’s Candy Template (See “Files” in “Attachments” at the end of this post.)
- Food-safe tweezers
- Superfine caster sugar
- Silver leaf
- Pink fine-point edible marker
- 4 1/2-in (11.4-cm) heart-shaped cookie flooded with white royal icing
Step 1: Create lollipop transfers
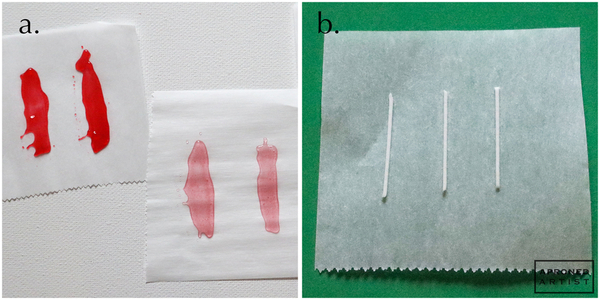
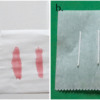
a. Portion about 1 teaspoon of edible glue across two small bowls. Tint one portion of the glue with a touch of Deep Pink gel paste coloring (or equivalent) to achieve a vibrant, but still transparent color. Tint the other portion with a touch of Super Red gel paste coloring (or equivalent). Using a medium flat paint brush, apply each colored glue to a separate square of parchment paper. The shape of the glue is inconsequential; just paint it in a thin layer so it will dry quicker. Allow the glue to dry overnight.
b. Meanwhile, use stiff-consistency white royal icing and a PME #1.5 tip (or equivalent) to pipe several lollipop sticks measuring about 3/4 inch (1.9 centimeters) in length onto a square of parchment paper.
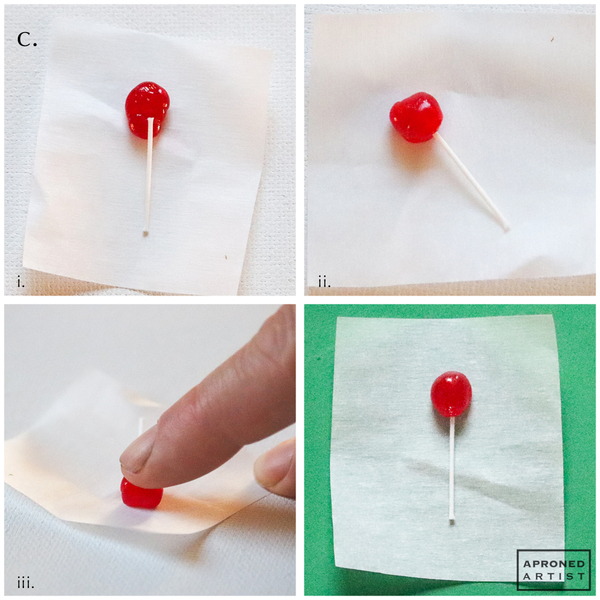
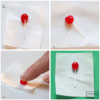
c. The next day, the dried glue will still feel sticky, however, you should be able to peel the strips away from the parchment paper. Roll each color of glue into a ball, and cut off a piece from each that is roughly the size of a pomegranate aril. Flatten the pieces slightly, and place the top of a lollipop stick on the lower portion of each flattened circle of glue (i). Fold the top of each flattened glue circle over itself to enclose the stick, being careful not to apply direct pressure to the lollipop stick (ii). Roll each glue ball gently against the parchment paper to shape it into a rounded oval that looks like a lollipop (iii).
Step 2: Create peach gummy ring transfers
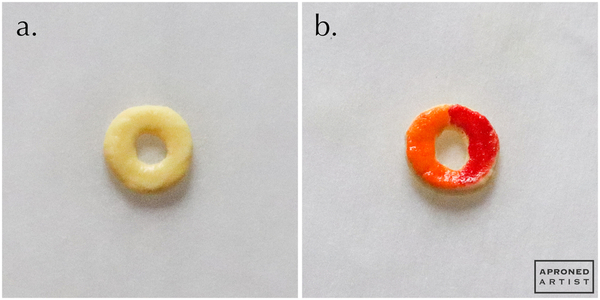
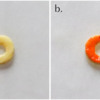
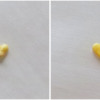
a. Print the Valentine’s Candy Template (see “Files” in “Attachments” at the end of this post), and place a square of parchment paper over the peach gummy ring template. Use stiff-consistency yellow royal icing and a PME #2 tip (or equivalent)
to pipe about eight rings. Flatten them slightly with a damp paint brush. Allow the rings to dry completely.
b. Paint one half of the top flattened surface of each ring with Orange gel paste coloring (or equivalent) and the other top half of each ring with Super Red gel paste coloring (or equivalent).
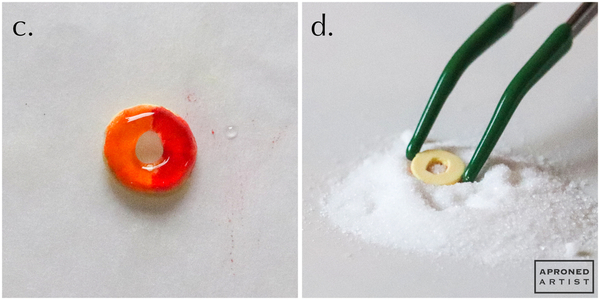
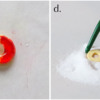
c. With the tip of a paint brush, apply a thick layer of edible glue to the painted surface of each ring. Allow the glue to set about 30 minutes.
d. Using food-safe tweezers, flip over a gummy ring and place it glue-side down in caster sugar. Use the tweezers to remove it from the sugar and place it upright on
parchment paper. Repeat with the remaining gummy rings. Allow the peach gummy rings to dry completely.
Step 3: Create chocolate kiss transfers
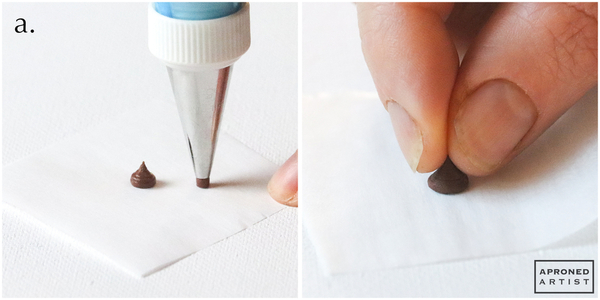
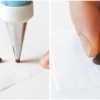
a. Use stiff-consistency brown royal icing and a Wilton #5 tip (or equivalent) to pipe six chocolate kisses. Place the template for the kisses beneath a square of parchment paper. Hold the piping bag perpendicular to your work surface, apply gentle pressure to create the base of the kiss, release the pressure, and pull the piping bag straight up to create the point of the kiss. Each kiss should be about 1/4 inch (0.6 centimeter) tall. If you want to refine the shape, pinch the tip between your thumb and forefinger. Allow the icing to dry completely.
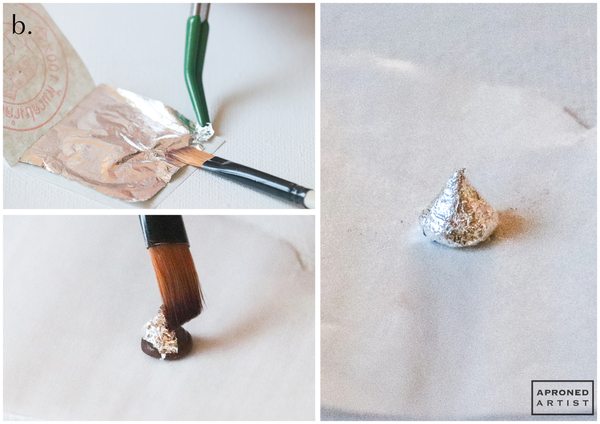
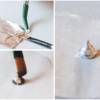
b. To apply the silver leaf, dampen the kiss by brushing on a little bit of water. Hold the silver leaf in place with a dry paint brush, and tear off a small piece with a pair of food-safe tweezers. Transfer the torn bit of silver leaf onto the damp kiss. Flatten the silver leaf gently with a dry paint brush. Apply small pieces of silver leaf until the entire kiss is covered. (If you want to have any of your kisses resting on their sides in the final composition, make sure you apply silver leaf to the underside of their bases as well.) Repeat to cover the remaining kisses with silver leaf.
Step 4: Pipe chocolate-covered pretzel transfers
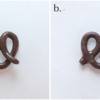
a. Place the template for the chocolate-covered pretzels beneath a square of parchment paper. Using stiff-consistency brown royal icing and a PME #2 tip (or equivalent), pipe the pretzel shape in a continuous line.
b. Use a damp paint brush to flatten the icing slightly and to smooth the intersections where the icing touches or crosses itself. Repeat to make about six chocolate-covered pretzel transfers.
Step 5: Pipe conversation heart transfers
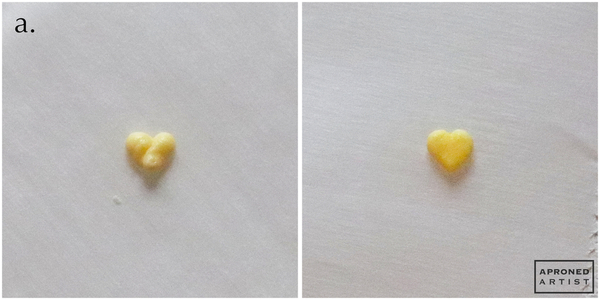
a. Place a parchment paper square over the conversation heart template. Using stiff-consistency yellow royal icing and a PME #2 tip (or equivalent), pipe over the template. Use a damp paint brush to flatten, smooth, and shape the icing. Repeat with stiff-consistency pink, orange, green, and purple royal icing to create about 15 conversation hearts of each color. Allow the icing to dry completely.
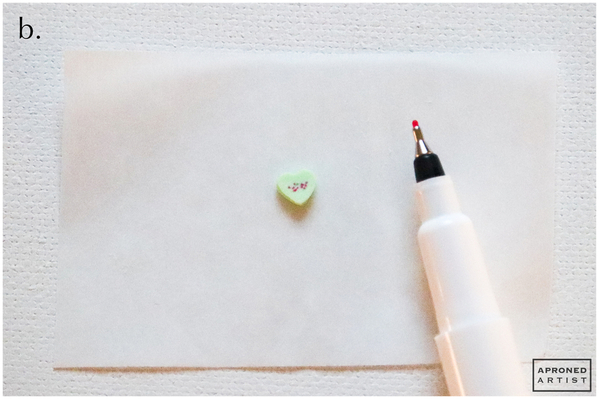
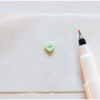
b. Remove the conversation heart transfers from the parchment paper, and flip them over so that the flat sides face up. Use a pink fine-point edible marker to add a few dots to the center of each heart to give the impression of writing. Repeat with most of the conversation heart transfers (leaving some blank so that they look like they are flipped over).
Step 6: Assemble final cookie
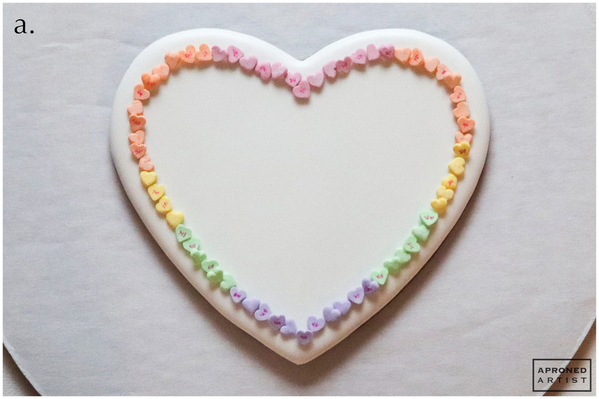
a. Arrange the conversation hearts (in rainbow-colored order, if desired) to create a heart-shaped border about 1/4 inch (0.6 centimeter) from the edge of the flooded base cookie. Attach each conversation heart to the cookie with a small dab of stiff-consistency white royal icing.
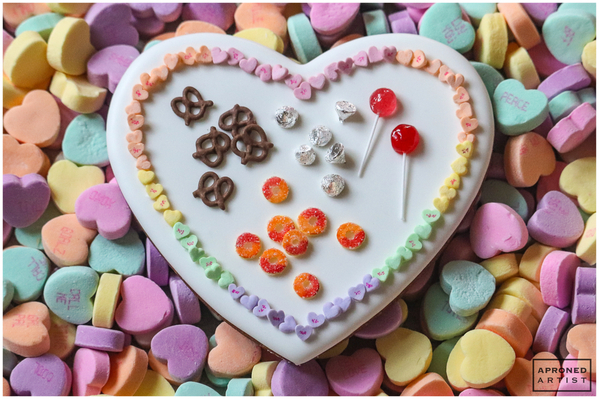
b. Attach the pretzels, chocolate kisses, and peach gummy rings to the interior of the cookie with small dabs of white royal icing. Pick up the lollipops by the colored glue section (not by the fragile stick), and place them on the cookie. The glue will stick without any need for icing.
Finished! Hope you all have a super sweet Valentine’s Day!


Samantha Yacovetta began cookie decorating in 2013. While working at a local bakery, Samantha became captivated by cookie art when a customer requested princess-themed cookies. Attracted initially to the precision of cookie decorating, Samantha soon found that the limitless design opportunities turned it into her artistic passion. Samantha began regularly stocking the bakery case with decorated cookies and for several years sold cookies through her own company, Aproned Artist, a cottage food operation. Having retired from the business life, Samantha now enjoys making cookies just for fun from her home in San Jose, California, USA. To learn more about Samantha, please check out her Cookie Connection portfolio, her Facebook page, and her past Every Little Detail tutorials here.
Photo and cookie credits: Samantha Yacovetta
Note: Every Little Detail with Aproned Artist is a monthly Cookie Connection blog feature written by Samantha Yacovetta focused on the special little details that make big statements in cookie design. This article expresses the views of the author, and not necessarily those of this site, its owners, its administrators, or its employees. To read all of Samantha's past Every Little Detail tutorials, click here. And to see all of Cookie Connection's tutorials, click here.





Comments (12)