
May first was Mothers' Day here in Spain. In our home, it is a very special day, and so, each year, my brother and I thank our mom for all she's done with a Mothers' Day gift that surprises her.
Since she loves nature, this time, we celebrated her day with a beautiful bunch of flowers.
She was delighted with her white roses, carnations, and lilies, but the truth is that flowers are a somewhat expected gift on this day. Unfortunately, due to an unwelcome cold and the usual lack of time, I was unable to prepare something original this year. Mothers' Day hasn't yet arrived in some countries, so hopefully you'll still have time to create a special gift for your dear mom.
Any cool Mothers' Day gift ideas out there? Hmm, let me think . . . What about a 3-D cookie? Yes, of course! Why not?
It’s time to roll up your sleeves and make this unforgettable (and “sew” sweet) cookie project for mom, because you know she deserves your all! ![]()
- 1 sewing machine cookie (see template below), flooded in white and completely dry
- 1 rectangular cookie, flooded in white and completely dry
- Airbrush (I used this one from Dinkydoodle Designs.)
- Plastic rose stencil (or another stencil of your choice)
- Nontoxic pencil or edible marker
- Pale pink royal icing, medium consistency (See colors below.)
- Scribe tool
- Piping bag with PME #0 tip (or equivalent)
- White royal icing, medium consistency, for "stitch selector" transfer
- Acetate sheet
- Soft round paint brush, for aging (aka dusting)
- White royal icing, medium consistency, for "glue"
- Vodka, alcohol rejuvenator spirit (such as this brand), or alcohol-based extract
- Small flat paint brush, for coating cookie borders
- Pink polka dot (or other patterned) wafer paper
- Lace-edge craft paper punch (I used this one from Mahé.)
- Piping gel
- Large flat paint brush, for applying piping gel
- Bamboo skewer, painted silver, for sewing machine "needle"
- Lace silicone mold (I used this one from KitchenCraft.)
- Edible lace mix (I used Tricot Mix from Silikomart.)
- Pink and green royal icing, stiff consistency, for roses and leaves
- Piping bag with Wilton #101 and PME #ST50 tips, for roses and leaves, respectively
- White wafer paper, for tag
- Tag punch (I used one from Artemio.)
- Cream fondant, for buttons
- To airbrush sewing machine cookie: AmeriColor Pink Sheen Airbrush Food Colour
- To flood rose design: Wilton Peach and a pinch of Sugarflair Dusky Pink
- To coat cookie borders and for aging: Sugarflair Nutkin Brown dusting powder
- To paint icing transfer: AmeriColor Burgundy, AmeriColor Maroon, Wilton Moss Green, a pinch of Sugarflair Extra White powder (or similar white coloring), and Rainbow Dust Chocolate edible marker
- To paint sewing machine needle: Rainbow Dust Metallic Light Silver food paint
- For royal icing roses and leaves: Wilton Rose and Moss Green, respectively
- For wafer paper tag text: Rainbow Dust Chocolate edible marker
- About the sewing machine cookie: I cut out my sewing machine shape using this free graphic.
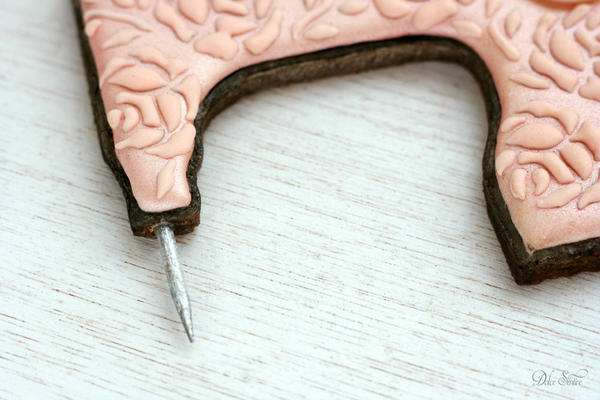
- About the needle assembly: To make the hole for the needle, I first inserted a bamboo skewer into the raw cookie and then baked the cookie with the skewer in place. After baking, I removed the skewer, painted it metallic silver, and let it dry completely before final assembly of the 3-D cookie.
- About the tiny fondant buttons: I followed these fantastic instructions for making buttons without a mold.
- About the sugar lace "fabric": I made it following these video instructions from Silikomart Professional.
Are you ready to go? Let’s start!
Sewing machine decoration:
Step 1: Start by airbrushing the entire cookie surface with a metallic pink color, and let the coloring dry completely at room temperature (about 5 to 10 minutes).
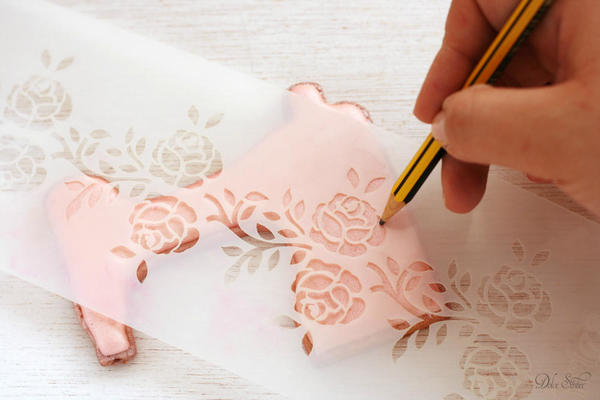
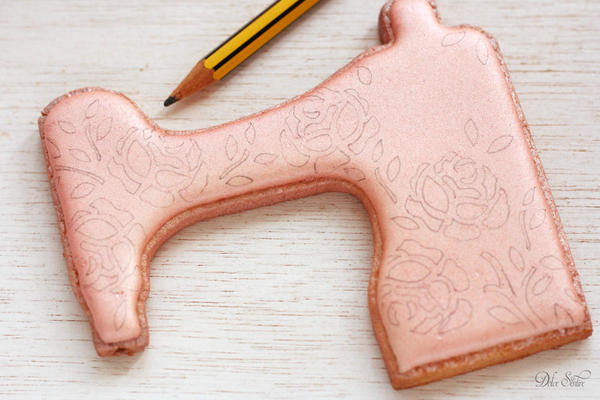
Step 2: Use a plastic rose stencil and a nontoxic pencil to trace the stencil design onto the cookie. You can use an edible marker as well (in a pale color).
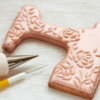
If your stencil is small (such as mine), trace some roses and then move the stencil in order to cover the entire surface of the cookie with roses. You should end up with a drawing something like this:
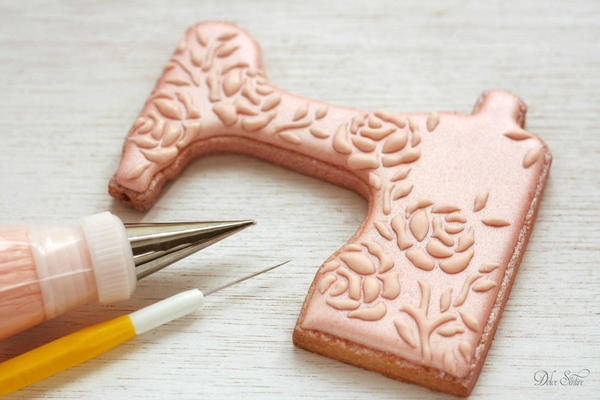
Step 3: Now, with your piping bag fitted with a PME #0 tip (or equivalent), pipe every single part of each rose (leaves and stems included) with pale pink royal icing. Use your scribe tool to tease the icing into small spaces and corners.
Take care to cover the pencil marks with royal icing. Let the icing dry completely (15 minutes in a dehydrator or 1 hour at room temperature).
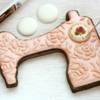
Step 4: It’s time to prepare the "stitch selector" transfer! Tape an acetate sheet to a flat surface, trace a small circle, flood it with white icing, and let the icing dry completely. Then, paint a tiny rose in the center and numbers around the perimeter. Age (aka dust) the borders with the Nutkin Brown dusting powder and a soft round paint brush.
Finally, stick the transfer to the cookie with a small amount of royal icing “glue” (aka icing of medium consistency).
Using a small flat paint brush, coat the cookie borders with Nutkin Brown dusting powder mixed with a few drops of vodka.
Rectangular base decoration:
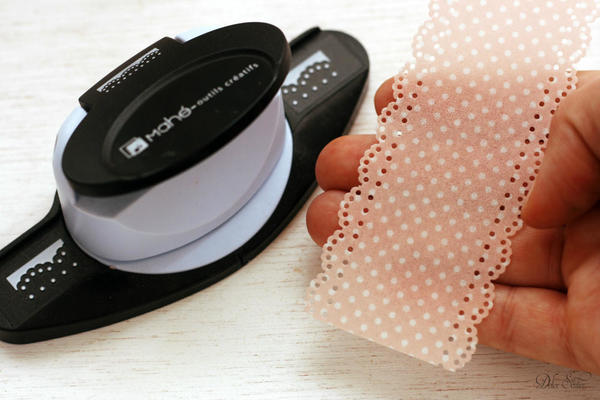
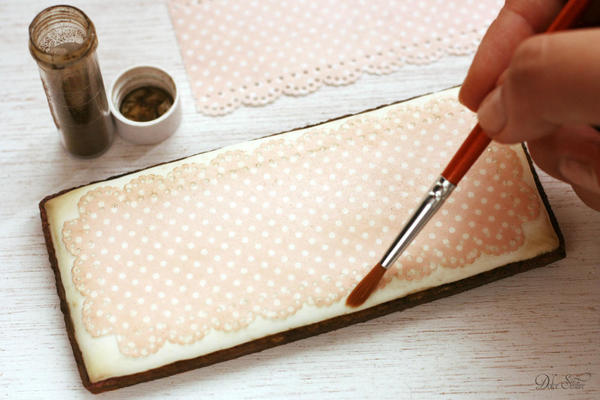
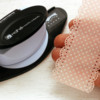
Step 5: Punch a strip of wafer paper trim using a lace-edge craft paper punch, and stick the strip on the cookie with piping gel and a large flat paint brush.
Let the paper dry, and then age the borders with Nutkin Brown dusting powder and a soft round paint brush.
Final assembly and last touches:
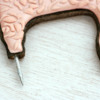
Step 6: Now, stick the silver-painted bamboo skewer into the end of the sewing machine cookie with white royal icing (medium consistency). Let the icing dry completely (about 2 hours in a dehydrator).
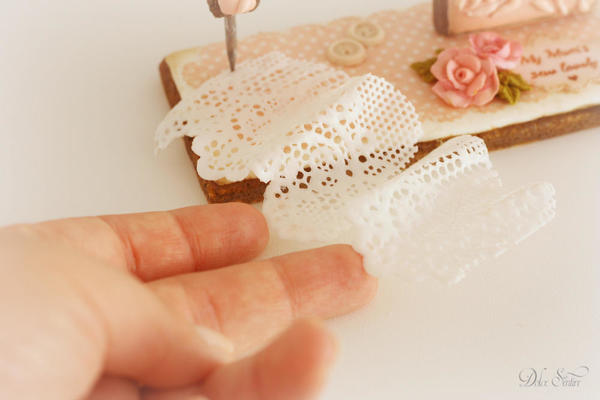
Place a piece of sugar lace "fabric" (hooked to the sewing machine needle) on the rectangular base; then stick the sewing machine cookie in a standing position on the base cookie with white icing (medium consistency).
Clean any excess icing from the seams with your scribe tool, and use a small container to prop the sewing machine while the icing dries.
Drum roll, please . . .
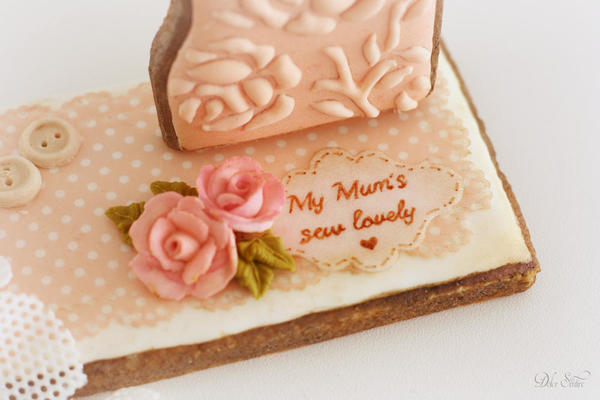
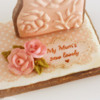
Your 3-D cookie is almost finished! You just need to add a pair of royal icing roses, a wafer paper tag, and two tiny fondant buttons. I’ve handwritten the words on my tag and aged the edges using the same method that I described for my boat signboard here.
And you're done! This sweet gift is sure to make your mum smile! ![]()
See you in the next entry! ![]()
Cookie and photo credits: Aixa Zunino

 Aixa Zunino is the soul of Dolce Sentire, a virtual corner of sweetness and creativity dedicated to cookie decorating. On her site, this garden engineer, self-taught decorator, and lover of flowers and animals lets her imagination fly, sharing everything she has learned since discovering the world of cookies in early 2012. She combines this activity with courses around Spain (her current home) where she teaches all the secrets to getting dreamy cookies. Meet her on Facebook or her website, and email her your cookie decorating questions or concerns at dolcesentiredolci@gmail.com.
Photo credit: Aixa Zunino
Note: Get Inspired with Dolce Sentire is a monthly Cookie Connection blog feature written by Aixa Zunino, where, through in-depth tutorials, she proves that if you can dream it, you can cookie it! This article expresses the views of the author, and not necessarily those of this site, its owners, its administrators, or its employees. To read all of Aixa's past Get Inspired tutorials, click here. And to see all of Cookie Connection's tutorials, click here.












Comments (28)