 Winter still has about a month to go, and I am yearning for spring. Not that there is much difference between winter and spring where I live, but still . . . I can't wait for the first tentative colors to appear, for birds to sing (as long as they don’t do it right in front of my window at three in the morning, that is . . .), and for that special fragrance in the air that smells of life!
And I simply love those gorgeous spring baskets that you can buy everywhere come the end of February. You know which ones I mean, right? Full of daffodils, hyacinths, and, of course, crocuses. Don’t ask me why, but I find them especially lovely if they are covered with snow. I think it's because the colors of the flowers seem even brighter when they poke their tiny heads out of the white. Like a surprise hidden in the earth. A true promise of spring.
Wanna make one of those baskets with me, with a sweet, chocolaty surprise hidden inside?
Here is what you will need:
- CelBoard (or other nonstick working surface)
- Small rolling pin (or wooden craft stick)
- Gumpaste in your favorite crocus colors (I used pale purple and yellow, about 10 grams or 0.4 ounce, each.)
- Toothpick
- Five-petal blossom plunger cutter (I used the one in this set that is about 1.3 centimeters or 0.5 inch across.)
- Foam pad
- Bone tool
- Orange gumpaste (about 1 gram or less than 0.1 ounce)
- Small paint brush
- Water
- Medium green gumpaste (about 2 grams or less than 0.1 ounce)
- Kitchen knife
- Mini muffin baking pan (opening about 4.5 centimeters or 1.8 inches)
- Unchilled cookie dough
- Medium (about 6.4-centimeter or 2.5-inch) round cookie cutter
- Microplane or other grating tool
- Your favorite chocolate (about 100 grams or 3.5 ounces)
- Neutral brown royal icing, medium-stiff consistency (By "neutral brown", I mean brown with a touch of yellow and black.)
- Pastry bag fitted with #3 round tip (or equivalent)
- White food coloring
- Alcohol or clear extract
- Soft paint brush
- Chocolate cookie, crumbled
- White royal icing, thick flooding consistency
Make the flowers:
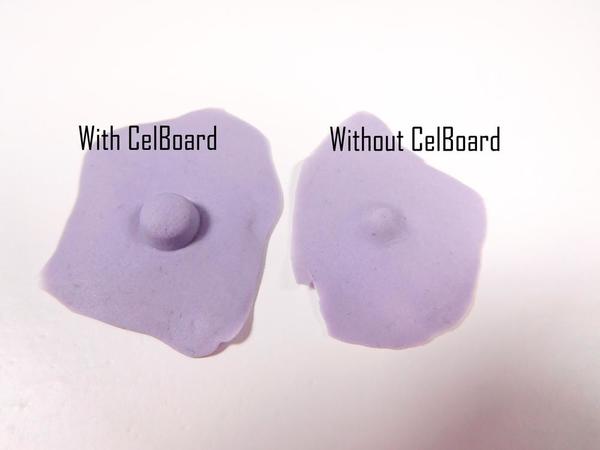
Turn your CelBoard (if you have one) to the flower-making side. You will find some long cavities there, along with three holes in different sizes. Using your rolling pin, roll out a tiny amount of crocus-colored gumpaste on top of the largest hole. Roll the gumpaste thin, but not as thin as for the crane in my origami spring cookie tutorial. With the help of a toothpick, lift the gumpaste off the CelBoard, and turn it over. You will have a thin sheet with a little “hat” or bump on top.
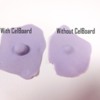
If you don’t own a CelBoard, that’s no problem. You can roll out the gumpaste on a normal surface, leaving the middle a bit higher as shown in the picture below.
But, in this case, rolling works better when you use a wooden craft stick instead of a small rolling pin. This way, you will have more control and will not accidentally flatten out the "hat".
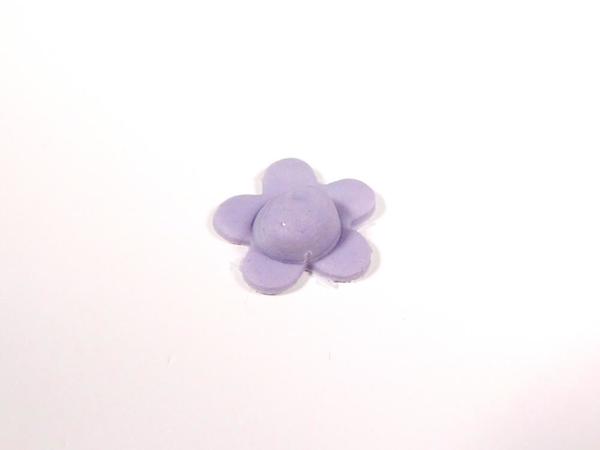
Center the five-petal flower plunger cutter over the "hat", and cut out a flower. (Yeah, I know that crocuses have six petals - sue me ![]() !)
!)
Move the flower to the foam pad, "hat" facing up, and thin out the edges of the petals with the small side of the bone tool. Don’t exert too much pressure - just gentle, sweeping motions following the petal edges will do.
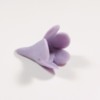
Next, pick up the flower by the "hat", and start to gently roll it between your thumb and forefinger to form a stem. At the same time, insert the toothpick between the petals (on the other end), and roll it around. Keep doing this until you have formed a hole just big enough to receive the tiny stamen that you'll make in the next step. Gently push together the petals until they stand more upright (as shown below), and let the crocus rest for some time.
You will need between two to four crocuses per basket. Once you have finished with the last flower, the first one will be dry enough to proceed.
Take a teeny tiny bit of the orange gumpaste, and roll it between your fingers to form a miniscule stamen that fits the hole you just made in your flower. Add a little bit of water to the center of a flower with your small paint brush, and then insert the stamen into the hole with the help of a toothpick. (The water will help to secure the stamen in place.) Repeat this step for all of the flowers you have made.
After this step, the crocuses need to dry thoroughly. Since they are very small, drying will not take long - maybe two to three hours.
Prepare the leaves:
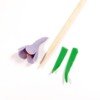
Roll out the green gumpaste as thin as you can manage, and cut it into long, slender strips, about 1 centimeter (or 0.4 inch) wide, with the kitchen knife. Then cut the long strips into smaller sections, ranging from 1 to 3 centimeters (or 0.4 to 1.2 inches) in length. Don’t cut too uniformly; the leaves will look more natural if they are not identical. Pinch the tip of each leaf, give a slight bend to some of them, and let others remain straight. Let them all dry completely while you proceed to the next step. (I have added a toothpick to the picture to give you some sense of size - we are truly talking about tiny flowers and leaves here!)
Shape and bake the baskets:
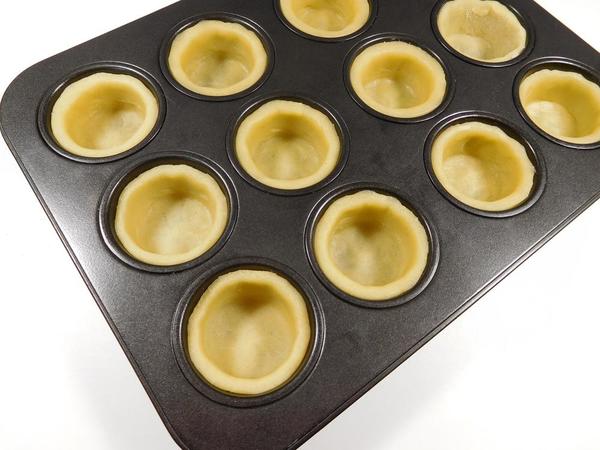
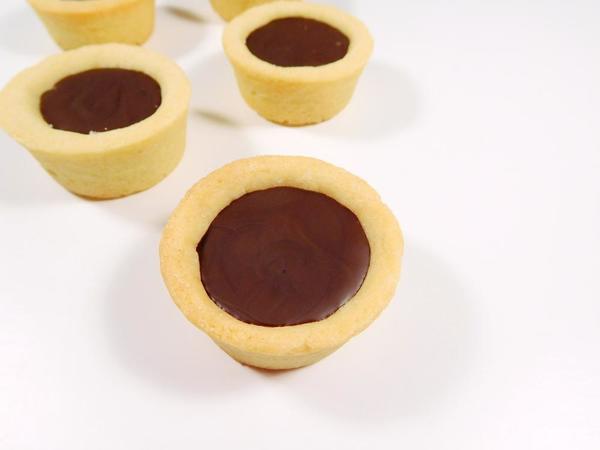
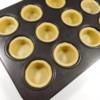
Roll out the cookie dough to a thickness of about 3 millimeters (or 0.1 inch). And take my word for it, in this special case, rolling and shaping these pieces will be a lot easier if you let the dough come to room temperature and don’t use it chilled! Using a round cookie cutter, cut out as many circles as you want to make baskets, and ease the circles into the muffin tray. Gently press the dough so it conforms to the sides and bottom of each cup as tightly as possible. (Be sure to choose a cutter size so that the dough is wide enough to cover nearly the entire muffin cup once pressed in place.) The result should look like this:
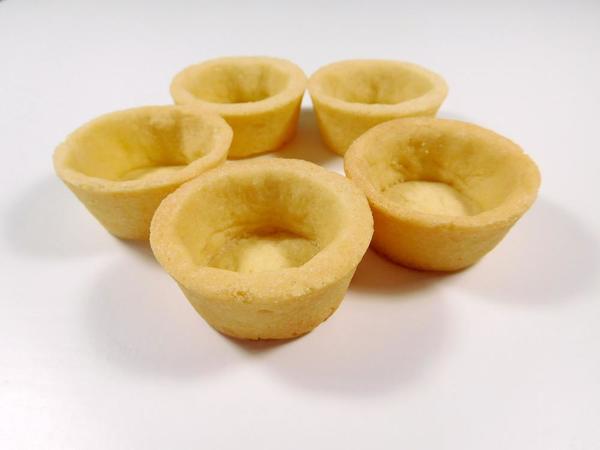
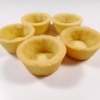
Bake the baskets like you would your normal cookies, and let them cool a few minutes in the pan before you remove them. (Partial cooling in the pan will prevent the baskets from misshaping if moved too soon. But don't allow them to fully cool in the pan, or condensation can form under the cookies and cause them to moisten.)
Once the cookies are completely cool, even out their rims where necessary with the Microplane, or other grating or filing tool.
Assemble the baskets with flowers and leaves:
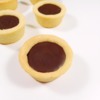
Now, melt the chocolate and dribble it into the baskets, but don’t fill them up to their rims. Leave a little room on top of each for your flowers.
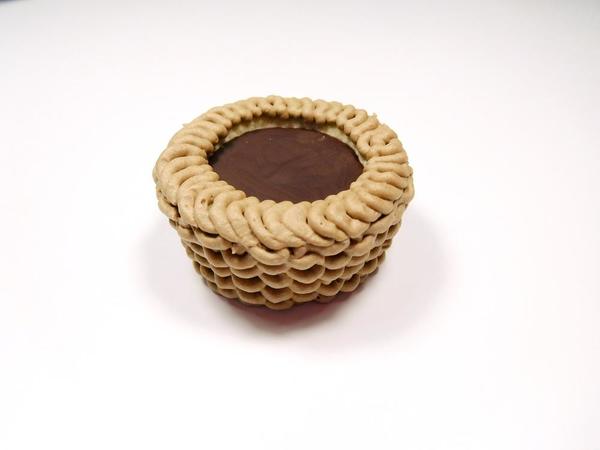
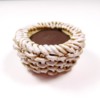
While the chocolate sets, prepare the brown royal icing, and place it in a pastry bag fitted with a #3 round tip (or equivalent). Pipe the icing onto the sides of the baskets using the basketweave technique. If you are not familiar with this technique, I recommend you check out this SweetAmbs' tutorial. Finish the top edge with a modified rope border of overlapping half-circles, and let the icing dry completely. You can either put the baskets in a dehydrator for about 30 minutes or let them air-dry for a few hours.
Now comes the whitewash. Thin white food coloring with alcohol or clear extract, and use a soft paint brush to paint the piped basketweave. Don’t overdo it - the original brown icing should still show through so that each basket has a nice shabby chic look to it. Another 30 minutes in the dehydrator won’t hurt, as the white coloring dries rather slowly. On the other hand, if you rub off some of it when handling the baskets, that’s no big deal – it will make the shabby chic look even more prominent.
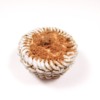
Take a leftover chocolate cookie (I am sure you have one handy, don’t you?) and turn it into fine crumbs by grinding it in a food processor or crushing it in a small plastic bag with your rolling pin. There shouldn’t be any large chunks left. These crumbs will be the "earth".
Now, get your flowers and leaves, and start the final touches on your spring baskets. Fill a pastry bag with the white royal icing. You really don’t need a tip in the bag for this step - a cut opening is absolutely enough. Cover the chocolate in each basket with a layer of the icing, and sprinkle some chocolate crumbs on top.
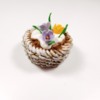
Add another layer of white icing as "snow", and immediately insert the flowers and leaves into the wet icing. Lastly, admire your work. ![]()
Okay, I am ready - spring can now come! ![]()

 Leoni Eckart, aka Laegwen, started her baking career way before her own memory sets in, decorating Christmas cookies with her mother (at least that's what she's been told!), and has never entirely stopped puttering around in the kitchen since. Her first decorated cookies as an adult were her own wedding favors, and then, over Christmas 2014, her cookie fever went into overdrive! As of present, it shows no signs of cooling off. You can find Leoni on Facebook here, or you can reach her by email at laegwen@outlook.de.
Photo credit: Leoni Eckart
Note: Get Inspired with Laegwen is a bimonthly series of cookie decorating tutorials that follow Leoni Eckart's personal experiments with gumpaste, royal icing, and other cookie decorating materials and methods. This article expresses the views of the author, and not necessarily those of this site, its owners, its administrators, or its employees. To read all of Leoni's past Get Inspired tutorials, click here. And to catch all of our Cookie Connection tutorials, click here.










Comments (22)