Sometimes you have a cookie idea, but you do not have the right cookie cutter, or you cannot find it anywhere. Don't worry; I bet that if you look through all your cookie cutters you will be able to find a way to put your idea in action.

For this cookie, you will need:
- Favorite cookie dough
- Pumpkin cookie cutter
- 3-inch circle cookie cutter
- Royal icing, medium and flooding consistency
- Electric orange gel color
- Black gel color
- Pastry bag, coupler, and #2 tip
- Assorted mini candies
Procedure:
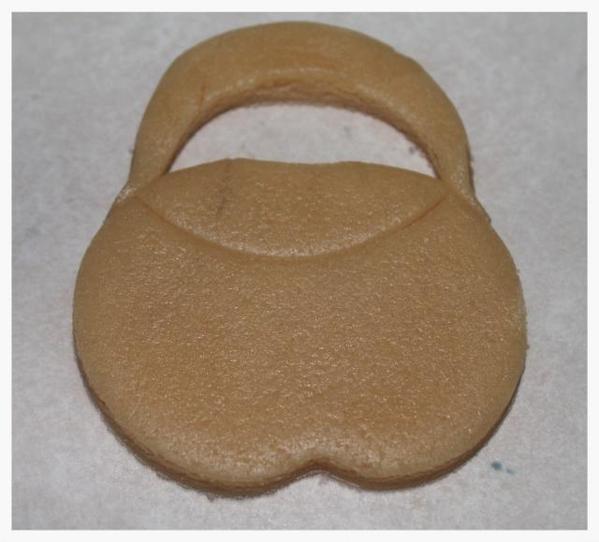
Roll out your cookie dough and cut a pumpkin cookie. With your circle cutter, score a half circle in the top of the pumpkin cookie. Do not cut all the way through the dough.
To make the handle, cut out a circle cookie; then move your circle cookie cutter down 1/4 inch and cut out another circle in the center to create a ring. Cut the ring in half to create two handles.
Whisk an egg with a fork and use it as glue to fix the handle to the top of the pumpkin. Bake and cool the cookie(s) as your recipe directs.
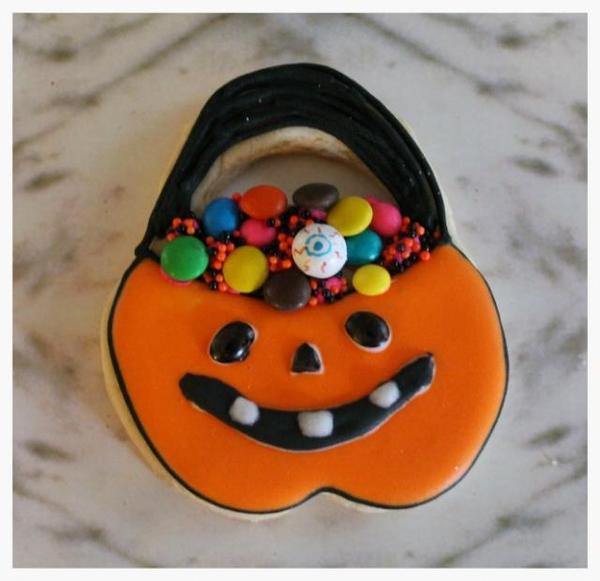
Using a pastry bag fitted with a #2 tip and filled with black medium consistency royal icing, outline the border of the pumpkin; then flood it with orange icing and let it dry.
In the top of the pumpkin, glue all the mini candies you want using the black icing as glue.
To decorate the handle of the treat bag, pipe lines from one edge to the other edge very closely together.
When the cookie is dry, make the eyes, nose, and mouth with black royal icing and let dry. Then make the teeth using white royal icing.
If you want the full tutorial in Spanish, you can find it here: http://milgrageas.blogspot.com...za-de-halloween.html.
Enjoy!!

Note: This article expresses the views of the author, and not necessarily those of this site, its owners, its administrators, or its employees. To read more Cookie Connection tutorials, click here.


Comments (5)