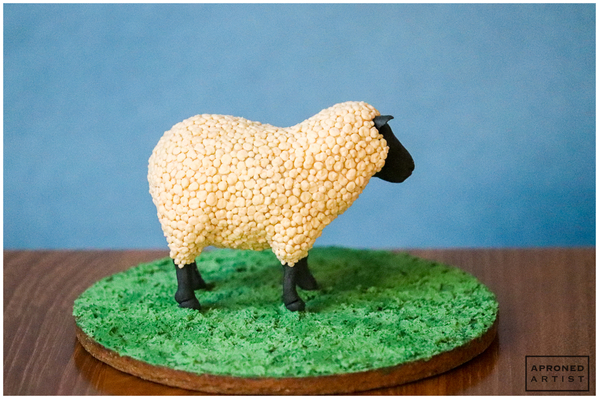
 A couple of years ago my childhood friend decided she’d had enough of the Silicon Valley rat race. She packed up her family and relocated to a beautiful, sprawling property in Oregon. Now that she has the land and the resources, she’s become a hobby farmer. I love seeing pictures of her burgeoning farm with her frolicking goats and nosy chickens, a far cry from the confined and orderly suburb that she lived in before. My friend, her family, and her collection of animals look positively radiant and grateful for the change. This chubby little sheep would fit right in.
Supplies:
- 1 oz (28.3 g) cookie dough that bakes with minimal spread
- Food-safe file
- Royal icing (I used AmeriColor gel paste to tint the icing):
- Stiff-consistency cream (Ivory plus a tiny dab of Taupe)
- Stiff-consistency light black (2 parts Super Black/1 part Warm Brown)
- Stiff-consistency green (1 part Leaf Green/1 part Gold)
- Stiff-consistency light green (add white icing to the green icing above)
- Tips:
- Angled flat paint brush
- 2 1/2-in (6.4-cm) round cookie cutter
- Parchment paper
- 1-in (2.5-cm) round cookie cutter
- 4 1/4-in (10.8-cm) round cookie
- Round paint brush
Step 1: Shape and bake sheep cookie
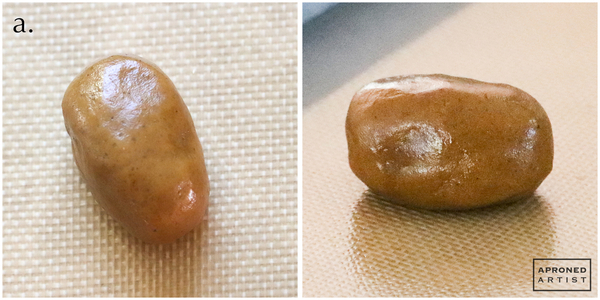
a. Shape approximately 1 ounce (28.3 grams) of cookie dough into an oval mound about 2 inches (5.1 centimeters) long. Bake the cookie, checking every few minutes and reshaping the dough with a butter knife or spatula if necessary.
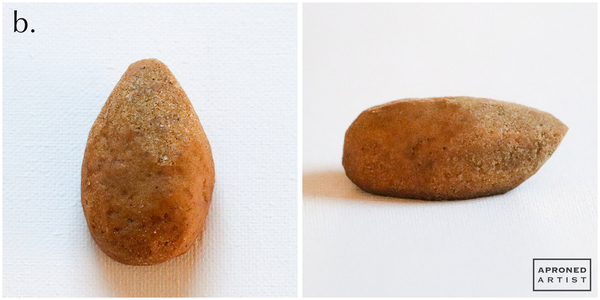
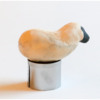
b. Use a food-safe file to shape the baked cookie into more of a teardrop shape. The thin end of the cookie will be the neck of the sheep. File the underside of the neck at a 45-degree angle to form the sheep’s chest.
Step 2: Sculpt sheep’s body
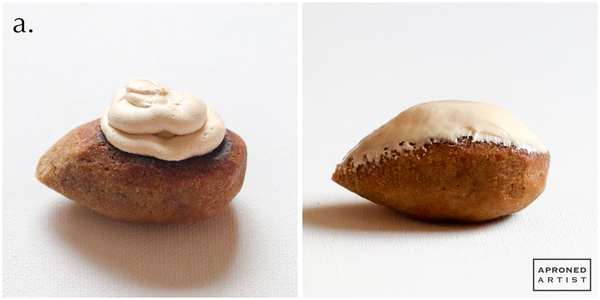
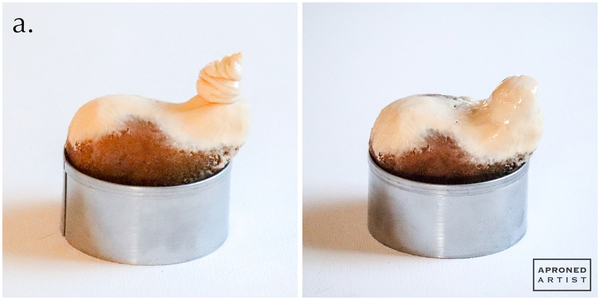
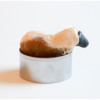
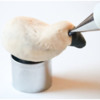
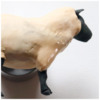
a. Flip the cookie over so that the bottom of the cookie faces up. Using stiff-consistency cream royal icing and a Wilton #8 tip (or equivalent), pipe a mound of icing on the flat area of the cookie. Smooth the icing into a rounded underbelly with the flat side of a damp angled flat paint brush. Allow the icing to dry at least 30 minutes. After 30 minutes, the icing will have crusted, but it will not be completely dry. Flip the cookie over so that the icing faces down, and suspend the cookie by placing it inside a 2 1/2-inch (6.4-centimeter) round cookie cutter so that the icing does not hit the work surface. This way, the icing won't get deformed while it continues to dry. (Refer to the photo in Step 4a.)
b. With the same icing and tip, add some icing to build up the sheep’s neck, and smooth it into the body with a damp angled flat paint brush. Add some icing to the sheep’s rump as well. You may need to add icing to different places depending on the shape of your cookie. As you work, compare your cookie to pictures of sheep so that you can more closely mimic their anatomy.
Step 3: Pipe muzzle and leg transfers
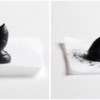
a. Using stiff-consistency light black royal icing and a Wilton #5 tip (or equivalent), pipe a mound of icing for the sheep’s face on a small square of parchment paper. Use a damp angled flat paint brush to shape the icing into a muzzle. (Note that the flat side where the icing contacts the parchment paper will be where the muzzle attaches to the sheep’s head.) Try to keep the size of the muzzle proportional to the body cookie. (My muzzle was about the size of a dime at the base and approximately 3/4 inch/1.9 centimeters long.) If desired, use the pointed tip of the paint brush to lightly indent a “v” at the tip of the muzzle for the nose. Allow the icing to dry completely before peeling the parchment paper away from the transfer.
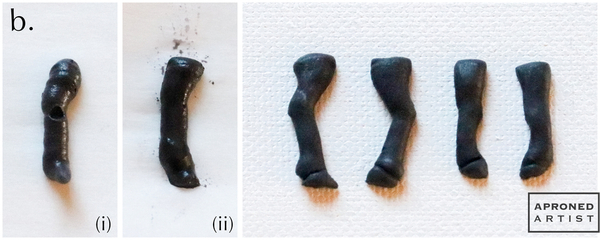
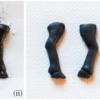
b. Use the same icing and tip to pipe the leg transfers. Pipe a rough leg shape about 1 inch (2.5 centimeters) in length onto a square of parchment paper (i). Use a damp angled flat paint brush to shape the icing into a foreleg (ii). It’s helpful to refer to images of sheep while shaping the icing. Use the tip of the paint brush to make a lightly indented curved line at the base of the leg for the hoof. Repeat, mirroring the leg shape for the opposite foreleg. Use the same process for the two back legs, however, make them slightly longer and wider at the top. Allow the icing to dry completely before peeling the parchment paper away from the transfers.
Step 4: Attach muzzle transfer to sheep’s body, and pipe ears
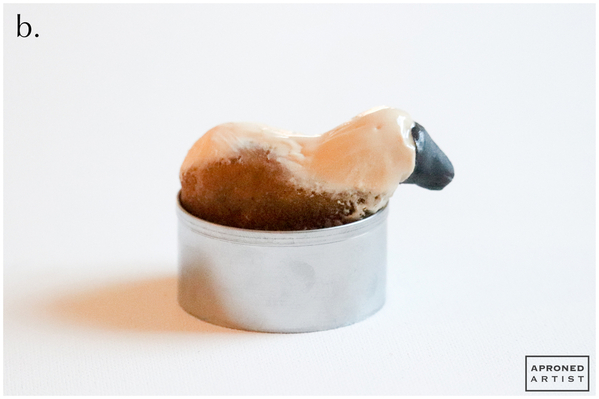
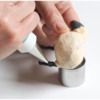
a. Suspend the sheep on top of the 2 1/2-inch (6.4-centimeter) round cookie cutter once again to keep it stable. Using stiff-consistency cream royal icing and a Wilton #8 tip (or equivalent), pipe the back portion of the sheep’s head on top of the neck. Smooth the icing with a damp angled flat paint brush.
b. Immediately insert the muzzle transfer into the icing. Use a damp angled flat paint brush to drag and shape the icing around the muzzle. Carve out a small, shallow circle of icing on each side of the head for the ears (which will be added in a later step). Allow the icing to crust at least 30 minutes before handling the cookie further.
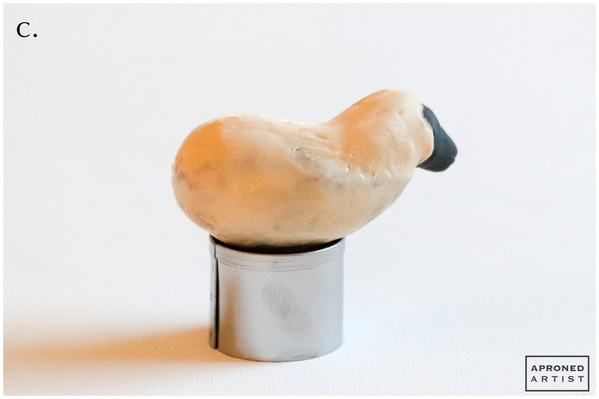
c. For better access, switch the supporting cookie cutter to a smaller 1-inch (2.5-centimeter) round cutter. Add a thin layer of cream icing to any uncovered parts of the sheep, smoothing and blending with the damp paint brush.
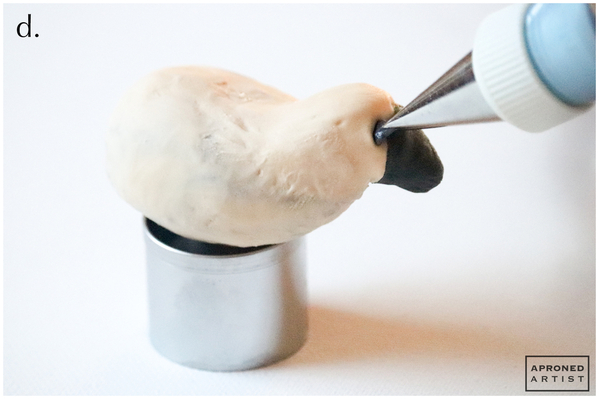
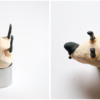
d. Using stiff-consistency light black royal icing and a Wilton #59s tip (or equivalent), pipe the sheep’s ears. Orient the tip so that the ends of the curve point down. Place the tip against the shallow ear indentation (carved out in Step 4b), and apply gentle pressure as you draw the tip away from the sheep’s head to create a cupped ear about 1/4 inch (0.6 centimeters) in length. If necessary, smooth the end of the ear with a damp paint brush.
Step 5: Attach leg transfers to sheep’s body
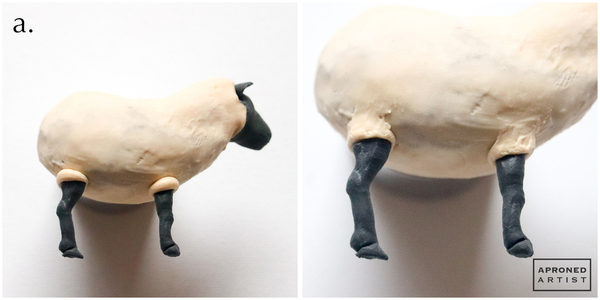
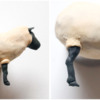
a. Prop your sheep on the 1-inch (2.5-centimeter) round cookie cutter so that its right side faces up. Using stiff-consistency cream royal icing and a Wilton #8 tip (or equivalent), pipe a bead of icing where you intend to attach the right foreleg. Insert the right foreleg transfer into the icing, checking to make sure the leg sits parallel to your work surface. Repeat for the right rear leg, checking to make sure the foreleg and rear leg extend the same distance from the body so that the sheep will be stable when it stands. Smooth the connecting icing with a damp angled flat paint brush, being careful not to alter the placement or angle of the legs. Allow the icing to dry at least 30 minutes.
b. Flip the sheep over so that it rests on the opposite side. Using stiff-consistency light black royal icing and a Wilton #5 tip (or equivalent), pipe a line of icing on the flat side of the attached legs. Use a damp paint brush to blend the wet icing into the dried icing of the leg transfer, creating a three-dimensional leg. Allow the icing to crust at least 15 minutes.
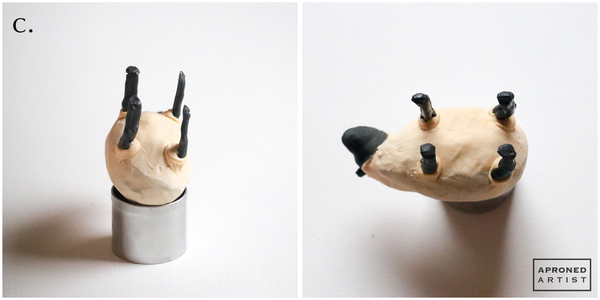
c. Flip the sheep so that it rests on the cookie cutter with its feet facing up. Attach the left fore and rear leg transfers with a bead of cream icing (just as you did in Step 5a), and smooth the connecting icing with a damp paint brush. Make sure the left legs are even with the right legs so that the sheep will be stable when it stands. Allow the icing to dry at least 30 minutes before piping and shaping the inside of the left legs (just as in Step 5b). Let the icing dry completely.
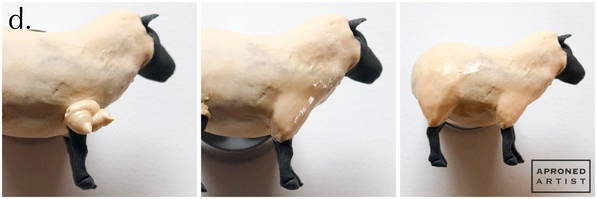
d. Position the sheep so that it rests on its side again. Using stiff-consistency cream royal icing and a Wilton #8 tip (or equivalent), pipe a blob of icing on the area where the foreleg attaches to the body. Use a damp paint brush to shape the icing into a haunch. Repeat with the hind leg. Allow the icing to crust at least 30 minutes before flipping the sheep over and piping the haunches for the opposite legs. Allow the icing to dry completely.
Step 6: Pipe wool texture
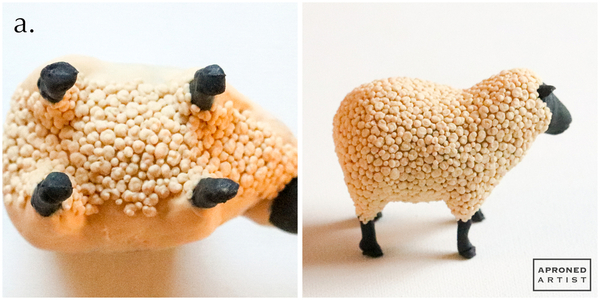
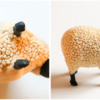
a. Position the sheep on the supporting cookie cutter so that its feet are facing up. Using stiff-consistency cream royal icing and a PME #1.5 tip (or equivalent), pipe irregular circular squiggles of varying size along the underside of the sheep. Remove the cookie cutter, and carefully stand the sheep on its legs to add the same texture to the remaining cream-colored areas of the body.
Step 7: Decorate grass cookie, and attach sheep cookie
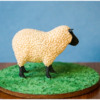
a. Using stiff-consistency green royal icing and a PME #2 tip (or equivalent), pipe a few random squiggles of icing on the base cookie. Use a round paint brush to vertically dab at the icing. (This dabbing process is called stippling.) Add a few random squiggles of stiff-consistency light green royal icing with a PME #2 tip (or equivalent), and stipple the icing in the same manner. Continue alternating the two icing colors and stippling the icing until the entire cookie is covered.
b. Add a dab of green icing to the bottom of the sheep’s feet, and attach the sheep cookie to the grass cookie.
Finished!
This little guy is ready to usher in the spring season.


Samantha Yacovetta began cookie decorating in 2013. While working at a local bakery, Samantha became captivated by cookie art when a customer requested princess-themed cookies. Attracted initially to the precision of cookie decorating, Samantha soon found that the limitless design opportunities turned it into her artistic passion. Samantha began regularly stocking the bakery case with decorated cookies and for several years sold cookies through her own company, Aproned Artist, a cottage food operation. Having retired from the business life, Samantha now enjoys making cookies just for fun from her home in San Jose, California, USA. To learn more about Samantha, please check out her Cookie Connection portfolio, her Facebook page, and her past Every Little Detail tutorials here.
Photo and cookie credits: Samantha Yacovetta
Note: Every Little Detail with Aproned Artist is a monthly Cookie Connection blog feature written by Samantha Yacovetta focused on the special little details that make big statements in cookie design. This article expresses the views of the author, and not necessarily those of this site, its owners, its administrators, or its employees. To read all of Samantha's past Every Little Detail tutorials, click here. And to see all of Cookie Connection's tutorials, click here.









Comments (27)