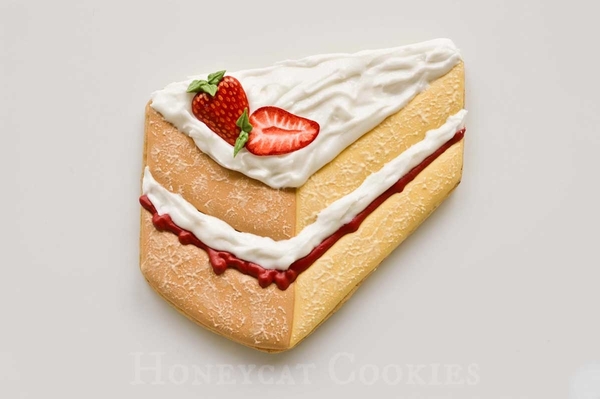
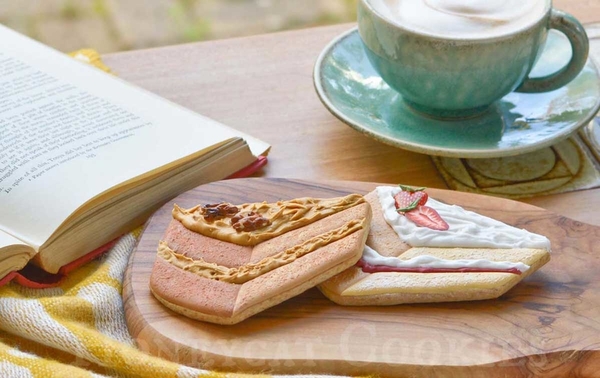
 Summer has finally slipped well into autumn here in England, but it's still gorgeous weather, sunny and bright with just a slight chill. So while the season is getting into full swing with its riot of colour and spices and warming treats, I felt like wringing out the last bit of summer I could find by creating these Victoria Sponge* and walnut coffee cake cookies to have with my warming cup of coffee!
* Purportedly Queen Victoria's favorite cake, Victoria Sponge is a light plain sponge cake filled with strawberry jam and either buttercream or whipped cream, and often topped with whipped cream and strawberries.
- Cellophane, acetate, or parchment paper, for piping royal icing transfers
- Thick flood royal icing in 4 colours: white (small amount only), cream, beige, and light brown (I used Sugarflair Chestnut and Melon food colouring pastes in various proportions to make the last three colours.)
- Piping bags and PME #2, #3, and #50 tips (or equivalents)
- Stiff royal icing in 4 colours: red (small amount only), white, yellow-beige, and leaf green (small amount only)
- Food colouring paint (i.e., food colouring extended with a bit of water) in red, metallic gold, and brown
- Fine food-use-only paint brushes
- Cake slice-shaped cookies (I hand-cut mine, but there are a few such cutters available online, such as this one from Truly Mad Plastics.)
- Edible marker (I used nontoxic pencil here to allow the lines to show up clearly.)
- Palette knife
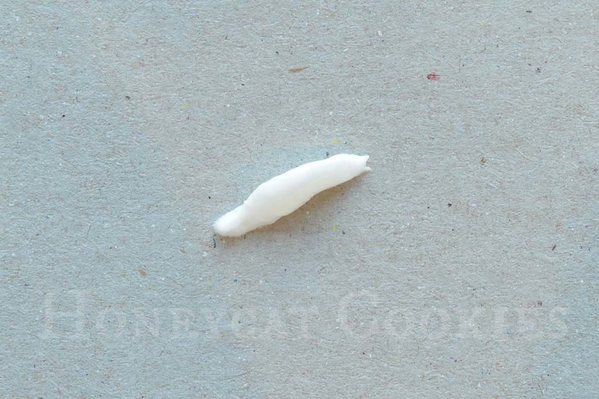
Pipe your strawberry slices and walnuts as royal icing transfers on a piece of cellophane, acetate, or parchment paper. (Note: Transfers are simply royal icing that has been piped on a surface other than the cookie, allowed to dry, and then transferred to the cookie. Piping shapes as transfers allows for more piping control, and minimizes the risk of messing up cookies by piping directly on them!)
1. For the strawberries, pipe small elongated heart shapes (two for each cookie) using white thick flood royal icing and a PME #2 tip (or equivalent).
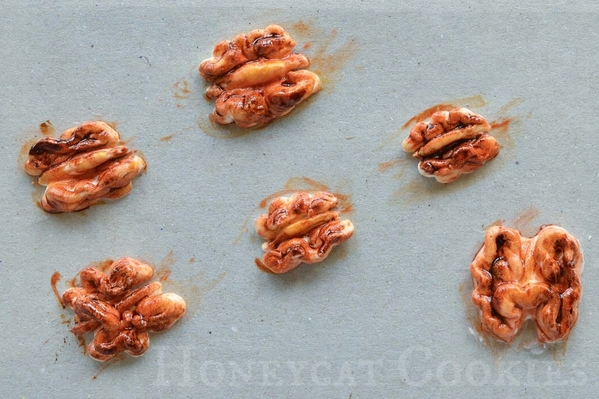
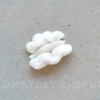
2. For the walnuts, use white stiff royal icing and a PME #2 tip (or equivalent), and pipe a central stem followed by wriggly lines on either side.
Allow the transfers to dry thoroughly.
3. Paint half of the strawberry slice royal icing transfers all over with red food colouring paint. When the red paint is dry, paint small gold "pips" across the surface. Flip over the other half of the strawberry royal icing transfers, and paint the undersides with red to look like sliced strawberries.
4. Paint the walnuts with brown food colouring paint, allowing darker colour to pool slightly in the indentations.
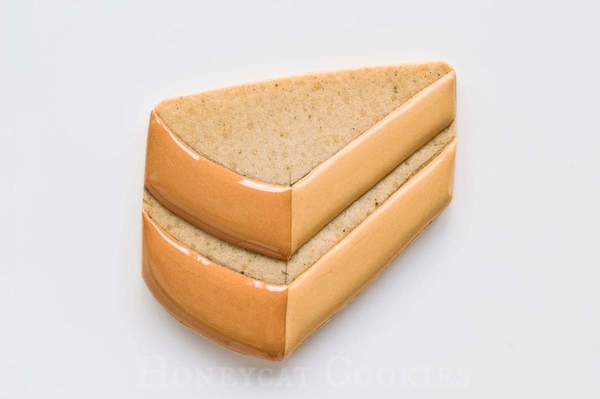
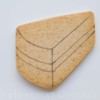
5. Orient your cake slice cookies so that you can see the "top" surface, the "cut" surface, and the curved outer edge of the cake slice. (Depending on your cutter, you may have to flip the cookies around or over so that they are oriented correctly.) Using an edible marker, draw the outlines of the cake sections (top, cut surface, and curved outer edge) as well as three layers within the cut and curved outer sections.
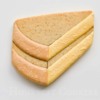
6. Using thick flood royal icing and a PME #3 tip (or equivalent), fill nonadjacent layers of the cake, allowing the icing to crust over before piping adjacent layers.
For the Victoria Sponge, use cream icing for the layers within the sliced section of the "sponge", and beige icing for the layers within the curved outer section. For the coffee cake, use beige and light brown royal icing in these respective areas. (Note: The photo shows the coffee cake.) Allow the icing to dry thoroughly.
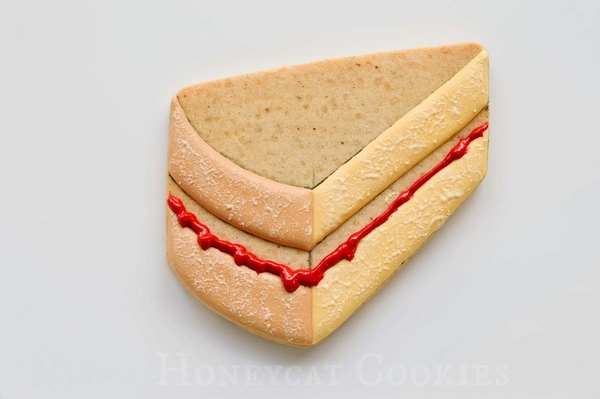
7. Using the same thick flood icings as in Step 6, dab matching icing all over each layer to texture its surface. (Note: The photo shows the Victoria Sponge.) Again, let the icing dry thoroughly.
8. Extra step for Victoria Sponge only: Using red stiff royal icing and a PME #2 tip (or equivalent), pipe a wiggly line of "jam" along the top edge of the bottom cake layer, with some drips oozing over the sponge. Let the icing dry.
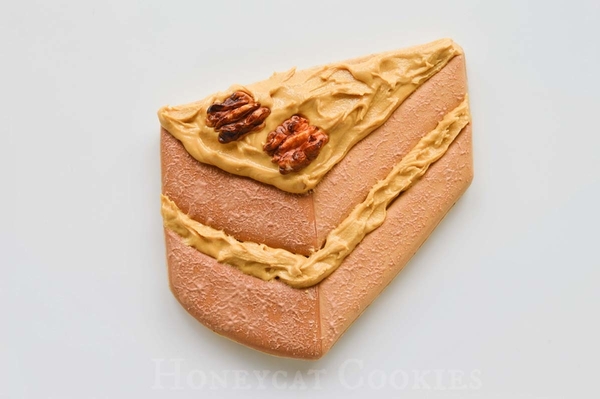
9. Spread stiff royal icing in the centre and on the top surface of the cake. Use white icing for the Victoria Sponge and yellow-beige icing for the coffee cake. For more control, I used a tip-less bag with a large opening to pipe icing into each area before spreading it. Then, I roughed up the surfaces with a palette knife.
10. Before the stiff royal icing dries, pop a couple of strawberry slices on top of each Victoria Sponge cake slice, and walnuts on top of the coffee cake. Last, using stiff green royal icing and a PME #50 tip (or equivalent), pipe small leaves on the strawberries.
And now, all you need is a frothy mug of coffee and a chair in the sun to enjoy the changing seasons with a slice of cake.

 Lucy Samuels is the owner of UK-based Honeycat Cookies. Originally with an art-based career in mind, Lucy attended art college for a year after school but switched to nursing where she spent twenty years specializing in cardiology. After becoming a stay-at-home mom to her daughter Jess, Lucy experimented with a range of crafts, alighting upon decorative cookies almost by accident. In late 2011, she was persuaded to start her business Honeycat Cookies following several requests to place orders. She set about learning the craft from books, the internet, and trial and error. Lucy has a YouTube channel as well as a blog, Honeycat Cookies, that document some of her wider adventures in confectionery.
Photo credit: Lucy Samuels
Note: What's New, Honeycat? is a bimonthly Cookie Connection blog feature written by Lucy Samuels, which pushes the cookie envelope every other month with innovative cookie design ideas and tutorials. Its content expresses the views of the author and not necessarily those of this site, its owners, its administrators, or its employees. To catch up on all of Lucy's past posts, click here.













Comments (11)