 It's spring! It's really taken its time, and I'm sorry to those of you who are still feeling chilly (and those who are heading into autumn!), but we've finally had some warm sunny days here and I'm in the mood for blossoms!
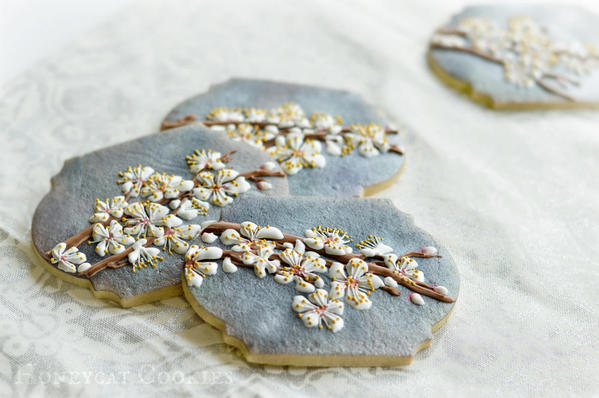
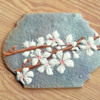
I actually took this photo much earlier in the spring. We have a plum tree in our garden that by rights shouldn't be there. It seeded itself and is growing up through an apple tree. But I have never had the heart to chop it down, as it gets overexcited early every spring and explodes in gorgeous white-scented blossoms before any other plants can be bothered. It makes me feel like bothering too, so I forced myself up off the sofa to create this cookie I've been thinking about for a while.
You will need:
- Blank baked cookies
- Range of lustre dusts (I used Sugarflair: black, pearl white, and pink; Rainbow Dust: purple, mocha, and green)
- Light silver/pearl white lustre spray (optional: you could just stick to the dry dusts. I used Dr. Oetker silver spray, which is more of a white than a grey.)
- Large, soft food-use-only paint brushes
- Royal icing (RI) in very thick (20- to 30-second) flood consistency, in brown, white, and yellow
- Scribe tool or toothpick
- Piping bags with PME no. 1 and 2 tips (or equivalent)
- Food colouring for painting, in black and brown
- Small amount of water
- Fine food-use-only paint brush
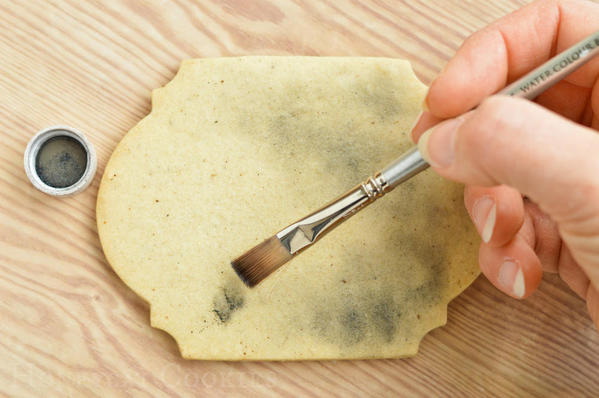
1. Starting with the black lustre dust, dab a small amount in patches across the cookie, building up the depth of colour. Continue with the browns and purples until the entire cookie is mottled.
2. At this point, I sprayed lightly with the silver spray; then added small patches of white dust here and there. I essentially tried to copy the bokeh effect of the background of the photograph. Leaving out the spray but adding patches of silver lustre dust would work too.
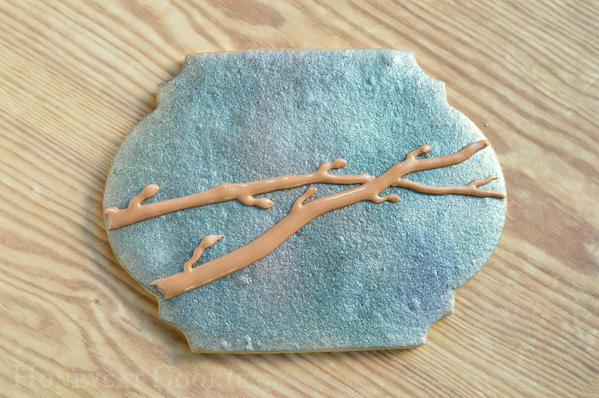
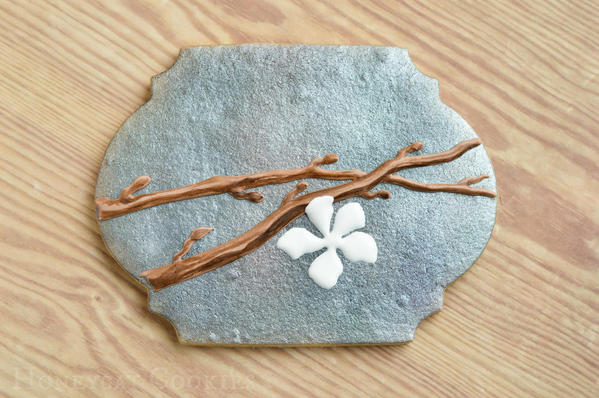
3. Pipe one branch in a bent manner across the cookie with brown RI, with small side buds here and there. Pipe the second branch across the first by piping up to one side, then starting again on the other. Allow the icing to dry thoroughly.
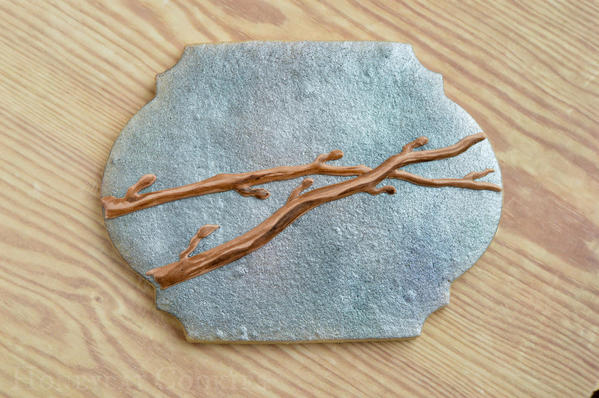
4. Using the brown and black food colouring mixed with a little water, paint rough, messy lines up and down the branches, concentrating mainly underneath to create the effect of shadow. Allow to dry.
5. Pipe a five-petal flower in the thick flood white RI, allowing the petals to meet in the centre, but keeping them separate further out. Don't worry about making them perfect or even - look at that tree in the photo! Not one of its flowers is perfect; they're all over the place!
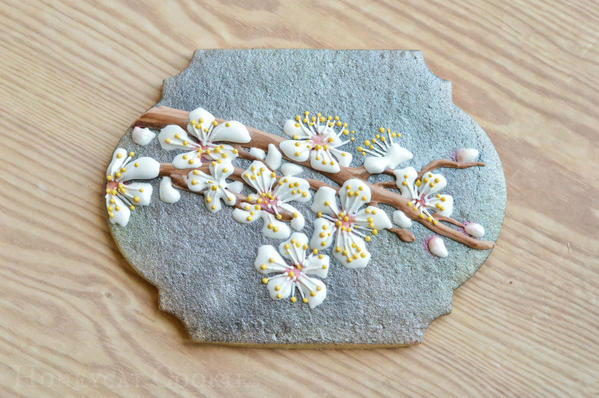
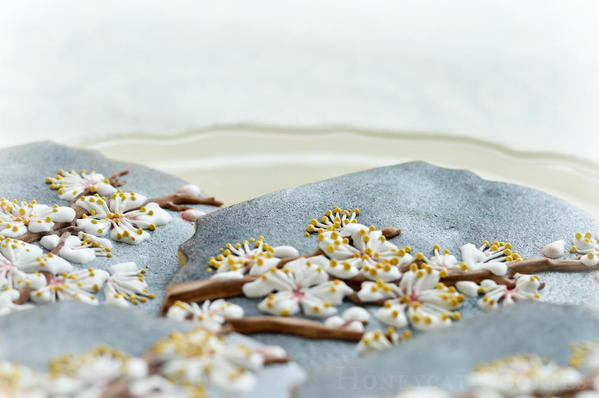
6. Continue to pipe flowers over the branches, allowing nearby petals to crust before piping adjacent flowers. Add some bent petals, small buds, and half-flowers to create the effect of profusion and depth.
7. Once the flowers are dry, dab a small amount of pink lustre dust in the centre of each one.
8. Pipe the stamens radiating unevenly out from the centre of each flower, using a really fine tip. (I used a PME no. 1.)
9. Again, with a very fine tip and thick flood yellow icing, pipe tiny dots at the end of each stamen, and a few extra here and there for good measure. Using thick flood rather than stiff icing keeps the dots from ending up with little peaks - I so often forget this and end up having to tap down the little points with a scribe tool!
There are so many other ways this cookie could be made - I'm wondering what it would look like with a flooded royal icing base, or with or without the lustre dust (really? surely not!) . . . or maybe the petals could be stenciled with sharp edges, or cut out of thinly rolled fondant and curled up slightly at the ends? Take the idea, mess with it, improve upon it, have fun with it!
Now, excuse me while I go and turn the heating back on and find my blanket - it's gone rather wintery again here . . .
Cookie and photo credits: Lucy Samuels

 Lucy Samuels is the owner of UK-based Honeycat Cookies. Originally with an art-based career in mind, Lucy attended art college for a year after school but switched to nursing where she spent twenty years specializing in cardiology. After becoming a stay-at-home mom to her daughter Jess, Lucy experimented with a range of crafts, alighting upon decorative cookies almost by accident. In late 2011, she was persuaded to start her business Honeycat Cookies following several requests to place orders. She set about learning the craft from books, the internet, and trial and error. Lucy has a YouTube channel as well as a blog, Honeycat Cookies, that document some of her wider adventures in confectionery.
Photo credit: Lucy Samuels
Note: What's New, Honeycat? is a bimonthly Cookie Connection blog feature written by Lucy Samuels, which pushes the cookie envelope every other month with innovative cookie design ideas and tutorials. Its content expresses the views of the author and not necessarily those of this site, its owners, its administrators, or its employees. To catch up on all of Lucy's past posts, click here.












Comments (21)