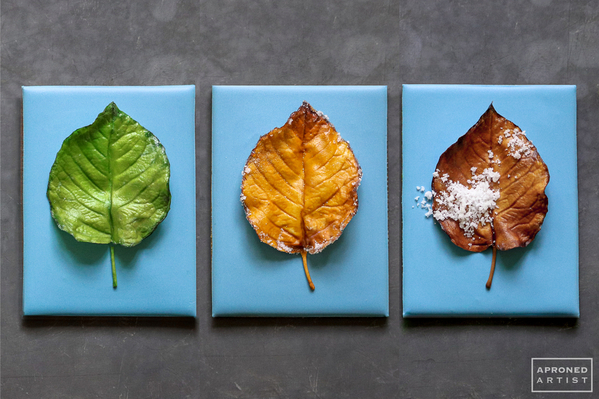
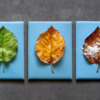
 Like so many others, I’m smitten with the golden and crimson hues of autumn leaves. But they shouldn’t get all the love. On close inspection, the leaves of each season have their own unique beauty. The lively, newborn green of spring leaves and the verdant blanket of summer leaves are just as alluring. Even the brown leaves of winter, striped with dark veining, have their own appeal. In this tutorial, we’re making leaves for every season with a technique that gives realistic results with a minimal amount of effort.
Supplies:
- Kitchen shears
- Rice paper (Note: Different brands may curl more than others.)
- Shallow bowl and room-temperature water
- AmeriColor (or equivalent) gel paste colorings: Ivory, Bright White, Electric Green, Laurel, Warm Brown, Espresso
- Silicone leaf veiner
- Medium flat paint brush
- Parchment paper
- Tip: PME #2 (or equivalent)
- Royal icing (I used AmeriColor gel paste coloring to tint the icing.):
- Stiff-consistency green (Electric Green)
- Stiff-consistency gold (Gold)
- Stiff-consistency brown (Warm Brown)
- 3 (3 x 4-in/7.6 x 10.2-cm) rectangle cookies flooded with blue icing (1 part AmeriColor Peacock/1 part AmeriColor Midnight)
- Granulated sugar
- Corn syrup
- Small paint brush
- Small spoon
Step 1: Mold rice paper leaves
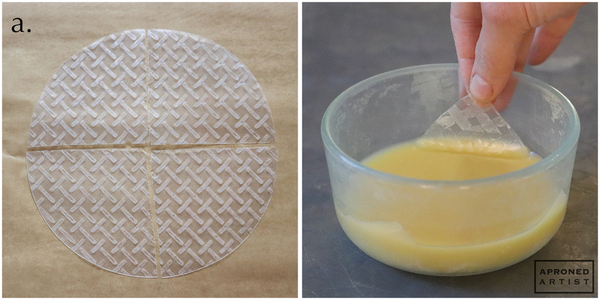
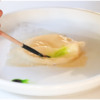
a. Using kitchen shears, cut a round sheet of rice paper into quarters. In a shallow bowl, mix 1/2 cup room-temperature water with a drop each of Ivory and Bright White gel paste colorings (or equivalents). Submerge one quarter of the rice paper in the bowl of colored liquid for about 15 seconds or until it is softened but not mushy.
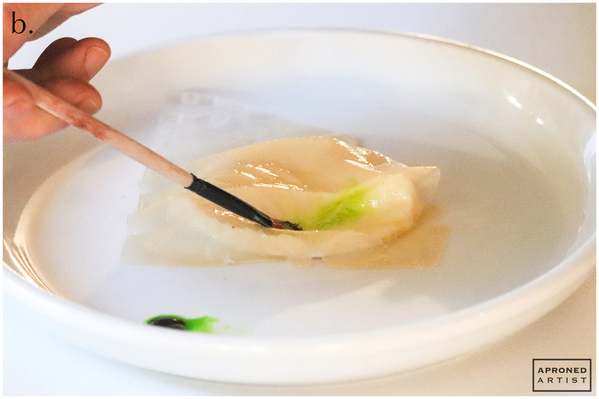
b. Remove the rice paper from the water and drape it over a silicone leaf veiner. (If your leaf veiner has two halves, use the side that has raised veins.) Dilute a drop of Electric Green gel paste coloring (or equivalent) with water until it is very runny and translucent. Using a medium flat paint brush, gently brush the paint over the surface of the leaf. Use your brush to carefully press the rice paper into the recesses of the mold. Keep your brush wet to avoid tearing the rice paper.
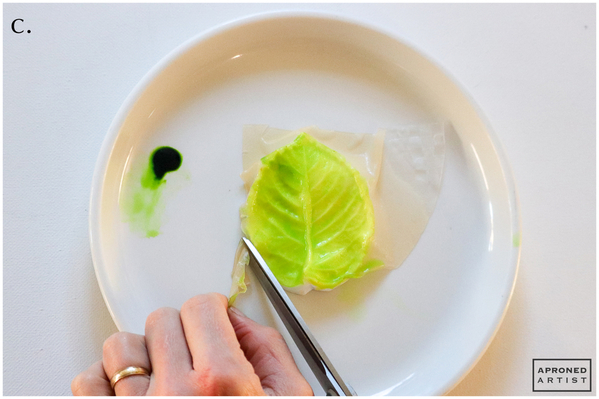
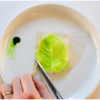
c. Cut away the excess rice paper around the edge of the mold with kitchen shears dipped in water (to prevent sticking).
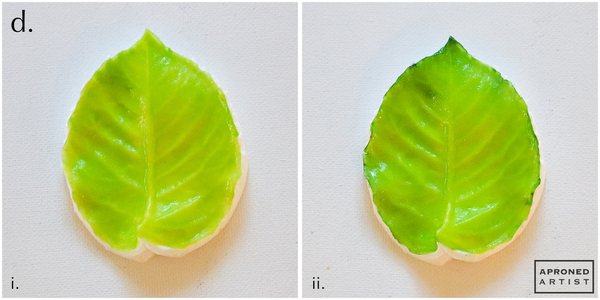
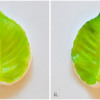
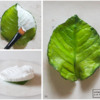
d. Paint another layer of the Electric Green paint (or equivalent) over the leaf to concentrate the color (i). Paint undiluted Laurel gel paste coloring (or equivalent) around the edges of the leaf, and use the wet paint brush to blend some of the darker paint toward the center vein (ii). Allow the leaf to dry completely (in my dry climate, overnight was sufficient). As the leaf dries, it will detach itself from the silicone veiner.
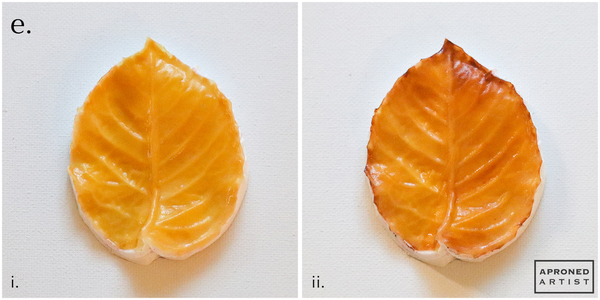
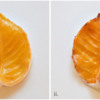
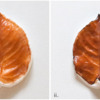
e. Submerge another quarter of rice paper in the colored water until soft, and drape it over the leaf veiner. Paint this leaf with diluted Ivory gel paste coloring (or equivalent), and cut away the excess rice paper. Paint another coat of diluted Ivory gel paste coloring (or equivalent) (i). Add darker areas to the edges with undiluted Warm Brown gel paste coloring (or equivalent), and blend some of the darker paint toward the center vein (ii). Allow the leaf to dry completely, and then remove it from the veiner.
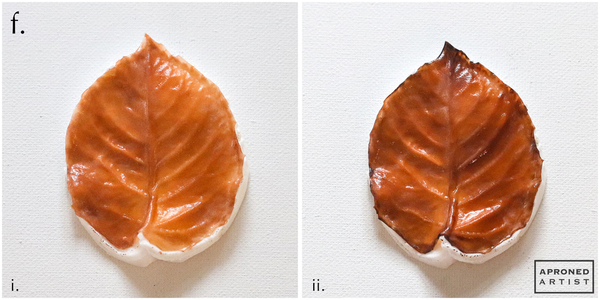
f. Submerge another quarter of rice paper in the colored water until soft, and drape it over the leaf veiner. Paint this leaf with diluted Ivory gel paste coloring (or equivalent), and cut away the excess rice paper. Paint a diluted coat of Warm Brown gel paste coloring (or equivalent) over the entirety of the leaf (i). Add darker areas to the edges with undiluted Espresso gel paste coloring (or equivalent), and blend some of the darker paint toward the center vein (ii). Again, allow the leaf to dry completely.
Step 2: Paint underside of leaves, and create stem transfers
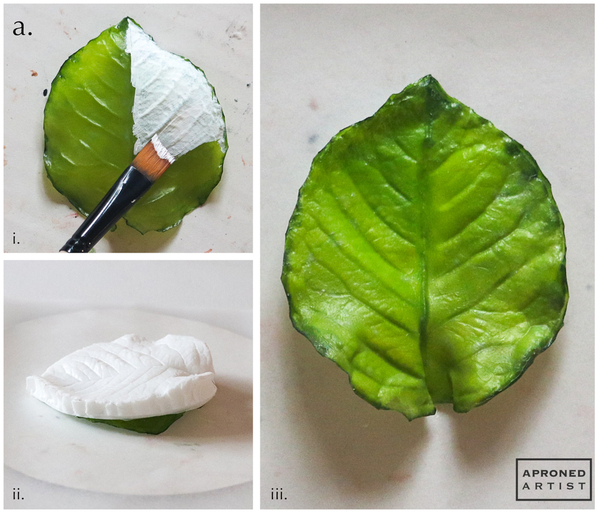
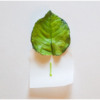
a. The dried rice paper leaves will be hard and semi-transparent. Using a medium flat paint brush and undiluted Bright White gel paste coloring (or equivalent), paint the underside of a dried leaf (the surface that was facing up when it was drying on the veiner) (i). Flip over the leaf so the paint is facing down, and place it on top of a piece of parchment paper. The leaf will be somewhat leathery in texture until the paint dries. You can use this opportunity while the rice paper is softened to trim away any excess rice paper and refine the shape of the leaf, if desired. Rest the veiner on top of the green side of the leaf to weigh it down while the paint dries so that the rice paper doesn’t curl excessively (ii). The painted leaf will now be opaque (iii). Repeat with the remaining dried leaves.
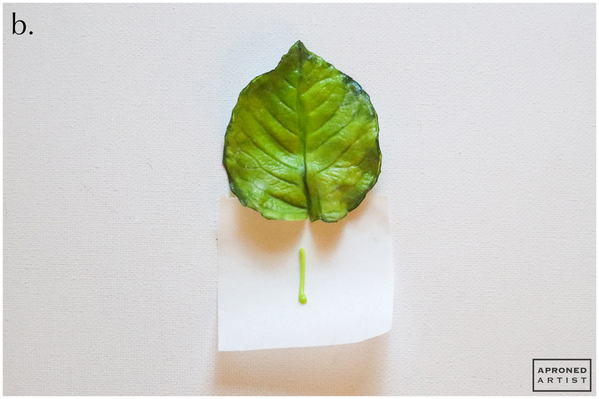
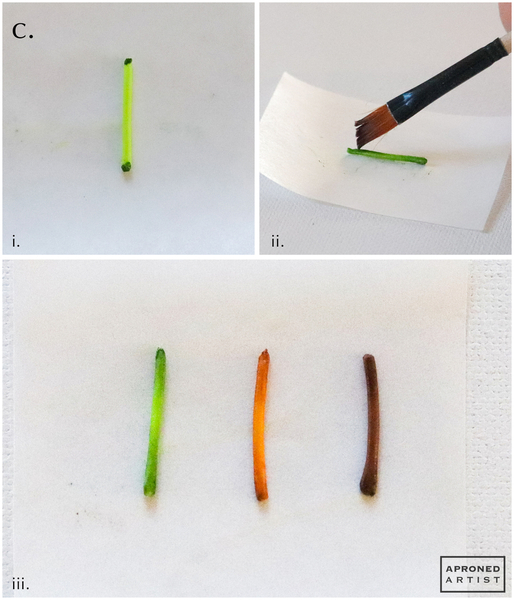
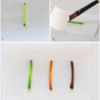
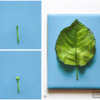
b. Pipe the stems for the leaves with a PME #2 tip (or equivalent). Using stiff-consistency green royal icing, pipe a stem about 3/4 inch (1.9 centimeters) long onto a small square of parchment paper. (I’ve included the leaf in the photo below just to give a sense of scale.) Pipe a similar stem for the autumn leaf with stiff-consistency gold royal icing. Pipe the stem for the winter leaf with stiff-consistency brown royal icing. Allow the stems to dry completely.
c. Apply a dot of undiluted Laurel gel paste coloring (or equivalent) to the top and bottom of the green stem (i). Use a clean, damp paint brush to blend the paint toward the center of the stem (ii). Repeat this process using Warm Brown gel paste coloring (or equivalent) for the gold stem, and Espresso gel paste coloring (or equivalent) for the brown stem (iii). Allow the paint to dry completely before peeling away the parchment paper to release the stem transfers.
Step 3: Assemble cookies
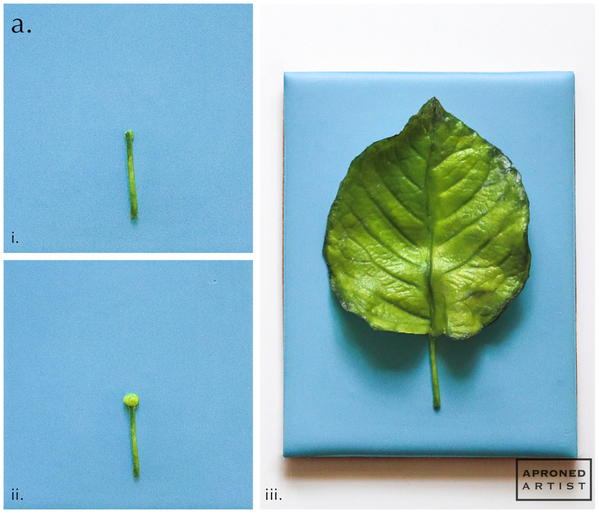
a. Attach the green stem toward the bottom of a flooded rectangle cookie with a dot of green icing (i). Pipe a larger dot of green icing at the top of the stem (ii), and gently press the bottom of the green leaf into the dot of icing (iii).
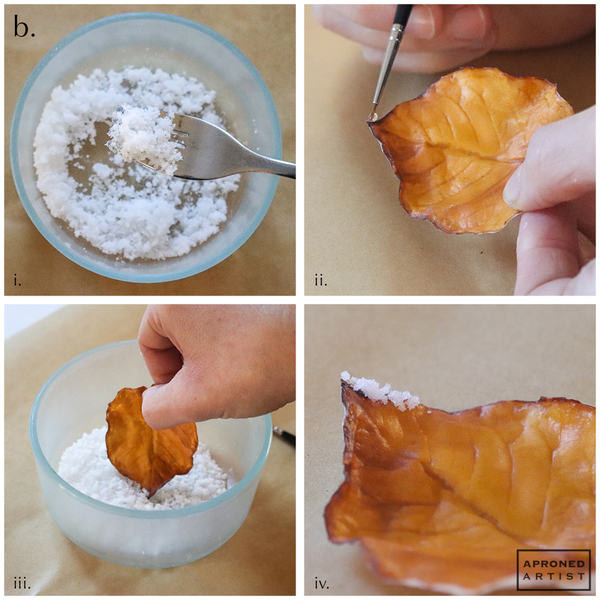
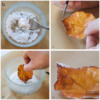
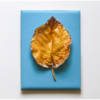
b. Combine 1 tablespoon granulated sugar with 1/4 teaspoon corn syrup in a small bowl. Mix with a fork until the corn syrup is evenly distributed and the mixture is slightly clumpy (i). Using a small paint brush, apply a line of corn syrup to a section along the edge of the autumn leaf (ii). Dip the sticky edge into the bowl of clumpy sugar so that the mixture sticks to the corn syrup (iii and iv). Repeat this process until the entire perimeter of the leaf is covered with “frost”.
Attach the gold stem toward the bottom of a flooded rectangle cookie with a dot of gold icing. Attach the frosted autumn leaf just above the stem with another dot of icing. (See Step 3a for example photos of attaching the stem and leaf.)
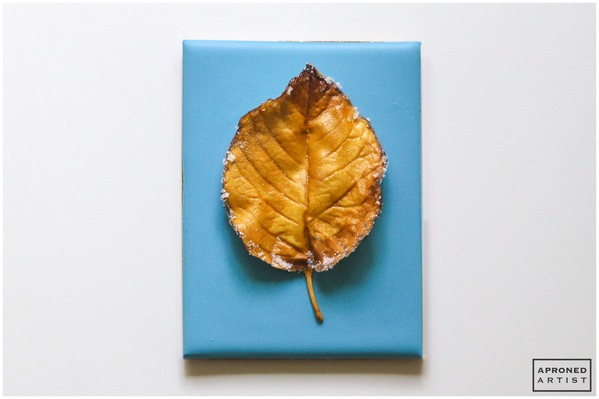
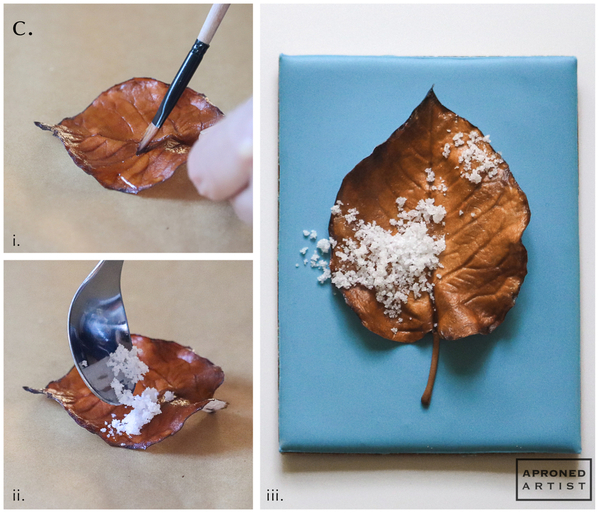
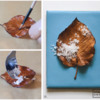
c. To add snow to the winter leaf, use a medium paint brush to apply corn syrup to a couple of areas of the leaf (i). Use a small spoon to sprinkle the clumpy sugar mixture over the corn syrup (ii). Attach the brown stem toward the bottom of a flooded rectangle cookie with a dot of brown icing. Attach the winter leaf just above the stem with another dot of icing (iii). (Again, see Step 3a for example photos of attaching the stem and leaf.)
Finished! I love the versatility of this rice paper leaf. The green leaf would make the perfect accompaniment to a royal icing rose cookie. The yellow and brown leaves (along with some others painted in reds and oranges) could be combined to make a gorgeous autumn wreath. Or you could even paint all of the autumn colors on a single leaf to really highlight the seasonal change. This simple technique makes it easy to add a realistic leaf to any project.


Samantha Yacovetta began cookie decorating in 2013. While working at a local bakery, Samantha became captivated by cookie art when a customer requested princess-themed cookies. Attracted initially to the precision of cookie decorating, Samantha soon found that the limitless design opportunities turned it into her artistic passion. Samantha began regularly stocking the bakery case with decorated cookies and for several years sold cookies through her own company, Aproned Artist, a cottage food operation. Having retired from the business life, Samantha now enjoys making cookies just for fun from her home in San Jose, California, USA. To learn more about Samantha, please check out her Cookie Connection portfolio, her Facebook page, and her past Every Little Detail tutorials here.
Photo and cookie credits: Samantha Yacovetta
Note: Every Little Detail with Aproned Artist is a monthly Cookie Connection blog feature written by Samantha Yacovetta focused on the special little details that make big statements in cookie design. This article expresses the views of the author, and not necessarily those of this site, its owners, its administrators, or its employees. To read all of Samantha's past Every Little Detail tutorials, click here. And to see all of Cookie Connection's tutorials, click here.

Comments (16)