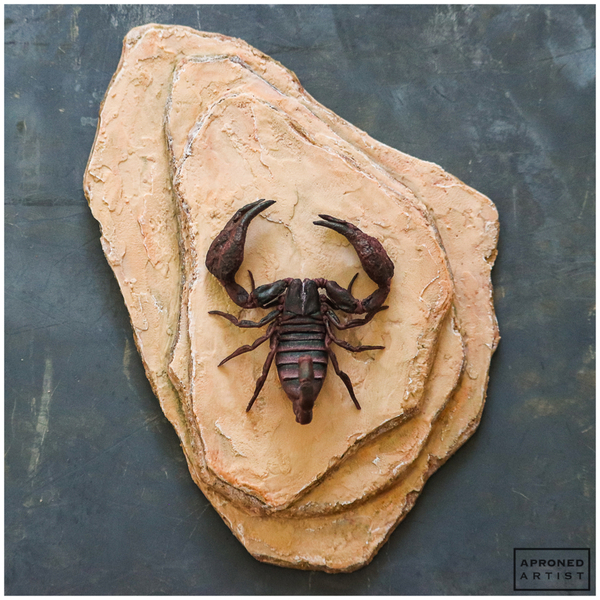
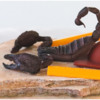
 When I was younger, my sister and I used to scramble to grab the newspaper to read our horoscopes. I’m a Virgo. My horoscope was always predictably mundane - “Today you will clean the house . . .” or something equally boring. The symbol for my zodiac sign is a naked lady, which I found slightly embarrassing at the time. My sister is a Scorpio. Her horoscope was always filled with passion and intrigue. The symbol for her sign is a scorpion, which is way cooler than a naked lady. Since we’re in Scorpio season, I made this scorpion cookie in honor of my sister. While I’ve come to appreciate the calm of my routine life, I still admire the drama of hers.
- Tips:
- Royal icing (I used AmeriColor gel paste coloring to tint the icing.):
- Stiff-consistency raisin brown (Sangria plus a touch of Super Black)
- Stiff-consistency light tan (2 parts Pumpkin/1 part Taupe)
- Parchment paper
- Medium flat angled paint brush
- Baguette dish or bowl with steeply angled sides
- Small trowel (or equivalent)
- Various small items for propping (I used a small silicone hemisphere mold, small cookies, and bisected pieces of a silicone straw.)
- Scorpion Templates (in “Files” under “Attachments” at the end of this post)
- Tiny liner paint brush
- AmeriColor (or equivalent) gel paste colorings for painting: Sangria, Bright White, Espresso, Burnt Sienna, Taupe
- 2-in (5.1-cm) silicone hemisphere mold (or parchment paper and tape)
- Small round paint brush
- Rock Cookie Templates (in “Files” under “Attachments” at the end of this post)
- Cookie dough, rolled 1/8 in (0.3 cm) thick
- Small piece of cardstock (optional)
A few notes before getting started:
It’s helpful to have lots of reference material before starting this project. Gather pictures of scorpions from various angles.
Use very stiff icing. Extra thick icing will be easier to shape and quicker to dry, preventing any potential slumping. It will also provide a stronger hold against gravity when attaching transfers together.
In this tutorial, I’ve listed the instructions for each major body section as a whole before moving on to the next body section. You may find it more practical, however, to work on different sections concurrently (e.g., while a tail segment is drying, skip ahead to work on the claws).
Finally, as you will see shortly, the scorpion goes through some really awkward stages initially which may tempt you to abandon ship. Stay the course! I promise it will look more like a scorpion (and less like some other unfortunate things) with each additional step.
Step 1: Pipe scorpion body
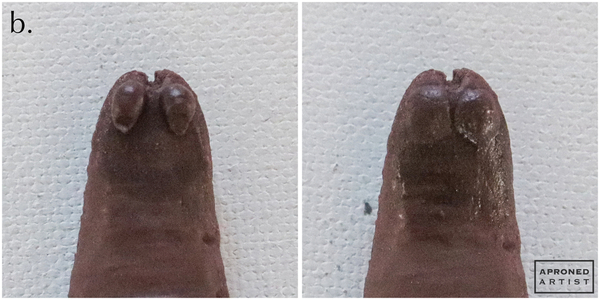
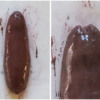
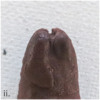
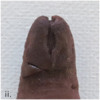
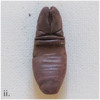
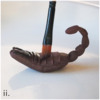
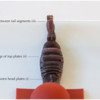
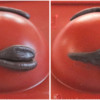
a. For the base of the scorpion’s body, use a Wilton #12 tip (or equivalent) to pipe a 2-inch-long (5.1-centimeter-long) log of stiff-consistency raisin brown royal icing on a small piece of parchment paper (i). Use a damp, flat angled paint brush to smooth the icing (ii). Use the point of the paint brush to create a shallow indentation at the top of the log, forming the two mouth parts of the scorpion (iii). Place the parchment paper (oriented with the mouth pointed down) in a baguette dish or a bowl with steep sides so that the icing will dry with a curve (iv). Allow the icing to dry completely (I let mine dry overnight) before peeling the parchment paper away from the transfer.
b. Using a PME #3 tip (or equivalent) and the same stiff-consistency raisin brown icing, pipe two beads on top of the mouth parts shaped in the previous step. Use a damp paint brush to gently flatten the beads and smooth the tail ends of the beads into the back of the head.
c. To pipe the left half of the head plate, switch to a Wilton #44 tip (or equivalent). Starting about 3/4 inch (1.9 centimeters) below the left bead shaped in Step 1b, pipe a band of icing that extends up to the bottom of the left bead (i). Use the damp paint brush to smooth the top of the band into the icing of the bead so that it looks like a continuous piece. Shape the icing so that the bottom edge of the band dips toward the center of the neck. Indent a small half circle in the center of the head where the eyes would be (ii). Repeat on the right half of the head to mirror the left head plate (iii).
d. Starting at the lower left corner of the head, pipe an adjacent band of icing that follows the bottom edge of the head plate (i). Use a small trowel (or equivalent) to trim the icing into a small triangle (ii). Repeat on the opposite side of the head (iii).
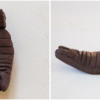
e. Still using the same icing and tip, pipe a horizontal band directly beneath the neck triangles (i). For the first band, use a small trowel (or equivalent) to divide the band into two sections; the top section should be slightly thinner than the bottom section (ii). Trim away any excess icing on the sides of the body. Continue piping bands of icing and trimming the excess to create seven plates in total that gradually widen as they reach the rear of the scorpion’s body (iii). Allow the icing to dry completely.
Step 2: Pipe scorpion tail and stinger
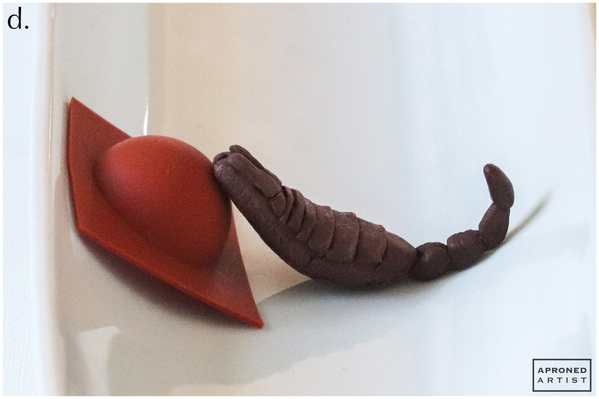
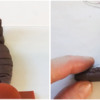
a. Place the scorpion body transfer on top of a fresh square of parchment paper and return it to the baguette dish or bowl. If necessary, place an object in the dish in front of the scorpion’s face to prevent the transfer from sliding down the side of the dish. Using stiff-consistency raisin brown royal icing and a Wilton #6 tip (or equivalent), pipe a bead of icing at the end of the last body segment. Allow the icing to set about 30 seconds or until it is no longer sticky. Shape the icing with a trowel or dry flat paint brush to gently flatten and square off the sides. Allow the icing to dry about 30 minutes.
b. Repeat Step 2a to create the second tail segment. I piped this segment without the help of the dish so that I could more easily access the icing for shaping, however, feel free to keep it in the dish to maintain a consistent curve of the tail. Again, allow the icing to dry about 30 minutes.
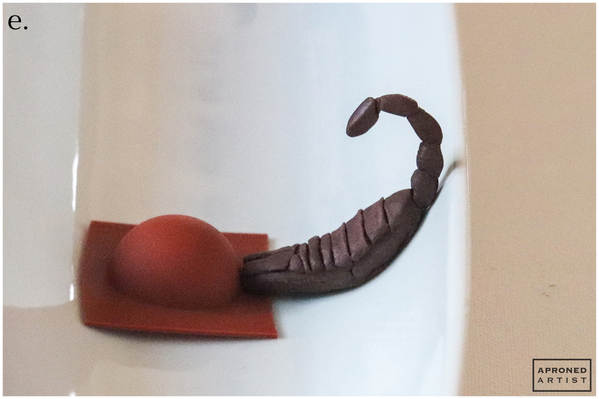
c. Pipe another tail segment adjacent to the last segment that is slightly longer than the first two. Allow the icing to set about 30 seconds before flattening the sides. Angle the icing slightly forward to tighten the curve of the scorpion’s tail. To help gauge the curve, you can line up your transfer with the profile drawing in the Scorpion Templates document (in “Files” under “Attachments” at the end of this post). Allow the icing to set about 30 minutes.
d. Pipe and shape the fourth tail segment so that it is slightly longer than the previous segment. Angle the segment even further forward, again lining it up with the profile drawing if helpful. If the segment slumps excessively, prop the head of the transfer to keep the tail segment more vertical for drying.
e. Add one more long tail segment, angling it so it is almost parallel to the body. I did not find it necessary to prop the transfer, but if the segment is slumping, position the scorpion body appropriately to keep the fresh icing stable while it dries.
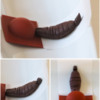
f. On a separate square of parchment paper, use the same icing and tip to pipe a small bead of icing for the stinger (i). Allow the icing to dry completely before peeling the parchment paper away from the bead. Using a PME #1.5 tip (or equivalent), pipe a short line about 1/4 inch (0.6 centimeter) long on a clean square of parchment paper (ii). Immediately place the bead on top of the end of the line, and use a damp tiny liner paint brush to smooth the line into the bead (iii). Place the paper on a gently curved surface to dry.
Step 3: Paint scorpion transfers and attach stinger
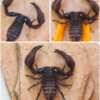
a. Using a damp flat angled paint brush, paint the scorpion’s head plate, the small triangle plates, and the first two thin plates with a thin coat of undiluted Sangria gel paste coloring (or equivalent). Clean your brush and dip just the pointed tip of the damp paint brush into the undiluted gel paste coloring (i). Line up the paint-covered tip with the top of the third plate, rest the brush against the plate, and brush horizontally across the top of the plate (ii). This approach will create a gradient where the top of the plate is darkest and it gradually lightens towards the bottom of the plate. Repeat with the remaining plates. Paint the entire tail. Concentrate the paint so that the darkest areas are above and below the seams where one tail segment meets the next (iii). Finally, paint the bead of the stinger transfer.
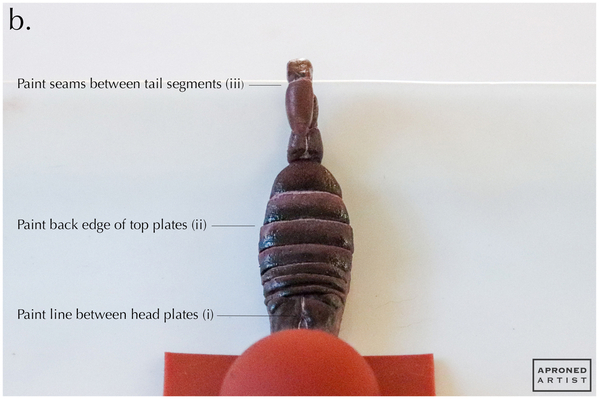
b. With a tiny liner paint brush and white gel paste coloring, brush a thin highlight between the two halves of the head plate to emphasize the center indentation (i). Paint a thin highlight along the back edge of each of the top plates (ii). Finally, paint a thin line along the seam between each tail segment (iii).
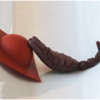
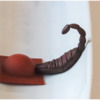
c. Using stiff-consistency raisin brown royal icing and a PME #1.5 tip (or equivalent), pipe a dab of icing on the tip of the last tail segment. Gently press the bead end of the stinger into the icing so that the needle of the stinger faces toward the last plate of the body section.
Step 4: Pipe and paint legs, arms, upper claws, and lower claws
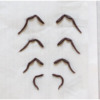
a. Place a large square of parchment paper over the leg templates on the Scorpion Templates document (again, in “Files” under “Attachments” at the end of this post). Using stiff-consistency raisin brown royal icing and a PME #1.5 tip (or equivalent), pipe over the leg templates. Pipe extra icing over the wider sections, and use a damp paint brush to blend the icing together. Allow the icing to dry completely before painting the legs with undiluted Sangria gel paste coloring (or equivalent).
b. Place a square of parchment paper over the arm sections of the Scorpion Templates document. Using stiff-consistency raisin brown royal icing and a Wilton #6 tip (or equivalent), pipe over the “biceps” and “forearms” templates. Use a damp paint brush to refine the shape of the arm segments (i). Allow the transfers to dry completely before peeling the parchment paper away from the icing. Flip the transfers over and use the same icing and tip to pipe a line on the flat side of the transfers (ii). Blend the fresh icing into the dried icing with a damp flat paint brush to give the arm segments a seamless, 3-D appearance. While the icing is still wet, use the paint brush to contour the arm segments, adding musculature according to your reference images. Allow the icing to dry completely before painting the pieces with undiluted Sangria gel paste coloring (or equivalent) (iii).
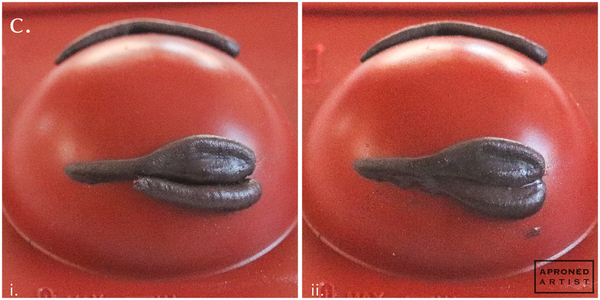
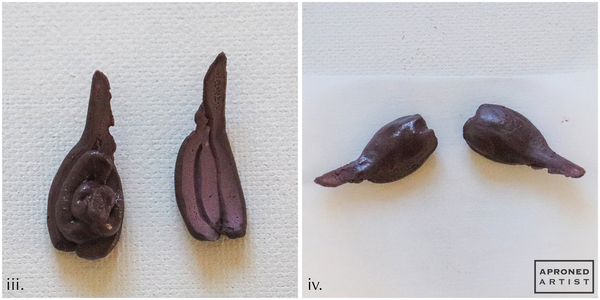
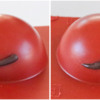
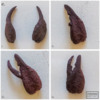
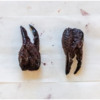
c. Pipe the upper claws on the side of a 2-inch (5.1-centimeter) silicone hemisphere mold. Alternatively, you could pipe them on parchment paper and tape the paper in place over the convex side of a bowl so that the claws dry with a curve. Using stiff-consistency raisin brown royal icing and a Wilton #6 tip (or equivalent), roughly pipe icing in the shape of a key that is approximately 1 1/4 inches (3.2 centimeters) long (i). Blend the lines of icing together with a damp paint brush, creating a slightly serrated edge on the bottom of the pointed end (ii). Mirror the shape on the other side of the mold to create the opposite claw. Allow the icing to dry completely before gently depressing the mold to release the transfers.
Flip over one of the upper claw pieces, and pipe icing to round out the “palm” of the claw (iii). Use a damp flat paint brush to smooth and blend the icing into the existing portion of the claw. Repeat with the other upper claw piece (iv).
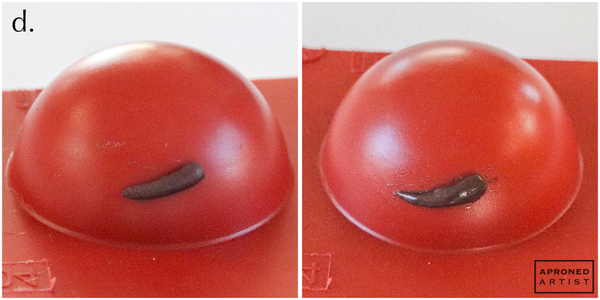
d. For the lower claws, pipe a 3/4-inch (1.9-centimeter) line on the side of a silicone mold (or equivalent). Shape the line with a damp paint brush so that it curves to a point and has a serrated edge on one side. Mirror this shape on the opposite side of the mold. Allow the icing to dry completely.
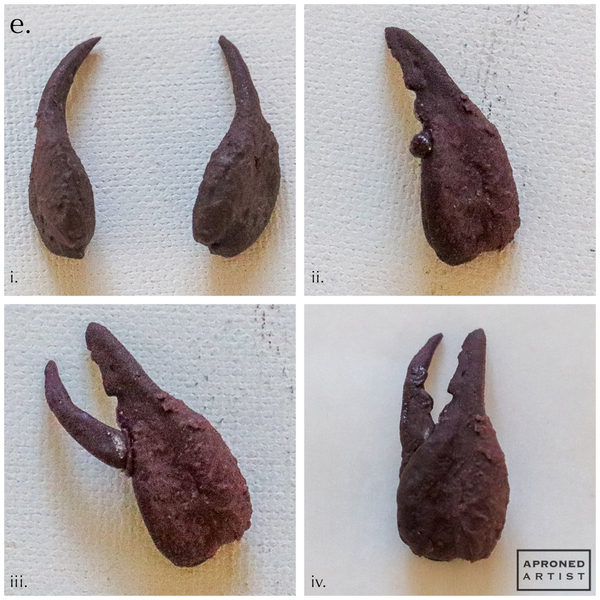
e. Using a PME #1.5 tip (or equivalent), pipe some icing on top of the dried upper claws, and vertically dab at it with a small round paint brush to stipple the icing, giving the claws a nubby texture (i). Add a dot of icing beneath the serrated portion of the upper claw (ii), and attach the lower claw transfer (iii). Switch to a Wilton #6 tip (or equivalent), and add icing to the upper claw where the lower claw attaches. Blend the icing into the upper claw to cover the seam where the lower claw attaches (iv). Allow the icing to dry completely.
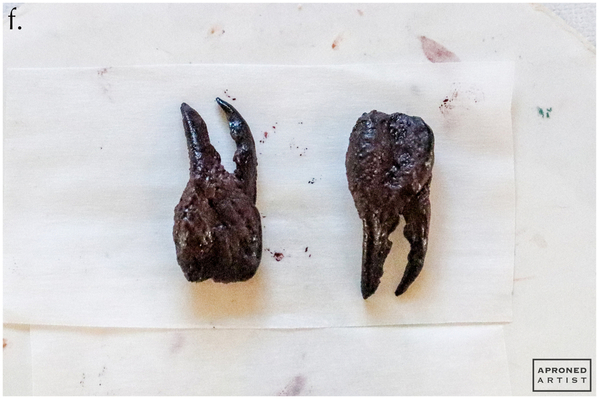
f. Finally, paint the claws with undiluted Sangria gel paste coloring (or equivalent) and a wet brush, concentrating the paint on the pointed tips.
Step 5: Bake and decorate rock cookies
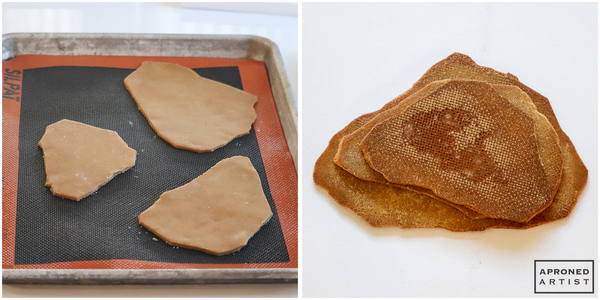
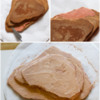
a. Cut out the three rock templates from the Rock Cookie Templates document (again, in “Files” under “Attachments” at the end of this post), and use them to hand-cut three irregular cookies. Bake the cookies according to your recipe, and cool completely. Stack the cookies in order of size with the largest on the bottom, applying stiff-consistency light tan royal icing between each layer to attach them together.
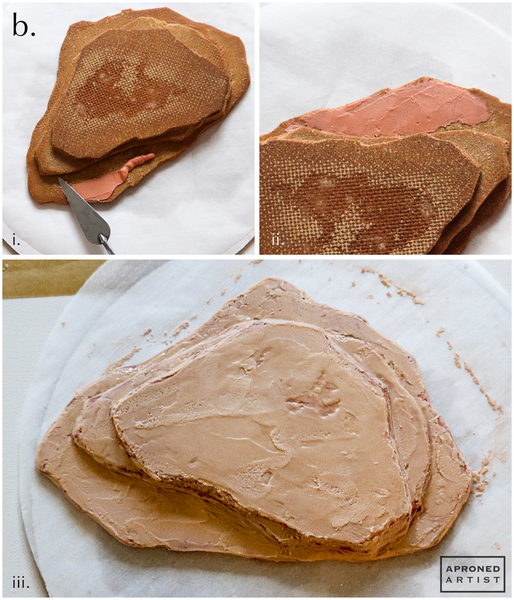
b. Using the same icing and a Wilton #12 tip (or equivalent), pipe a line of icing along one of the cookies. Use a small trowel or offset spatula to spread the icing back and forth in a thin layer (i) to create some visible overlapping areas (ii). Continue piping icing and spreading it until all of the visible surfaces are covered (iii). Use a damp paint brush to help apply the icing to the vertical edges. (You’ll notice that I changed my mind about the color halfway through; the lighter tan color in photo b.iii is the color indicated in the supplies list.) Allow the icing to dry completely.
c. Dab the vertical edges of the rocks with diluted Espresso gel paste coloring (or equivalent) and a small round paint brush (i). This step will lend a darker, speckled appearance to the vertical edges. Dilute a drop of Burnt Sienna gel paste coloring (or equivalent) until it is very watery and translucent. Repeat with a drop of Taupe gel paste coloring (or equivalent) on a separate area of your palette. Brush each color haphazardly on the flat surfaces to create random areas of reddish and gray hues on the rocks (ii). Highlight the craggy perimeter of the edge with white gel paste coloring and a tiny liner paint brush. Additionally, paint highlights on the highest ridges of the overlapping texture of the flat surfaces (iii).
Step 6: Attach scorpion transfers
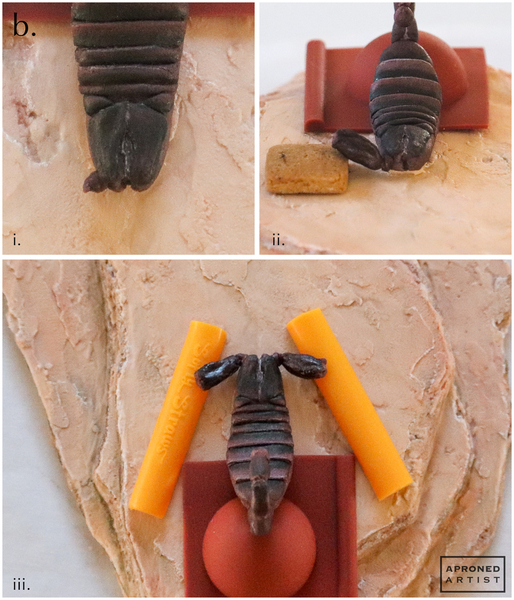
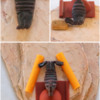
a. Pipe a dab of stiff-consistency light tan royal icing on the underside of the scorpion’s head, and attach the transfer to the back half of the rock cookie. Make sure you leave enough room around the transfer to accommodate the claws and legs. Support the back end of the scorpion’s body with a small prop to keep the transfer in place while the icing dries.
b. Using stiff-consistency raisin brown royal icing and a PME #1.5 tip (or equivalent), pipe a dot of icing on the side of the scorpion’s mouth (i). Insert the respective bicep transfer, resting the elbow on a thin prop so that the transfer doesn’t touch the rock (ii). Repeat to attach the opposite bicep transfer (iii). Allow the icing to dry completely.
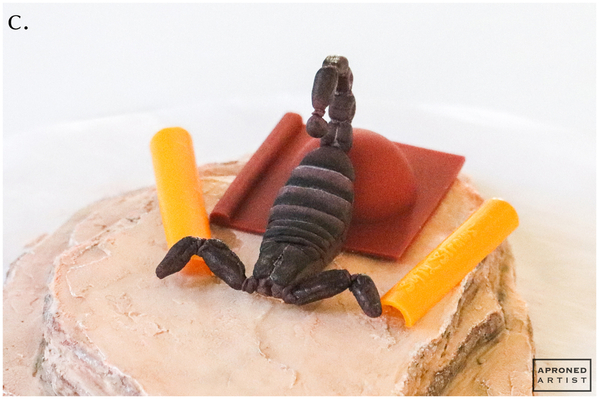
c. Pipe a dab of the same icing on the end of a forearm transfer, and gently press it into the elbow of the bicep. Rest the transfer on a thin prop so that it does not touch the rock. Repeat to attach the opposite forearm transfer. Allow the icing to dry completely.
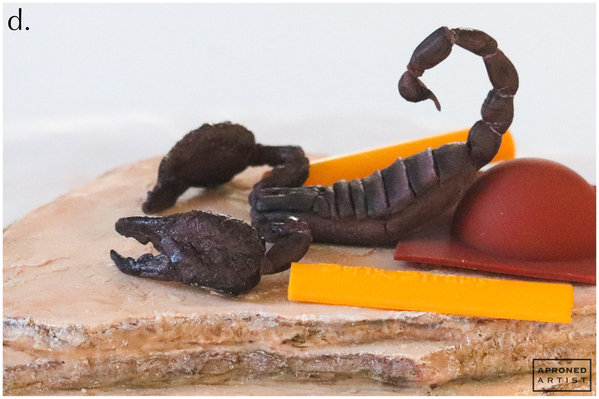
d. Pipe a dab of icing on the end of each wrist and gently press the claws into the icing, allowing the bottom of the claws to rest on the rock.
e. Pipe a dab of icing on the side of the body (beneath the plates) at the middle of the head. Insert the end of the smallest leg transfer into the icing so that the tip of the leg rests on the rock (i). Repeat with the opposite leg. (It’s a tight squeeze to fit the leg in around the arms. I placed the leg so that it partially hung off the edge of a small piece of cardstock, moved it near to its position, and then used a paint brush to guide the leg into the icing. Alternatively, you could attach the small legs before attaching the arms.) Attach the next smallest legs to the side of the body just behind the previous legs (ii). If necessary, use some thin props to keep them in place while they dry. Attach the next two sets of legs in the same fashion, each just behind the leg before it. The tips of the legs on each side should gradually fan out with the largest legs pointing to the back (iii).
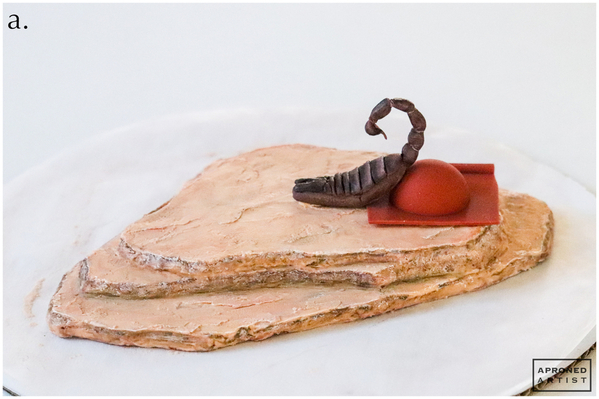
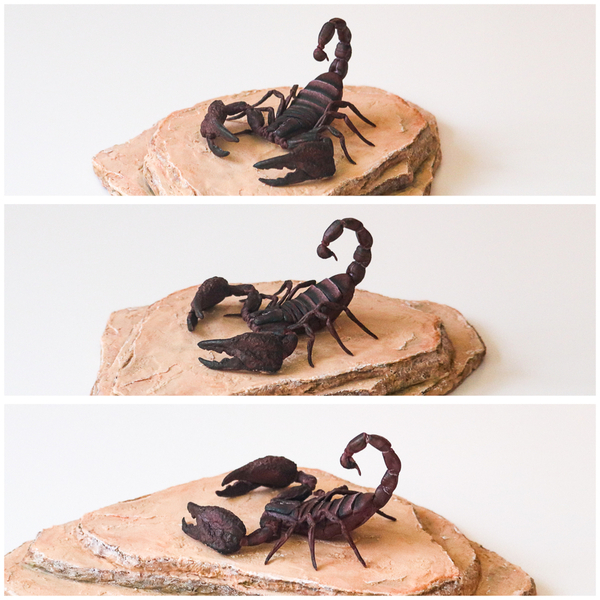
Finished - a scorpion as fierce and mysterious as my sister!


Samantha Yacovetta began cookie decorating in 2013. While working at a local bakery, Samantha became captivated by cookie art when a customer requested princess-themed cookies. Attracted initially to the precision of cookie decorating, Samantha soon found that the limitless design opportunities turned it into her artistic passion. Samantha began regularly stocking the bakery case with decorated cookies and for several years sold cookies through her own company, Aproned Artist, a cottage food operation. Having retired from the business life, Samantha now enjoys making cookies just for fun from her home in San Jose, California, USA. To learn more about Samantha, please check out her Cookie Connection portfolio, her Facebook page, and her past Every Little Detail tutorials here.
Photo and cookie credits: Samantha Yacovetta
Note: Every Little Detail with Aproned Artist is a monthly Cookie Connection blog feature written by Samantha Yacovetta focused on the special little details that make big statements in cookie design. This article expresses the views of the author, and not necessarily those of this site, its owners, its administrators, or its employees. To read all of Samantha's past Every Little Detail tutorials, click here. And to see all of Cookie Connection's tutorials, click here.



















Comments (13)