 The other day I came across Craftsy’s gelatin bubble tutorial by Erin Gardner. The tutorial details a really simple technique using small balloons and gelatin to create whimsical bubbles to decorate a cake. It seemed like an easy jump to go from bubble to ball ornament, so I adapted her method ever so slightly to create a smaller and rounder shape. The result is festive and sparkly. Just as importantly, it’s easy and fast enough to fit into a busy holiday schedule.
Supplies:
- 4 tbsp room temperature water
- Small heatproof bowl
- 2 tbsp powdered gelatin
- Small container (about the size of a muffin cup)
- 1 1/4-in (3-cm) silicone hemisphere mold
- Silver edible glitter
- 3-in (7.6-cm) square cookie
- Royal icing (I used AmeriColor gel paste coloring to tint the icing):
- Flooding-consistency dark gray (Gunmetal)
- Stiff-consistency dark gray (Gunmetal)
- Stiff-consistency light brown (Chocolate Brown)
- Stiff-consistency dark green (4 parts Leaf Green/1 part Cypress/1 part Super Black)
- Stiff-consistency medium green (6 parts Leaf Green/1 part Cypress/1 part Super Black)
- Stiff-consistency light green (8 parts Leaf Green/2 parts Gold/1 part Cypress/touch of Super Black)
- Kitchen shears
- Tips: PME #3, 0, 00 (or equivalents)
- Small paint brush
- Clear alcohol
- Silver luster dust
Step 1: Mold gelatin ornament
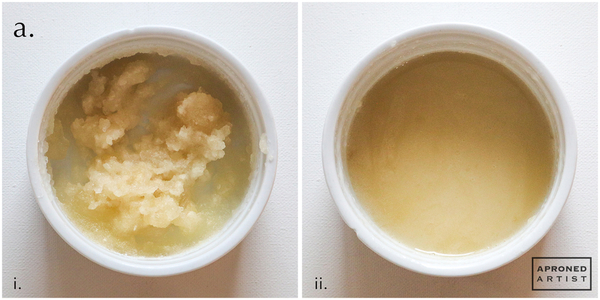
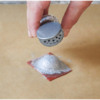
a. Pour four tablespoons of room temperature water into a heatproof bowl. Gradually sprinkle two tablespoons of powdered gelatin over the surface of the water, allowing the sprinkled gelatin to fully hydrate before sprinkling in more. (This way, you'll minimize the appearance of large clumps of unhydrated gelatin.) Gently stir, only if needed, to eliminate any clumps. Allow the mixture to sit for a few minutes until thickened (i). Microwave the mixture for 20 seconds. (The time may vary based on the power of your microwave.) If the gelatin isn’t fully dissolved at this point, heat it for an additional ten seconds. Allow the mixture to settle for a minute, and then skim the bubbles from the surface with a spoon until the mixture is mostly clear (ii).
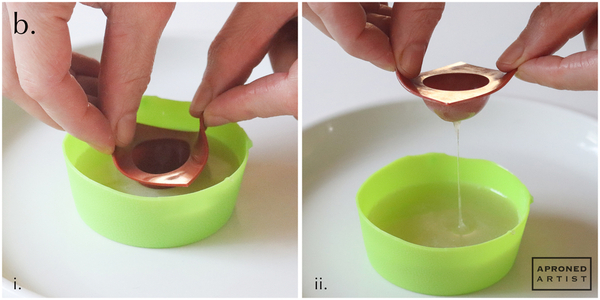
b. Pour the mixture into a smaller container (about the diameter of a muffin cup) so that the liquid is deep enough to completely submerge a 1 1/4-inch (3-centimeter) silicone hemisphere mold. The gelatin should be warm at this point. If it’s too hot, it won’t adhere to the edges of the mold so allow it to cool a moment longer. If it’s too cold, it will be lumpy and excessively thick. Rewarm the gelatin in the microwave for ten seconds if it gets too cold. Hold the hemisphere mold so that the concave side is facing up, and dip the mold into the gelatin so that the gelatin completely covers the convex side of the hemisphere (i). Immediately rotate the mold 180 degrees, and dip it a second time. Rotating the mold will give you more even coverage. (Ideally, the gelatin should completely cover the hemisphere without getting on the surrounding silicone. Don’t worry though if you get gelatin all over it. Dipping too deep is preferable to having gaps in the coverage.) Allow the excess gelatin to run off before flipping over the mold (ii).
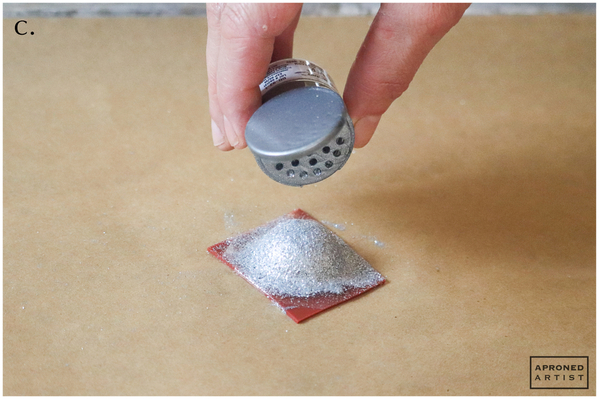
c. While the gelatin is still wet, sprinkle silver edible glitter over the entire surface. You may need to pick up the mold and hold it at various angles to ensure even coverage with the glitter. If desired, repeat Steps 1b and 1c to create a few more ornaments. (I was able to make seven ornaments before the gelatin mixture became too shallow to fully cover the mold.) Allow the molded gelatin to dry overnight. This time is perfect for flooding your square cookie! Flood it with flooding-consistency dark gray royal icing so that the gelatin ornament and the cookie will be dry and ready to use at the same time.
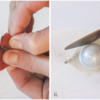
d. Once dry, the gelatin is quite sturdy. To remove it from the mold, gather and pinch the underlying areas of the mold so that they pull away from the gelatin (i). Use kitchen shears to cut away any excess gelatin. Try to cut just outside the circumference of the hemisphere to minimize the risk of the gelatin deforming (ii). (Note: If you cut too much of the hemisphere’s edge and your hemisphere becomes a bit wonky, you can fix this issue by stacking two ornaments on top of one another.)
Step 2: Attach ornament to cookie
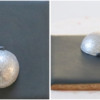
a. Place the gelatin ornament on the lower half of the flooded square cookie. Using stiff-consistency dark gray royal icing and a PME #3 tip (or equivalent), pipe a short line on top of the ornament for the cap. If necessary, use a dry paint brush to tamp down any peaks.
Step 3: Pipe pine branches and ornament string
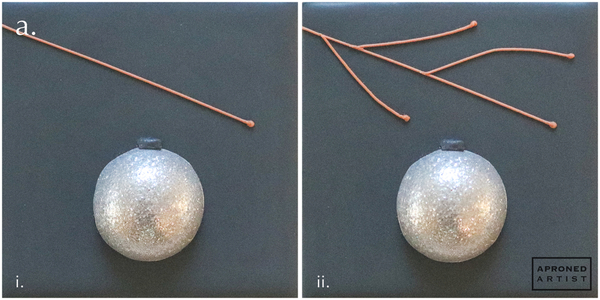
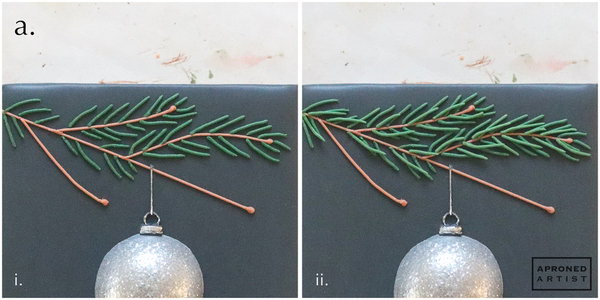
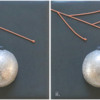
a. Use stiff-consistency light brown royal icing and a PME #0 tip (or equivalent) to pipe the pine branches. Start by piping a small bead of icing for the end of the branch on the right side of the cookie. Extend the branch diagonally to the top left corner of the cookie (i). Add a few smaller branches that attach to this long branch, starting each one with a small bead (ii).
b. Using stiff-consistency dark gray royal icing and a PME #00 tip (or equivalent), pipe a small ring above the ornament’s cap (i). For the ornament’s string, pipe a line extending from the top of the ring to the long branch. Let the icing dry completely. (ii). Mix a drop of alcohol with a small amount of silver luster dust, and paint the mixture onto the string, the ring, and the ornament cap (iii).
Step 4: Pipe pine needles
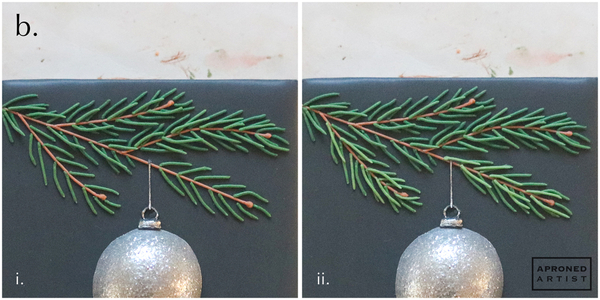
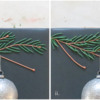
a. Using stiff-consistency dark green royal icing and a PME #0 tip (or equivalent), pipe short lines extending from each background branch (the topmost branches) that angle toward the bead at the end of the branch. For a more organic look, pipe the short lines at slightly different angles, leaving a few gaps between the lines (i). Using stiff-consistency medium green royal icing and a PME #0 tip (or equivalent), pipe similar short lines in the gaps of the darker pine needles, overlapping some of the previous needles.
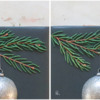
b. Use the same icing and tip to pipe similar needles along the branches in the foreground (the lower branches). Again, pipe the needles at slightly different angles and leave a few gaps (i). Use stiff-consistency light green royal icing and a PME #0 tip (or equivalent) to pipe needles in the gaps on the lower branches, overlapping some of the previous needles (ii). Using the lightest green color on only the foreground branches will lend more perspective, as if those branches have more light cast on them.
Finished! A classic Christmas cookie with a fun, dimensional twist.
Source: Erin Gardner for Craftsy, gelatin bubble tutorial


Samantha Yacovetta began cookie decorating in 2013. While working at a local bakery, Samantha became captivated by cookie art when a customer requested princess-themed cookies. Attracted initially to the precision of cookie decorating, Samantha soon found that the limitless design opportunities turned it into her artistic passion. Samantha began regularly stocking the bakery case with decorated cookies and for several years sold cookies through her own company, Aproned Artist, a cottage food operation. Having retired from the business life, Samantha now enjoys making cookies just for fun from her home in San Jose, California, USA. To learn more about Samantha, please check out her Cookie Connection portfolio, her Facebook page, and her past Every Little Detail tutorials here.
Photo and cookie credits: Samantha Yacovetta
Note: Every Little Detail with Aproned Artist is a monthly Cookie Connection blog feature written by Samantha Yacovetta focused on the special little details that make big statements in cookie design. This article expresses the views of the author, and not necessarily those of this site, its owners, its administrators, or its employees. To read all of Samantha's past Every Little Detail tutorials, click here. And to see all of Cookie Connection's tutorials, click here.








Comments (15)