
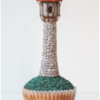
Do you ever get a cookie idea that stubbornly refuses to budge? The idea for this Rapunzel tower cookie popped into my head one day and set up camp. Don’t get me wrong, I liked the concept. It seemed cute but also time-consuming, so I decided to shelve the project for a later date. Rapunzel’s tower, however, was persistent, crowding out any room for other ideas. The more I tried to think of other things, the more I found my mind wandering back to Rapunzel. Eventually, I decided it was more time-consuming to fight my creativity than to follow it. So here is that idea, brought to life in sugar and dough - every bit as laborious and adorable as I imagined.
Supplies:
- Baked cookies (rolled 1/8 in/0.3 cm thick)
- 5 to 10 (1-in/2.5-cm) round cookies*
- 15 to 25 (1/2-in/1.3-cm) round cookies*
- 1 (1 1/2-in/3.8-cm) hexagon cookie
- 2 (1-in/2.5-cm) hexagon cookies
- 3 (3/4-in/1.9-cm) hexagon cookies
- Royal icing (I used AmeriColor gel paste colorings to tint the icing.):
- Stiff-consistency dark gray (Super Black)
- Stiff-consistency white
- Stiff-consistency terracotta (2 parts Burnt Umber/2 parts Crimson/1 part Terracotta)
- Stiff-consistency light brown (2 parts Warm Brown/1 part Taupe)
- Stiff-consistency dark green (3 parts Silver Spruce/1 part Cypress/1 part Midnight)
- Stiff-consistency light green (Add white icing to a small portion of the dark green icing above.)
- Small trowel or offset spatula
- Medium flat paint brush
- Tips: PME #2, 3, 25, 1.5 (or equivalents)
- AmeriColor (or equivalent) gel paste colorings for painting: Bright White, Taupe, Super Black, Espresso
- Tiny liner paint brush
- Parchment paper
- Cookie dough that bakes with minimal spread, rolled 1/8 in/0.3 cm thick (I used @Julia M. Usher's gingerbread recipe.)
- 3-in (7.6-cm) round cookie cutter
- 3-in (7.6-cm) silicone hemisphere mold
- Food-safe file
- Small round paint brush
*Note: If you don’t have such small cookie cutters, the wide end of piping tips make suitable replacements. I used a Wilton #4B tip to cut the 1-inch (2.5-centimeter) cookies and a Wilton #12 tip to cut the 1/2-inch (1.3-centimeter) cookies.
Step 1: Create tower cookie
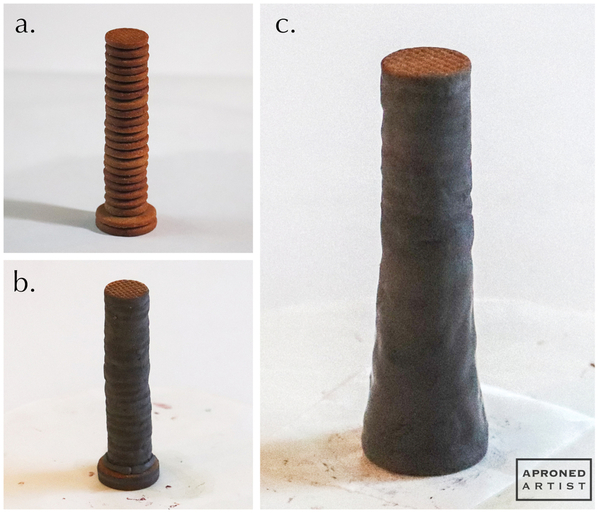
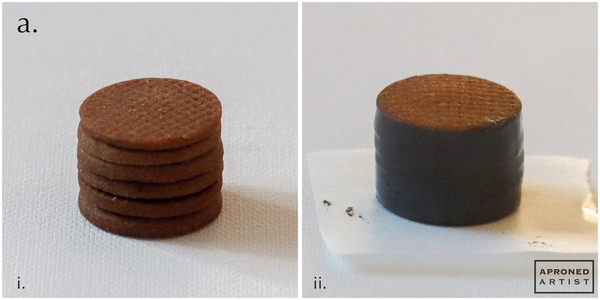
a. Sandwich two 1-inch (2.5-centimeter) round cookies with stiff-consistency dark gray royal icing in between. Stack about 21 1/2-inch (1.3-centimeter) round cookies on top with a dab of icing in between each layer. The tower should be about 3 1/2 inches (8.9 centimeters) tall; you may need more or fewer cookies depending on the thickness of the cookies after baking. Allow the icing to dry completely.
b. Use a small trowel or offset spatula to smear stiff-consistency dark gray royal icing over the stacked cookies to fill in the gaps. Smooth the icing with a damp flat paint brush, but don’t worry about making it perfect. Allow the icing to dry completely.
c. Add additional icing to the bottom half of the tower structure so that the 1/2-inch (1.3-centimeter) diameter of the tower top gradually widens to the 1-inch (2.5-centimeter) diameter of the tower base. Smooth the added icing with a damp flat paint brush. Allow the icing to dry completely.
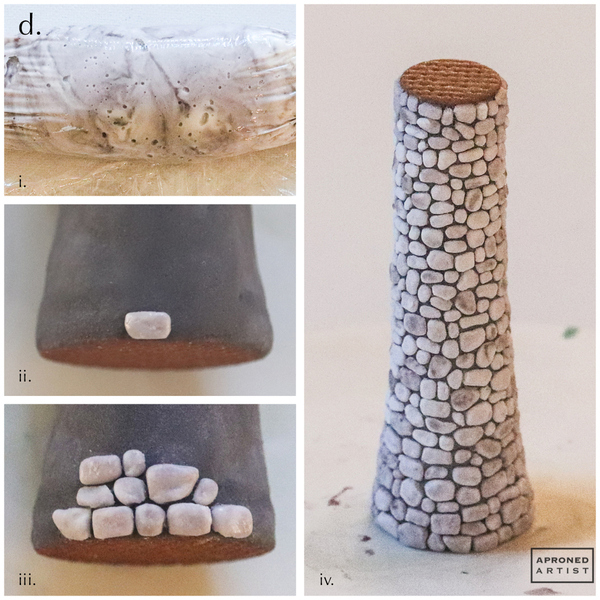
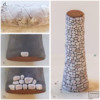
d. Partially mix a small amount of stiff-consistency dark gray royal icing into stiff-consistency white royal icing so that it looks marbled (i). Using a PME #2 tip (or equivalent), pipe a dot of icing on the tower. Use a dry, flat paint brush to flatten the icing and shape the sides so that it looks like a stone (ii). Repeat to pipe more stones, leaving a very small amount of space in between each one and varying the size and shape of each stone (iii). Continue until the entire tower is covered with stones (iv). Set aside the tower cookie for now.
Step 2: Create roof cookie
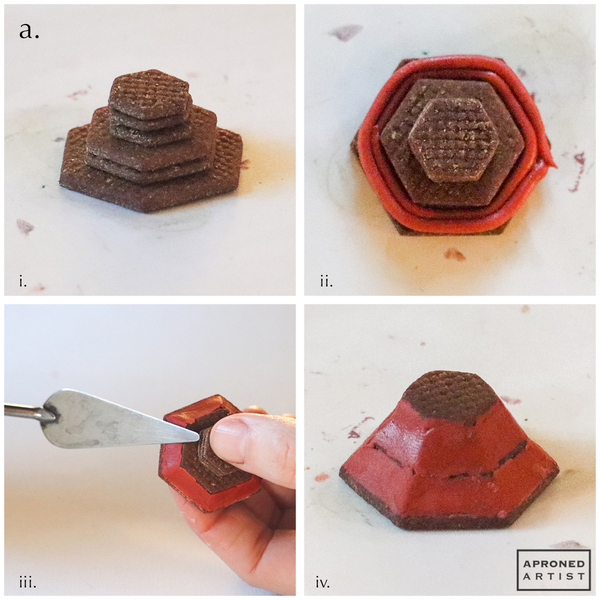
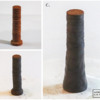
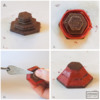
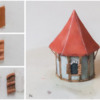
a. Stack one 1 1/2-inch (3.8-centimeter) hexagon cookie, two 1-inch (2.5-centimeter) hexagon cookies, and three 3/4-in (1.9-centimeter) hexagon cookies with stiff-consistency terracotta royal icing in between each layer (i). Using a PME #3 tip (or equivalent), pipe some icing to fill the space between the largest hexagon and the middle tier of hexagons (ii). Allow the icing to set for a minute until it is no longer sticky. Use a small trowel or offset spatula to press and smooth the icing between the edge of the base hexagon and the top of the middle tier of hexagons (iii). Repeat, adding and smoothing icing between the middle tier and the top tier of hexagons (iv).
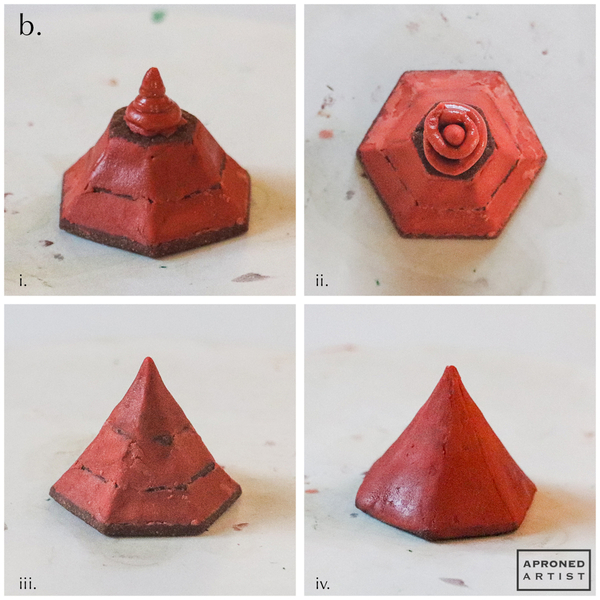
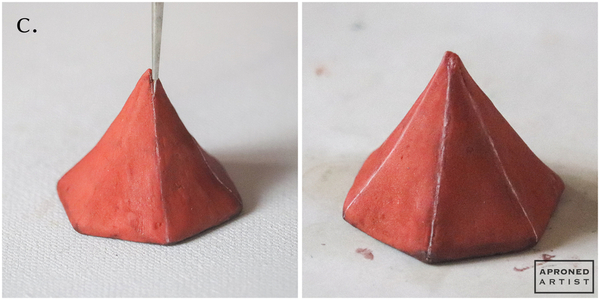
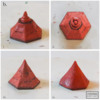
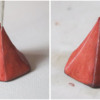
b. Pipe a pointed dollop of terracotta icing in the center of the top hexagon cookie (i). Allow the icing to dry. Pipe some icing to fill the space between the top hexagon and the pointed dollop (ii). Use a small trowel or offset spatula to press and smooth the icing just as you did with the lower tiers of the roof (iii). Allow the icing to dry. Finally, add and smooth additional icing to refine the overall shape of the roof and to cover the areas where the cookies peek through (iv).
c. Using Bright White gel paste coloring and a tiny liner paint brush, paint a thin line along the vertical seams between each face of the roof.
Step 3: Create house cookie, and attach to tower
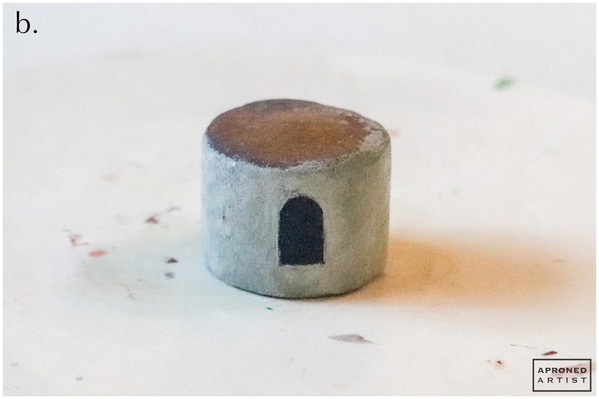
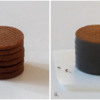
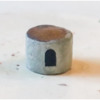
a. Stack about six 1-inch (2.5-centimeter) round cookies with a dab of stiff-consistency dark gray royal icing in between each layer (i). The combined height of the stacked cookies should be about 3/4 inch (1.9 centimeters); you may need more or fewer cookies depending on the thickness of the cookies after baking. Use a small trowel or offset spatula to smear stiff-consistency dark gray royal icing over the stacked cookies to fill in the gaps. Smooth the icing with a damp paint brush (ii). Allow the icing to dry completely.
b. Mix a drop of Bright White gel paste coloring with a touch of Taupe gel paste coloring (or equivalent) to create a pale blue-green paint. Use a medium flat paint brush to paint over the gray icing on the house cookie. Once the paint has dried, use a tiny liner paint brush and Super Black gel paste coloring (or equivalent) to paint a small arched window.
c. Attach the roof to the top of the house with a dab of icing, orienting the cookies so that one of the roof faces is centered over the window (i). Using stiff-consistency light brown royal icing and a PME #25 tip (or equivalent), pipe vertical planks along the edges of the window. Continue piping two vertical planks per roof face around the circumference of the house (ii). Pipe short horizontal planks at the base of the house between the vertical planks (iii).
d. Dilute a drop of Espresso gel paste coloring (or equivalent), and gently paint the wooden planks with a tiny liner paint brush.
e. Pipe and shape little stones along the arch of the window with the stiff-consistency marbled gray royal icing (created in Step 1d) and a PME #1.5 tip (or equivalent).
f. Using stiff-consistency light brown royal icing and a PME #25 tip (or equivalent), pipe short supports between the house and the bottom of the roof. Start a support about 1/4 inch (0.6 centimeter) from the top of a vertical plank (piped in Step 3c), and pipe upward at a 45-degree angle to meet the roof’s edge. Pipe a support on each vertical plank. Once the icing has dried, carefully paint the supports with diluted Espresso gel paste coloring (or equivalent).
g. To pipe the shutters, use stiff-consistency light brown royal icing and a PME #25 tip (or equivalent) to pipe three adjacent vertical lines on a small square of parchment paper. The lines should be equal to the height of the painted window on your house and slightly offset so they gradually shift upward (i). Add three horizontal lines: one at the top that curves to match half of the window’s arch, one in the middle, and one at the bottom (ii). Mirror this process to create the opposite shutter. Allow the shutter transfers to dry completely before painting them with diluted Espresso gel paste coloring (or equivalent) (iii). Pipe a thin line of icing on each side of the window and attach the appropriate shutter (iv). The shutter that arches up to the left should attach to the left side of the window, and the shutter that arches up to the right should attach to the right side.
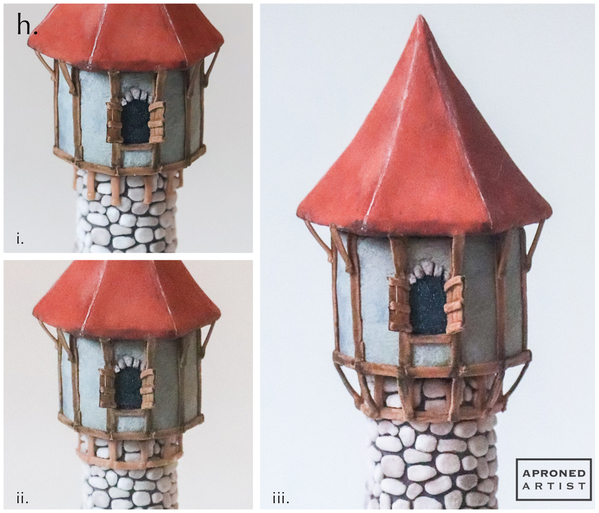
h. Attach the house cookie to the top of the tower cookie with a dab of icing. Using stiff-consistency light brown royal icing and a PME #25 tip (or equivalent), pipe short vertical planks (about 1/4 inch/0.6 centimeter in length) on the top of the tower, lining them up with the vertical planks of the house (i). Pipe short horizontal planks between the bottom ends of the vertical planks (ii). Allow the icing to dry for about a minute before painting the planks with diluted Espresso gel paste coloring (or equivalent). Pipe short supports between the bottom of the vertical planks and the base of the house (as in Step 3f). Allow the supports to dry before painting them with diluted Espresso gel paste coloring (or equivalent) (iii).
Step 4: Bake and decorate hill cookie
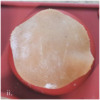
a. Cut a circle of cookie dough with the 3-inch (7.6-centimeter) round cookie cutter (i), and drape the dough over the top of a silicone hemisphere mold of the same size. Again, it's best to use a dough that spreads minimally for this step (ii). Use the palm of your hand (as opposed to your fingers which may leave dimples in the dough) to gently contour the circle around the mold (iii). Bake until the cookie is lightly browned. Once the cookie has cooled, smooth any rough areas around the bottom with a food-safe file. (For more detailed instructions about how to contour cookies, reference Julia's Watch-Learn-Create Challenge videos. Julia shares her extensive expertise on the technique and thoroughly explains each step of the process.)
b. Attach the tower to the center of the contoured cookie using stiff-consistency dark green royal icing. Using the same icing and a PME #2 tip (or equivalent), pipe a squiggle of icing along the contoured hill cookie (i). Use a small round paint brush and a vertical dabbing motion to stipple the icing (ii). Add small areas of stiff-consistency light green royal icing (iii), and stipple the light green icing in a similar fashion. Continue stippling dark green icing with highlights of light green icing until the hill cookie is mostly covered with only small areas of cookie peeking through (iv).
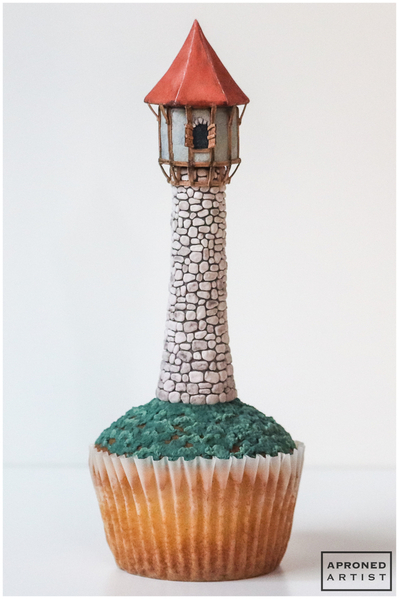
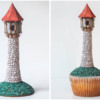
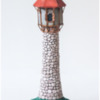
Finished! Rapunzel, Rapunzel, let down your hair!
The contoured hill fits perfectly on the dome of a jumbo cupcake.
It occurred to me while constructing this cookie that the design is actually far more versatile than I anticipated. Skip the house cookie, and add some ramparts to the top of the tower cookie to create a castle. Remove the roof, and change the painting on the house to make a lighthouse. Or give the design a slightly more sinister vibe to create a wizard’s tower.


Samantha Yacovetta began cookie decorating in 2013. While working at a local bakery, Samantha became captivated by cookie art when a customer requested princess-themed cookies. Attracted initially to the precision of cookie decorating, Samantha soon found that the limitless design opportunities turned it into her artistic passion. Samantha began regularly stocking the bakery case with decorated cookies and for several years sold cookies through her own company, Aproned Artist, a cottage food operation. Having retired from the business life, Samantha now enjoys making cookies just for fun from her home in San Jose, California, USA. To learn more about Samantha, please check out her Cookie Connection portfolio, her Facebook page, and her past Every Little Detail tutorials here.
Photo and cookie credits: Samantha Yacovetta
Note: Every Little Detail with Aproned Artist is a monthly Cookie Connection blog feature written by Samantha Yacovetta focused on the special little details that make big statements in cookie design. This article expresses the views of the author, and not necessarily those of this site, its owners, its administrators, or its employees. To read all of Samantha's past Every Little Detail tutorials, click here. And to see all of Cookie Connection's tutorials, click here.









Comments (13)