 The internet is a vast and strange place full of endless inspirational imagery and ridiculous tripe. Every once in a rare while, I find something that is somehow both at the same time. The other day I came across this photo of someone’s living room decorated with a crocodile sculpture that appeared to be “swimming” through the carpet. The ornament was admittedly unusual and awkward (I pity the poor people who must regularly stub their toes on a crocodile snout), however, I knew at once that the idea would make a fun cookie.
Supplies:
- Crocodile Template (See “Files” in “Attachments” at the end of this post.)
- Parchment paper
- Royal icing (I used AmeriColor gel paste coloring to tint the icing.):
- Stiff-consistency olive green (Olive)
- Flooding-consistency viridian green (1 part Olive/1 part Cypress/1 part Silver Spruce)
- Tips:
- Medium flat angled paint brush
- AmeriColor (or equivalent) gel paste colorings for painting: Mojito, Super Black, Bright White, Espresso, Ivory
- Tiny liner paint brush
- 4 1/2 x 7-in (11.4 x 17.8-cm) baked rectangle cookie
General tips for sculpting royal icing:
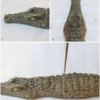
Before you begin, it’s tremendously helpful to have a few photographs to reference as you sculpt the icing. Gather a variety of pictures that show a crocodile from different angles.
Start with very thick icing. If the icing is too wet, it will slump as you work. Super stiff icing will be less sticky as you shape it, dry faster, and also hold onto the details that you carve into the icing. You can always add water with a damp paint brush if you want to smooth the contours or blend fresh icing into dried icing.
Allow each layer of icing to dry completely before adding the next layer of icing. If you are unhappy with how a particular feature comes out, don’t be afraid to brush away the wet icing and try again. Crocodile skin is bumpy and textured so any marks or residue left over from removing the icing will blend in seamlessly.
Step 1: Pipe and shape crocodile body
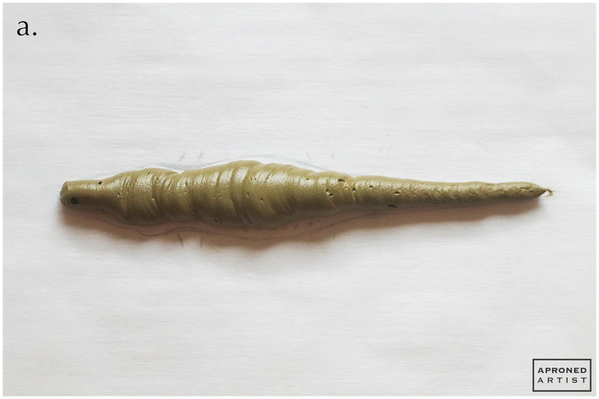
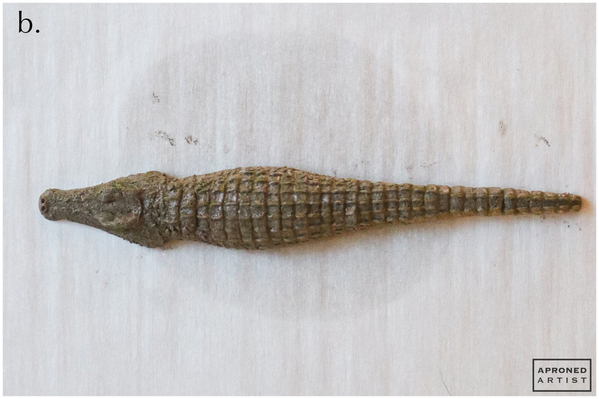
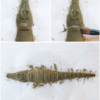
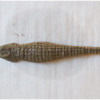
a. Print the Crocodile Template (located in “Files” in “Attachments” at the end of this post), and place a piece of parchment paper over the template. Using stiff-consistency olive green royal icing and a Wilton #12 tip (or equivalent), pipe a thick mound of icing to cover the crocodile shape.
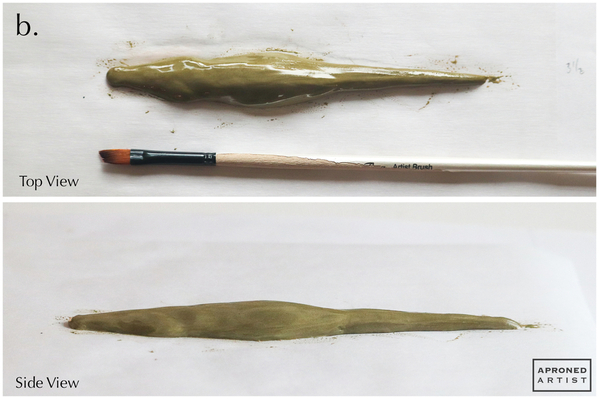
b. Use a damp flat paint brush to gently smooth the icing and refine the shape. Allow the icing to dry completely. (Drying it overnight was sufficient for me, but I live in a very dry climate.)
Step 2: Pipe and shape crocodile’s facial features
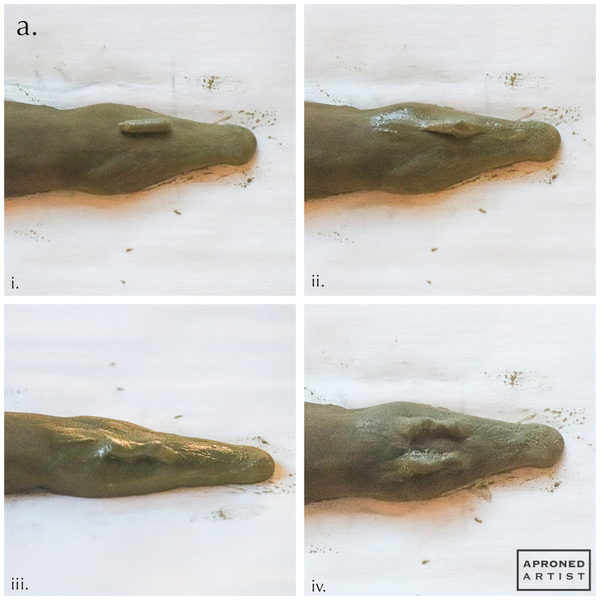
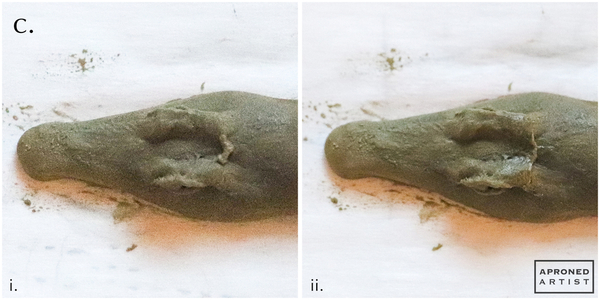
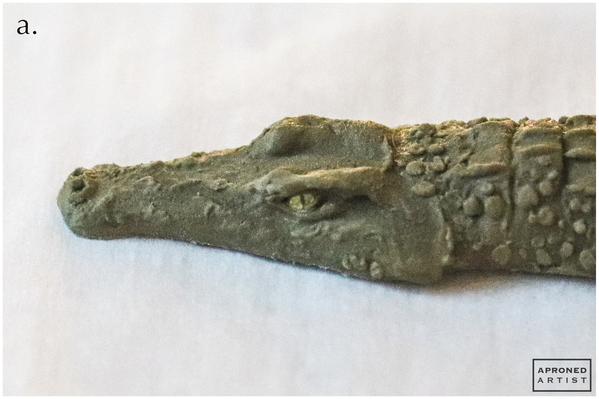
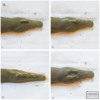
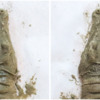
a. Use stiff-consistency olive green royal icing and a Wilton #4 tip (or equivalent) to pipe a short line for the crocodile’s brow (i). Use a barely damp flat angled paint brush to smooth the ends of the line into the dried icing of the body (ii). To shape the icing, gently push it into place with the flat side of the paint brush to mimic the bumps and curves of the crocodile’s brow in your reference photos. Use the tip of the angled bristles to bore a cavity beneath the brow for the eye socket and ear (iii). Repeat to create the opposite brow (iv).
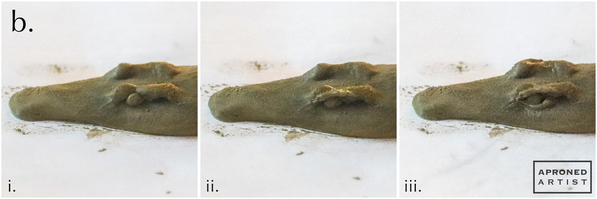
b. Use the same icing and a PME #1 tip (or equivalent) to pipe a bead for the eye inside the eye socket (i). Pipe a line along the side of the brow that slightly covers the top of the eyeball. Shape the line into the upper eyelid and smooth the icing into the existing brow with a damp paint brush (ii). Pipe a line that slightly covers the bottom of the eyeball and shape it into the bottom eyelid (iii). Repeat for the opposite eye.
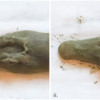
c. With the same icing and tip, pipe a “v” that connects the back of the ears and points toward the tail (i). Use a damp paint brush to blend the ends of the icing and the very top edge of the “v” into the dried body (ii).
d. Pipe two connected circles for the nostrils, forming a figure eight that leans toward the snout (i). Use a damp paint brush to smooth the outer edges of the icing into the dried snout (ii).
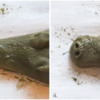
e. Pipe a long “v” that points toward the nostrils for the ridge of the snout (i). With a damp paint brush, gently stipple the icing to blend it slightly into the snout while maintaining a subtle “v”-shaped ridge (ii).
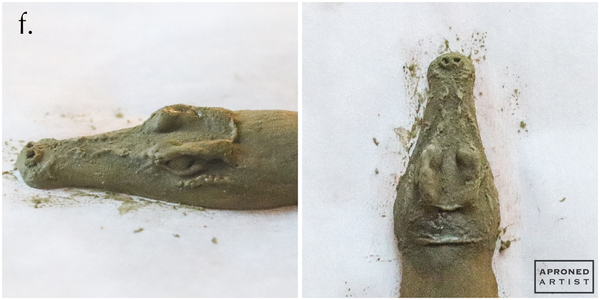
f. Continue piping and stippling small lines around the sides of the face and the top of the head to add texture and ridges wherever they appear in your reference photos.
Step 3: Pipe and shape crocodile’s body texture
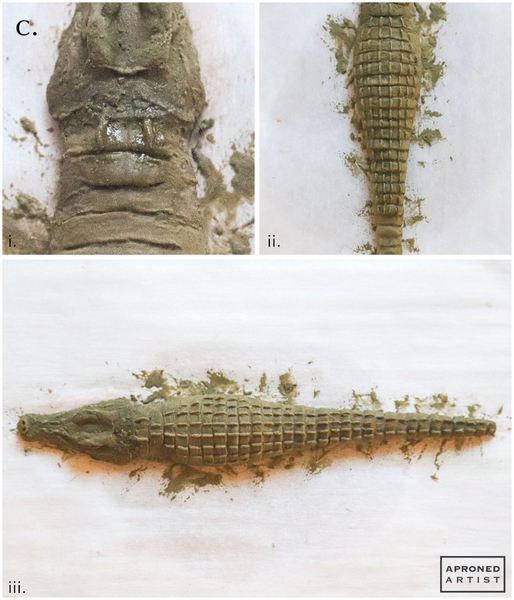
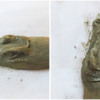
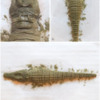
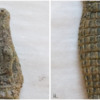
a. Using stiff-consistency olive green royal icing and a Wilton #44 tip (or equivalent), pipe a band of icing at the base of the crocodile’s neck where it narrows (i). Use the flat side of a damp flat angled paint brush to smooth the ends into the left and right side of the neck. Use the tip of the brush to horizontally divide the band of icing into two separate ridges (ii). Pipe another band beneath the first and shape it in the same way. Continue in this fashion until you’ve created ridges along the entire length of the body (iii).
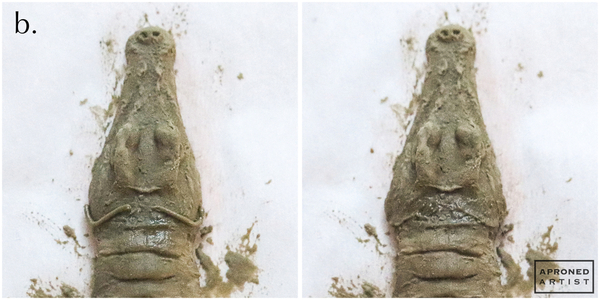
b. Pipe a curved line of icing along either side of the neck with a PME #1 tip (or equivalent). Use a damp paint brush to lightly stipple and blend the icing.
c. With the same icing and tip, pipe two short vertical lines within the first horizontal ridge of the body. Blend the icing slightly into the dried body with a damp paint brush (i). In the next ridge down, pipe and blend two vertical lines which are just inside the lines piped above. Pipe and blend four vertical lines within the next ridge, lining up the two center lines with those in the ridge above it. Continue piping vertical lines within each horizontal ridge. As the crocodile’s body widens, add additional vertical lines (up to eight) to fill the space. Continue until you have covered about two thirds of the crocodile’s body (ii). For the last third of the body, pipe only the outer two vertical lines, leaving the center empty (iii).
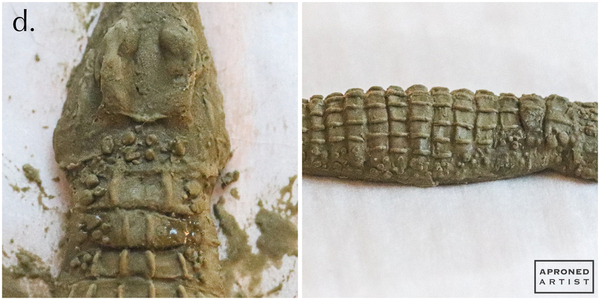
d. With the same icing and tip, pipe dots of varying sizes to the left and right of the outermost vertical ridges to cover the neck and sides of the crocodile with a bumpy texture. Flatten the dots with the flat side of the paint brush. Make the dots around the neck slightly larger than the dots along the crocodile’s sides.
Step 4: Paint crocodile transfer
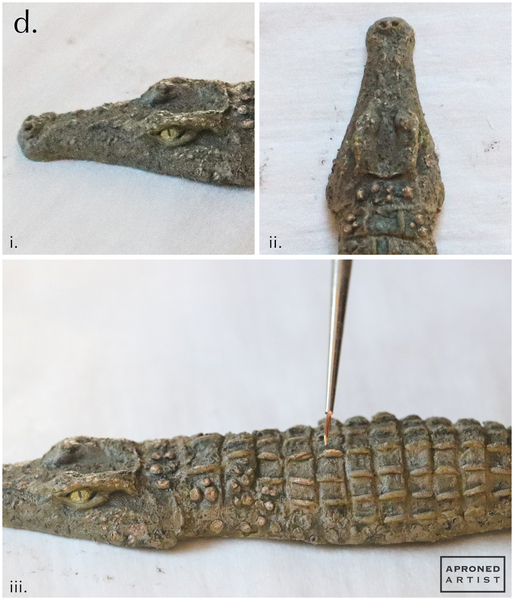
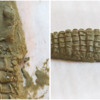
a. Paint each eyeball with Mojito gel paste coloring (or equivalent) and a tiny liner paint brush. Add a thin vertical line of Super Black gel paste coloring (or equivalent) to the middle of each eyeball for the pupil.
b. Mix two parts of Bright White, one part Espresso, and one part Ivory gel paste colorings (or equivalents) to create a muddy brown paint. Lightly dab the paint onto the entire surface of the crocodile with a medium paint brush so that you can still see bits of the green icing beneath the paint.
c. Use a tiny liner paint brush to dab Espresso gel paste coloring (or equivalent) on top of the head and the bumpy sides of the crocodile (but not the ridged area on the top of the back) to create a speckled appearance (i). Apply the same dark color to both sides of every vertical ridge to accentuate their dimension. Blend the paint slightly along the vertical ridges with a damp paint brush (ii).
d. Mix equal amounts of Bright White and Ivory gel paste colorings (or equivalents) to create a caramel colored paint for the highlights. Using a tiny liner paint brush, dab the paint onto the top of the brows, a little on the raised portions of the cheeks, the ridge of the snout, the flattened dots, and anywhere else that might catch the light (i and ii). Additionally, paint a line along the top of every vertical ridge (iii).
Let the crocodile details dry completely before removing the transfer from the parchment paper and proceeding to flood the cookie in the next step.
Step 5: Assemble final cookie
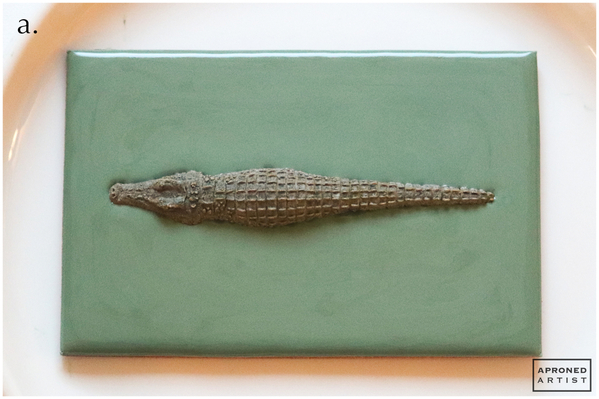
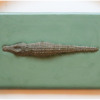
a. Flood the baked cookie with flooding-consistency viridian green royal icing. Immediately, place the crocodile transfer into the center of the flooded cookie. If necessary, you can adjust the position slightly by pushing the transfer gently with a scribe tool or the handle of a paint brush.
Finished! Sometimes inspiration comes from the strangest of places so keep an eye out for your next great concept.


Samantha Yacovetta began cookie decorating in 2013. While working at a local bakery, Samantha became captivated by cookie art when a customer requested princess-themed cookies. Attracted initially to the precision of cookie decorating, Samantha soon found that the limitless design opportunities turned it into her artistic passion. Samantha began regularly stocking the bakery case with decorated cookies and for several years sold cookies through her own company, Aproned Artist, a cottage food operation. Having retired from the business life, Samantha now enjoys making cookies just for fun from her home in San Jose, California, USA. To learn more about Samantha, please check out her Cookie Connection portfolio, her Facebook page, and her past Every Little Detail tutorials here.
Photo and cookie credits: Samantha Yacovetta
Note: Every Little Detail with Aproned Artist is a monthly Cookie Connection blog feature written by Samantha Yacovetta focused on the special little details that make big statements in cookie design. This article expresses the views of the author, and not necessarily those of this site, its owners, its administrators, or its employees. To read all of Samantha's past Every Little Detail tutorials, click here. And to see all of Cookie Connection's tutorials, click here.









Comments (22)