 Now that I’m about to start my summer vacation, I have more time to do one of the things I love most: going for long walks with my pet Bruno.
Luckily, I live in Valencia, a small city that is ideal for walking, breathing clean air, and enjoying nature, since it has a huge park called Turia Gardens. There, you can relax on Sundays, surrounded by nature and beautiful flowers that bloom throughout the year.
One of these summer flowers is the delicate dandelion - you can find lots of them in every step you take! They're everywhere!
Do you find it hard to resist blowing their seeds? Me too! ![]() Dandelions bring me memories of my childhood, when I blew every dandelion I found in my way, hoping my wishes would come true some day.
Dandelions bring me memories of my childhood, when I blew every dandelion I found in my way, hoping my wishes would come true some day.
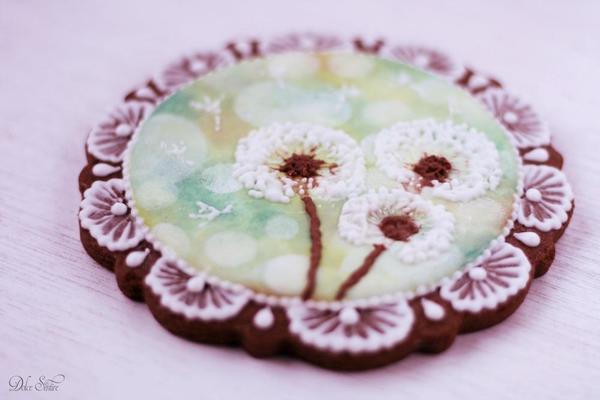
Today, I bring you a tutorial about how to decorate a cookie inspired by these symbolic, ephemeral, and beautiful flowers-gone-to-seed. Are you ready to make your wishes come true? ![]()
- 1 round cookie (I used my Abelia plaque cutter, which you can find here.)
- White royal icing, flooding and medium-stiff consistencies
- Nontoxic pencil or edible marker
- Piping bags and couplers
- Small piping tips (I used PME #1 and #2 tips.)
- Round #0 or #1 paint brush
- Vodka or alcohol-based extract
- White gel food coloring, for stenciling
- Plastic circle stencil(s)
- Dauber or sponge brush
- Pale brown royal icing, medium-stiff consistency
- Rainbow Dust colors: Cream, Citrus Green, Ivy Green
- Sugarflair colors: Autumn Gold, White
Step 1: Start with a baked cookie as usual. (Chocolate or dark cookies are preferred, so the white border applied in Step 6 really pops.)
To create a guide to help flood a perfect circle, trace a circular shape onto the cookie with a round cookie cutter and a nontoxic pencil (or edible marker). Then pipe all of the outlined area with white royal icing of flooding consistency, and let the icing dry completely (about 8 hours at room temperature or 60 minutes in a food dehydrator).
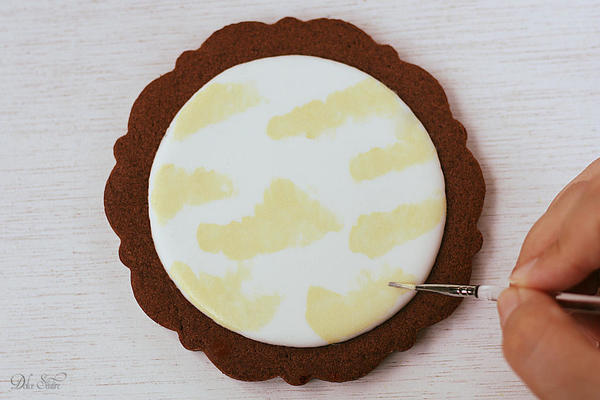
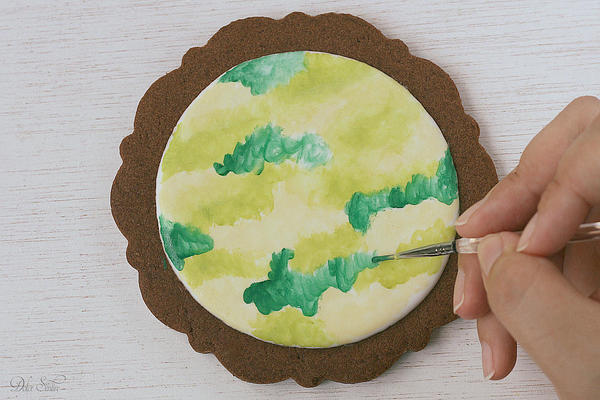
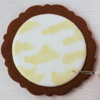
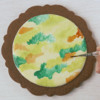
When the icing is dry and hard, begin painting a watercolor background on it using different shades of yellow and green powder colors mixed with vodka or alcohol-based extract. (See colors above.) The goal is to create a bokeh effect on the background, so first apply a pale yellow, leaving blank spaces between the strokes.
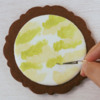
Then, go with the pale green . . .
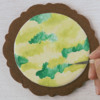
After that, apply the dark green.
Finally, apply the dark yellow.
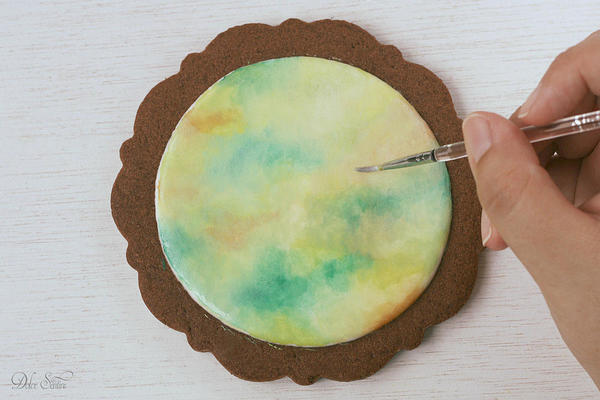
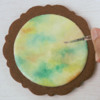
Step 2: Now, blend the four colors together with vodka (or alcohol-based extract). If your colors look a little "scratchy" with brush strokes, apply some white powder color (with vodka) over the other colors to minimize the marks.
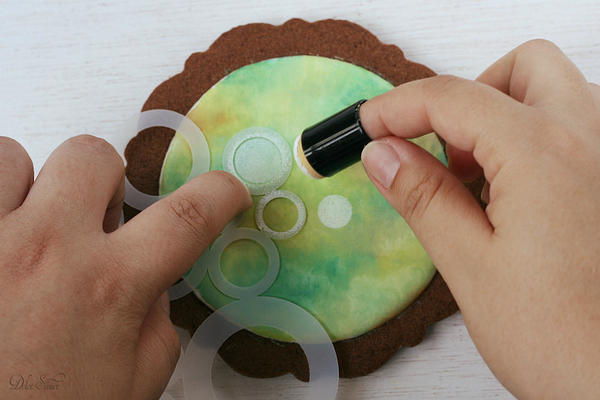
Step 3: Place a little bit of white gel food coloring in a palette or shallow dish, and mix it with vodka to create a fairly opaque paint. Press your dauber or sponge brush into the paint, and dab off any excess paint onto a paper towel. Place a circle stencil on the cookie top, taking care to hold it flat and securely in place; then, using circular motions, start sponging over the open space with the dauber.
Repeat the above sponge-stenciling process with circle stencils of different sizes. To create the most realistic bokeh effect possible, overlap some circles, apply more or less paint to some, and/or use different motions with the dauber (circular, up and down, etc.). In other words, mix things up!
If you don't have any circle stencils, you can create your own by punching them through card stock with a craft punch or cutting them into acetate with a utility knife.
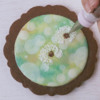
Step 4: Once the bokeh background is completely done, let it dry for a short while (5 to 10 minutes in a food dehydrator should be enough), and then start piping the dandelion puffs with white medium-stiff-consistency royal icing and a PME #1 tip.
Step 5: Next, pipe the centers and stems of the dandelion puffs with brown medium-stiff-consistency royal icing and a PME #2 tip.
Let the dandelions puffs dry completely (about 1 hour at room temperature or 10 to 15 minutes in a food dehydrator).
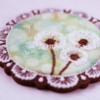
Step 6: Finally, complete your cookie with a border of your choice. (I'm partial to brush embroidery frames, as you can see!)
Finished!
So, are you ready to blow on your dandelion and make a wish?
3, 2, 1 . . . Here's hoping your wish comes true! ![]()
Cookie and photo credits: Aixa Zunino

 Aixa Zunino is the soul of Dolce Sentire, a virtual corner of sweetness and creativity dedicated to cookie decorating. On her site, this garden engineer, self-taught decorator, and lover of flowers and animals lets her imagination fly, sharing everything she has learned since discovering the world of cookies in early 2012. She combines this activity with courses around Spain (her current home) where she teaches all the secrets to getting dreamy cookies. Meet her on Facebook or her website, and email her your cookie decorating questions or concerns at dolcesentiredolci@gmail.com.
Photo credit: Aixa Zunino
Note: Get Inspired with Dolce Sentire is a monthly Cookie Connection blog feature written by Aixa Zunino, where, through in-depth tutorials, she proves that if you can dream it, you can cookie it! This article expresses the views of the author, and not necessarily those of this site, its owners, its administrators, or its employees. To read all of Aixa's past Get Inspired tutorials, click here. And to see all of Cookie Connection's tutorials, click here.










Comments (14)