I so often guide my stencil designs by the upcoming season or holiday, but NOT with this release! Instead, I've decided to change things up and augment my stencil line with occasions I've underrepresented and other top-trending themes not related to time of year.
So . . . to get this change-up started, I launch this month with a girl's princess-themed birthday set complete with castle, a Cinderella-esque horse-drawn carriage, and not one, but two princesses! Next month, it will be the boys' turn, but, for now, let me show you what I've got . . .
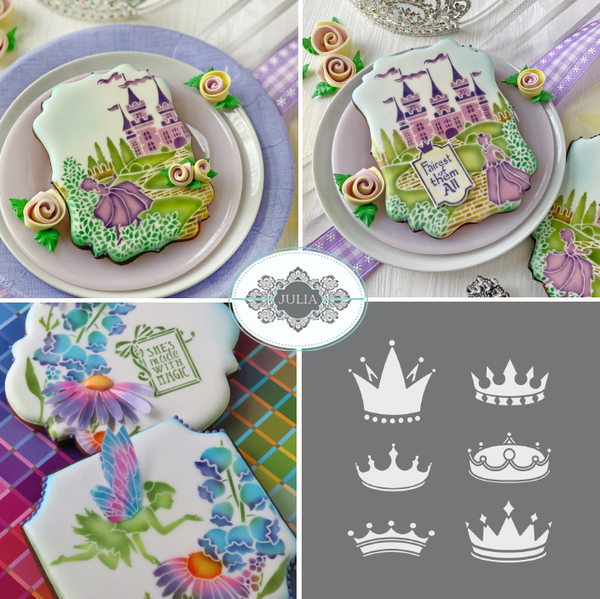
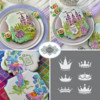
You won't want to be late to this (cookie decorating) ball, so here are quick links to all of the above stencils on my partner Confection Couture Stencils' site:
- Fairest of Them All Dynamic Duos™ Background Set (upper left),
- Fairest of Them All Dynamic Duos™ Message and Frame Set (combined with the Duos™ background set; upper right),
- My partner Confection Couture Stencils' Assorted Crowns Cookie Stencil (lower right), and a past set that also looks like it comes straight out of a fairy tale . . .
- Magic Wishes Dynamic Duos™ Set.
As is our new policy, the castle background stencil in this month's background set (pictured to the far left in the image directly below) is also sold separately, though this month it comes packaged a little differently. Since the castle isn't quite a castle without windows and doors, the background stencil will be packaged as a two-part set with a window/door overlay as the second part. Basically, the upper right portion of the foreground stencil (the third graphic from the left in the image below) will be included on a separate Mylar sheet. All this to say, if you're not yet ready for fully layered sets, you can have fun creating fanciful castle cookies with just the background stencil and overlay, otherwise known as the Royal Castle Dynamic Duos™ Background Cookie Stencil set!
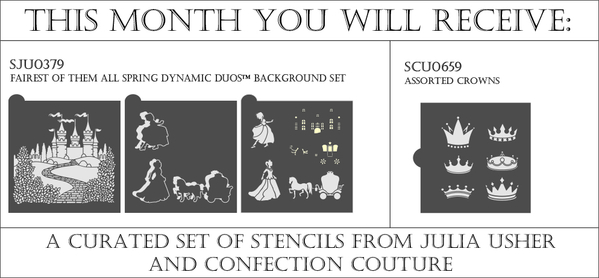
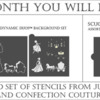
Before we move on to the details of this release, one question. Have you heard about my Stencil of the Month Club?! If not, you should know about it! Here's what my club's offering looks like this month:
Essentially, club members get huge (~20%) savings on a bundle of stencils that includes the current month's Dynamic Duos™ Background Set and my partner's coordinating single stencil. If you're a stencil-aholic and don't want to miss out on any of my latest releases at the best possible cost, then my Stencil of the Month Club is right for you!
Like last month, I'm going to start this post with a video synopsis of my April release - first , a "style reel" that shows the many design variations possible with this month's Duos™ sets, and, then, a quick time-lapsed tutorial showing how I layer some of the elements together. Once you're done watching these two videos, I suggest you read on if you have an appetite for more photos and/or a deeper understanding of how these sets can be used.
Style Reel
Time-Lapsed Tutorial
Now, if you're still reading, it's time to move on to the details of the background set, the set that contains all of the pretty picture elements . . .
Fairest of Them All Dynamic DuosTM Background Set (6 pieces)![]()
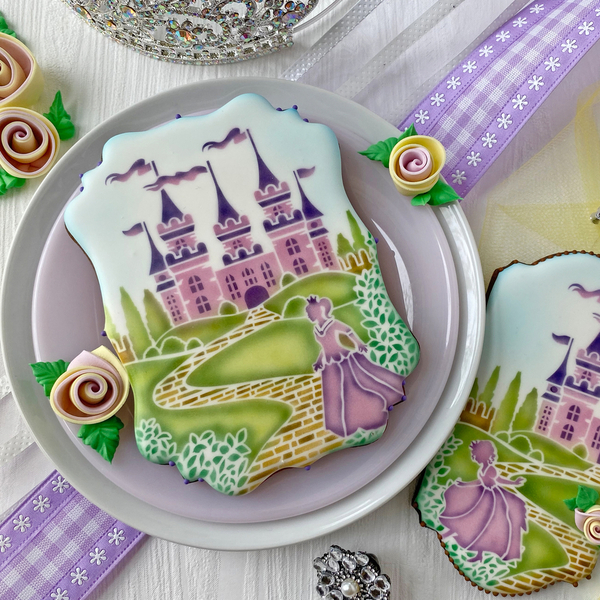
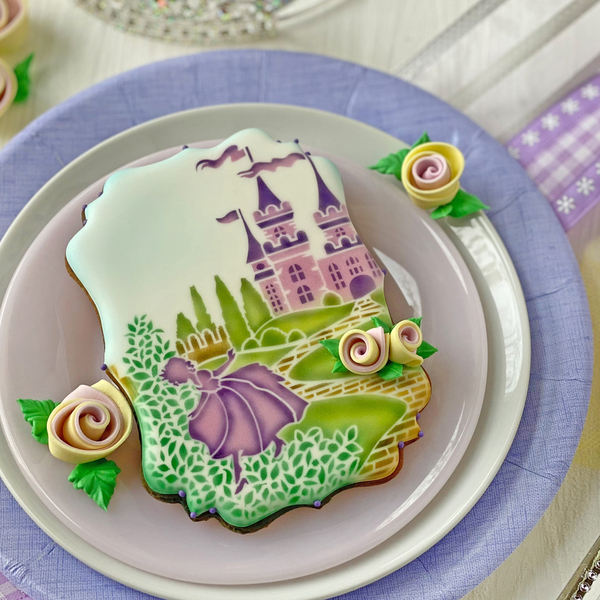
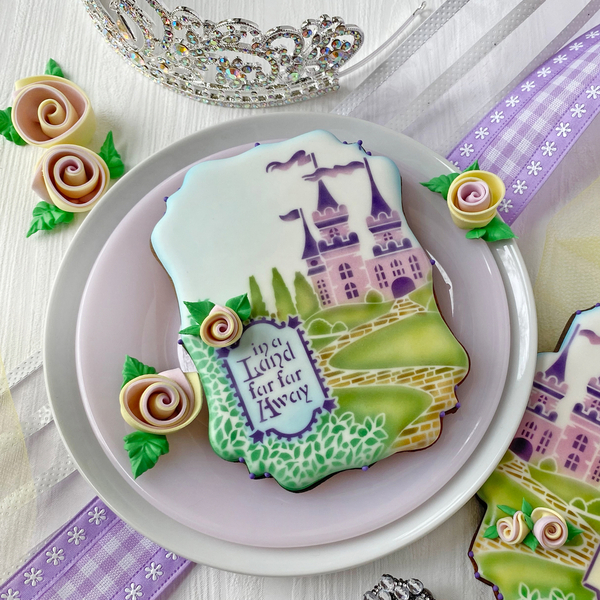
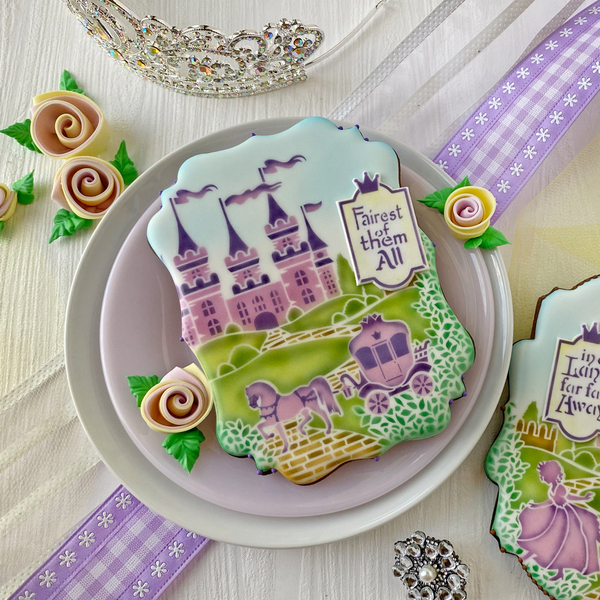
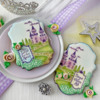
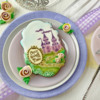
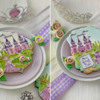
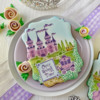
The easiest thing to do with this set is what you can do if you only have the Royal Castle Dynamic Duos™ Background Cookie Stencil set, that is, the background stencil (left, above) and the window/door overlay (upper right part of the right graphic, above). Here are a couple of variations on cookies of different sizes, showing different castle exposures.
I first airbrushed the background in seven colors (!), yes, seven! I used AmeriMist Electric Green and Avocado Green for the lawn and tall background trees, Leaf Green for the foreground shrubs, a custom blend of Lemon Yellow and Chefmaster Harvest Brown for the cobblestone road and wall in the back, and, because I wanted the castle to be fit for a princess, I did it in two shades of purple: Electric Purple (for the walls) and Violet (for the spires and flags). I also shaded the wall with a touch of Chefmaster Harvest Brown. After doing all of that, I removed the background stencil from the cookie, aligned the windows and doors in the foreground stencil on the proper spot on the castle, and then airbrushed those areas with a third shade of purple: AmeriMist Regal Purple. Last but not least, I gave the sky a pale blue cast with a light shading of Spectrum Flow Sky Blue, bringing the grand total of colorings used to nine! Of course, working efficiently with so many colorings is really only possible when you have multiple airbrushes outfitted with quick-connect adaptors. (If what I just said is gibberish to you, please see my YouTube video for more details on efficient mass production of airbrushed/stenciled cookies.)
Of course, if you don't have multiple airbrushes and a special adaptor on your compressor hose, no worries. This set could look super striking and more modern (perhaps) if done in just two colors. I'm thinking soft pink for all of the background elements, and then shades of black/gray for the foreground silhouettes so that they really pop. Plus, pink and black always look very regal together!
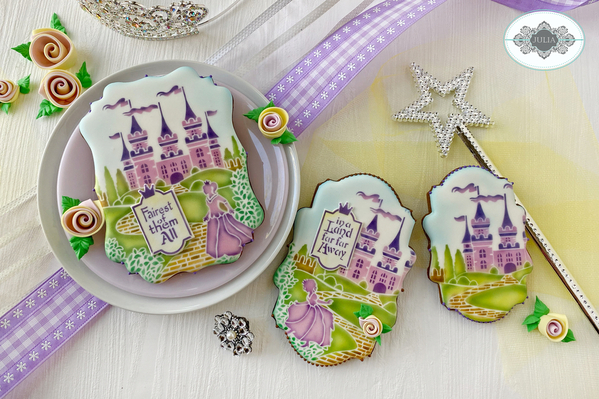
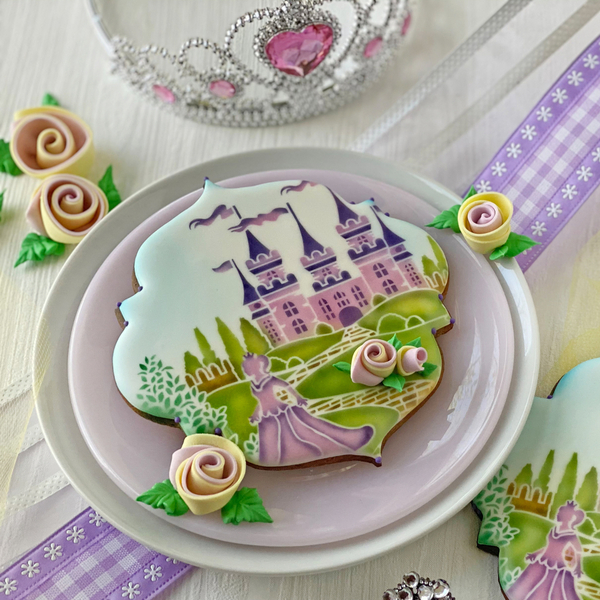
Granted, the cookies created with just the background stencil and overlay are pretty fairy tale-like as is, but they get even more magical with additional foreground elements layered into the designs. Below are a few examples showing both of the princesses and the horse-drawn carriage in play. First, two cookies with the taller princess walking off the side of the cookie (!) . . .
Here she is in closer view . . .
The horse-drawn carriage is pretty cool too, in large part because of its extra window and harness overlays, which are also on the foreground stencil . . .
Now, here's a version of the taller princess on a bigger cookie that allows both castle and princess to be fully exposed . . .
And, a closer glimpse of the second princess (lower right), looking down to inspect her glass slipper. Gee, does it fit?
Yay! It looks like it does! ![]()
Wondering about the fun flowers on these cookies? I thought you might be, so here's a mini tutorial: (1) Mix two colors of fondant (I used AmeriColor Electric Purple and Lemon Yellow in mine); (2) roll each fondant color through a pasta machine to get two very thin sheets; (2) cut out long strips of each color, about 3 to 5 inches long and 1/2 to 1 inch wide; (3) stack the strips on top of each other (I put the yellow on the bottom, so it would appear on the outside of the flower); (4) roll the two strips into a coil; and then (5) pinch everything together at the bottom once you have a flower of the desired size. Ta da!
Now, no cookie or cookie set is complete without a message, IMO, so let's turn to the complementary message and frame set in this month's release . . .
Fairest of Them All Dynamic DuosTM Message and Frame Set (7 pieces)![]()
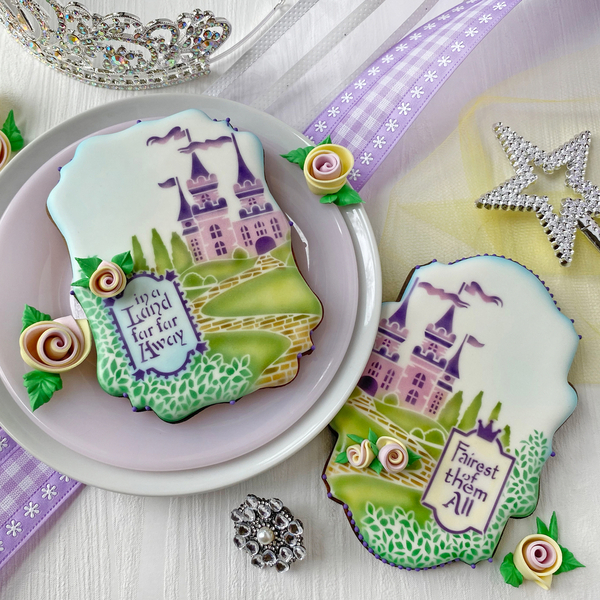
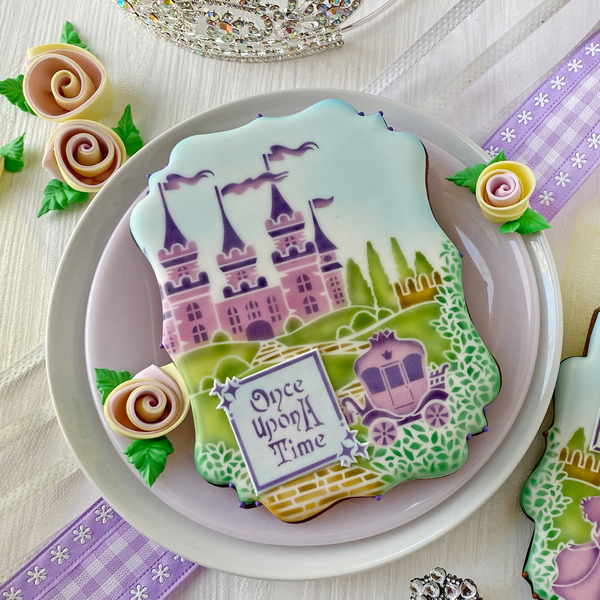
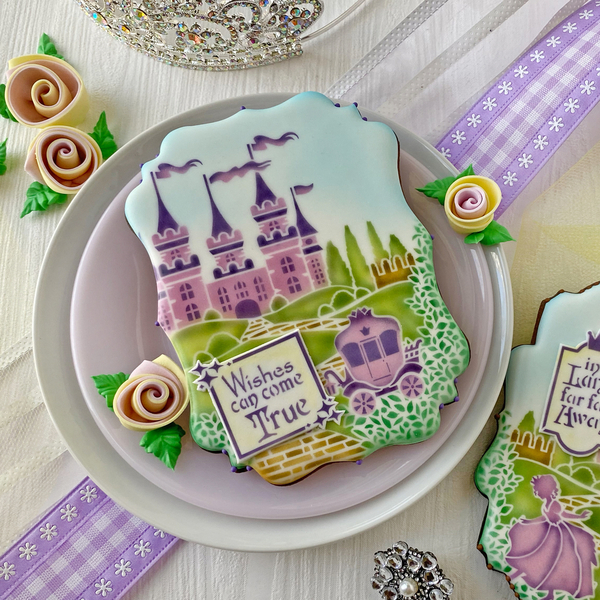
It's got the max number of messages and frames that can fit on a 6x6-inch Mylar sheet - that being four! But, many of the messages can fit in multiple frames, so the permutations become far more! First, some examples of cookies with messages and frames used with just the background stencil and window/door overlay (i.e., no other foreground elements) . . .
I always like to leave a little empty space on my cookies, which is why I located the messages in the foreground (i.e., on top of the shrubs), but they could also be located above in the sky! Here's a closer look at the cookie to the left . . .
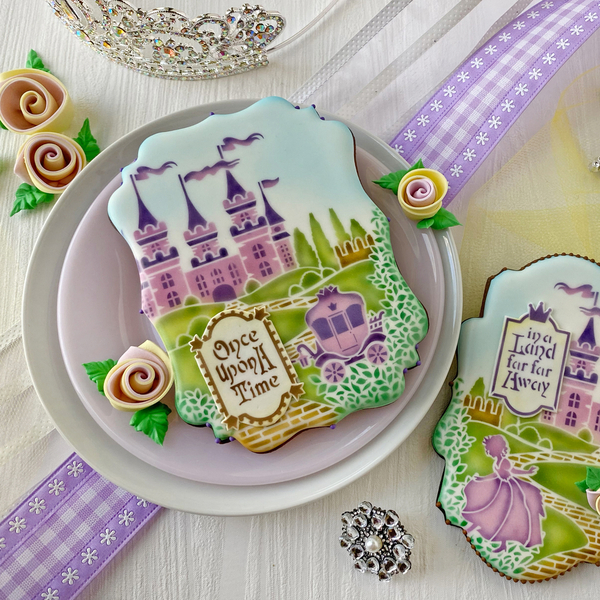
I chose purple for the frame and words to make a visual connection back to the spires on the castle. (I always like to balance colors across my cookies.) But a brown frame and words work equally well, as they refer back to the same color in the cobblestone road . . .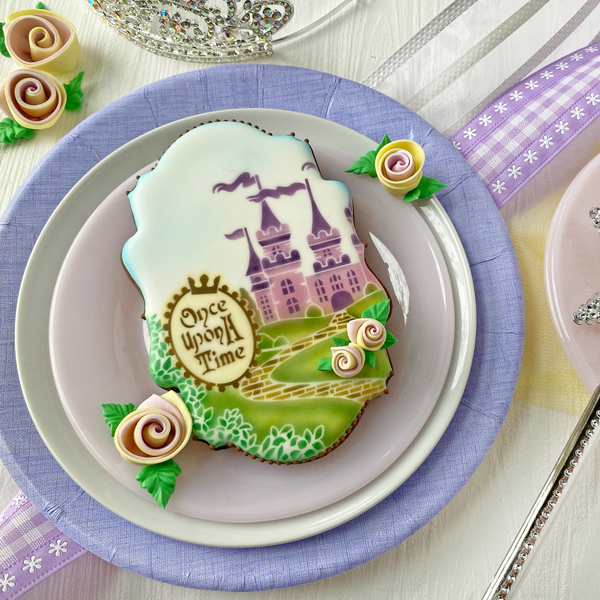
In the three cookies above, the messages and frames were stenciled/airbrushed directly onto the cookie icing. By contrast, on the following cookies, the message and frame set was used to create fondant appliqués - thin pieces of airbrushed/stenciled fondant that are dried until rigid before securing them to cookies.
The benefit of appliqués, as I've mentioned in past posts, is that I have the flexibility to try them out on different spots on different cookies before I commit them to permanent positions with royal icing. I love this design flexibility! Below is an example of what I mean. The next four photos are of the same cookie; each just has a different appliqué on it, in a different orientation . . .
Again, even brown frames look good, as they tie in nicely with the colors of the road . . .
And why cover the horse when a message can also look excellent up above?!
Hmmm . . . so many choices . . . it's hard to know what to do when they all work so well! I think I'll sleep on this decision, and leave you instead with a photo showing even more options! LOL! ![]()
- My Dynamic Duos™ stencil sets
- My Stencil of the Month Club
- My entire stencil line, including my Prettier Plaques™ sets
- More birthday stencils, some designed by me and others by Confection Couture Stencils
- My videos that show how to create layered looks with my stencil sets
If you have any technical questions about these stencils, just email me at sweetlife@juliausher.com or leave a comment below. Please, however, direct all ordering and Stencil of the Month Club questions to my stencil partner, Confection Couture Stencils, at service@confectioncouturestencils.com. Thank you!










Comments (4)