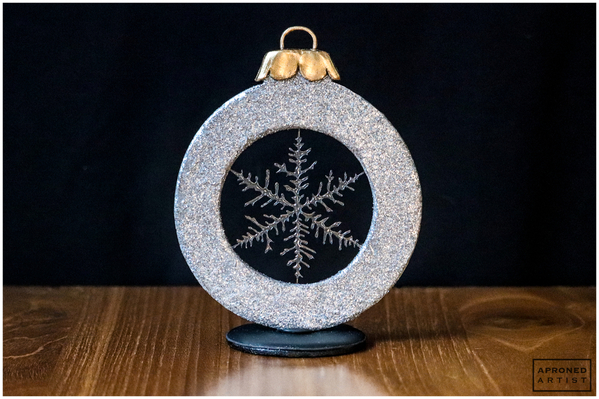
 When I was experimenting with different materials to create the spiderweb in my Black Widow Spider Cookie tutorial, I was pleasantly surprised by edible glue. The glue was transparent, shiny, flexible, repairable, lightweight, and relatively forgiving. I’ve since come up with all kinds of ideas to make use of this new product in my decorating toolbox. First up, an icy-looking snowflake suspended in a sparkly Christmas ornament cookie! With ample room to pipe a name along the base, this cookie design will make perfect place cards for my Christmas table.
Supplies:
- Snowflake and Ornament Template (See “Files” in “Attachments” at the end of this post.)
- Parchment paper
- Tape
- Edible glue
- Tips:
- Scribe tool (or equivalent)
- Cookie dough that bakes with minimal spreading
- 2 1/4-in (5.7-cm) round cookie cutter
- Royal icing:
- Stiff-consistency taupe (AmeriColor Taupe)
- Flooding-consistency black
- Stiff-consistency black
- Medium flat paint brush
- Silver edible luster dust* mixed with alcohol
- Cardstock (or equivalent)
- Silver edible glitter*
- Gold luster dust* mixed with alcohol
- Black gel paste coloring diluted with water
*[EDITOR'S NOTE: If your project will be consumed, be sure to use "100% edible", "FDA-compliant" luster dust and glitter, as Samantha does here. Products labeled "nontoxic" and "for display use only" are not intended to be eaten, and can make people, especially children, quite sick. In other words, "nontoxic" does NOT equate to "edible". This recent article cites several cases of luster dust poisoning from use of nontoxic dust. It also explains the Center for Disease Control's stance on dusts quite clearly. ~JMU]
Step 1: Pipe edible glue snowflake
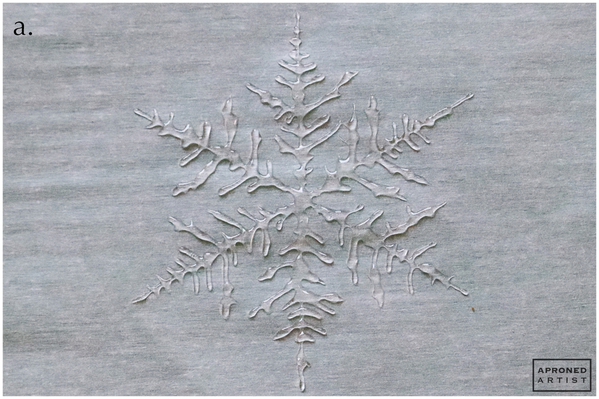
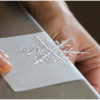
a. Print out the Snowflake and Ornament Template (located in “Files” in “Attachments” at the end of this post), and tape a piece of parchment paper over the snowflake template. Transfer the edible glue to a piping bag fitted with a PME #00 tip (or equivalent). Pipe one arm of the snowflake at a time, beginning at the center and working your way toward the outside of the arm. After piping each arm, use a scribe tool (or equivalent) to drag out any glue that has beaded and to refine the shape of the snowflake. We’re aiming for the look of a real snowflake, so it doesn’t need to be perfectly symmetrical. Allow the snowflake to dry for at least two days before releasing it from the parchment paper. Drying time will vary with ambient humidity and temperature.
b. To release the snowflake, place the parchment paper at the edge of your countertop. Grip the parchment paper closest to the edge of the countertop, and pull it downward as you guide the snowflake slowly over the edge. Stop once the center of the snowflake reaches the edge of the countertop. If dry, the snowflake should release easily from the parchment paper. Rotate the snowflake a quarter turn, and guide the next section over the countertop in the same fashion. Repeat this process until the snowflake is fully detached from (but still on top of) the parchment paper.
Step 2: Decorate ornament and base cookies
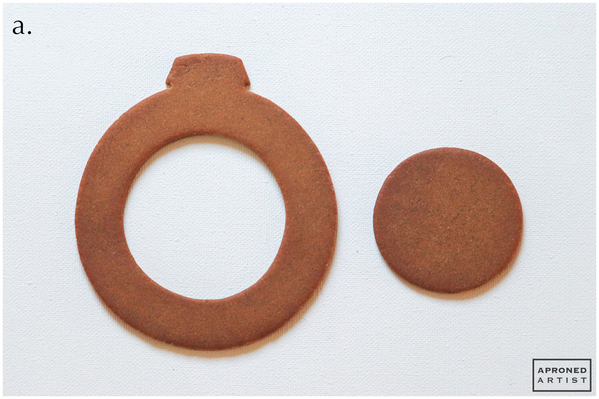
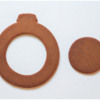
a. Hand-cut the ornament cookie using a dough that spreads minimally and the provided template. Cut the base cookie with a 2 1/4-inch (5.7-centimeter) round cookie cutter. Bake both cookies until firm and browned. (Note: if you intend to use this cookie as a place card as I mentioned earlier, you may want to decorate two ornament cookies for each card so that, once the ornament is assembled, the back looks as pretty as the front.)
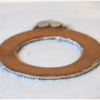
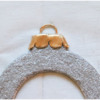
b. Place the ornament cookie on top of a piece of parchment paper. Using stiff-consistency taupe royal icing and a PME #3 tip (or equivalent), roughly pipe the ornament top with a large scalloped edge (i). Use a damp flat paint brush and light, vertical brush strokes to smooth and shape the icing (ii). Pipe a semicircle ring above the top of the ornament (iii). If necessary, use a damp paint brush to ensure the ends of the ring are well attached to the top of the ornament. Allow the icing to dry completely. Carefully peel the parchment paper away from the semicircle of icing.
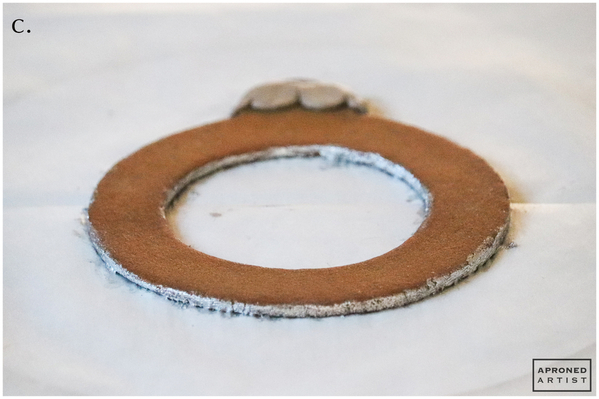
c. Paint the inside and outside cut edges of the ornament cookie with silver luster dust mixed with alcohol. [EDITOR'S NOTE: Again, be sure to use a food-grade, "FDA-compliant" dust if the project will be eaten. ~ JMU]
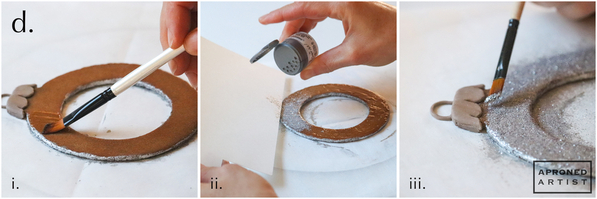
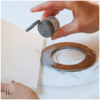
d. Brush the un-iced and unpainted surface of the cookie with a thin coat of edible glue (i). Hold a piece of cardstock (or equivalent) over the ornament top to mask it, and sprinkle an even layer of edible glitter over the wet glue (ii). Remove the cardstock, and use a dry paint brush to transfer a small amount of glitter to any bare areas directly around the ornament top (iii). Let the glue dry for 30 minutes. Lift the cookie to allow any loose glitter to fall off.
e. Brush away any stray glitter from the ornament top with a dry paint brush. Paint the ornament top (including the semicircle ring) with gold luster dust mixed with alcohol.
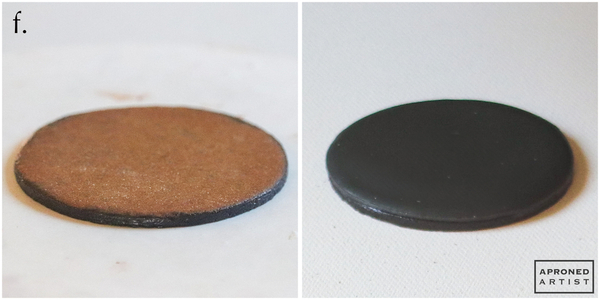
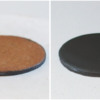
f. Paint the cut edges of the base cookie with black gel paste coloring diluted with water. [EDITOR'S NOTE: Gel paste coloring is water-based and therefore soluble in water. Extending it with alcohol, as done with luster dust, will cause the coloring to clot. ~JMU] Flood the base cookie with flooding-consistency black royal icing. Allow the icing to dry completely.
Step 3: Attach snowflake and assemble cookies
a. Before assembling, make sure the snowflake still slides freely along the parchment paper. (If it doesn’t, repeat Step 1b to release it before proceeding.) Use a scribe tool or paint brush to transfer a small dab of edible glue to the tip of each of the snowflake’s arms. Center the opening of the ornament cookie over the snowflake, and press down gently on the cookie to adhere it to the snowflake. Allow the glue to dry at least 30 minutes. (Again, if you intend to use the cookie as a place card, glue an identically decorated ornament cookie to the back, sandwiching the snowflake between the two cookies.)
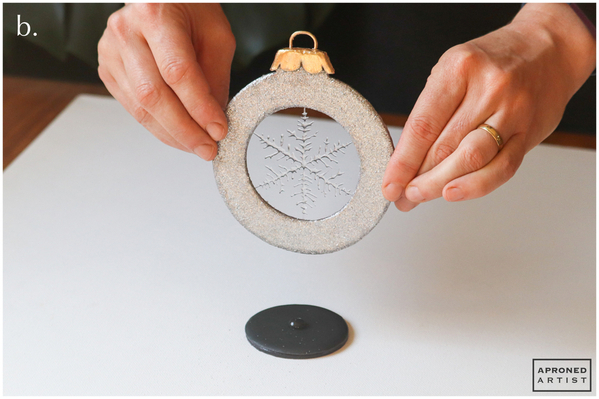
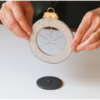
b. Using a Wilton #10 tip (or equivalent), pipe a bead of stiff-consistency black royal icing in the center of the base cookie. Pick up the ornament cookie at the side edges and center the bottom on the dab of black icing. Support the sides of the ornament so it remains in a vertical position while the icing dries. (I used two drinking glasses as props.)
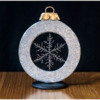
Finished! I can’t wait to add these sparkly beauties to our holiday table. Wishing you all a joyful holiday!


Samantha Yacovetta began cookie decorating in 2013. While working at a local bakery, Samantha became captivated by cookie art when a customer requested princess-themed cookies. Attracted initially to the precision of cookie decorating, Samantha soon found that the limitless design opportunities turned it into her artistic passion. Samantha began regularly stocking the bakery case with decorated cookies and for several years sold cookies through her own company, Aproned Artist, a cottage food operation. Having retired from the business life, Samantha now enjoys making cookies just for fun from her home in San Jose, California, USA. To learn more about Samantha, please check out her Cookie Connection portfolio, her Facebook page, and her past Every Little Detail tutorials here.
Photo and cookie credits: Samantha Yacovetta
Note: Every Little Detail with Aproned Artist is a monthly Cookie Connection blog feature written by Samantha Yacovetta focused on the special little details that make big statements in cookie design. This article expresses the views of the author, and not necessarily those of this site, its owners, its administrators, or its employees. To read all of Samantha's past Every Little Detail tutorials, click here. And to see all of Cookie Connection's tutorials, click here.








Comments (27)