This edition of "How Would You Cookie This?" is being brought to you by Dana (aka Dana’s Daydreaming Cookies on Cookie Connection)!
Just a little background info for all of you who are new to my blog – this fun segment is based on ideas (art, images, etc.) that people have emailed to me. I then take the idea and cookie it! It will probably run every other month or so, depending on participation. Click here for more details about submitting an idea. You never know, I may even send you the cookies! ![]()
Now back to the tutorial!
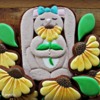
Dana emailed me images of some of her amazing artwork prior to Easter (huge thank you to Dana!). As much as I wanted to, I just couldn’t work on these cookies until recently. I think that the bunny is perfectly sweet for springtime and the flowers . . . well, they work for any time of the year! I wanted to take this opportunity to cookie a flower from a slightly different perspective. A side view!
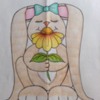
Here is Dana’s artwork that she asked me to cookie:
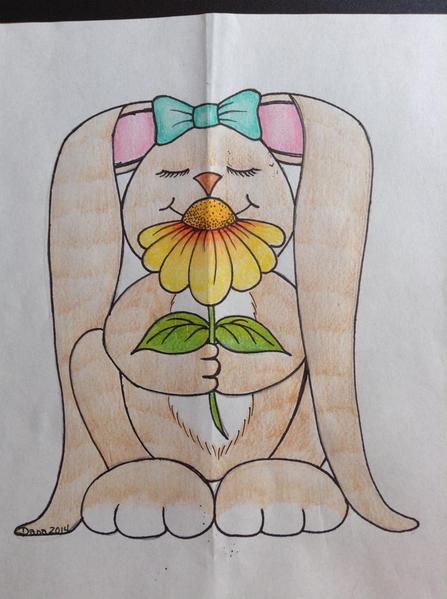
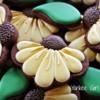
Super cute, right?! And then the flowers that we are going to make:


What you are going to need:
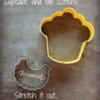
- Cupcake cookie cutter
- Bib cookie cutter
- Knife
- Royal icing (20-second and stiff piping) in yellow and brown
- Airbrush with yellow sheen and orange colors (optional)
- Glad Press'n Seal cling wrap (only if airbrushing; you can also use regular plastic wrap, but I prefer this type because it's more clingy)
Let’s start with cutting the dough and getting the right shape.
I decided to start with a cupcake shape. The top of the cupcake had the same petal shape that I was looking for. Then, I used a small bib cookie cutter (that I widened a bit) to get the round center of the flower.

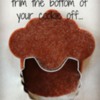
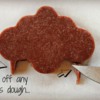
The bib cutter wasn’t quite wide enough, but with a knife, I was able to easily trim off the excess. If you don’t have a bib cookie cutter, you can use anything that will give you that pretty, round shape. Even hand-cutting would work. Use what you have.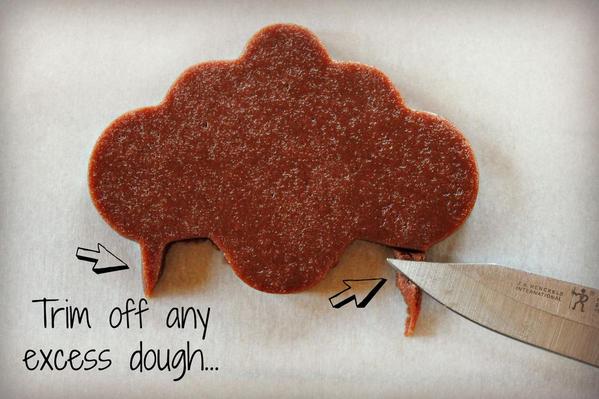
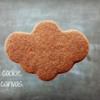
Then bake it up, let it cool, and get ready to have some fun!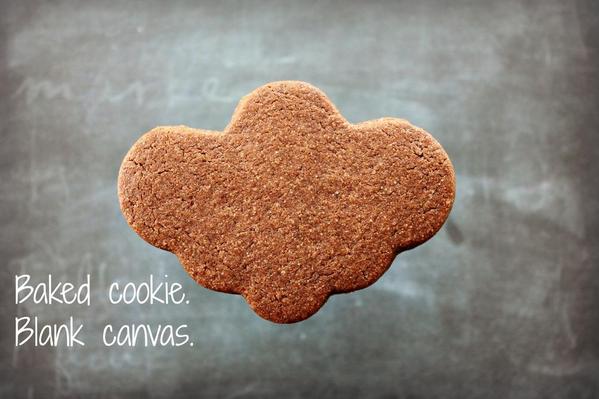
Now, this next part I did using a space heater. I (almost) always use it when decorating. The only exception is flooding cookies – then I use a dehumidifier in the room. I find that my icing craters less and is "puffier". Is that a word?? Probably right up there with "cookier". ![]()
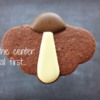
Start at the top center of the flower. Flood in the brown and allow it to set. I used a thicker (20-second) icing, so that craters are less likely.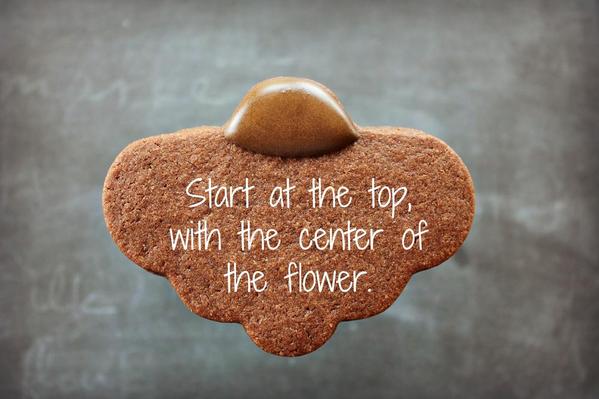
Once the center of the flower (brown part) is set, add the center petal – using a thick 20-second icing. Think puffy! Don’t forget to use your space heater in between adding petals. It’ll speed up your drying time and you’ll be able to work faster.
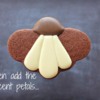
Once that center petal is dry, add the petals on either side.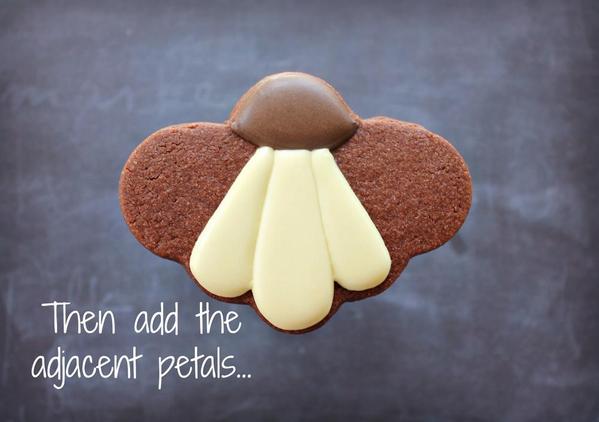
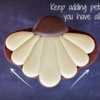
Let those petals set and then add two more. Give your petals time to set or dry before adding the next one. This gives your petals definition. You should have seven petals total when complete. Then allow the cookie to dry overnight. Get some sleep! You deserve it.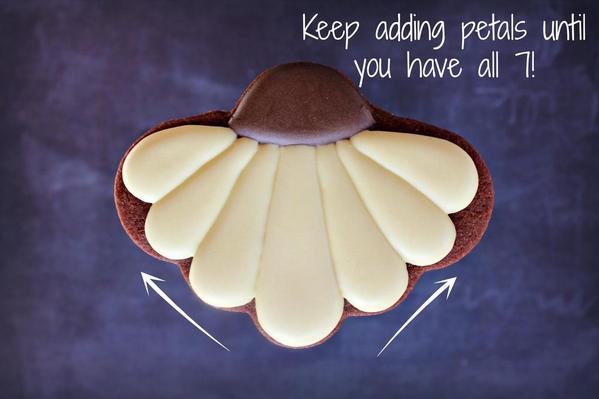
Onto Day Two.
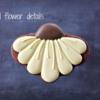
I started by remixing my brown and yellow icing, making it thicker. Make it piping consistency and use the smallest tip that you can muster. Add some details onto your petals.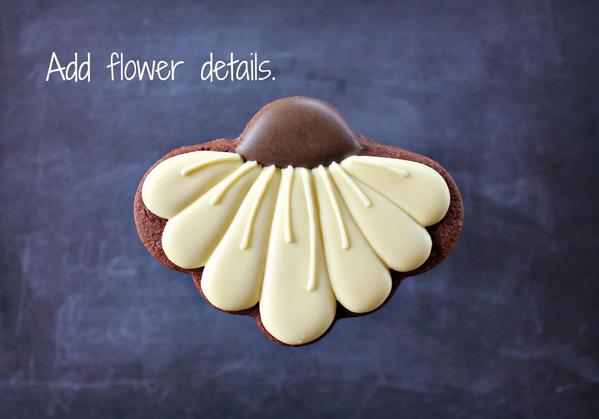
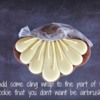
Once your petal details are dry, you can do one of two things. I decided to use my airbrush. BUT if you do not have an airbrush, you could just paint on some color. Again, use what you have. If you are going to airbrush, let’s start by covering up the center of the flower with Press'n Seal cling wrap - 'cause guess what? I don’t want it yellow!
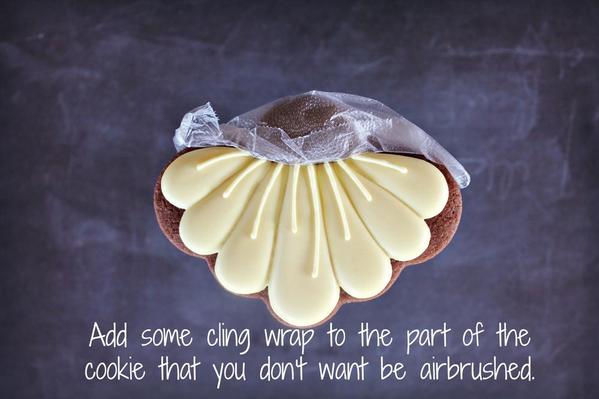
Once the brown is covered, get ready to spray all of the cookies! For colors, I mixed up some yellow sheen airbrush color and added a tiny touch of orange airbrush color to it. You’re going to airbrush the cookies in three steps, allowing them to dry in between (which is actually fairly quick).
- Step 1: Airbrush all of the petals, evenly.
- Step 2: Add a second coat, starting from the middle and going up toward the center of the flower.
- Step 3: Add a third coat to the petals, but just where the petals meet the center of the flower. This is where the Press'n Seal really comes in handy!
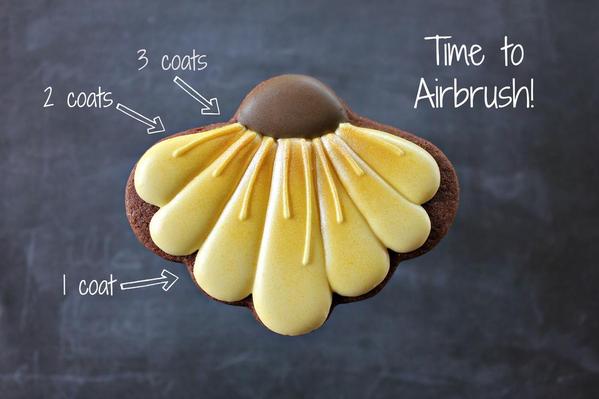
Take off your Press'n Seal. Commend yourself on your fantastic airbrushing! You didn’t even spray the ceiling, did you?!
Now for the final step. Just take your brown icing that you’ve already made nice and thick, and add some details onto the center portion of the flower. I just added tiny dots to it, spacing the dots more as I reached the top of the flower. Why? I googled Black-eyed Susan flowers and that’s how they appeared to look . . . and I went with it.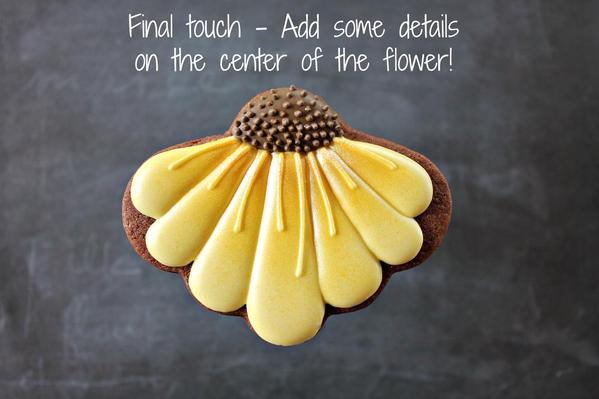
Let them dry and then you’re ready to dazzle your family, friends, and customers with your awesomeness!
Many thanks to Dana for submitting her artwork. I had a great time cookie-ing that sweet bunny! ![]() [EDITOR'S NOTE: Dear Yankee Girl, I'd like to see a tutorial for that bunny next! Wow!]
[EDITOR'S NOTE: Dear Yankee Girl, I'd like to see a tutorial for that bunny next! Wow!]
Please feel free to email me with questions or submissions for the next Dear Yankee Girl!
Photo and cookie credits: Kari Arroyo
Original bunny and flower artwork by: Dana at Dana's Daydreaming Cookies

 Kari Arroyo started decorating cookies in 2011 after deciding to take a break from nursing, and learned the ways of royal icing by reading tutorials and LOTS of trial and error. When she’s not decorating cookies, you can find her chasing after two busy boys! Check her out on Facebook or her site, and email her your cookie questions at yankeegirlyummies@gmail.com.
Photo credit: Kari Arroyo
Note: Dear Yankee Girl is a regular Cookie Connection blog feature, written by Kari Arroyo, which allows you to get all your critical cookie technique questions answered, Dear Abby-style! Its content expresses the views of the author and not necessarily those of this site, its owners, its administrators, or its employees. To catch up on all of Kari's past posts, click here.




Comments (24)