 This cookie and I have some history. If you’ve been reading my tutorials for a while, you might remember my struggles approximately a year ago. I tried an island concept, but with water made of royal icing, and waves created from white gel coloring. When the icing made contact with the white gel coloring, I hoped it would make interesting frothy patterns (similar to the epoxy resin art that is so popular right now). And it did, to an extent. But it was difficult to control where those frothy patterns ended up, and the icing was far too matte to effectively emulate water. After putting the project aside for some time, I’ve come back to the concept with a fresh attitude and some design modifications. It feels good to turn my past frustration into a success.
Supplies:
- Royal icing (I used AmeriColor gel paste coloring to tint the icing):
- Stiff-consistency gray (4 parts Ivory/4 parts Warm Brown/1 part Regal Purple/1 part Super Black)
- Stiff-consistency dark green (2 parts Moss/2 parts Olive/1 part Forest Green/1 part Regal Purple/1 part Warm Brown)
- Stiff-consistency light green (2 parts Moss/2 parts Olive/1 part Forest Green/1 part Regal Purple)
- Stiff-consistency white
- Stiff-consistency dark blue (4 parts Royal Blue/1 part Super Black)
- Tips:
- 4 1/2-in (11.4-cm) round sand-colored cookie
- Medium flat paint brush
- AmeriColor (or equivalent) gel paste coloring: Warm Brown, Bright White, Taupe, Royal Blue
- Small paint brush
- Round paint brush
- 3 small containers
- Corn syrup
Step 1: Pipe and detail landmass
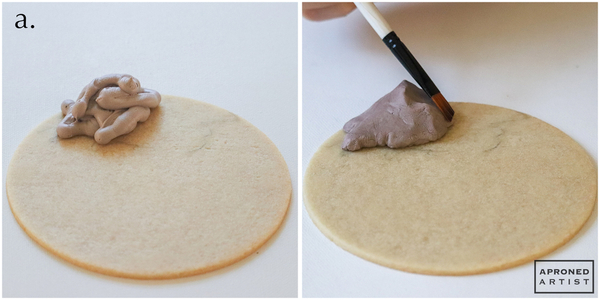
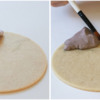
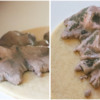
a. Using stiff-consistency gray royal icing and a Wilton #8 tip (or equivalent), pipe a mound of icing at the top of the cookie. With a barely damp medium flat paint brush, press the side of the brush against the icing to push and smooth it into a mountain shape. If the icing is too wet and sticky, allow it to sit for a minute to harden before shaping. If the icing becomes too cracked for your liking, dampen your brush to smooth out some of the texture (but keep in mind that the rocks will look more realistic with a slightly craggy surface).
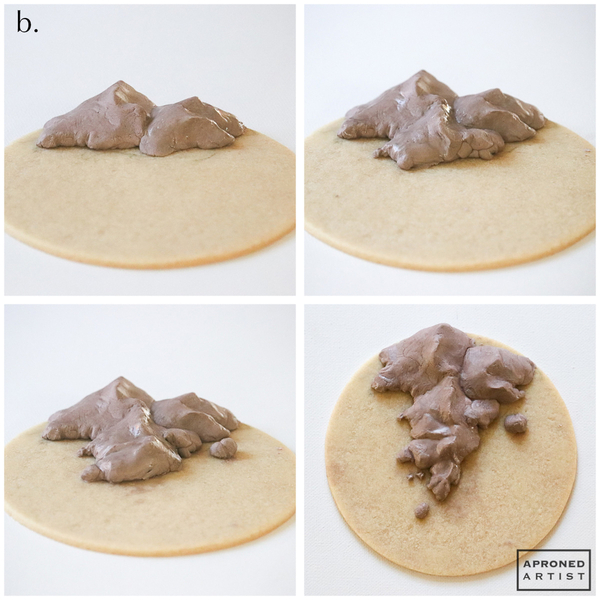
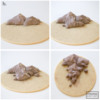
b. Continue piping and shaping mounds adjacent to the first to create a rocky landmass. If desired, pipe a few small rocks apart from the large landmass. Allow the icing to dry completely.
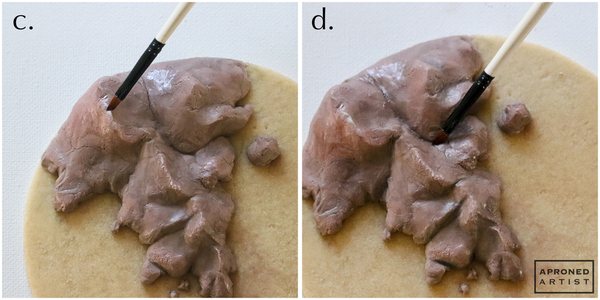
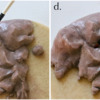
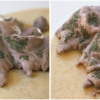
c. Mix a tiny bit of Warm Brown gel paste coloring with a drop of Bright White gel paste coloring to make a very light reddish brown color. Use a small paint brush to highlight some of the peaks of the landmass with this light color.
d. Dilute a drop of Taupe gel paste coloring with water to achieve a thin greenish-gray color. Paint the crevices of the rocks with this darker color to deepen the cracks and shadows of the landmass.
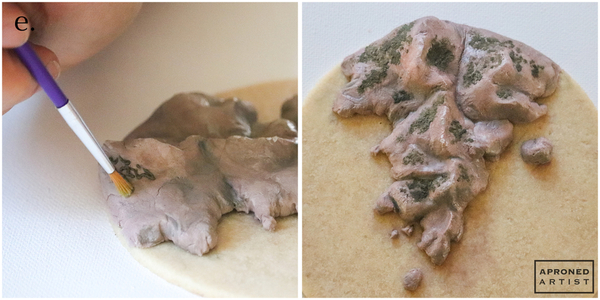
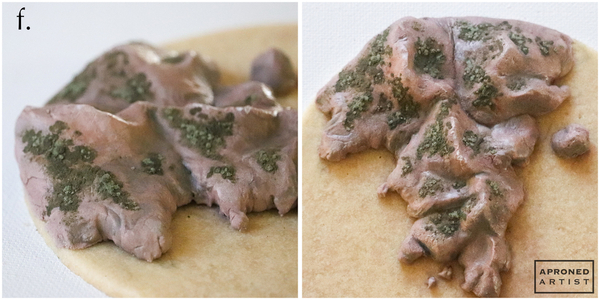
e. Using stiff-consistency dark green royal icing and a PME #00 tip (or equivalent), pipe a small squiggle of icing on the side of a rock formation. Use a round paint brush to stipple the icing, dabbing vertically to create a rough texture. Repeat, piping and stippling, until it looks as though the landmass is sparsely covered with shrubs.
f. Using stiff-consistency light green royal icing and a PME #00 tip (or equivalent), pipe a few dots of icing on top of the textured dark green icing. Again, use the round paint brush to apply the same stippled texture. Repeat, adding highlights to the remaining dark green shrubbery.
Step 2: Decorate ocean
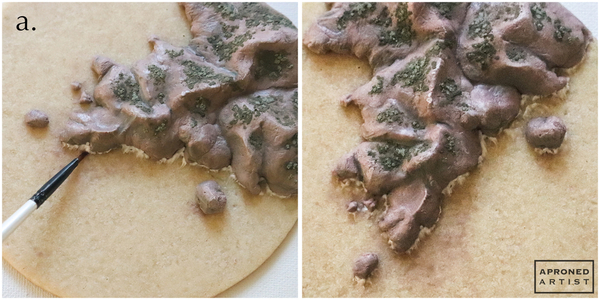
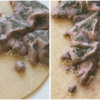
a. Using stiff-consistency white royal icing and a PME #1 tip (or equivalent), pipe a short line of icing along the bottom edge of the rock formation where it meets the cookie. Use a damp small paint brush to drag a small amount of the icing away from the landmass, creating a messy brush embroidery effect to emulate frothy waves. Repeat, creating as many little waves as you desire. (I kept most of my waves along the right side of the landmass and around the small rocks.)
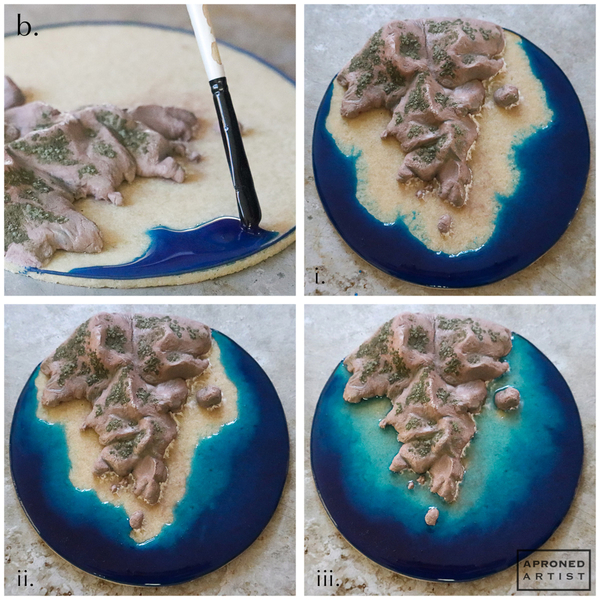
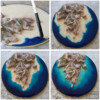
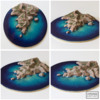
b. Using stiff-consistency dark blue royal icing and a PME #1.5 tip (or equivalent), pipe a border around the edge of the cookie from one side of the rock formation to the opposite side. Pour a couple tablespoons of corn syrup into each of three separate containers. Tint each with graduated concentrations of Royal Blue gel paste coloring to achieve three different shades of blue (ranging from very light to fairly dark blue). A little bit of gel paste coloring goes a long way, so start with a small amount, and add more to reach the desired shade. Dip a medium paint brush into the darkest blue corn syrup, and transfer a drop of corn syrup to the outside edge of the cookie. Use the brush to add more dark blue corn syrup and to push the corn syrup to meet the piped border. Bring this darkest color most of the way toward the landmass (i). Clean your paint brush, and transfer drops of the medium blue corn syrup adjacent to the dark blue corn syrup. Add enough medium blue to fill about half of the remaining space around the landmass (ii). Finally, switch to a small paint brush to add drops of the light blue corn syrup to fill the remaining empty space. Use the brush to guide the corn syrup into the small crevices around the landmass (iii).
Notes: The corn syrup will shift and blend slightly as it dries. For this reason, it’s important to keep the cookie on a level surface or the corn syrup might overflow the border. Additionally, the levelness of the cookie itself will impact how the corn syrup flows. Slightly raised areas of the cookie can add some realism as the corn syrup will be more shallow in these areas (and more of the “sandy” cookie will be visible beneath it). However, any dramatic bubbles in the cookie’s surface should be sanded down prior to decorating or they may protrude through the surface of the corn syrup once the syrup settles.
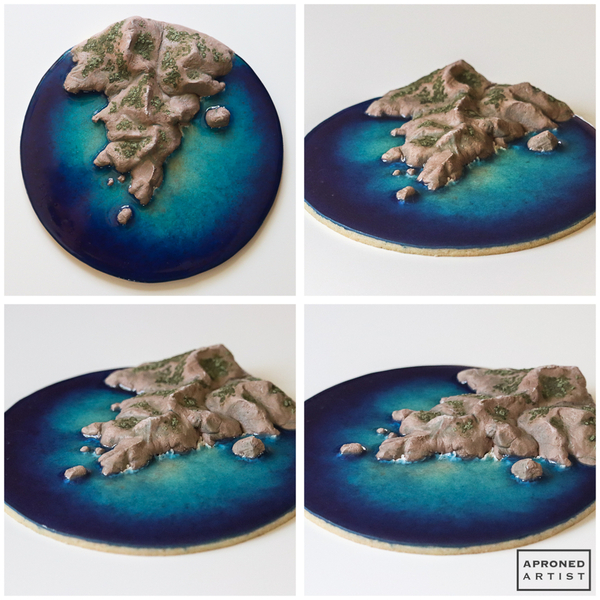
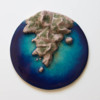
Finished! A year in the making, this coastal cookie finally made the cut.


Samantha Yacovetta began cookie decorating in 2013. While working at a local bakery, Samantha became captivated by cookie art when a customer requested princess-themed cookies. Attracted initially to the precision of cookie decorating, Samantha soon found that the limitless design opportunities turned it into her artistic passion. Samantha began regularly stocking the bakery case with decorated cookies and for several years sold cookies through her own company, Aproned Artist, a cottage food operation. Having retired from the business life, Samantha now enjoys making cookies just for fun from her home in San Jose, California, USA. To learn more about Samantha, please check out her Cookie Connection portfolio, her Facebook page, and her past Every Little Detail tutorials here.
Photo and cookie credits: Samantha Yacovetta
Note: Every Little Detail with Aproned Artist is a monthly Cookie Connection blog feature written by Samantha Yacovetta focused on the special little details that make big statements in cookie design. This article expresses the views of the author, and not necessarily those of this site, its owners, its administrators, or its employees. To read all of Samantha's past Every Little Detail tutorials, click here. And to see all of Cookie Connection's tutorials, click here.

Comments (24)