 I wasn’t trying to pick favorites when I made a cookie inspired by one of my dogs. But ever since, my daughter has been campaigning for our cat to get a cookie of his own. I’m not surprised; they have always had a special bond. We’ve had our cat since my daughter was little, and they’ve been an inseparable pair. While the décor in her room has transitioned over the years from superheroes to boy bands to the current stark utility of her post-college absence, the cat tower has remained the one constant. And our cat, now ancient and lumpy with arthritis, still manages to scale his tower to patiently wait for her return.
Supplies:
- Cat and Tower Templates (See “Files” in “Attachments” at the end of this post.)
- Parchment paper (or equivalent)
- Royal icing (I used AmeriColor gel paste coloring to tint the icing.):
- Stiff-consistency black (Super Black)
- Stiff-consistency dark brown (The exact color isn’t important; I just mixed several colors of leftover icing.)
- Stiff-consistency light tan (2 parts Ivory/1 part Taupe)
- Stiff-consistency tan (2 parts Ivory/1 part Taupe)
- Tips:
- Small piece of paper towel or equivalent for propping
- Medium flat paint brush
- Kitchen shears
- Silicone straw
- Small trowel (or equivalent)
- Baked cookies rolled 1/8-in (0.3-cm) thick (See Cat and Tower Templates for more details.):
- 2 (2 1/2-in/6.4-cm) squares for large platforms
- 2 (1 1/2-in/3.8-cm) squares for small platforms
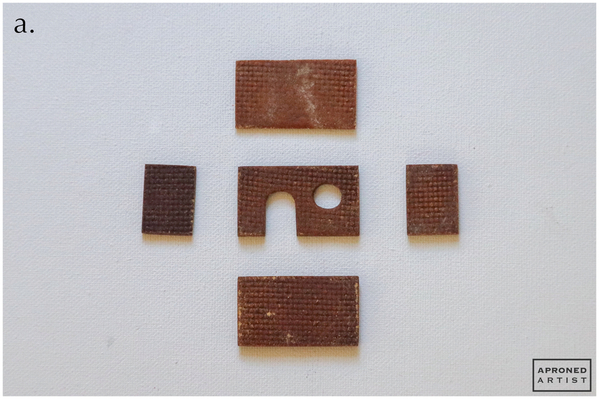
- 2 (3/4 x 1-in/1.9 x 2.5-cm) rectangles for house sides
- 2 (1 3/4 x 1-in/4.4 x 2.5-cm) rectangles for house roof and back
- 1 (1 3/4 x 1-in/4.4 x 2.5-cm) rectangle with door and window cutout for house facade
- Large square cookie cutter for propping (optional)
- Medium round paint brush
- Cardboard cake round and various drinking glasses (or equivalents) for propping
Step 1: Pipe cat transfer
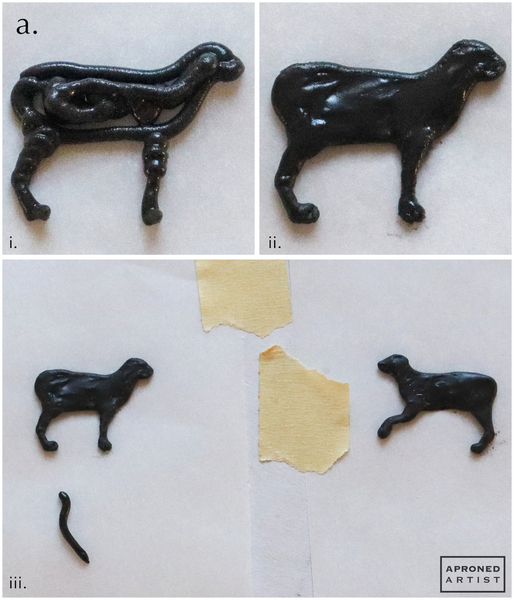
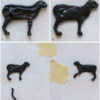
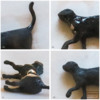
a. Print out the Cat and Tower Templates (located in “Files” in “Attachments” at the end of this post), and cover the cat templates with small squares of parchment paper (or equivalent). Using stiff-consistency black royal icing and a PME #2 tip (or equivalent), roughly fill the outline of one profile with icing (i). Use a damp flat paint brush to spread the icing to fill the template (ii). Repeat this process with the other profile. Pipe a line of icing to cover the tail template (iii). Allow the icing to dry completely (I let mine dry overnight) before carefully peeling the parchment paper away from the transfers. To avoid breakage, do not tug on the transfers.
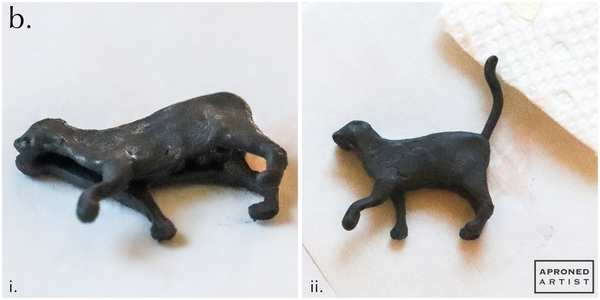
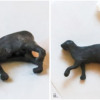
b. Sandwich together the flat sides of the two profiles with enough black icing to create a small gap between the transfers. The gap should narrow at the face and widen between the back legs (i). While the icing is still wet, insert the end of the tail into the gap at the rear so that it is secured by the icing. Place a piece of paper towel (or equivalent) beneath the tip of the tail to prop it slightly so that it sits evenly between the two profile transfers (ii). Allow the icing to dry completely.
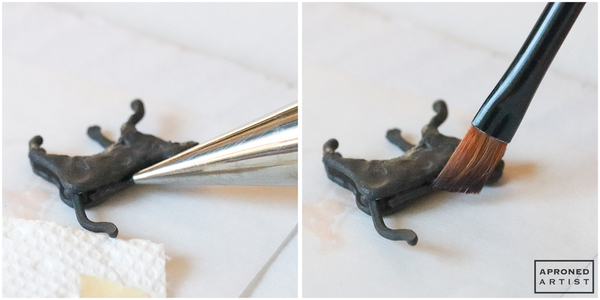
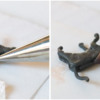
c. Pipe icing to fill the gaps between the transfers. Use a medium flat paint brush to smooth the fresh icing into the dried icing of the transfers to create a single seamless transfer.
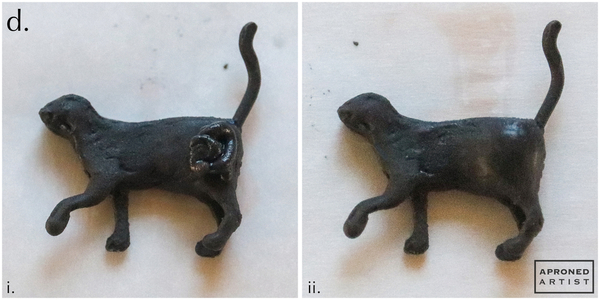
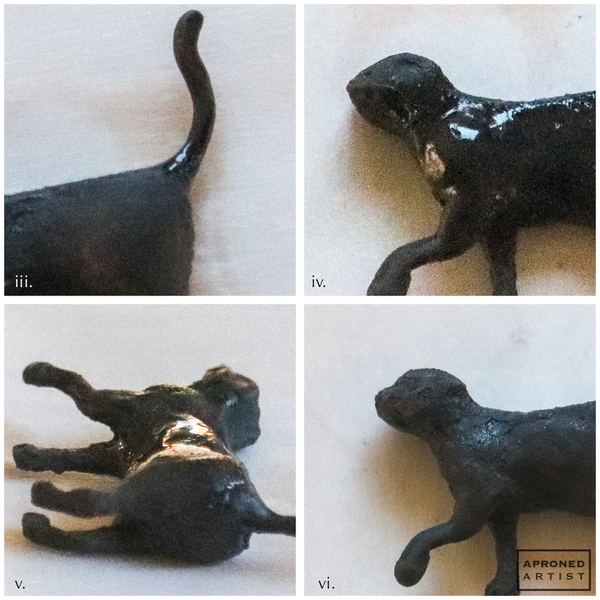
d. At this point, you will have a very thin, flat cat. Next, we will add and shape icing to give the body a more realistic form. Pipe some icing on the hip (i) and blend it into the dried transfer with a damp paint brush (ii).
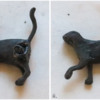
Add and shape icing to widen the end of the tail where it meets the body (iii), to round out the cat’s shoulder (iv), to round out the belly (v), and to refine the shape of the face (vi).
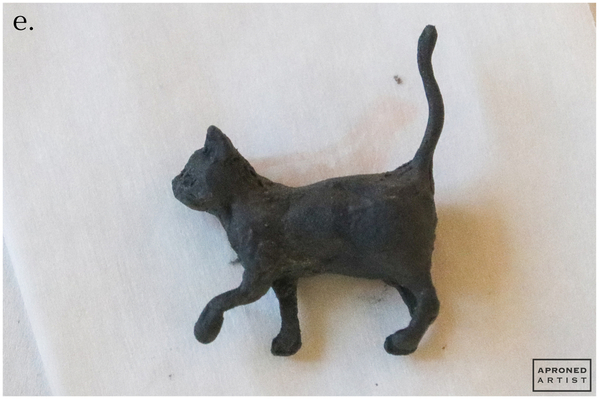
e. Switch to a Wilton #59s tip (or equivalent) to pipe the ear. Place the paisley-shaped tip opening flush against the head so that the narrow point of the paisley points toward the cat’s forehead. Pipe up and away from the head. Use the paint brush to refine the shape of the ear.
Allow the icing to dry before flipping the cat over and repeating Step 1d and Step 1e on the opposite side.
Step 2: Pipe and decorate tower column transfers
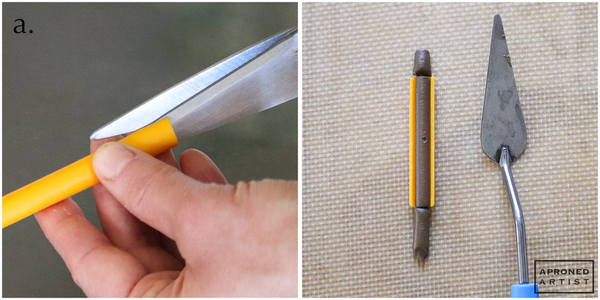
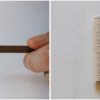
a. Using kitchen shears, cut a silicone straw crosswise into one 3-inch (7.6-centimeter) piece and two 2-inch (5.1-centimeter) pieces. Cut each piece lengthwise. Trim one of the 3-inch (7.6-centimeter) halves to 2 inches (5.1 centimeters) and discard the excess straw. You should now have one longer piece and five shorter pieces of straw. Using stiff-consistency dark brown royal icing and a Wilton #10 tip (or equivalent), pipe a line of icing filling one piece of the straw, allowing the icing to extend slightly beyond the top and bottom openings. Use a small trowel (or equivalent) to trim the icing flush with the ends of the straw. Repeat with the other straw pieces to create one 3-inch (7.6-centimeter) and five 2-inch (5.1-centimeter) columns of icing. Allow the icing to dry completely (I let mine dry overnight) before removing the icing columns from the straw pieces. Again, to avoid breakage, peel away the silicone; do not tug on the transfers.
b. Using stiff-consistency light tan royal icing and a PME #1.5 tip (or equivalent), pipe a ring of icing around the very bottom of one column. Repeat to add another ring adjacent to the first, close enough that the lines are almost touching but you can still see a little bit of the dark icing beneath. Continue piping adjacent rings around the column until the entire column is covered in a rope-like texture. (Note: By the time the icing got too close to my fingertips, it had dried enough for me to hold the piped end and to continue piping the remaining rings on the end I had been holding.) Repeat to cover the other icing columns.
Step 3: Decorate tower cookies
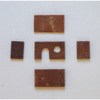
a. For the house section of the tower, you will need five baked cookies (cut to the specifications listed in the Cat Tower Templates).
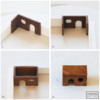
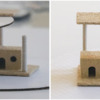
To assemble the house, pipe a line of stiff-consistency dark brown royal icing along one side of the back of the facade cookie. Press the edge of a side cookie into the icing. Optionally, brace the cookies with the corner of a large square cookie cutter (i). The cutter will provide support while the icing dries and ensure that your corners are square. Allow the icing to set for a minute before attaching the other house side cookie (ii). Pipe icing along the ends of the two side cookies. Press the back cookie into the icing to complete the walls (iii). Finally, pipe icing along the top edges of the walls, and place the roof cookie on top (iv). If necessary, pipe and smooth additional icing to fill any gaps between the cookies. Allow the icing to dry completely.
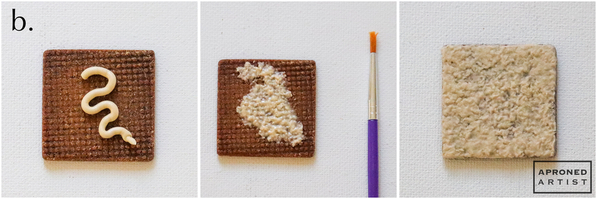
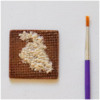
b. Pipe a squiggle of stiff-consistency tan royal icing onto one of the platform cookies. Using a medium round paint brush, dab the icing with a vertical motion to stipple the icing and create a carpet-like texture. Continue to add and stipple icing until the entire surface of the cookie (top, bottom, and sides) is covered. Repeat this process for all of the platform cookies and the outside of the assembled house. Allow the icing to dry completely.
Step 4: Assemble tower, and attach cat transfer
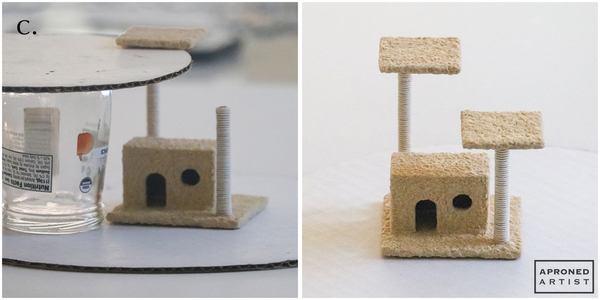
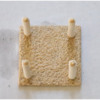
a. To assemble the tower, use a dab of stiff-consistency tan royal icing to attach four 2-inch (5.1-centimeter) columns to the corners of a large platform cookie. Allow the icing to dry completely.
b. On the other large platform cookie, use the same icing to attach the 3-inch (7.6-centimeter) column to the back left corner and a 2-inch (5.1-centimeter) column to the front right corner. Try to position the columns so that they will line up with the columns on the lower platform (see Step 4a) once the platforms are stacked. Use more icing to attach the assembled house toward the left side of the platform. If necessary, add additional icing around the bottom edge of the house where it attaches to the platform, and stipple the icing to hide the seam.
c. Use a dab of icing to attach a small platform to the 3-inch (7.6-centimeter) column. (I attached the platform off-center to match our cat tower.) While the icing dries, support the platform with a cardboard cake round balanced on top of an appropriately sized glass. Repeat to attach a small platform to the shorter column.
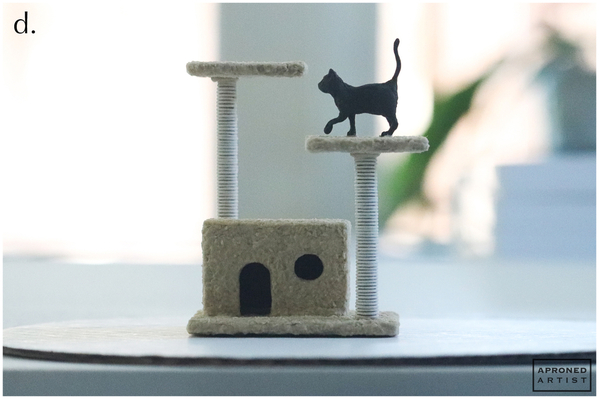
d. Use the same icing to attach the cat transfer to the lower small platform.
e. Pipe a dab of icing on the top of each of the four columns attached to the base platform. Stack the house platform on top of the icing, positioning it so that the upper columns line up with the lower columns.
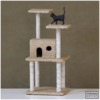
Finished - a cozy home for our feline friend!


Samantha Yacovetta began cookie decorating in 2013. While working at a local bakery, Samantha became captivated by cookie art when a customer requested princess-themed cookies. Attracted initially to the precision of cookie decorating, Samantha soon found that the limitless design opportunities turned it into her artistic passion. Samantha began regularly stocking the bakery case with decorated cookies and for several years sold cookies through her own company, Aproned Artist, a cottage food operation. Having retired from the business life, Samantha now enjoys making cookies just for fun from her home in San Jose, California, USA. To learn more about Samantha, please check out her Cookie Connection portfolio, her Facebook page, and her past Every Little Detail tutorials here.
Photo and cookie credits: Samantha Yacovetta
Note: Every Little Detail with Aproned Artist is a monthly Cookie Connection blog feature written by Samantha Yacovetta focused on the special little details that make big statements in cookie design. This article expresses the views of the author, and not necessarily those of this site, its owners, its administrators, or its employees. To read all of Samantha's past Every Little Detail tutorials, click here. And to see all of Cookie Connection's tutorials, click here.












Comments (17)