
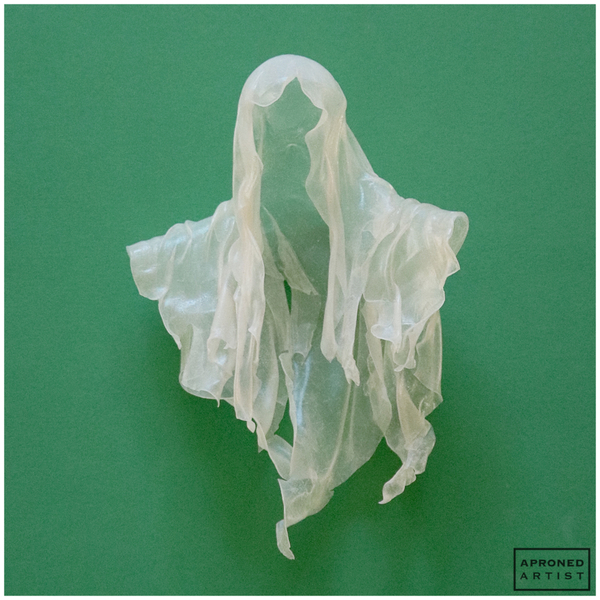
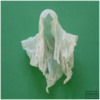
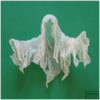
When my kids were little, every Halloween we would make ghost decorations from cheesecloth and laundry starch. The process was simple: soak cheesecloth in the starchy liquid, drape it over a rough form of compacted aluminum foil, and allow it to dry. The gauzy cheesecloth would harden, creating spooky, semi-transparent specters. In this project, naturally-starchy rice paper stands in for cheesecloth to make an edible version of this Halloween craft.
Supplies:
- Heavy cooking pot lid with an open handle
- 1/16-in (1.6 mm) aluminum wire
- Pliers with a cutting tool
- Parchment paper
- 1-in (2.5-cm) silicone hemisphere mold with adjacent silicone border removed
- Dinner plate or large, shallow bowl
- AmeriColor Bright White gel paste coloring (or equivalent)
- Kitchen shears
- Several rounds of rice paper
- Medium flat angled paint brush
- Silicone straw cut into approximately 2-in (5.1-cm) pieces and then cut lengthwise (or parchment paper)
- 6 1/2-in (16.5-cm) oval cookie cutter (I used the largest cutter from this set.)
- Silicone mat (or parchment paper)
- Stiff-consistency black royal icing
- Tips:
- Small paint brush
- Bowl or loaf pan with an opening greater than 5 in (12.7 cm)
- Masking tape
- Baked free-form cookie large enough to support the frame (My cookie was about 6 x 4 in/15.2 x 10.2 cm.)
- Small trowel or offset spatula
- Small jars (or equivalent) for propping
Step 1: Create rice paper wraith
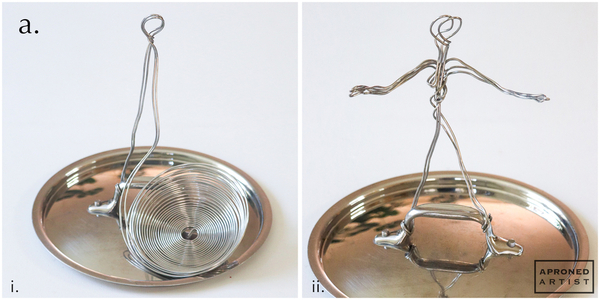
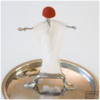
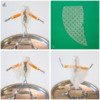
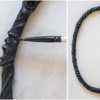
a. Before we can begin making the wraith, we need to create an armature to support the rice paper. Using the lid of a heavy cooking pot as a stable base, wrap the end of a piece of aluminum wire around the handle to attach it to the lid. Extend the wire vertically about 6 inches (15.2 centimeters) before twisting it at the top to create a small circle for the head (i). Bring the wire down to wrap around the torso, and then extend it horizontally to create one arm before doubling back to create the other arm. Bring the wire back to wrap around the torso and extend down to the lid. Cut the end of the wire with the cutting tool on the pliers, and wrap the cut end around the handle (ii). I wish I had taken more pictures of the process, but ultimately, the exact method to create the armature isn’t important; just aim for a stick-figure shape.
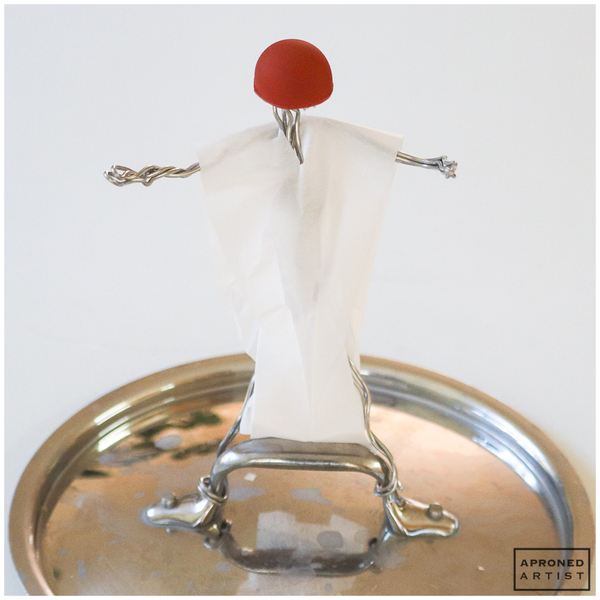
The wire of the armature must be covered with nonstick materials so that the rice paper can be easily removed once dry. Cut a long strip of parchment paper, fold it in half, and cut a vertical slit in the center just large enough to accommodate the head of the armature. Insert the head into the slit and crumple the ends of the parchment paper around the legs of the armature to secure it, creating a parchment paper dress for your figure. Place a trimmed silicone hemisphere mold on top of the head.
b. In a large dinner plate or shallow bowl, mix two drops of white gel paste coloring with 1/2 cup cold water. Using kitchen shears, cut away two pieces from a round of rice paper to create a mushroom shape. Submerge the mushroom-shaped rice paper in the colored water for about ten seconds or until it is no longer rigid.
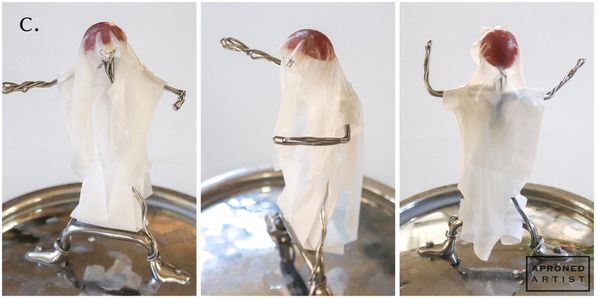
c. Drape the rice paper over the armature so that the head of the mushroom becomes the hood and shawl of the wraith, and the stem of the mushroom extends down the back of the armature. Make sure the rice paper sits on top of the parchment paper dress and does not make direct contact with the wire. If desired, tear the ends of the rice paper with your fingers, or trim them with wet kitchen shears, to give the rice paper a more ragged look.
The rice paper will want to fold over on itself and tangle into a big sticky ball. To prevent tangling, keep it very wet while you’re handling it. Use wet fingertips and a wet flat angled paint brush to gently tease apart any sections that stick together in an undesirable way. Make sure the front and back sections of each new piece do not touch, as they will stick together and prevent removal of the wraith from the armature. As the rice paper dries, it will shrink and curl slightly. Monitor the wraith while it dries for about an hour to make sure the pieces do not stick together. If this happens, use the wet paint brush to gently separate the connections while the rice paper is still malleable. Allow the rice paper to dry completely (I let mine sit overnight) before carefully lifting it up to remove it from the armature.
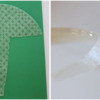
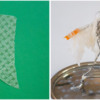
d. Remove the parchment paper dress and the silicone hemisphere from the armature. Place a piece of silicone straw (or parchment paper) over each of the upper arms, taping them in place if necessary. Return the initial section of the hardened rice paper paper wraith to the armature (i). Mix the same dipping solution of water and white gel paste coloring as used in Step 1b. Take one of the leftover pieces of rice paper from cutting the mushroom piece (ii), and dip it into the colored water until it is no longer rigid. Drape it over the upper arm so that the long, straight side is closer to the torso (iii). Make sure the soaked rice paper slightly overlaps the hardened shawl so that the two pieces will fuse together as the added rice paper dries. Repeat with the other leftover piece of rice paper to create the opposite upper arm.
Allow the rice paper to dry completely before carefully lifting the hardened wraith up to remove it from the armature.
e. Remove the silicone straw pieces (or equivalent) from the upper arms of the armature, and move them to cover the lower arms. Return the hardened rice paper wraith to the armature. Mix the same dipping solution of water and white gel paste coloring from Step 1b. From a new round of rice paper, cut a piece that is slightly smaller but similar in shape to the one used to cover the upper arm, and dip it into the colored water until it is no longer rigid. Drape it over the lower arm so that the long, straight side is closer to the torso. Again, make sure the soaked rice paper slightly overlaps the hardened upper arm so that the two pieces will fuse together as the added piece dries. Repeat with another piece of rice paper to create the opposite lower arm.
Once again, allow the rice paper to dry completely before carefully lifting the hardened wraith up to remove it from the armature.
Step 2: Create frame of trapped souls royal icing transfer
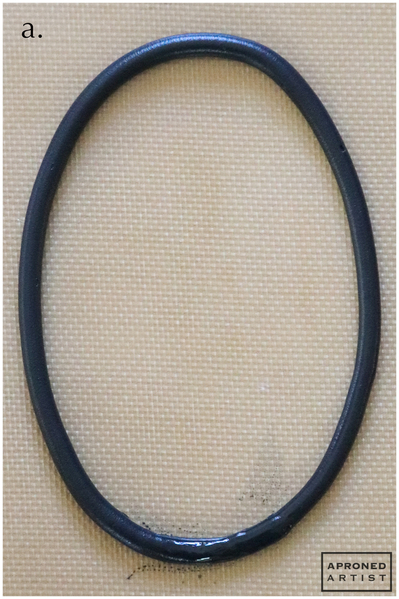
a. Trace the oval cookie cutter on a sheet of paper. Place the paper underneath a silicone mat or a piece of parchment paper, and pipe over the traced oval with stiff-consistency black royal icing and a Wilton #12 tip (or equivalent). Allow the icing to dry completely (I let mine dry overnight) before carefully removing the transfer from the silicone or parchment paper.
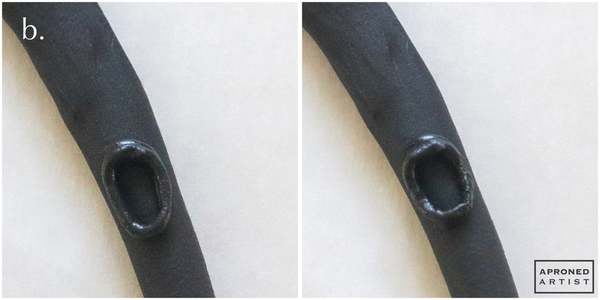
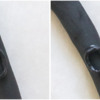
b. Use stiff-consistency black royal icing and a PME #2 tip (or equivalent) to pipe several trapped souls along the frame. To pipe a face, start by piping a small oval, about 1/2 inch (1.3 centimeters) tall. Use a damp medium flat angled paintbrush to indent the sides to create the corners of the mouth. Press the flat side of the brush against the top of the upper lip and against the bottom of the lower lip to square them off slightly and fatten the lips.
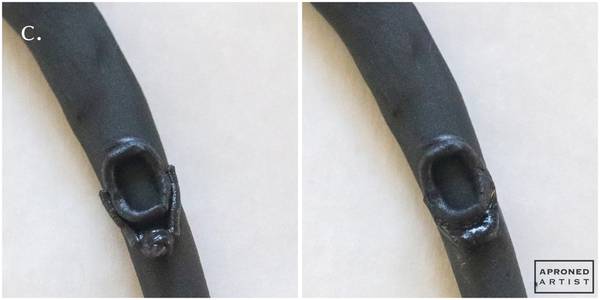
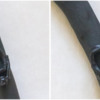
c. Next add a bead of icing below the mouth with two lines extending from the bead to beside the corners of the mouth. Use the damp paint brush to smooth the icing and blend it into the edges of the lower lip to create the chin.
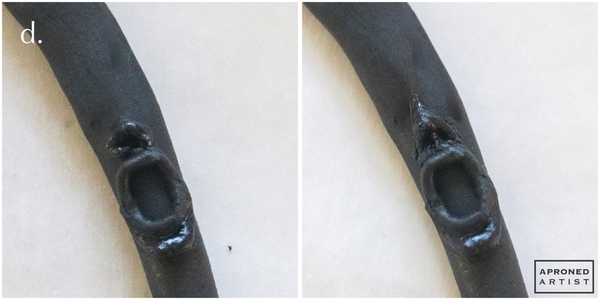
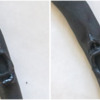
d. Pipe a shape like an upside down palmier cookie above the upper lip for the nose. Use the tip of the paint brush to refine the nostrils. Use the flat side of the paint brush to gradually blend the icing into the area above the face to extend the bridge of the nose.
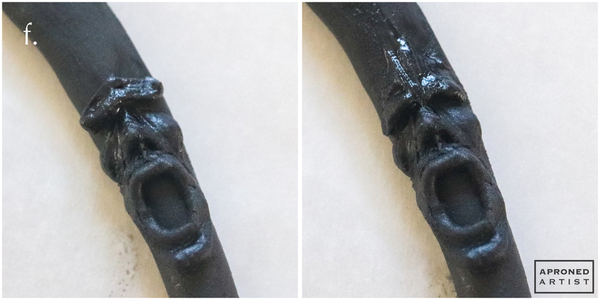
e. Pipe two upside down teardrops on either side of the nose. Blend the lower parts of the teardrops down into the areas around the upper lip. Blend the tops of the teardrops upward, toward the top of the bridge of the nose, to create sagging cheeks.
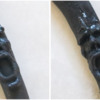
f. For the brow, pipe a thick line of icing horizontally above the bridge of the nose. Use the flat side of the damp paint brush to wrap the ends of the line downward toward the back of each cheek to create the eye sockets. Use the pointed end of the paint brush to subtly indent the line of icing right above the bridge of the nose. Blend the top edge of the line of icing into the frame.
g. Repeat to create several faces along the frame. Make sure to place the faces in areas that won’t be covered by the wraith. Fill the empty areas between the faces with lines of icing that twist around the frame, softening the lines slightly with the damp paint brush.
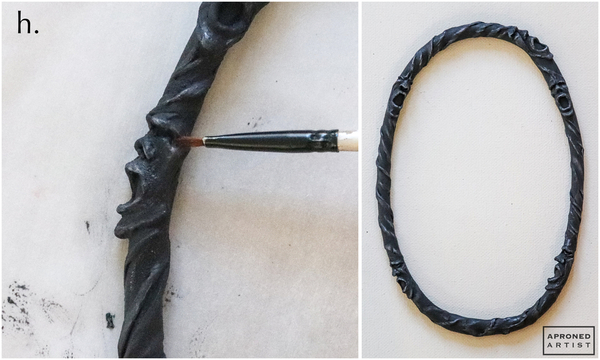
h. Dilute a drop of white gel paste coloring to create a watery paint. Using a small paint brush, dab off almost all of the paint onto a paper towel so that the brush is fairly dry. Paint the most raised points of the facial features (the tip of the nose, cheeks, lips, brow, etc.) and the twisting lines. Aim for a soft, blended highlight just to accentuate the details.
Step 3: Assemble final cookie
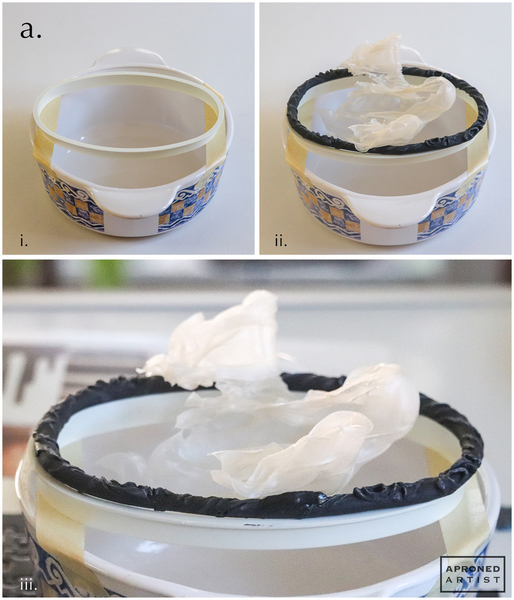
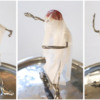
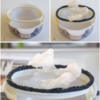
a. Find a bowl or loaf pan with an opening that is larger than the frame transfer. Place two pieces of masking tape over the mouth of the container about 5 inches (12.7 centimeters) apart. Make sure the tape sticks securely to the rim of the container. (I had good success with ceramic and aluminum containers, however, the tape did not stick well to stainless steel.) Set the oval cookie cutter (used as a template to pipe the frame in Step 2a) over the two strips of tape (i). Place the frame transfer on top of the cookie cutter, and position the wraith on top of the frame transfer (ii). Pipe stiff-consistency black royal icing where the wraith’s arms meet the frame (iii). Allow the icing to dry completely. Note: The icing did not bond as securely to the rice paper as I would have liked. If I were to do this project again, I would try attaching the wraith to the frame with dabs of isomalt.
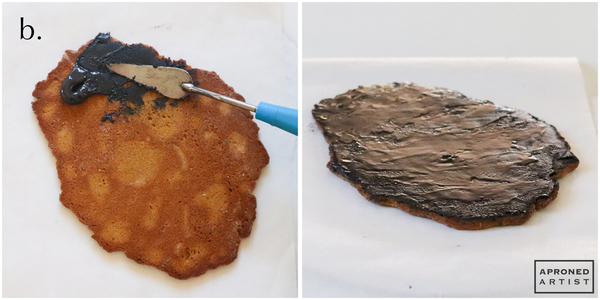
b. Pipe stiff-consistency black royal icing onto the baked free-form cookie. Spread the icing with a small trowel or offset spatula. Continue piping and spreading icing until the entire surface of the cookie is covered in rough-textured icing. Allow the icing to dry completely.
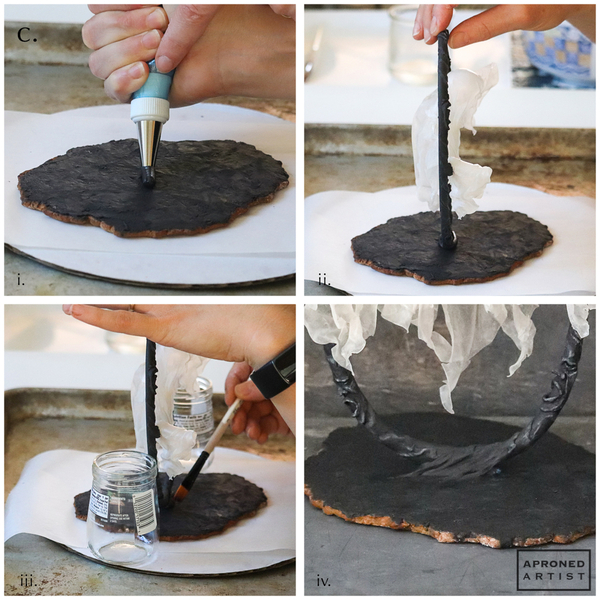
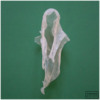
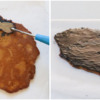
c. Using stiff-consistency black royal icing and a Wilton #12 tip (or equivalent), pipe a 1-inch (2.5-centimeter) horizontal line in the center of the base cookie (i). Holding the frame transfer vertically, insert its base into the icing (ii). Support the frame with a few small jars (or equivalent). Use a damp paint brush to blend the icing into the frame at an angle that matches the twisting texture piped in Step 2g (iii). In the bottom right picture below, you can see how the blended icing looked once dry (iv). Allow the icing to dry completely with any necessary props in place.
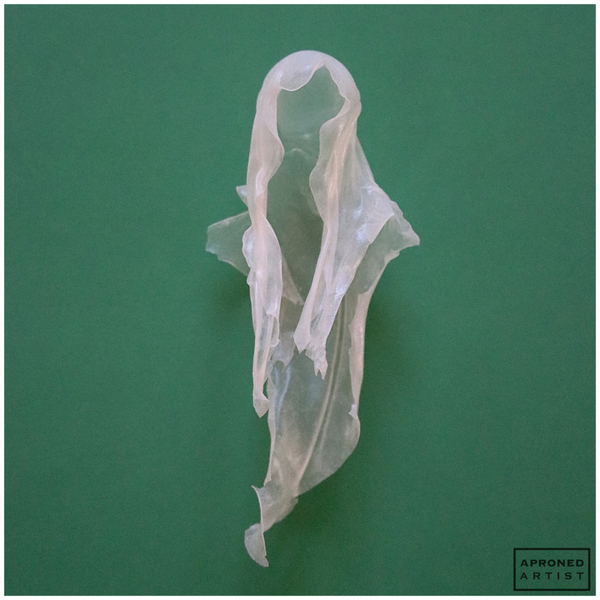
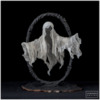
Finished! This spooky specter is ready for Halloween!


Samantha Yacovetta began cookie decorating in 2013. While working at a local bakery, Samantha became captivated by cookie art when a customer requested princess-themed cookies. Attracted initially to the precision of cookie decorating, Samantha soon found that the limitless design opportunities turned it into her artistic passion. Samantha began regularly stocking the bakery case with decorated cookies and for several years sold cookies through her own company, Aproned Artist, a cottage food operation. Having retired from the business life, Samantha now enjoys making cookies just for fun from her home in San Jose, California, USA. To learn more about Samantha, please check out her Cookie Connection portfolio, her Facebook page, and her past Every Little Detail tutorials here.
Photo and cookie credits: Samantha Yacovetta
Note: Every Little Detail with Aproned Artist is a monthly Cookie Connection blog feature written by Samantha Yacovetta focused on the special little details that make big statements in cookie design. This article expresses the views of the author, and not necessarily those of this site, its owners, its administrators, or its employees. To read all of Samantha's past Every Little Detail tutorials, click here. And to see all of Cookie Connection's tutorials, click here.












Comments (27)